EXAM PAPER
|
|
|
PARTS AND SECTIONS
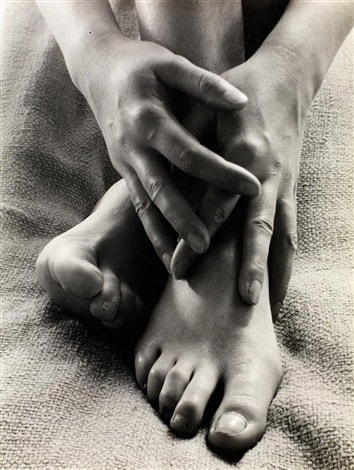
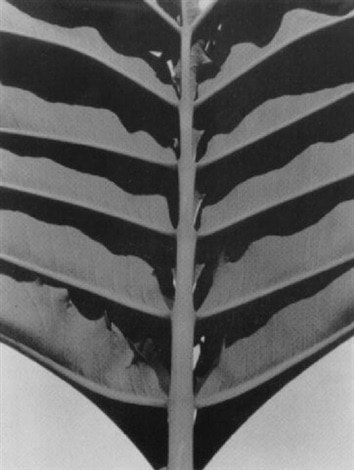
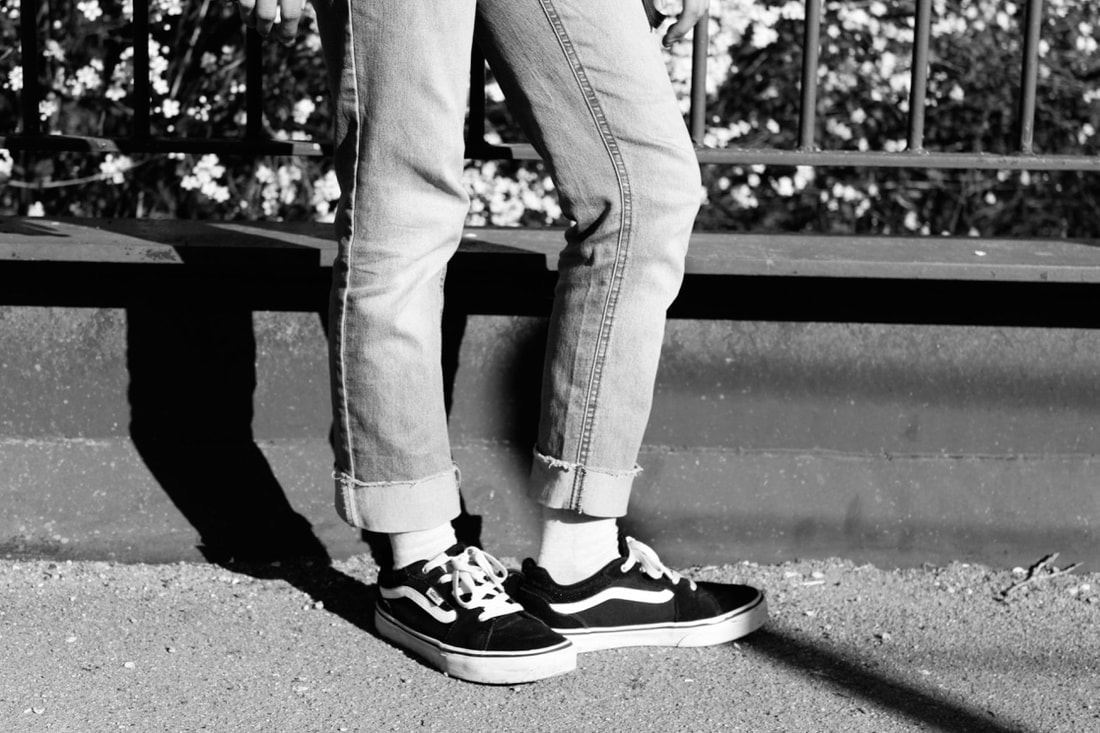
Photographing part of an object, view or person can be a way of creating abstract imagery or observing the subject more closely. Sonya Noskowiak often recorded very carefully selected portions of her subjects to direct attention to their detail and textural qualities. Judith Turner's photographs of columns and leaves are often severely cropped to emphasise the repeated shapes and forms seen in close-up sections of her objects. At times Patrick Caulfield's paintings show just part of an interior, leaving the viewer to imagine what is left outside the frame. Produce your own response, making reference to appropriate work by others.
I have chosen the theme: Parts and sections.
Looking at this topic from a conceptual view means that the camera lens differ from the human eye depending on the lens size; it restricts your viewpoint, appearing as a monocular view. Whereas, our human eyes are able to view 180 degrees acting similar to a binocular; we view things as the bigger picture however, with photography we are able to manipulate that and isolate the excess details in our frame and focus on one subject which is quite amazing. When we look back at a photograph of a moment in the past it captures just about 180 degrees of the view and makes the 3D location appear flat on a piece of plastic containing chemicals; we are unable to see beyond that and since it has been so long since we have been in a place we tend to forget the little details of that place which forces our brain to think and build an imagery in our head to complete the puzzle and satisfy our wonders. I am very intrigued in this process. Therefore, when I saw the subject of parts and section I wanted to challenge myself to restrict what I see in the frame and photograph that and let the brain puzzle out the bigger picture.
I want to consistently question myself: 'Does this relate to parts and sections?' 'How does it link to parts and sections?' before and after I photograph a subject matter.
Initial Mindmap Ideas:

SONYA NOSKOWIAK
(1900-1975)
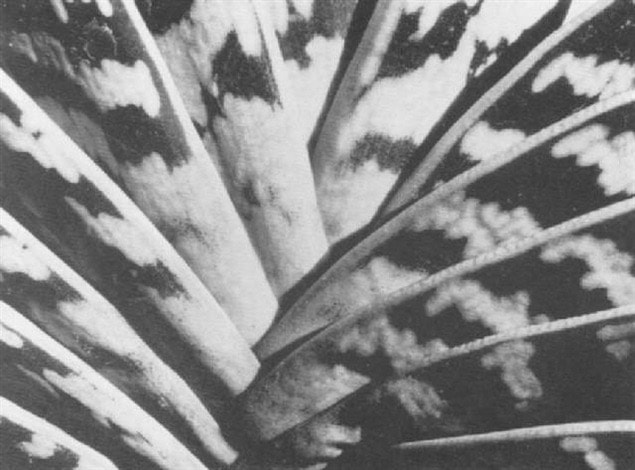
Sonya Noskowiak is a German photographer. She began her photographic career as a studio assistant to Johan Hagemeyer in 1925. Noskowiak photography style focuses on the texture and details of man-made and natural objects - she emphasised on the photographic representation rather than the subject matter, this refers to the use of images/ language to create meaning about the world around us.
Edward Weston inspired Noskowiak to notice the visual potential of her surroundings and 'taught her rudiments of interpreting the them with her camera'. This resulted in Noskowiak being attracted to bold features of urban engineering and capture its textural qualities.
Viewing Noskowiak's photographs in high resolution captivates me as it is in black and white
Creating a response Sonya:
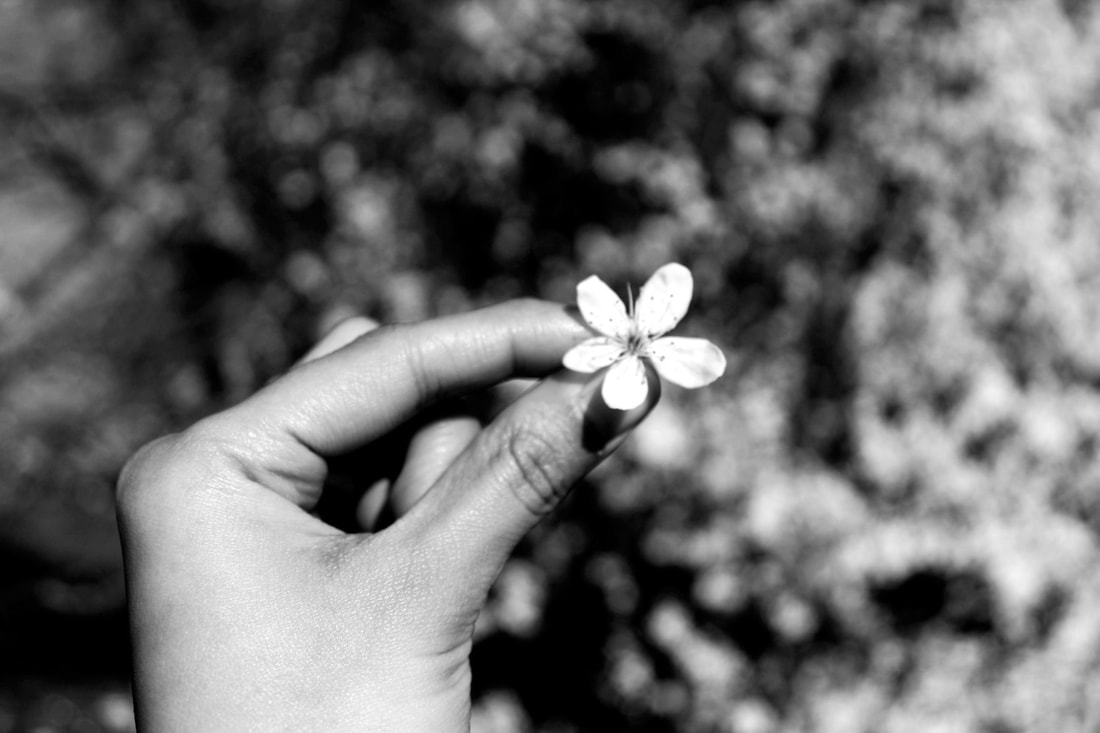
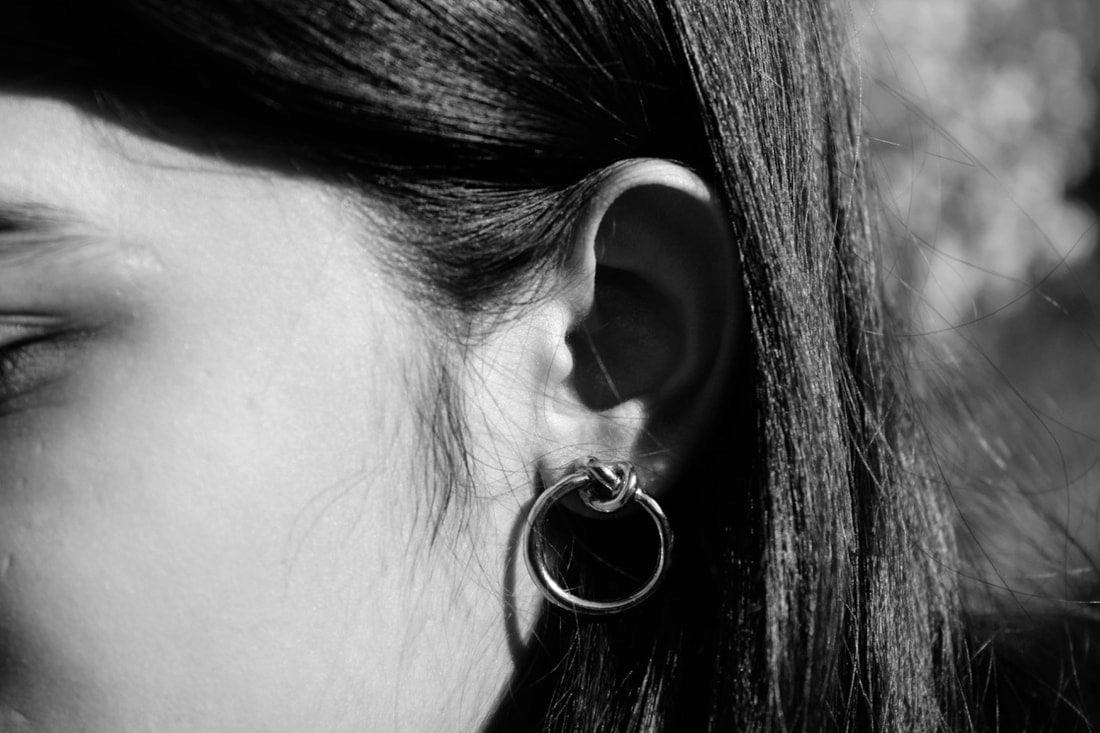
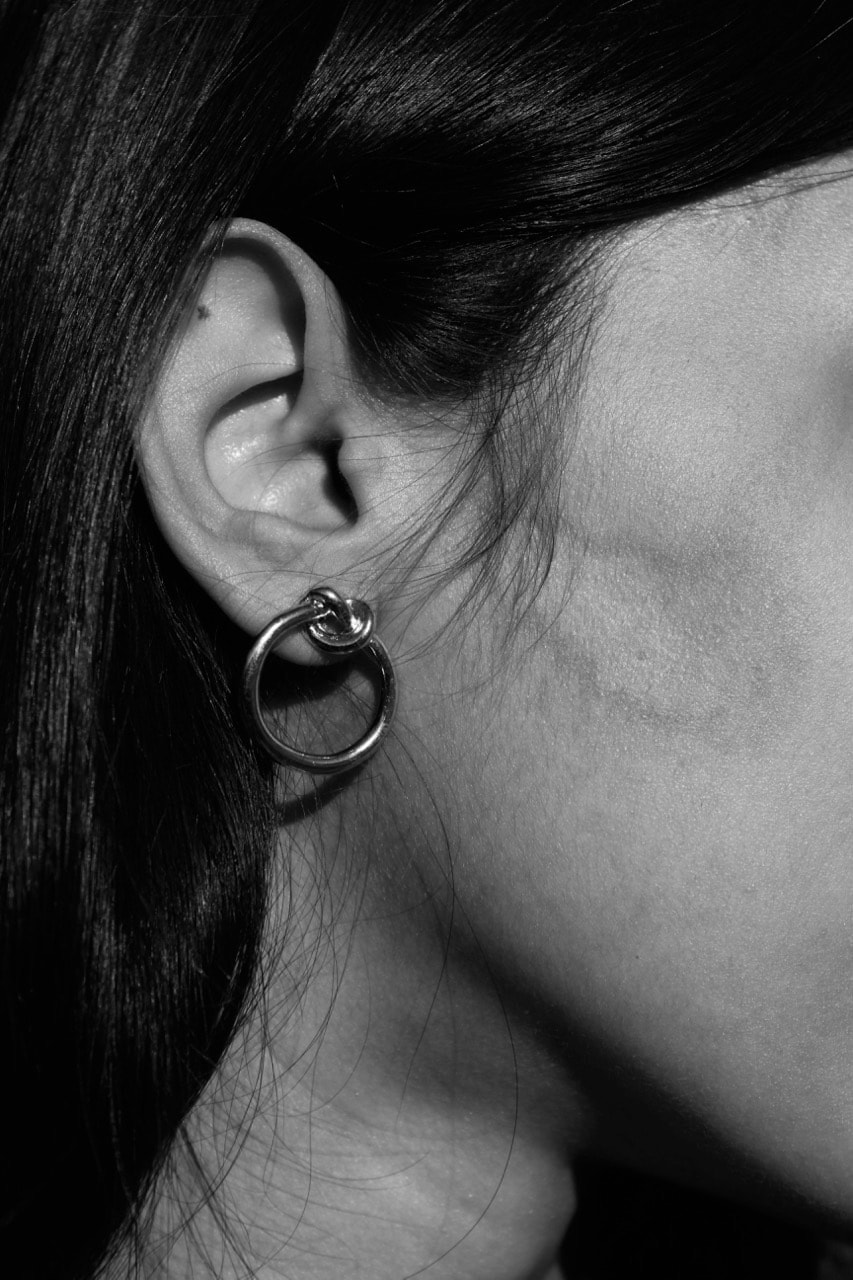
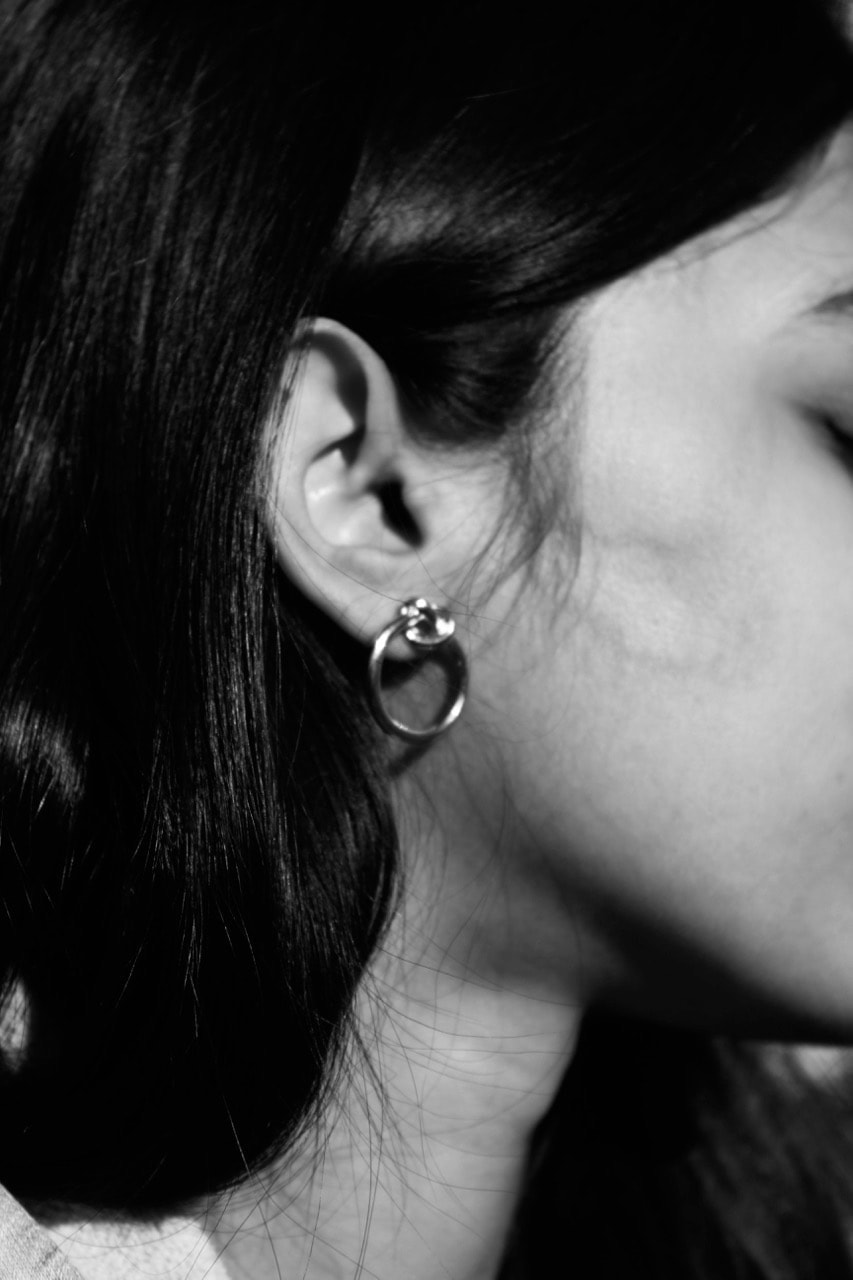
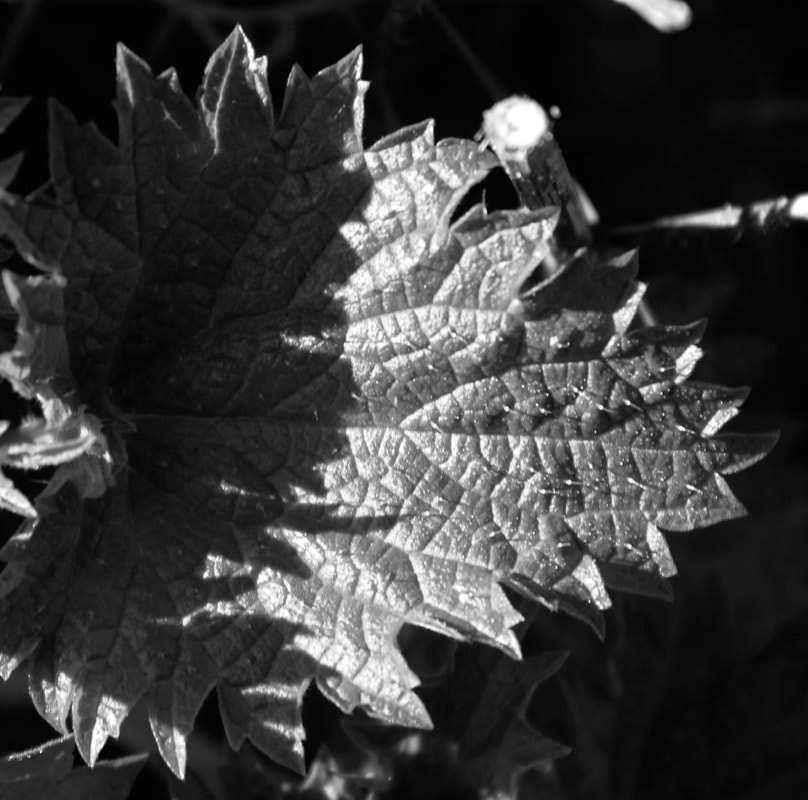
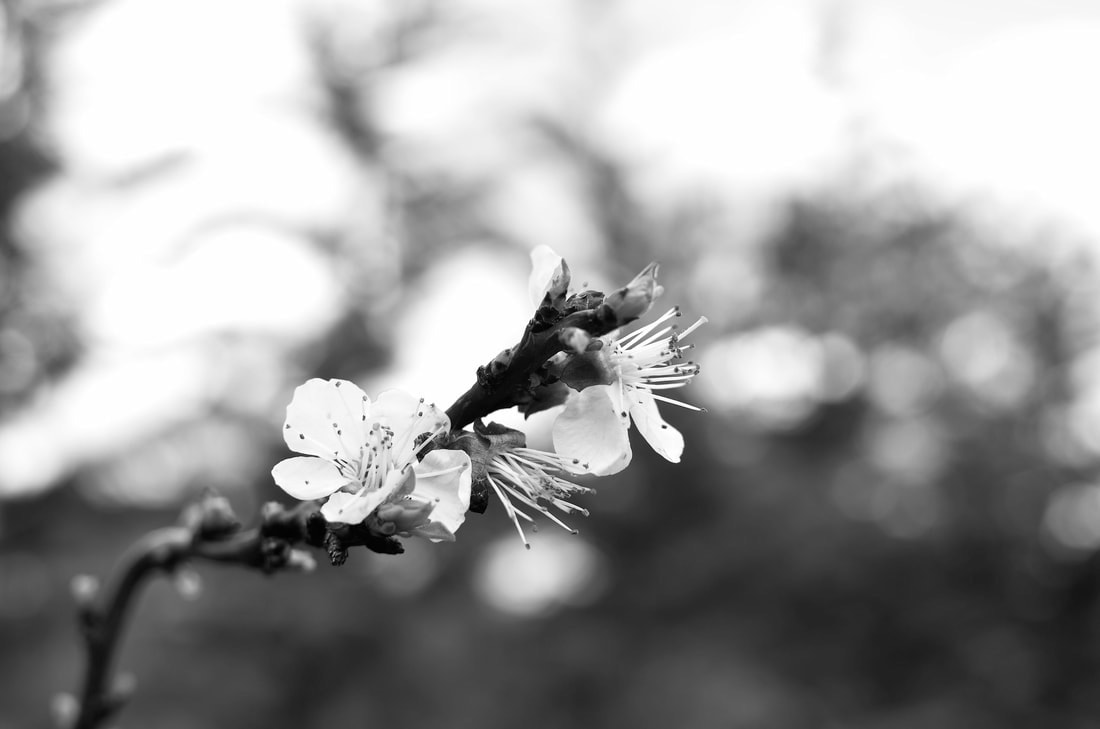
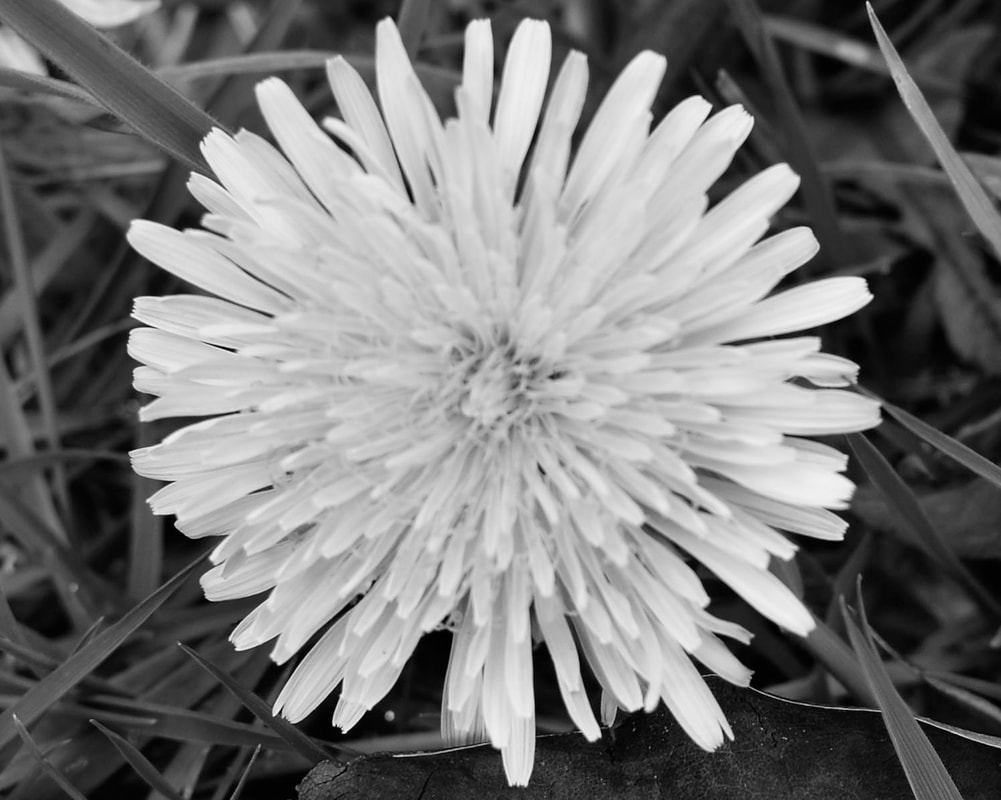
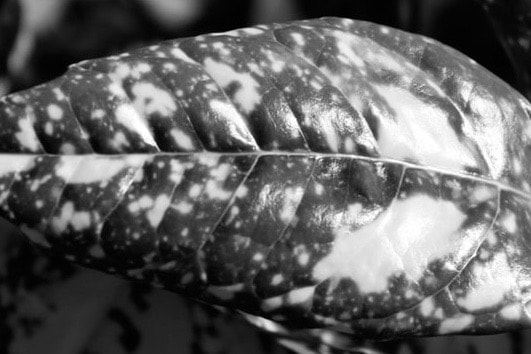
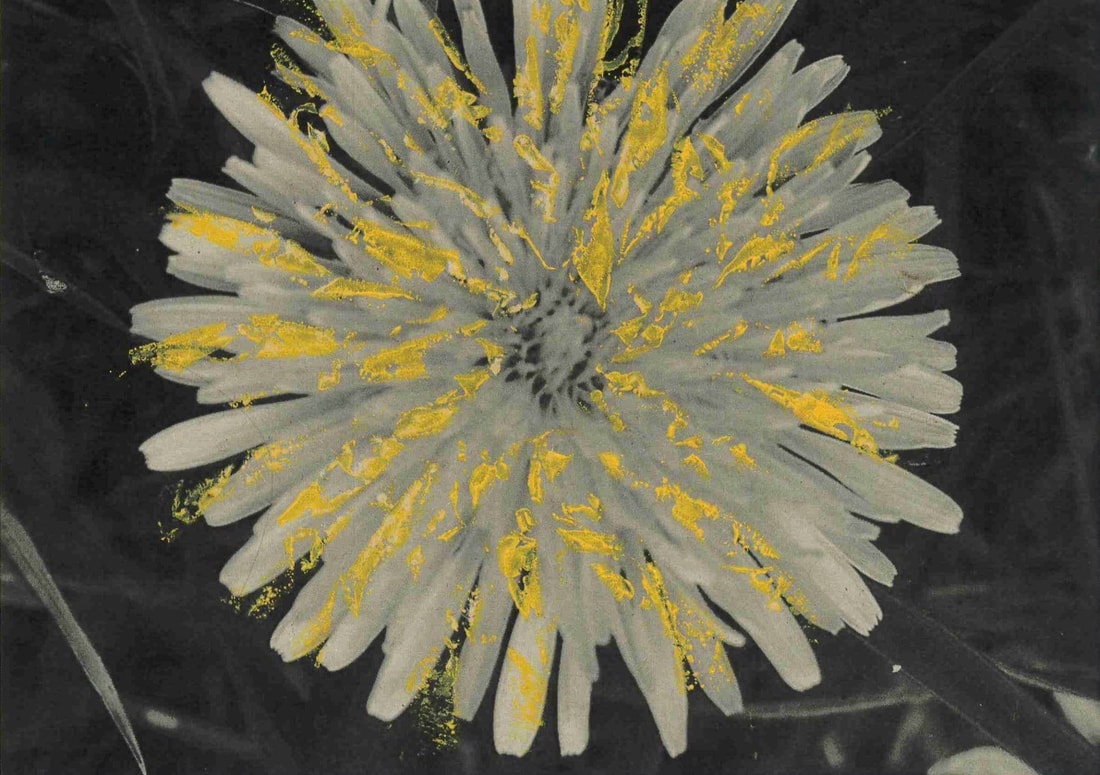
My initial aim to create a response to Sonya, is to focus on the texture of organic plants and natural subject matters, what I had in mind involved part of the bodies (birthmarks, scars), or objects that appear in their natural stance.
My initial aim to create a response to Sonya, is to focus on the texture of organic plants and natural subject matters, what I had in mind involved part of the bodies (birthmarks, scars), or objects that appear in their natural stance.
MY RESPONSE

EVALUATION
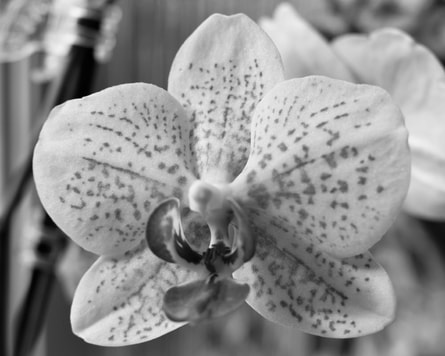
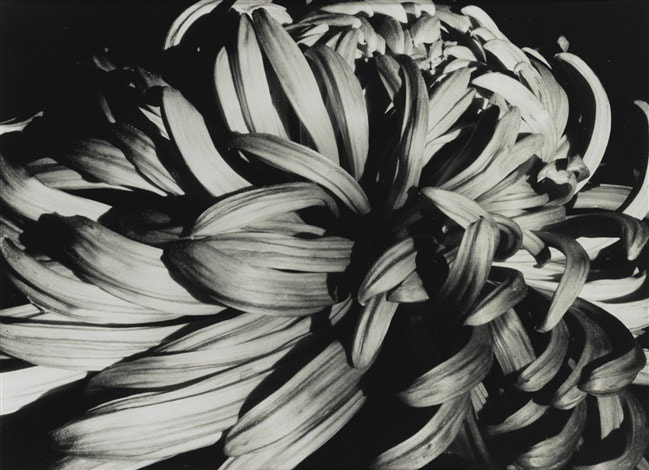
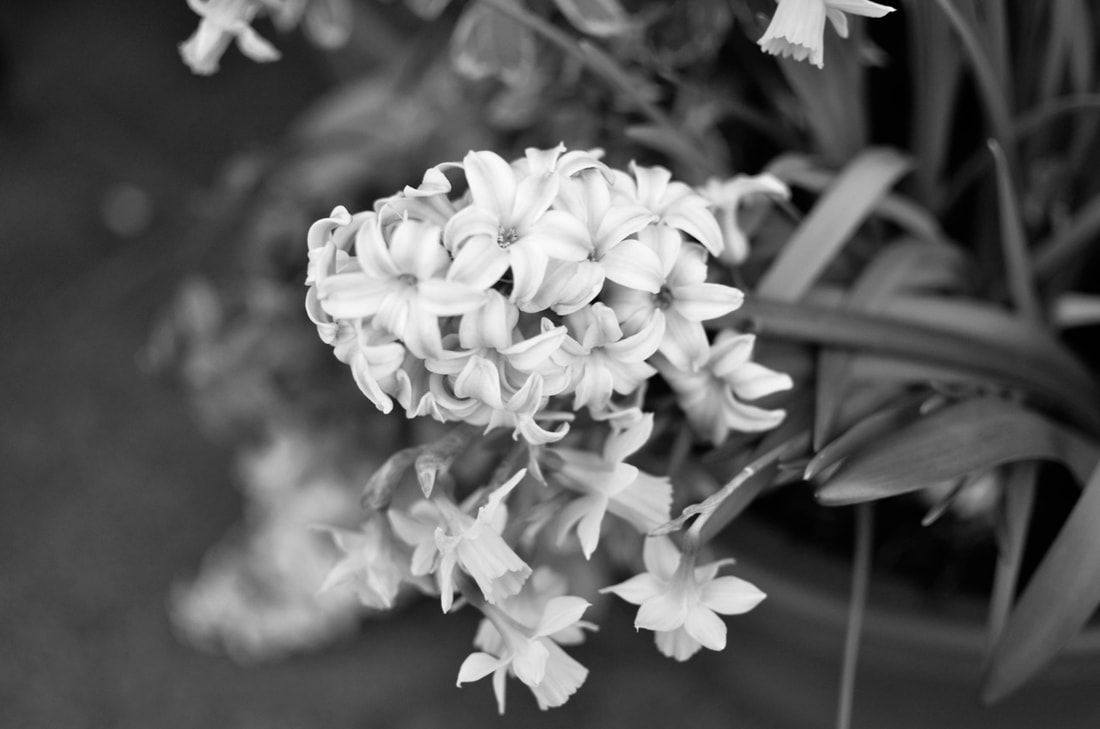
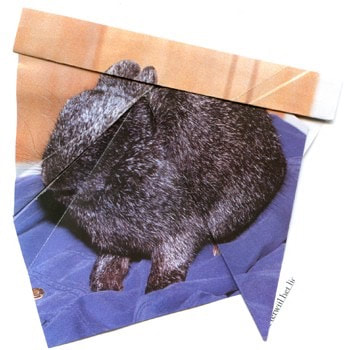
I think these two images were most successful. The flower captures the details distinctively and I like the centred composition of the flowers as it had a busy background I cropped the original image. This is so that it appeared close-up similar to Sonya Noskowiak's photograph. My initial idea was to capture parts of the body or scars/moles we may have and the photograph on right satisfied my initial aims. You can clearly see the subject matter of the ear alongside the small detailing of the mole and scar on the face. I like the highly contrasted effect on the subject too as it is a small part of a face, I am able to concentrate and appreciate the details.
|

|
JUDITH TURNER
(1939-2013)
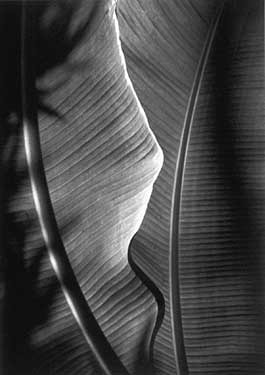
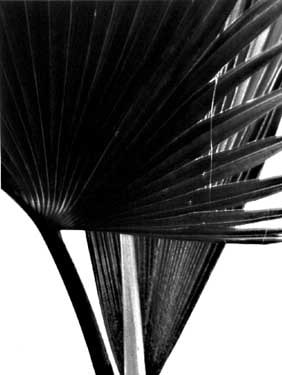
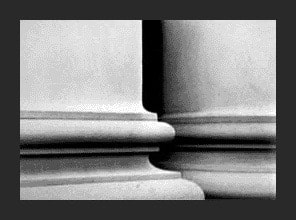
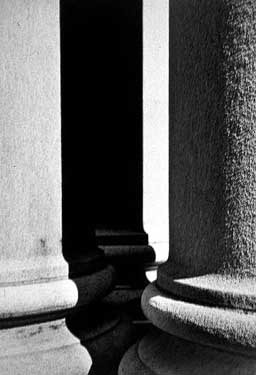
Judith turner is a NYC photographer. Turner photographs elements of architecture and nature. Viewing the textural/ detailed qualities within Turner's photographs make me look very carefully to comprehend the subject matter as a whole by visioning whats beyond the framing; the images are in black and white which makes me focus on the photographs intensively, the website www.photoarts.com stated: 'when we feel we have the complete image once more, it draws us back inside, to again trace the smallest elements of form', I agree that I am affected this way when I first
Creating a response to Judith Turner:
My initial idea is to go to Greenwich Park and photograph sections of the architecture such as the columns or of houses, specifically the walls.
My initial idea is to go to Greenwich Park and photograph sections of the architecture such as the columns or of houses, specifically the walls.
MY RESPONSE
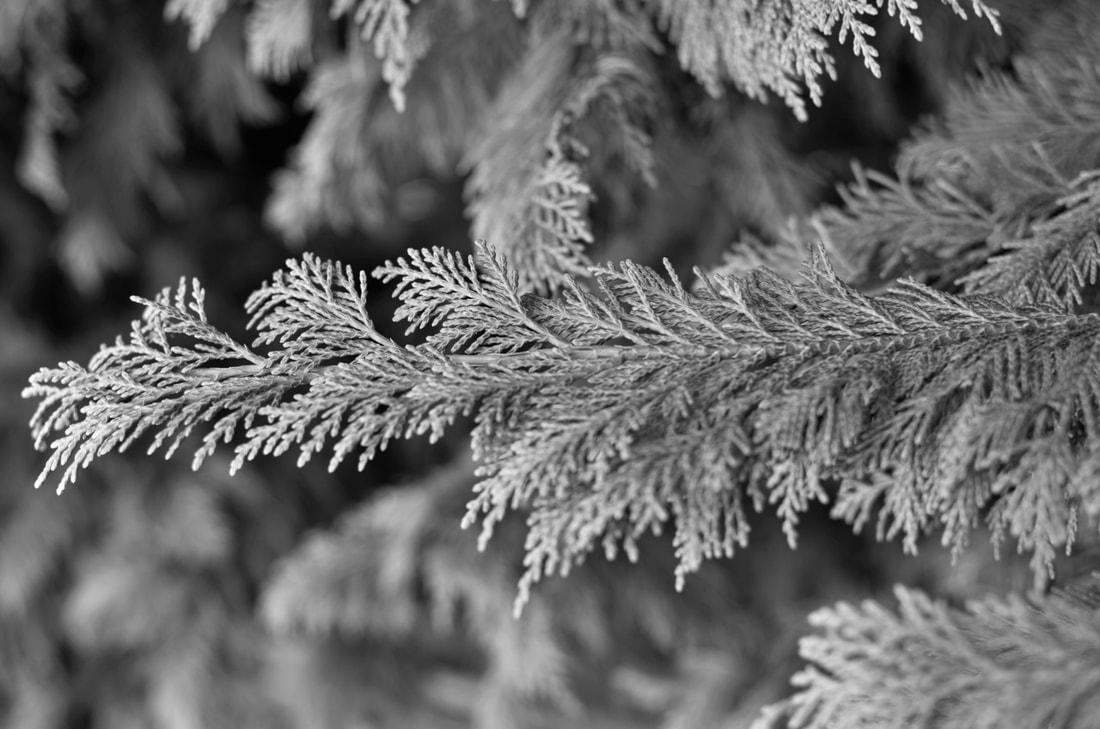
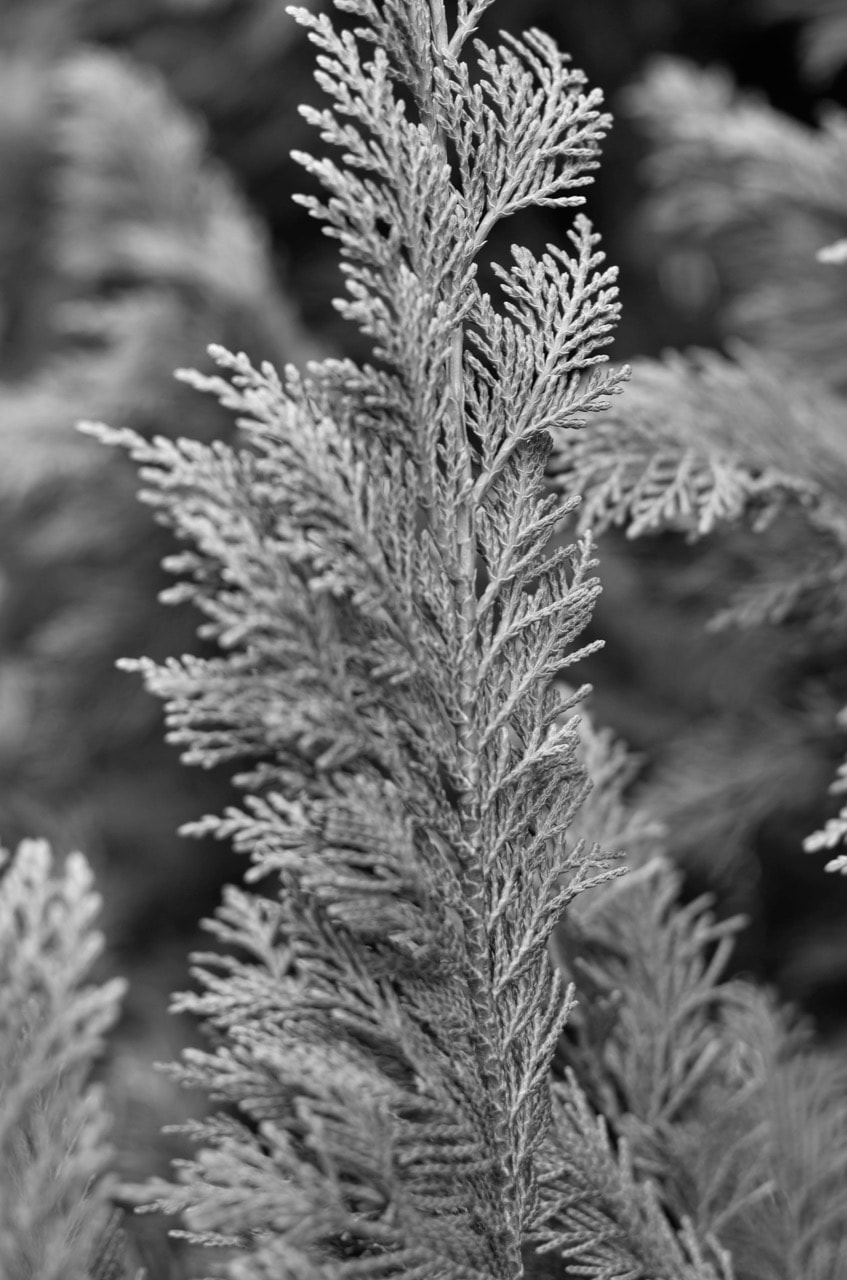
While investigating Judith Turner and Sonya Noskowiak I found that both artists style of work are similar because they use the same subject matter of close ups of the plant leaves. Furthermore, both artist images predominantly contain a highly contrasted black and white tone in the photographs.
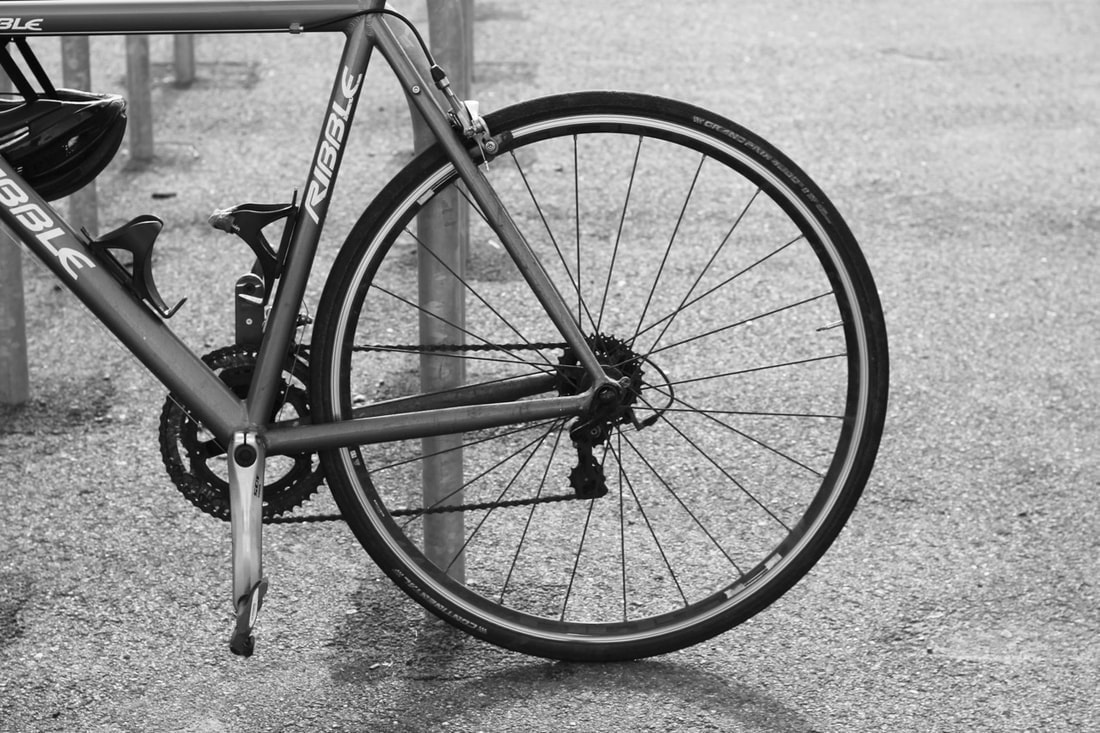
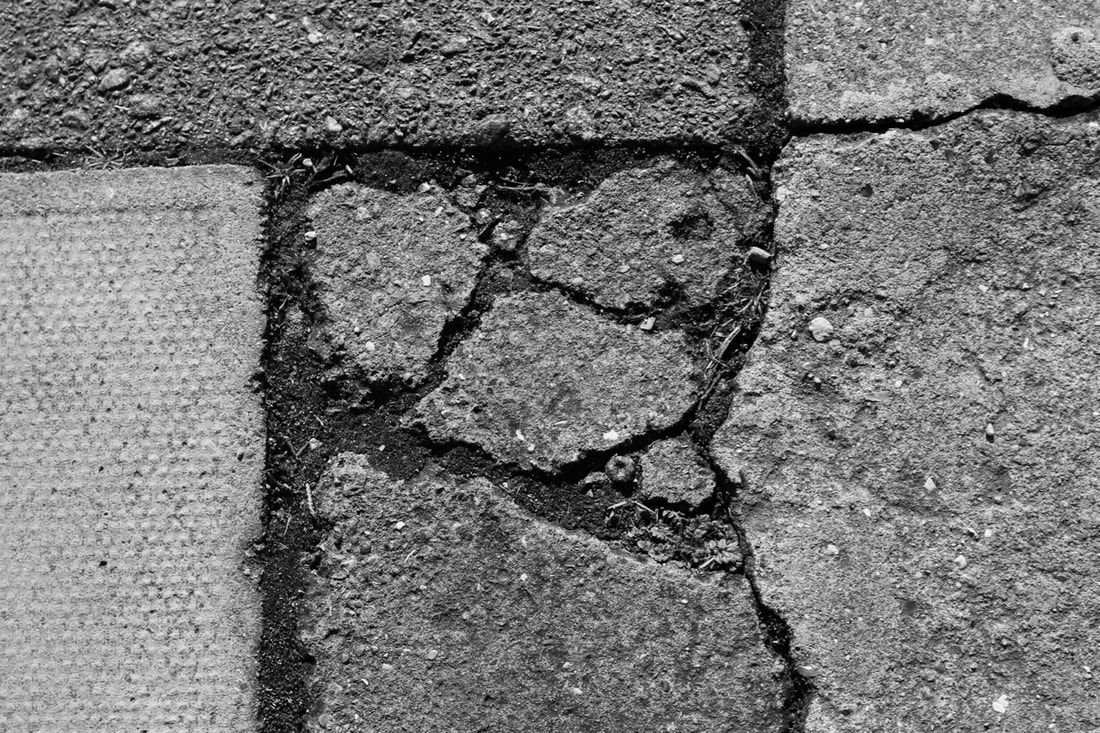
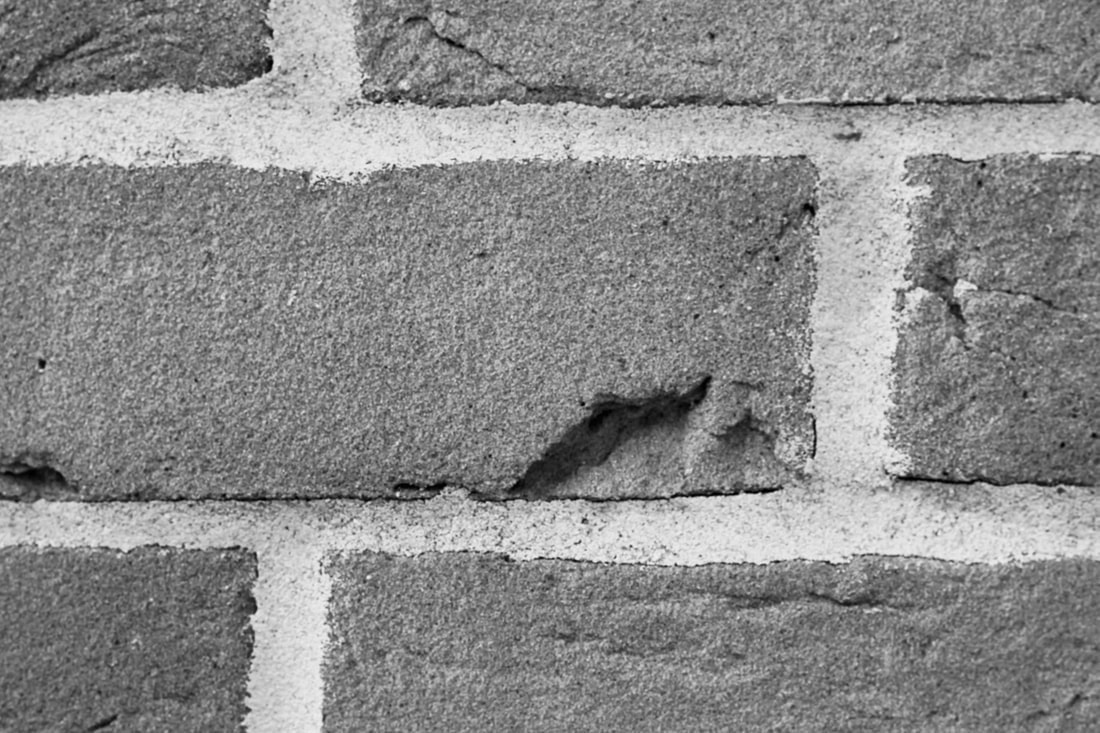
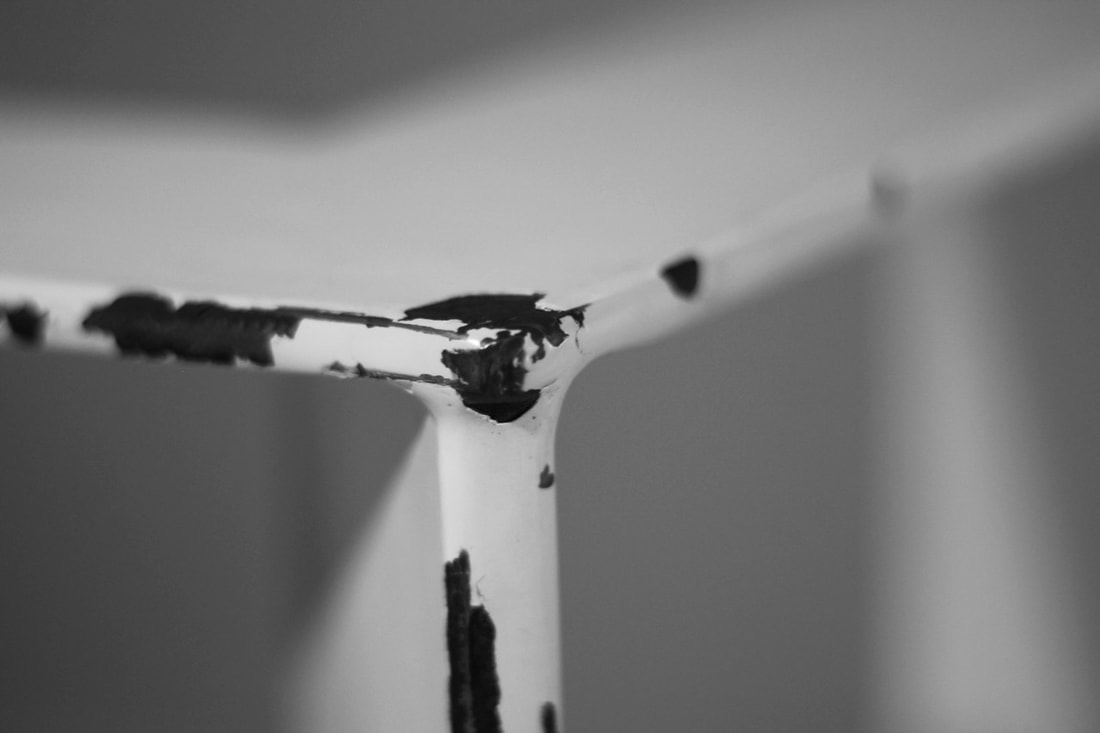
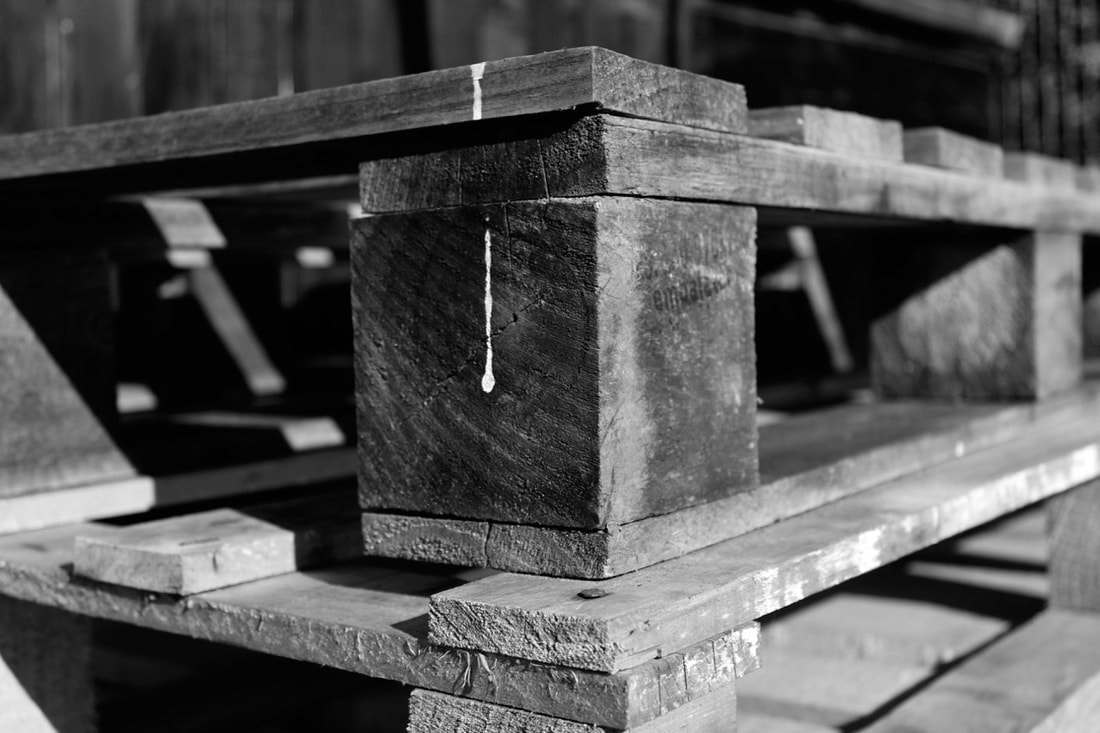
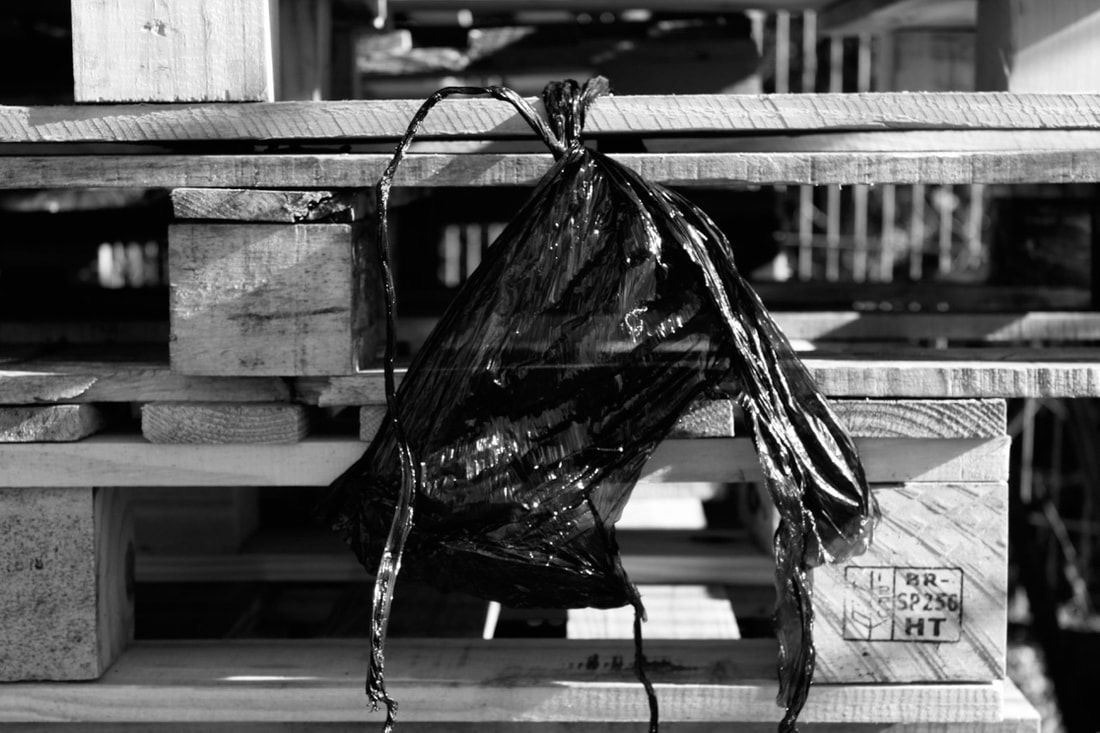
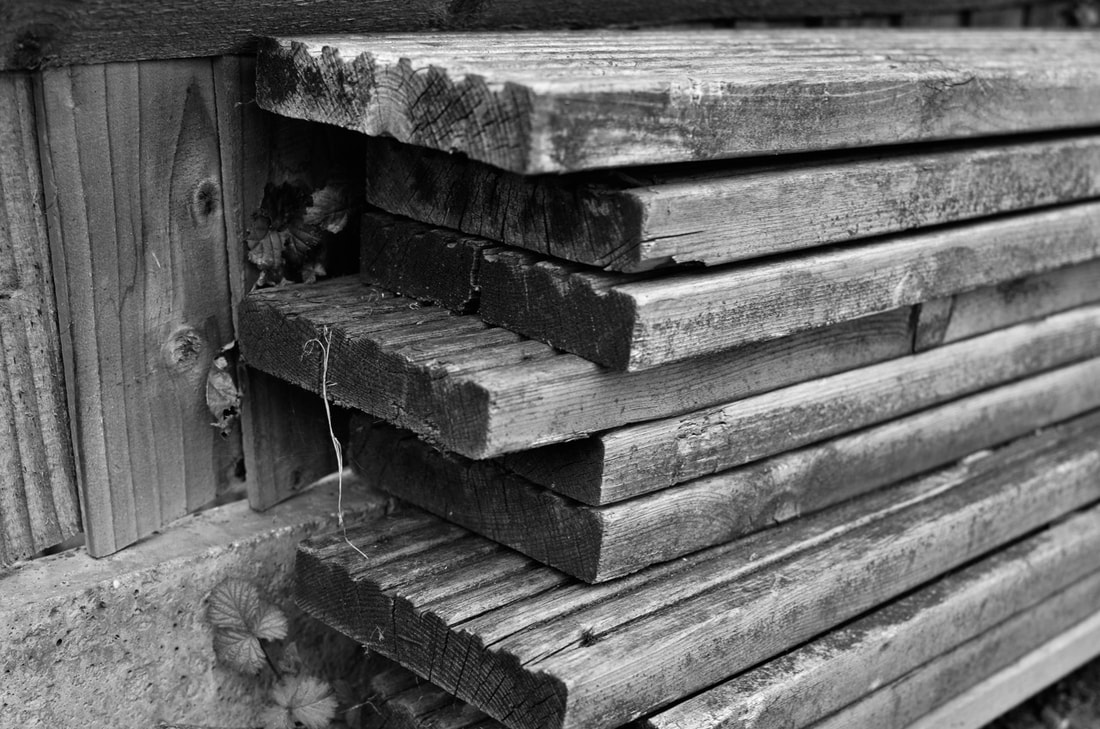
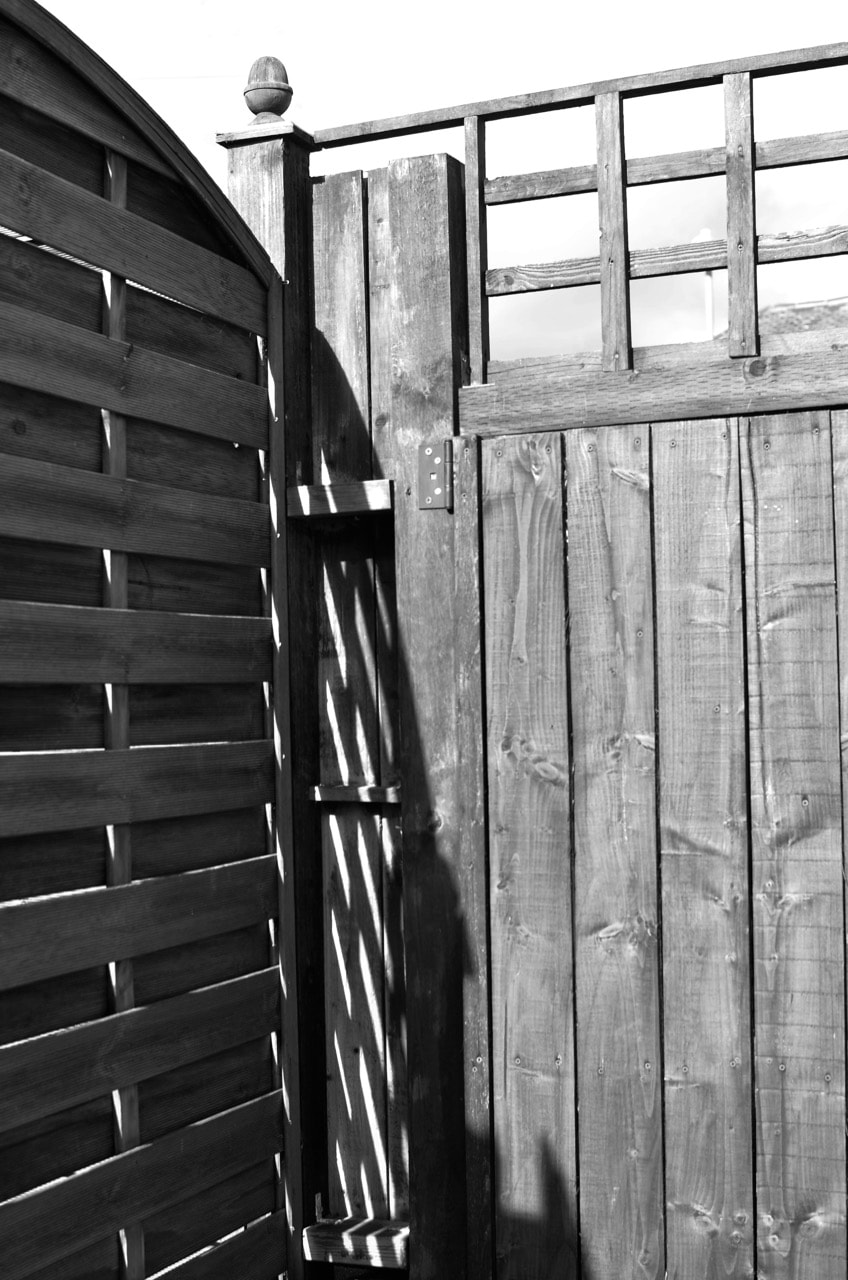
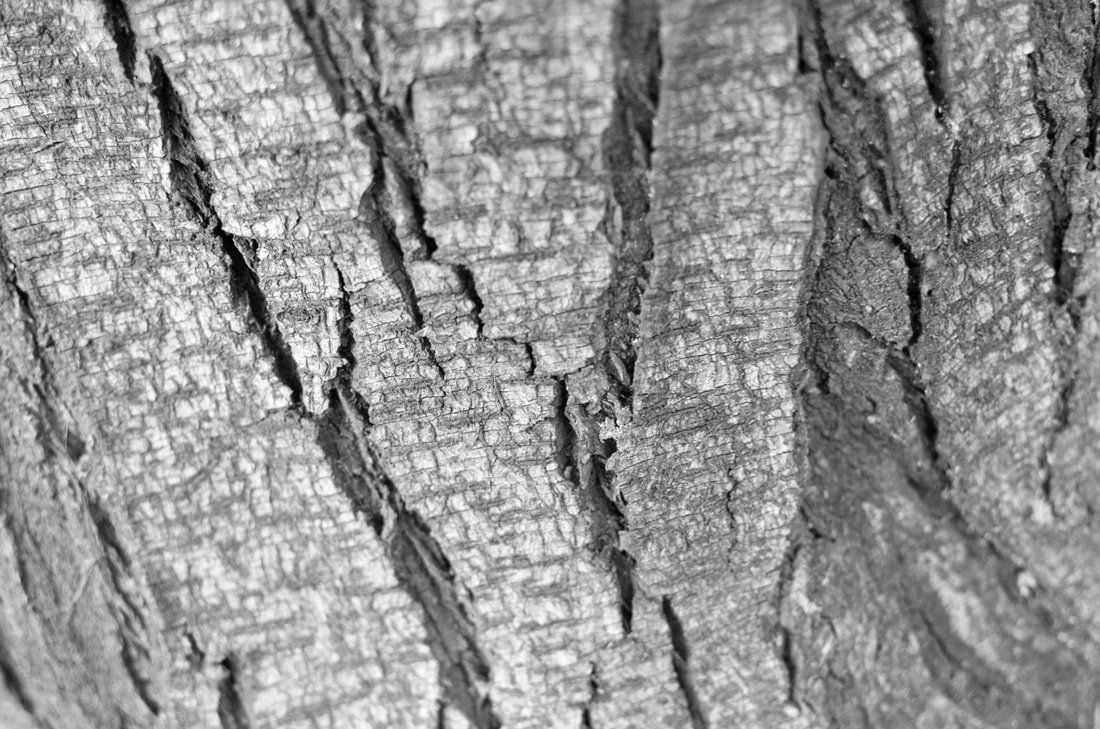
However, Judith Turner's work includes man-made structures such as parts of columns which was different to my previous response. This influenced me to photograph intensely and close up to brick walls and other objects outdoor that I thought contained an interesting texture. I experimented with the aperture to create shallow depth of field when I go up close to an object to capture individual sections and to capture the intense details of wood and bricks.
I was not very intrigued and inspired by these photos which I could create refined ideas from. Therefore, I will continue to research another artist to gain more inspirations.
PATRICK CAULFIELD
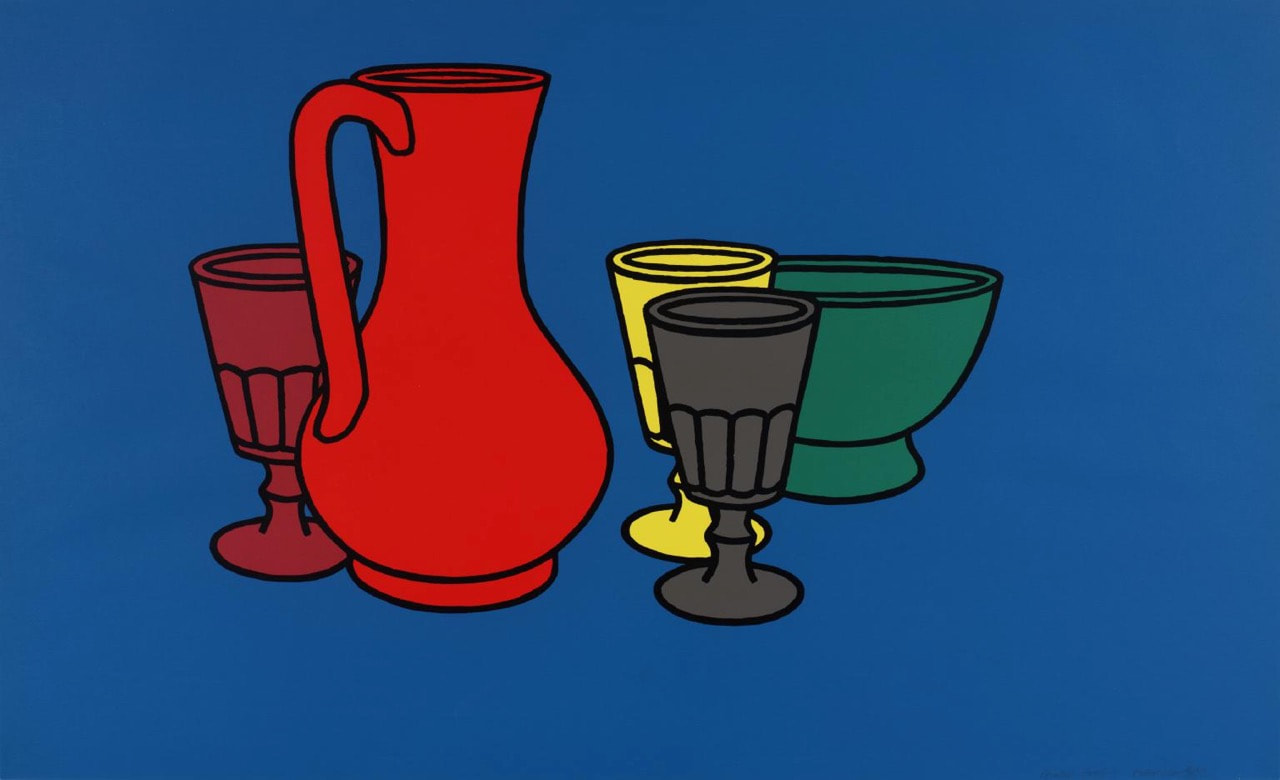
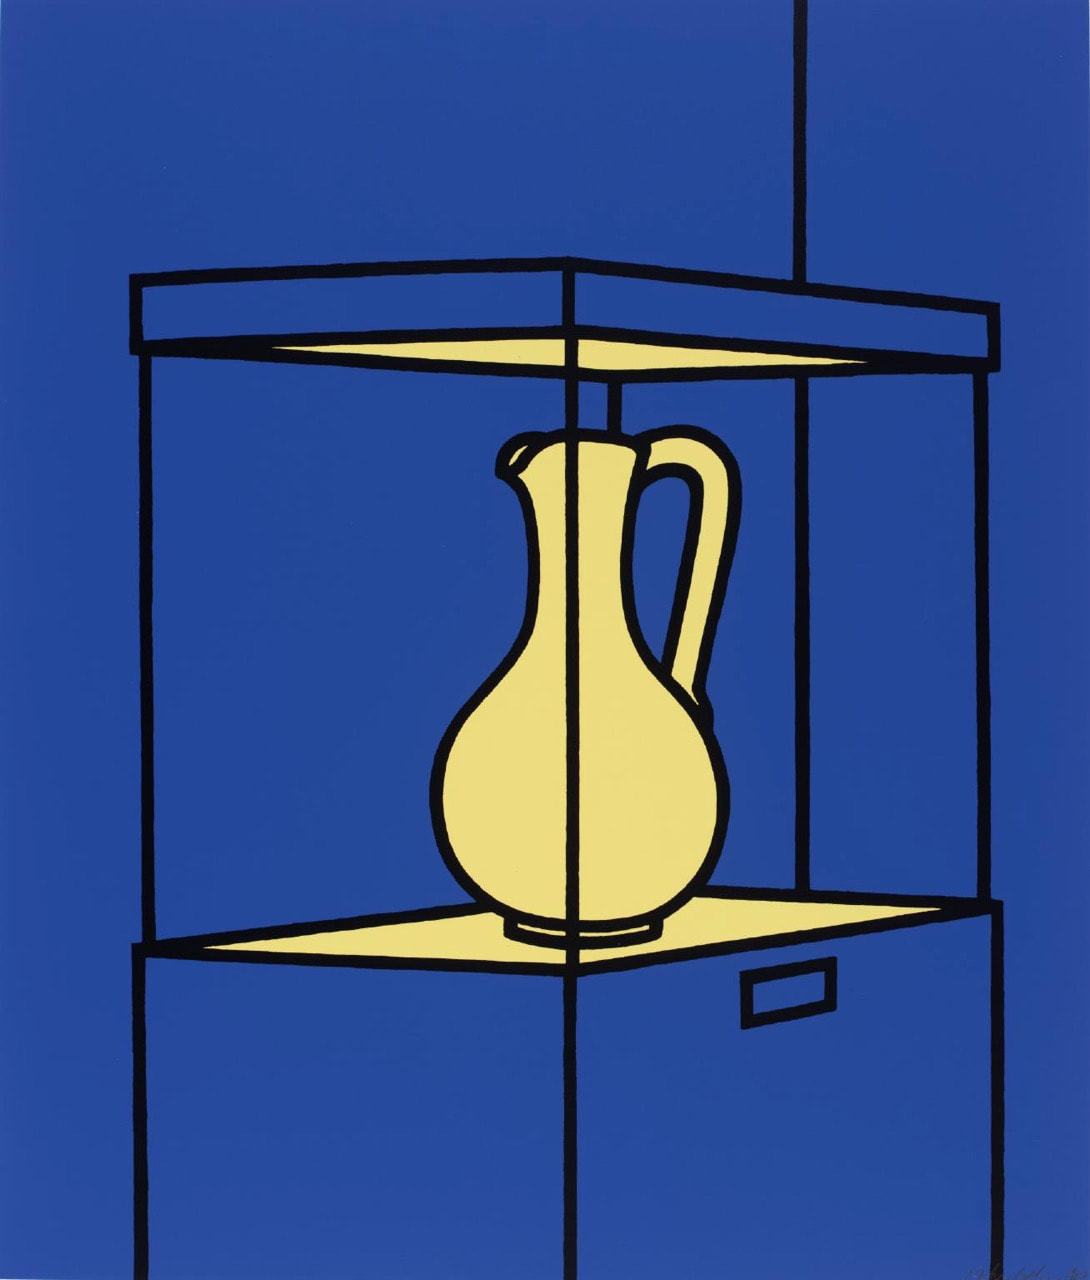
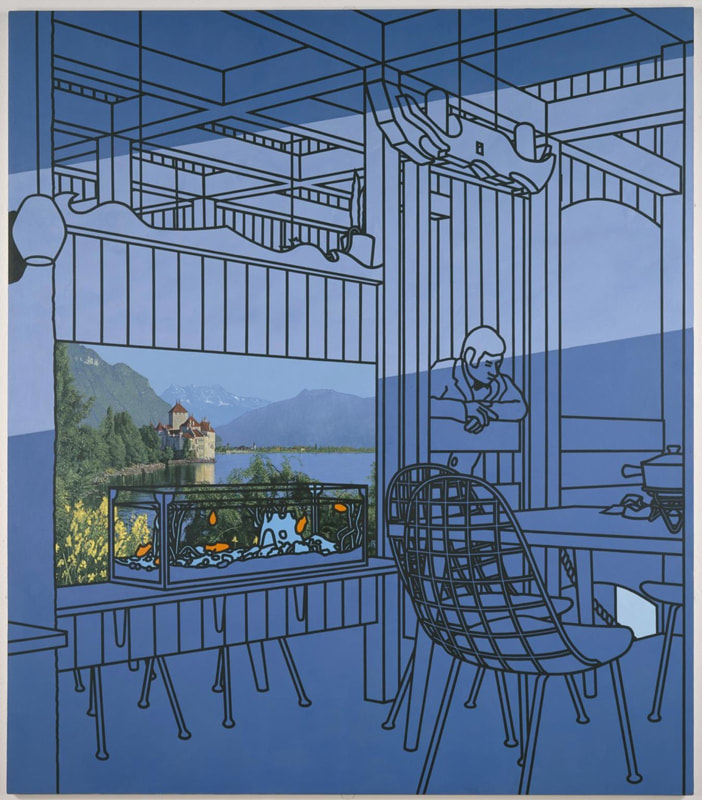
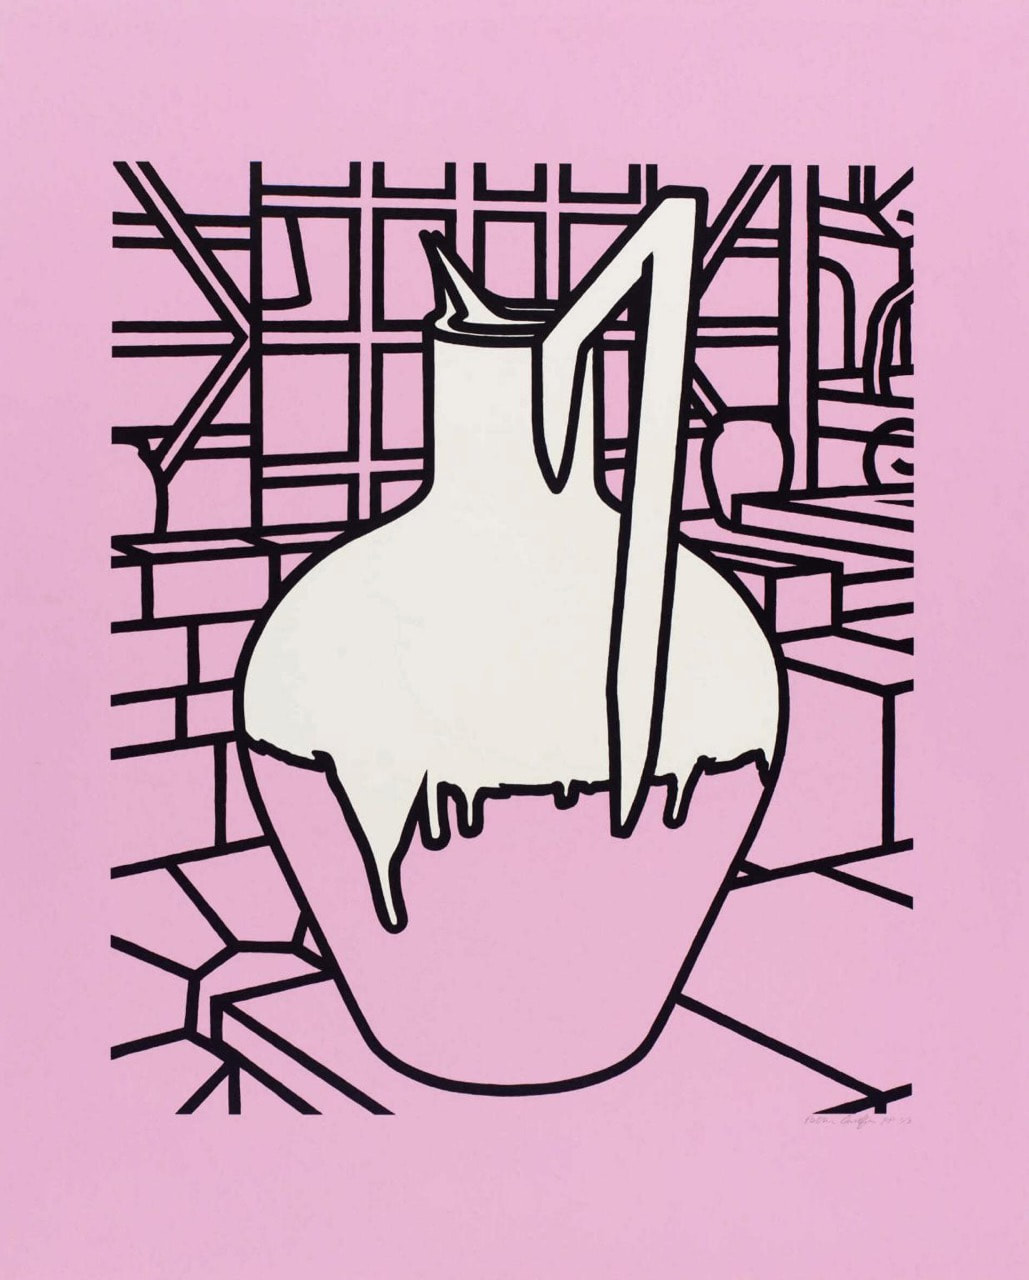
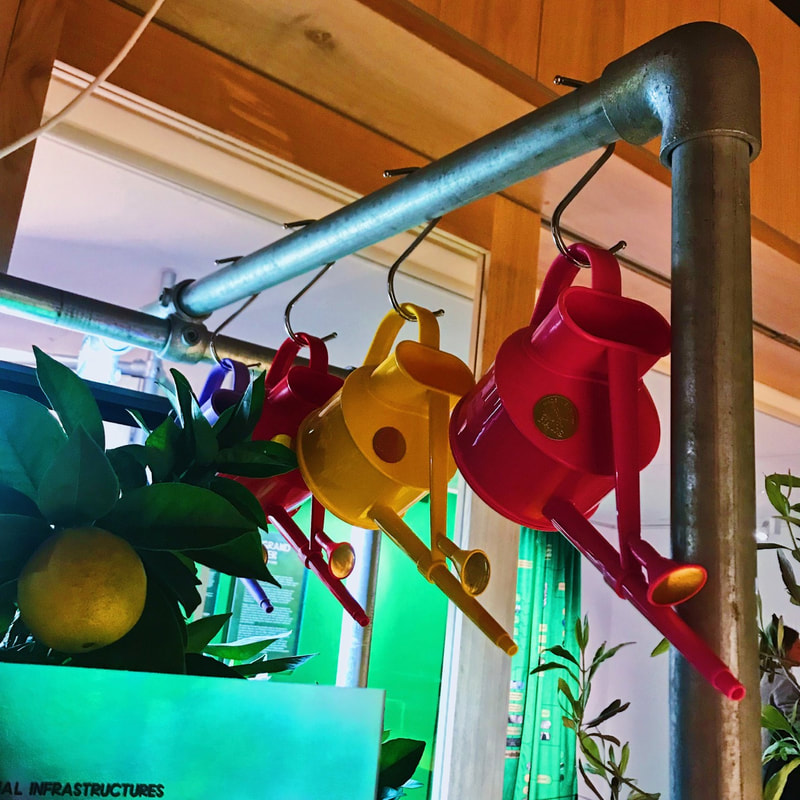
Patrick Joseph Caulfield was an English painter and printmaker. His paintings appear very bold and incorporates 'elements of photo-realism within a pared-down scene'. This suggests he restricts what he paints on the canvas by selecting a specific subject/space and isolate the excess area of the overall scene. Caulfield's use of block colours and thick black outlines had become his signature style of work. I think that his work manipulates with the viewers perspective as he turns a realistic 3D setting into a 2D painting, which suggests he is flattening sections of a realistic scene onto a canvas - I think that this links to the theme Parts and sections because of the subject matters within Caulfield's paintings; he includes close up of objects or sections of the frame fully painted in various colours while the background contains one block colour.
Overall, I quite like Caulfield's work because it is very clear it is different to the black and white photographers I investigated above. I am captivated by the use of vibrant colours and think that the black lines enhance the overall painting because it appears to increase the clarity of the subject matter, which helps to separate it from the background.
Overall, I quite like Caulfield's work because it is very clear it is different to the black and white photographers I investigated above. I am captivated by the use of vibrant colours and think that the black lines enhance the overall painting because it appears to increase the clarity of the subject matter, which helps to separate it from the background.
MY RESPONSE
|
Here I chose a photograph I had taken at the Design Museum. The reason why I chose this was because of the vibrant colours from the objects within the image and thought it would work well when I increase the saturation.
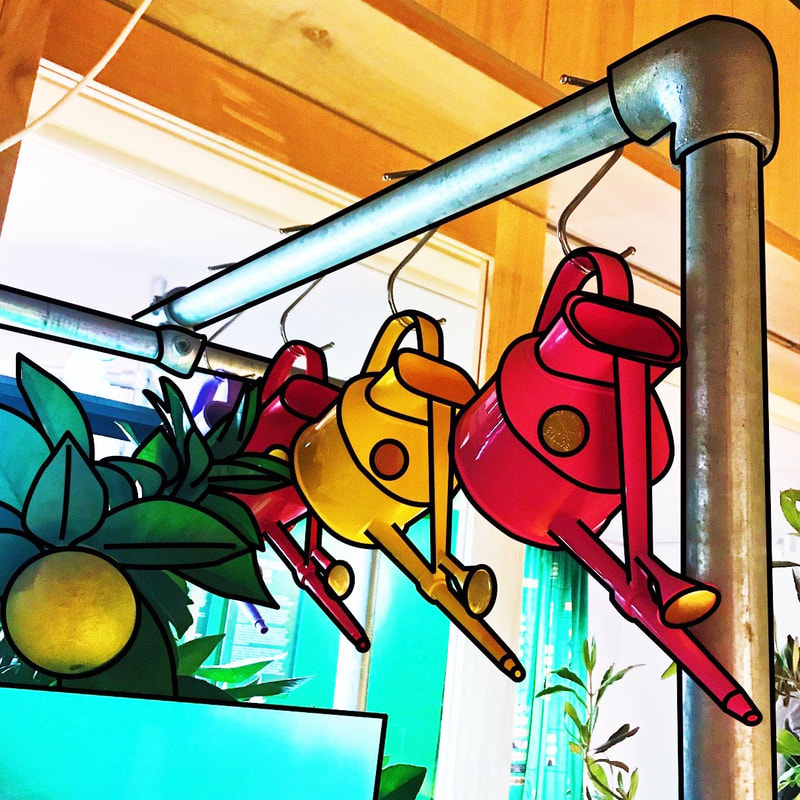
I attempted to use Caulfield's style of work with the thick black lines around the subject matter. Using Adobe Illustrator I used the pen tool with no fill and a black stroke to simplify the complex objects, this is to reduce its realism. After drawing around the objects within the image, I increased the stroke to around 3-5 pt size which made me satisfied with the outcome. Lastly, I used Adobe Photoshop for final touches to adjust the image by brightening and increasing the saturation; the image appears very vibrant and it almost appears surreal because the increased saturation made the colours appear flat. |
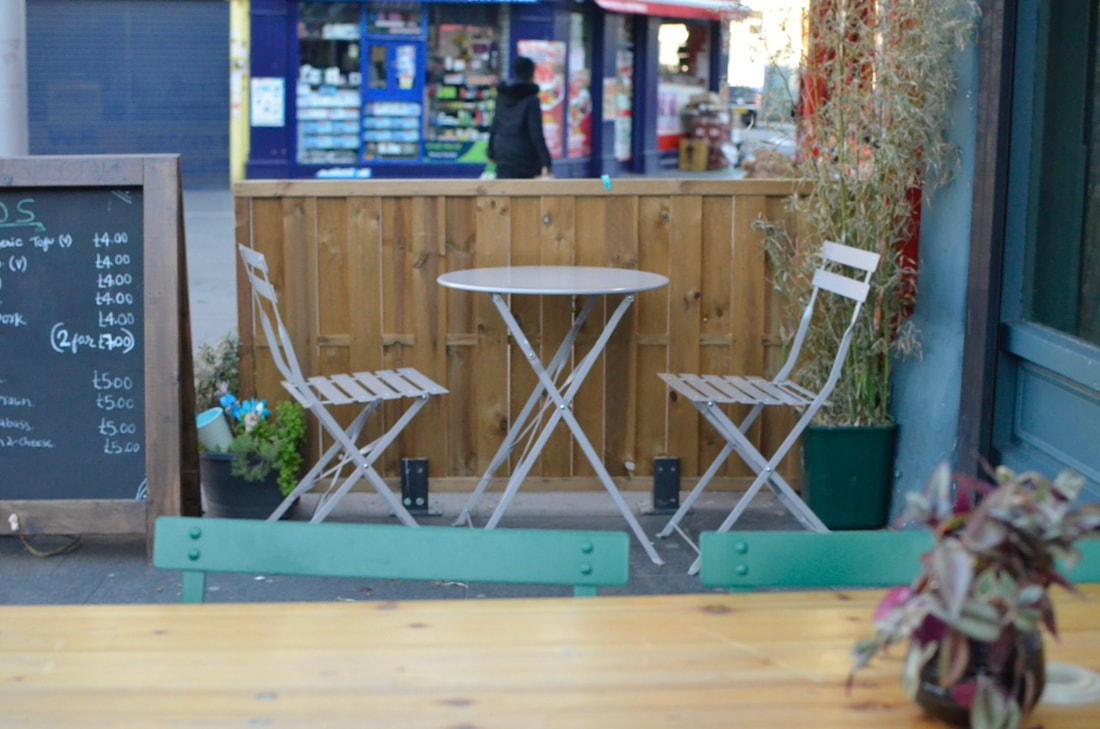
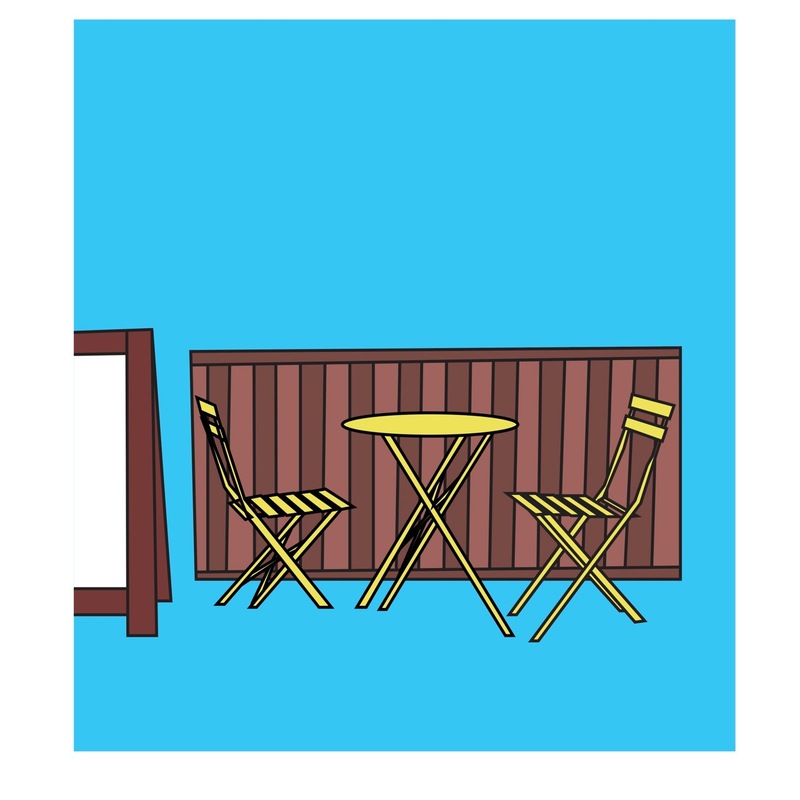
I decided to use a similar subject matter to Caulfield's paintings of furniture. I attempted to use a different style of editing by using only Adobe Illustrator for this edit. I used my own photograph as reference and outlined the subjects I wanted to include. I found it slightly difficult with the chairs and table as the pen tool had squared edges, when it overlapped lines it would cross over it and appear as one smooth chair; I resolved this by changing the edge to a rounded one. Moreover, I think that the photograph I used was unsuitable for this because the background was quite busy so I could not outline the details so I ended up leaving it blank. However, I think this outcome was unsuccessful due to the plain excess background because I like the wooden fence colours I picked against the furniture. Next time, I could attempt to learn how to use Adobe Photoshop to add shadow around the subject matter.
|
EVALUATION
It was an interesting editing process for my response to Caulfield's work. I have learnt how to use editing softwares further by manipulating with a photograph and turning it into a flat and surreal image. Moreover, I enjoyed manipulating the photographs therefore, I would like to have more control and experiment with the photographs by hand. I have made the decision to not continue to explore this style of work; it made me realise I want to be more tactile with the photographs and not use a heavy graphic style making the images appear artificial and surreal in a way.
CHRIS DORLEY-BROWN
'The Corners' Photobook by Chris Dorley-Brown
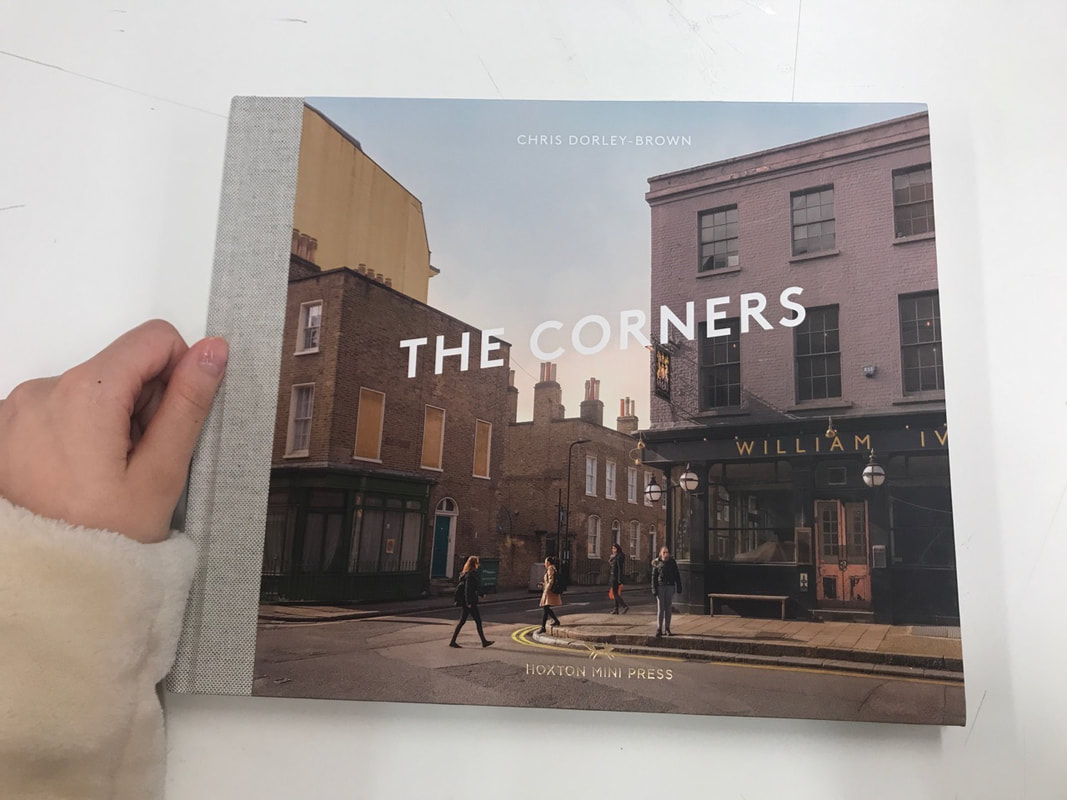

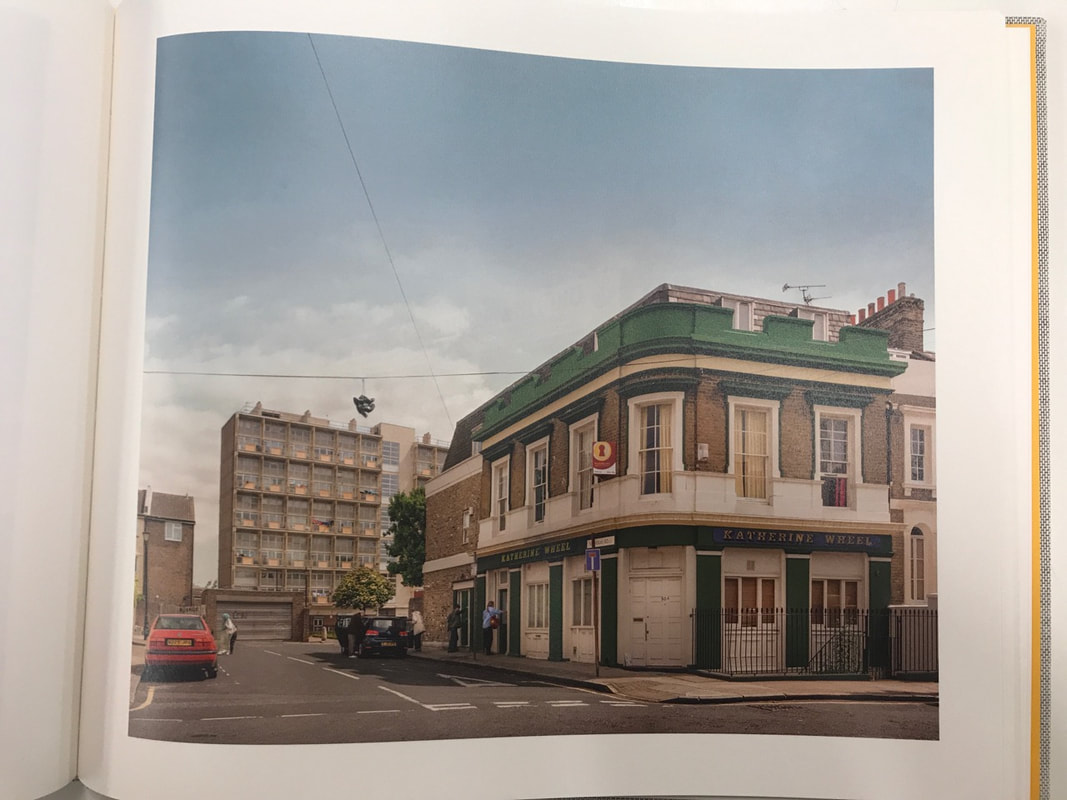
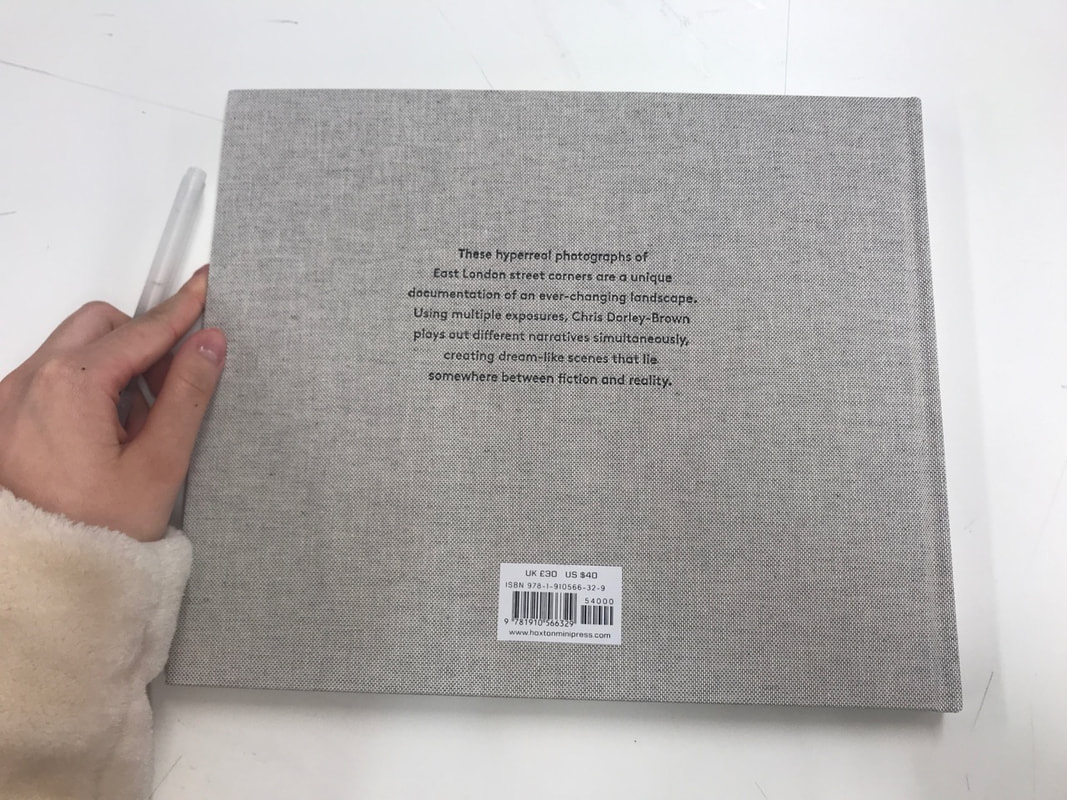
Chris Dorley-Brown is a British documentary photography and film maker, based in the East End of London. He mainly photographs in London's East End for more than 30 years; it shows new developments, run down social housing and many other street photography.
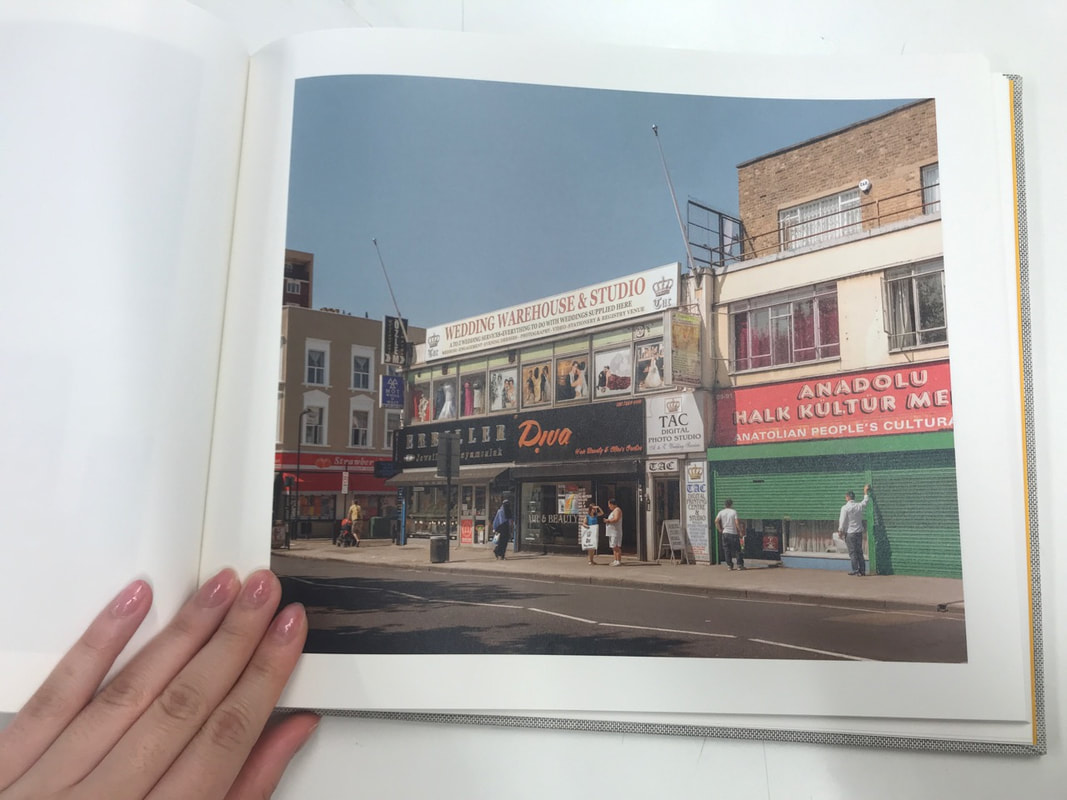
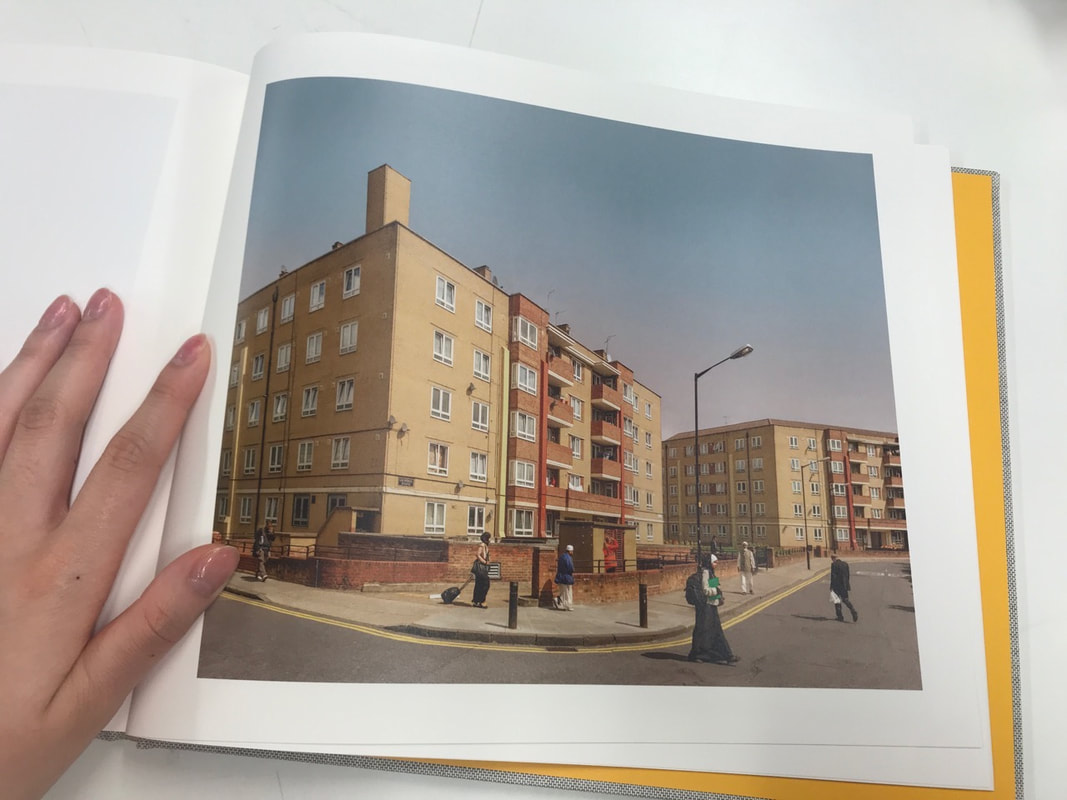
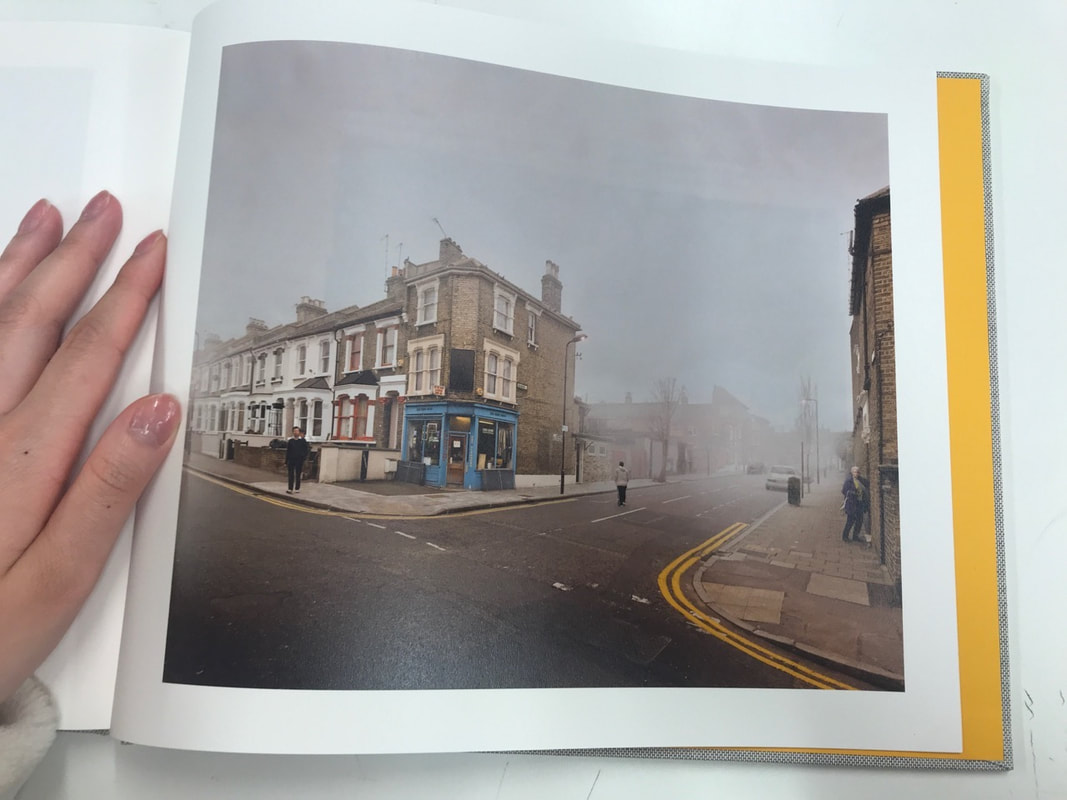
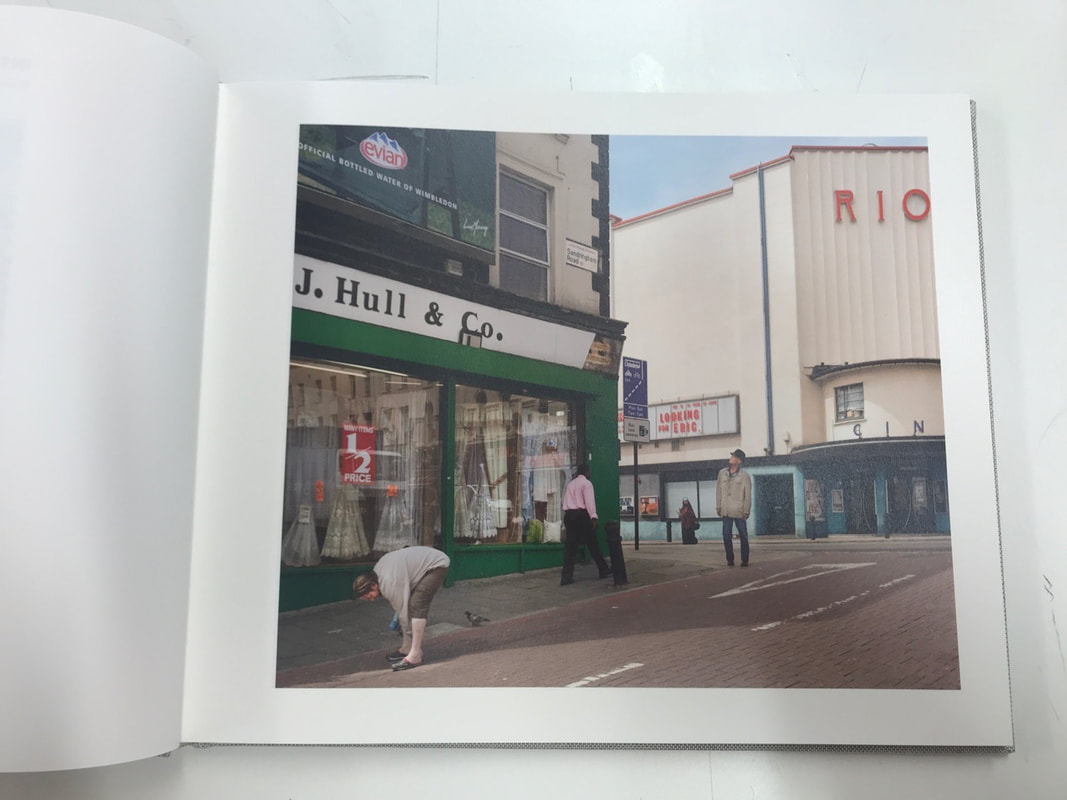
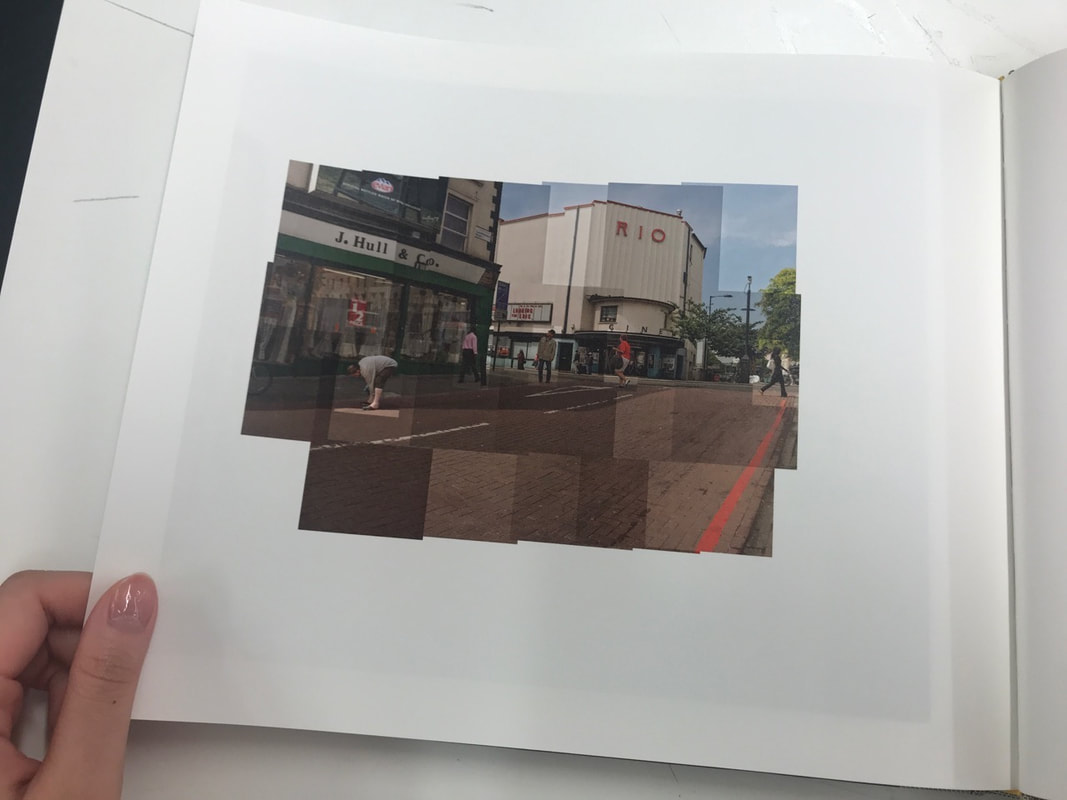
I was captivated by his 'The Corners' photobook. At first when I viewed it I was amazed at the colour of the images and without knowing the background context I viewed it as one single image. Later I learnt that the single images in the photobook were all manipulated with and contains more than one image merged together. I thought that it appeared flawless, I went through the photobook many times and looked at the images in more depth and I spotted one image revealed part of the process as the colours in the sky did not match. However, at the end of the book, Chris Dorley-Brown revealed his technique which automatically made me understand the process of how he pieced the images together.
I was captivated by his 'The Corners' photobook. At first when I viewed it I was amazed at the colour of the images and without knowing the background context I viewed it as one single image. Later I learnt that the single images in the photobook were all manipulated with and contains more than one image merged together. I thought that it appeared flawless, I went through the photobook many times and looked at the images in more depth and I spotted one image revealed part of the process as the colours in the sky did not match. However, at the end of the book, Chris Dorley-Brown revealed his technique which automatically made me understand the process of how he pieced the images together.
MY RESPONSE
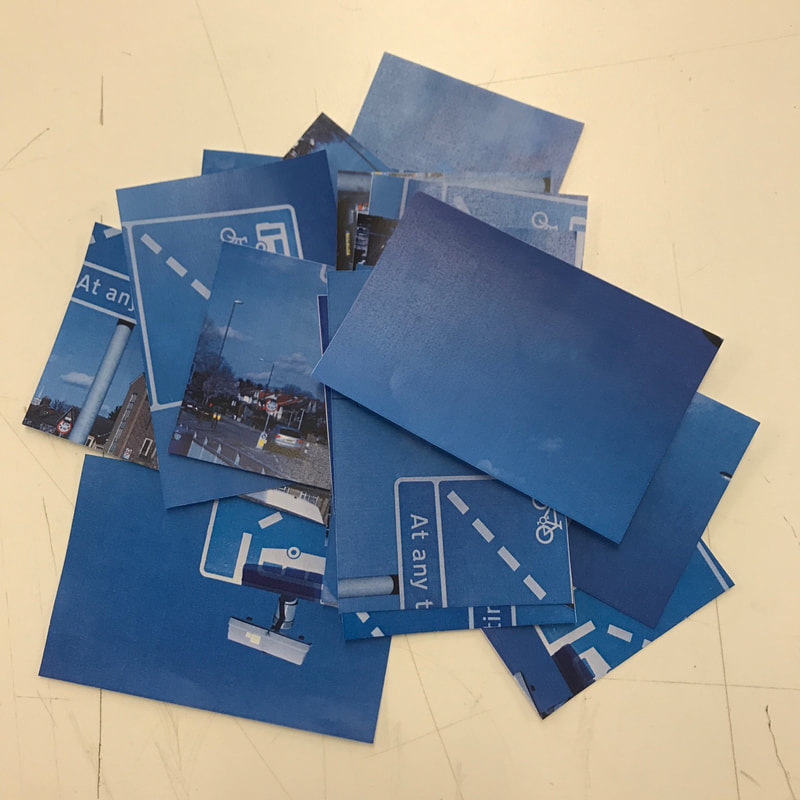
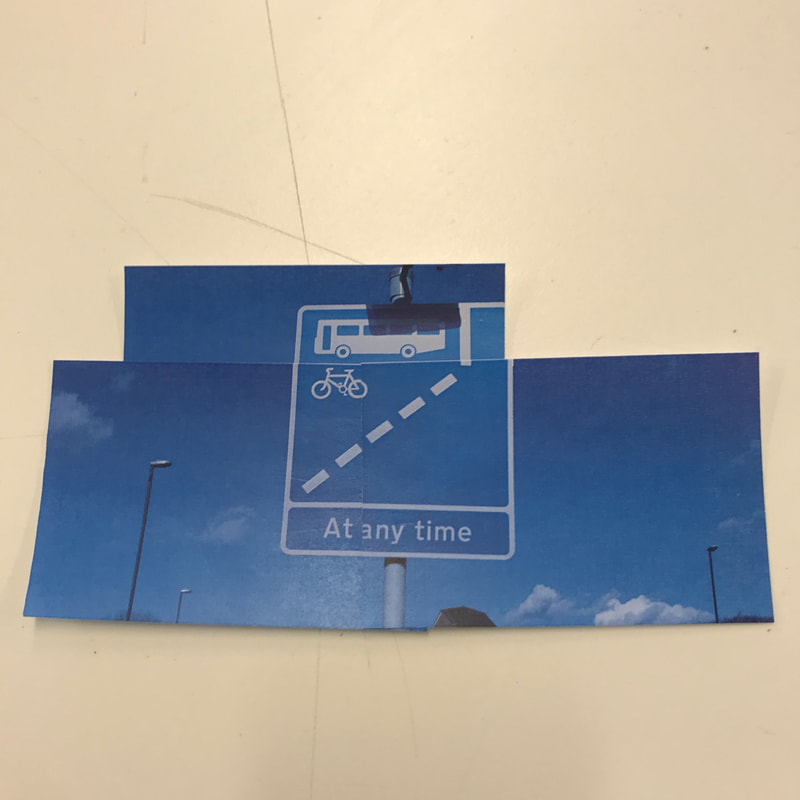
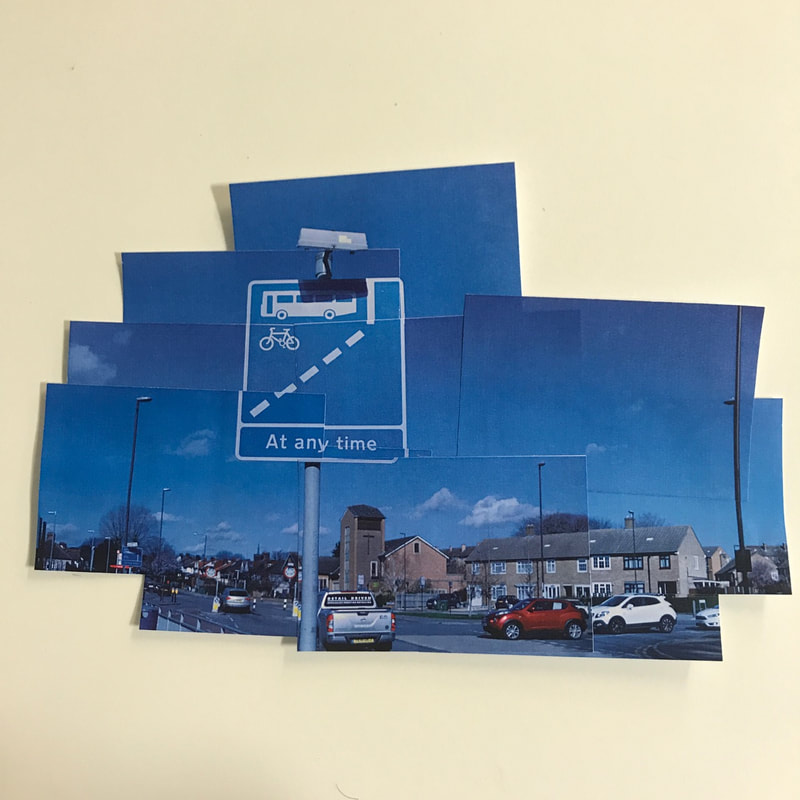
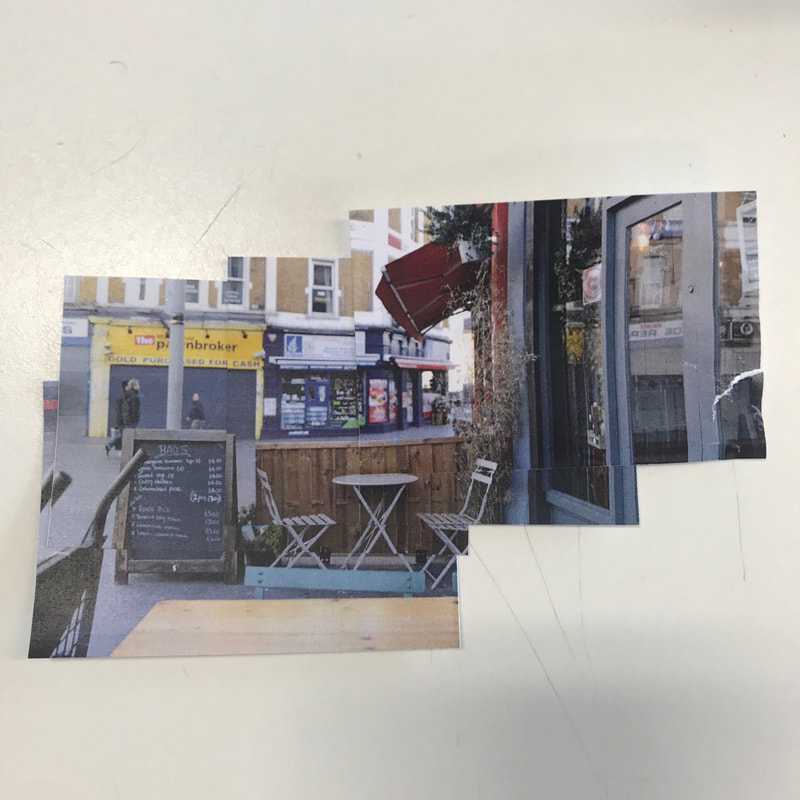
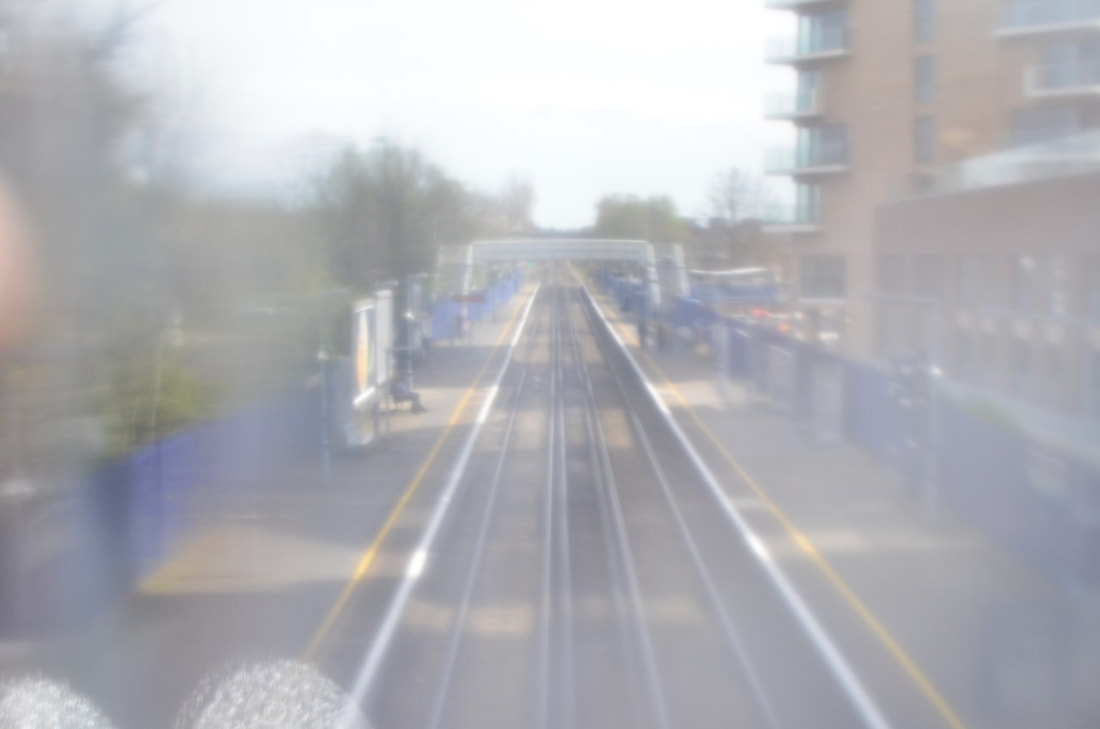
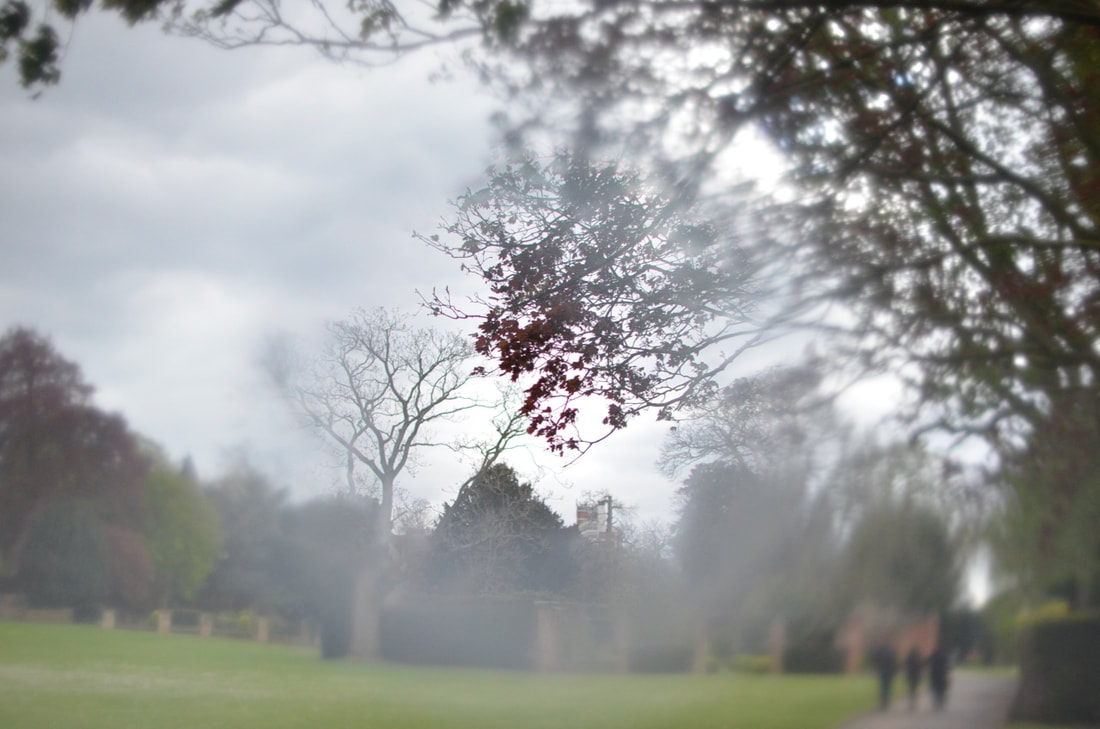
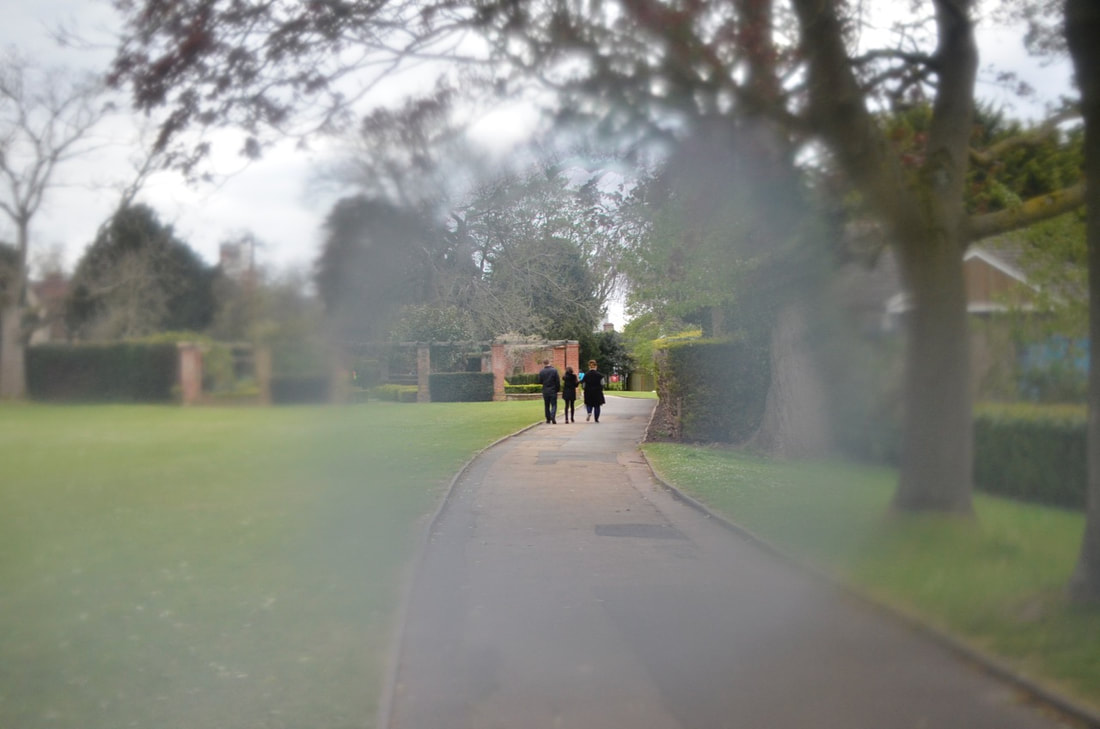
This was my first attempt using a 50mm zoom lens. I stood in one position whilst taking several landscape images; I captured one whole image in small sections with the fixed lens so that I can stick the individual sections together to create one whole piece as shown above.
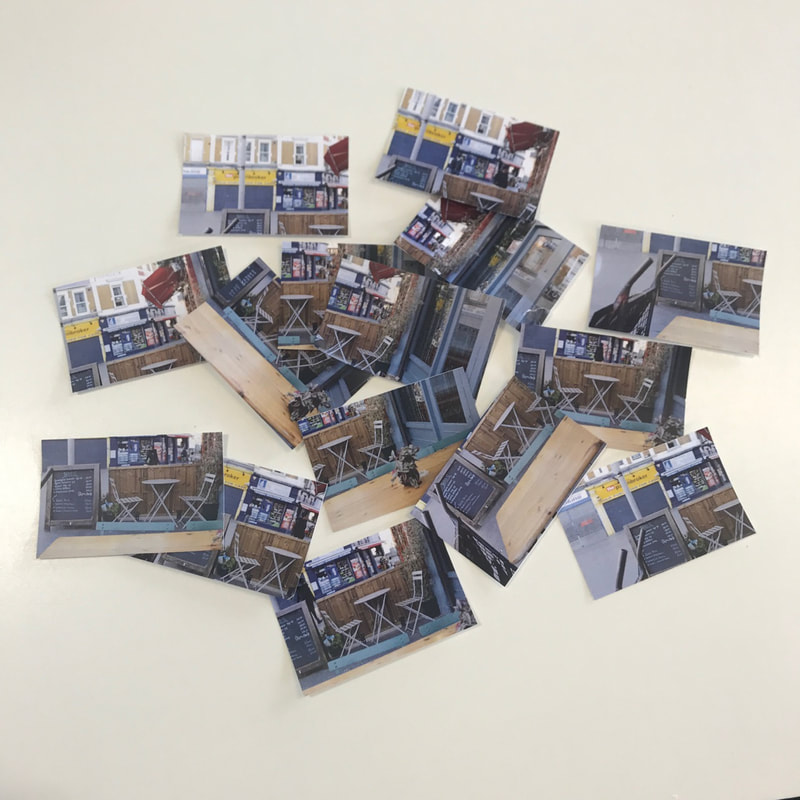
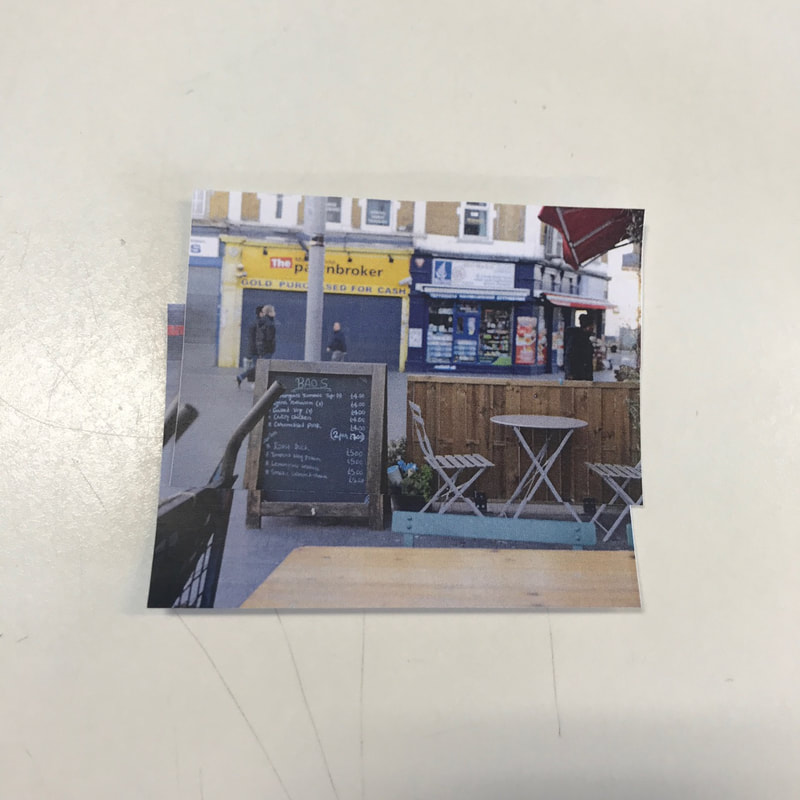
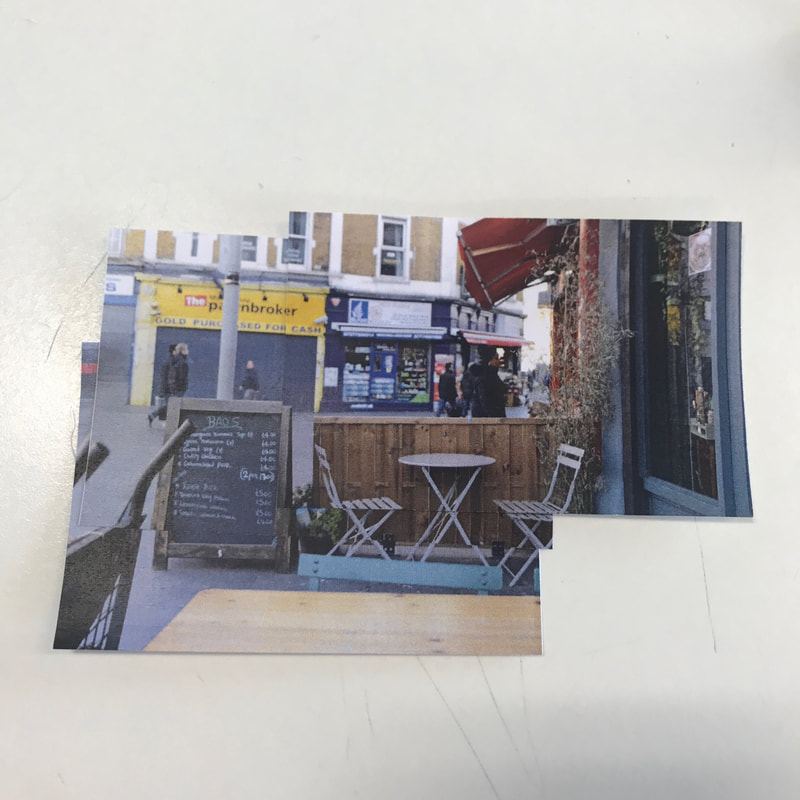

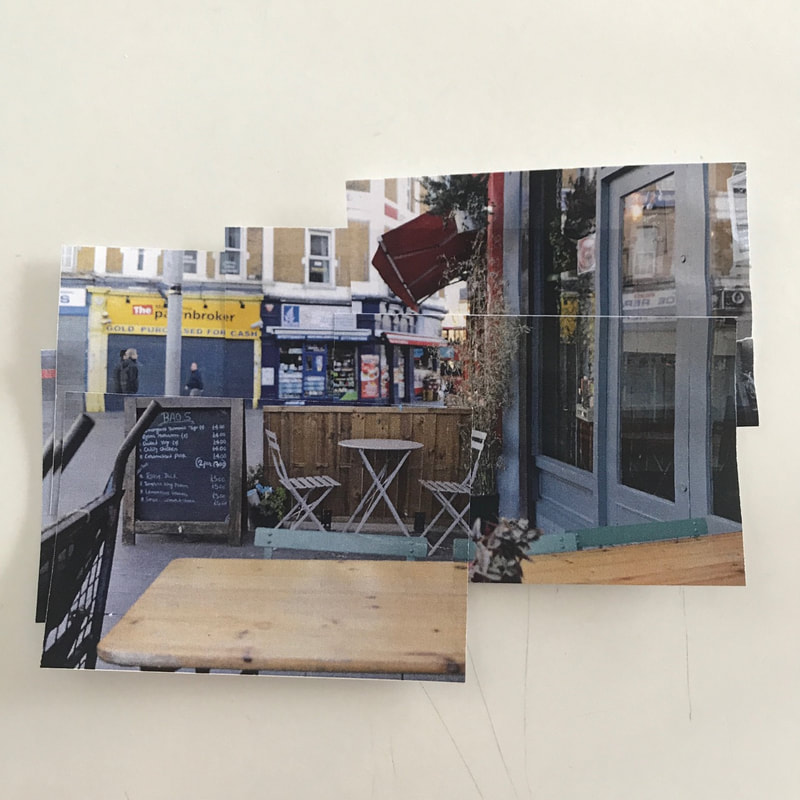
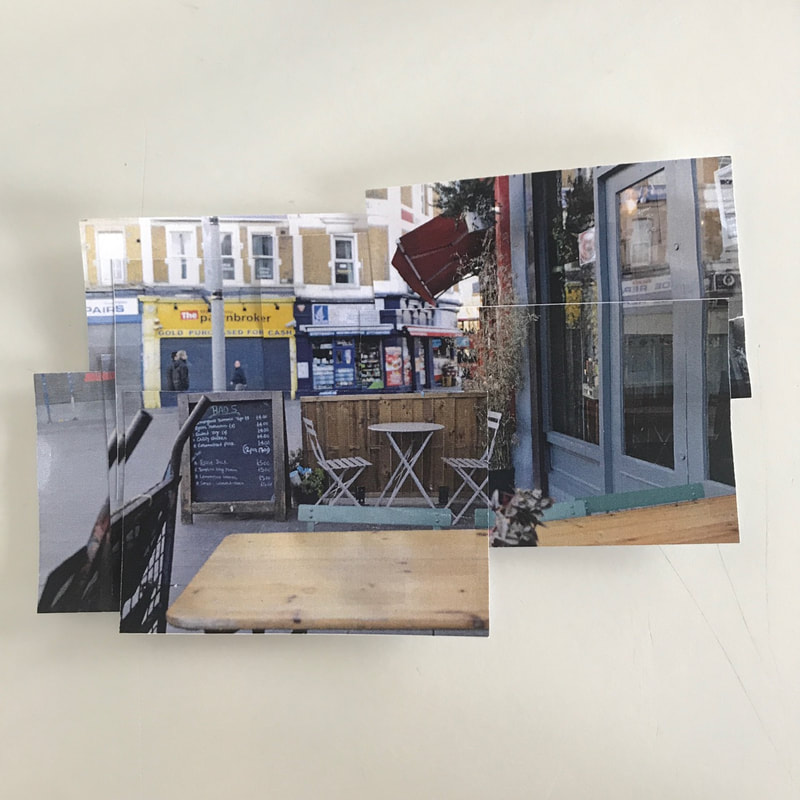
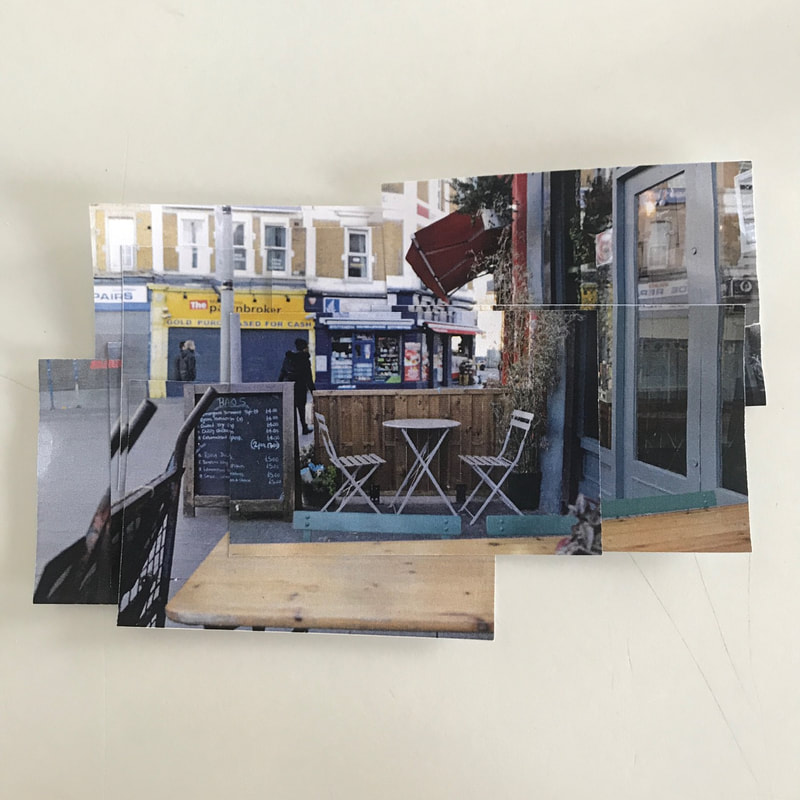
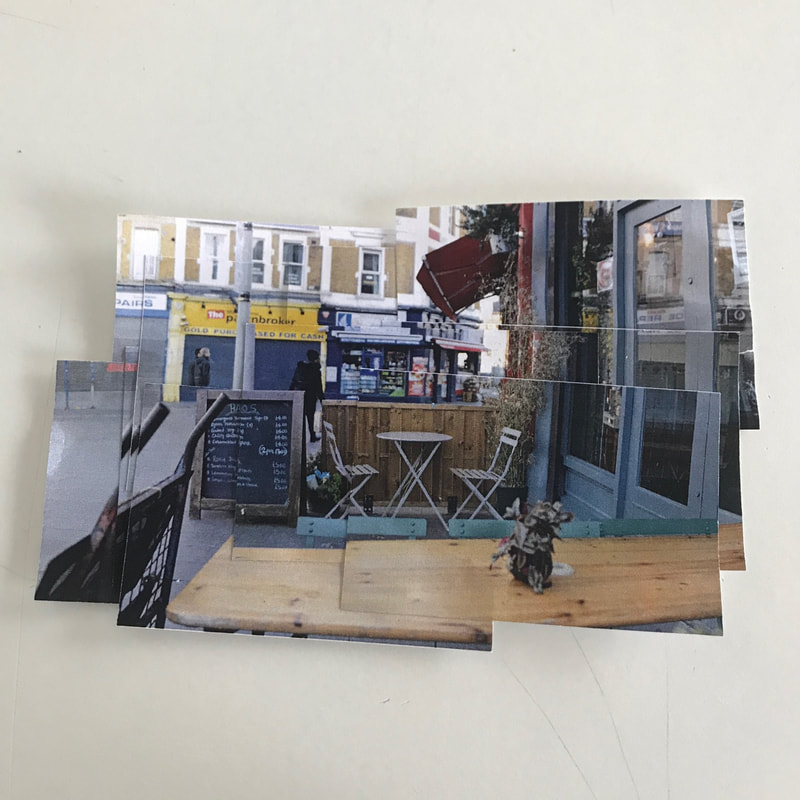
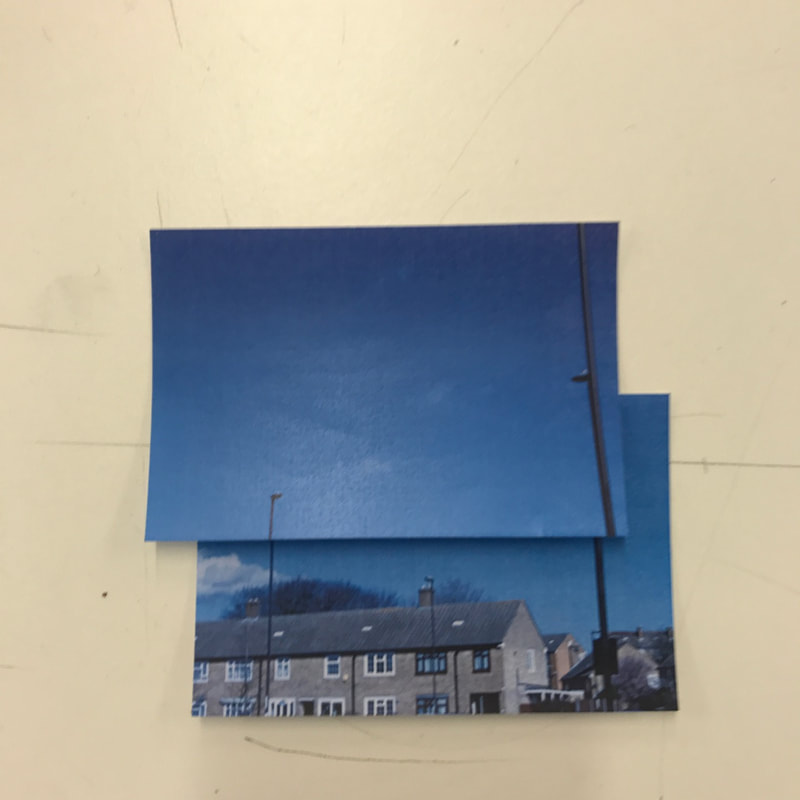
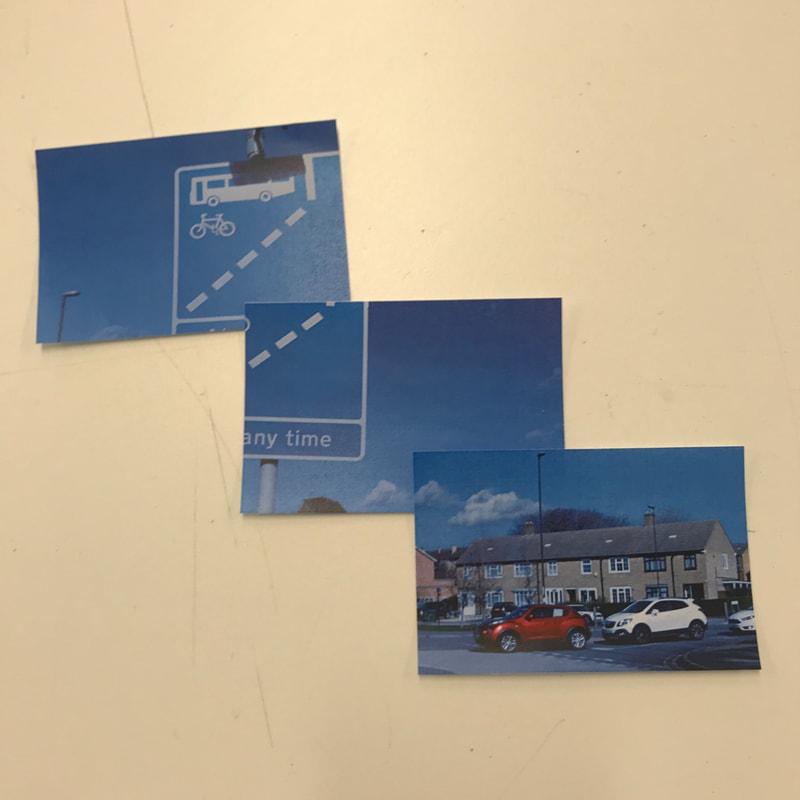
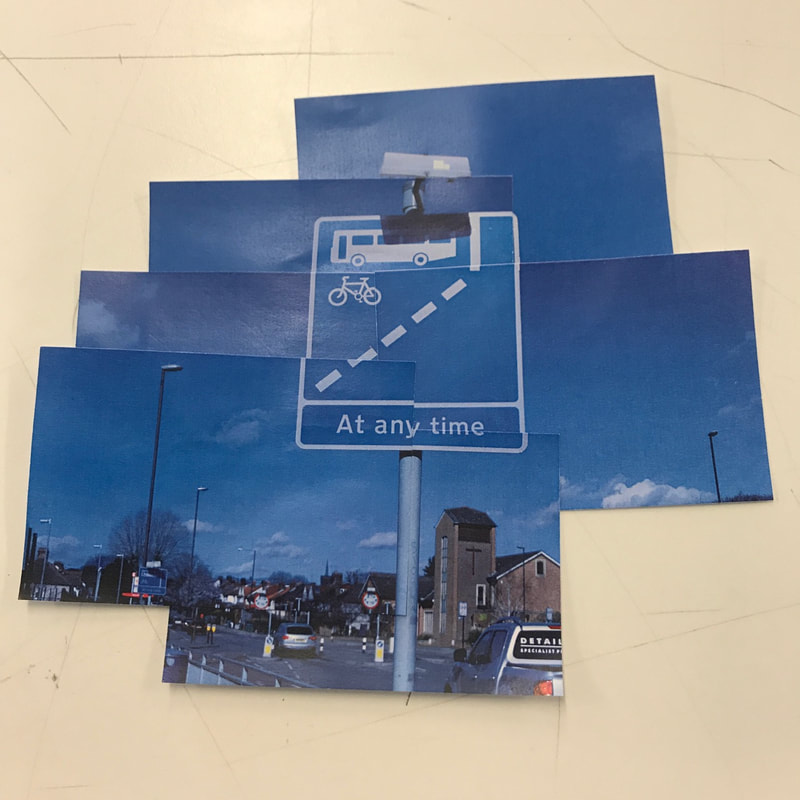
This is my second attempt. I like how I photographed the process of the whole image developing; appears like a mini stop motion process.
If I was to continue to refine this idea I would attempt to photograph a straight street view in an open space where there are less furniture in the way so the main focus would be to capture several figures walking in the frame within 10 minutes. Then merge it together to make one shot.
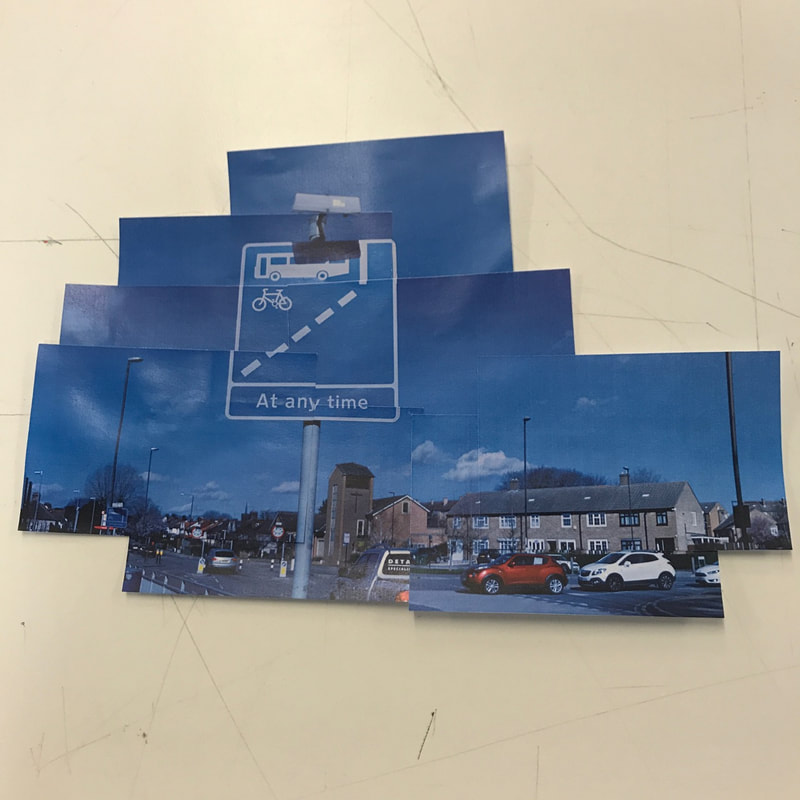
I enjoyed the practical process of merging the individual images I photographed together to create one whole image. In my opinion I think my response was successful although you can see some parts are not perfectly in line, I really like that effect because it clearly showed that I was working with small sections to create one full scene. Where the images overlap it shows a repetition of lines and it appears as a glitch, this kind reflects the technical errors we may see digitally on google maps which I found very intriguing.
If I was to continue to refine this idea I would attempt to photograph a straight street view in an open space where there are less furniture in the way so the main focus would be to capture several figures walking in the frame within 10 minutes. Then merge it together to make one shot.
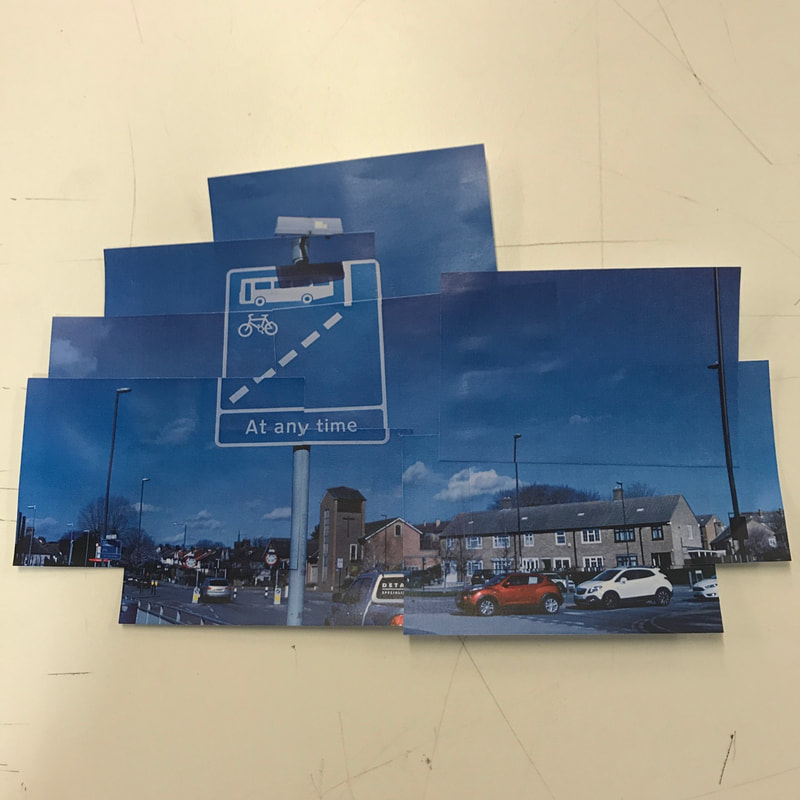
I enjoyed the practical process of merging the individual images I photographed together to create one whole image. In my opinion I think my response was successful although you can see some parts are not perfectly in line, I really like that effect because it clearly showed that I was working with small sections to create one full scene. Where the images overlap it shows a repetition of lines and it appears as a glitch, this kind reflects the technical errors we may see digitally on google maps which I found very intriguing.
After practically creating a response to Chris Dorley-Brown, I have decided that I do not want to continue to experiment with his style of work of forming an entire image using small parts; it is very time consuming and I want to manipulate it more and create bold textures. Though, I love the effect I had on my making response where there were some sections that over lapped, this created texture to the overall image however, it still appeared very flat to me.
I am going to research John Hilliard's work as he works also with sections of images but of the same subject matter with different perspectives created from cropping.
I am going to research John Hilliard's work as he works also with sections of images but of the same subject matter with different perspectives created from cropping.
JOHN HILLIARD
John Hilliard - Cause of Death 1974
|
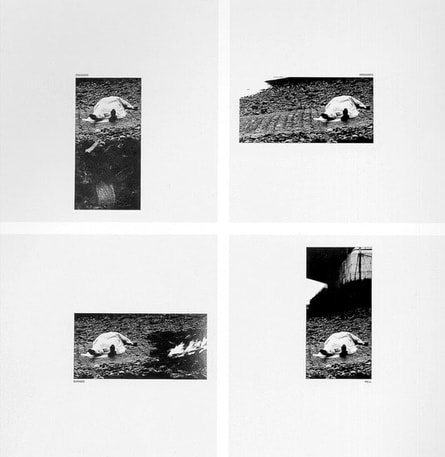
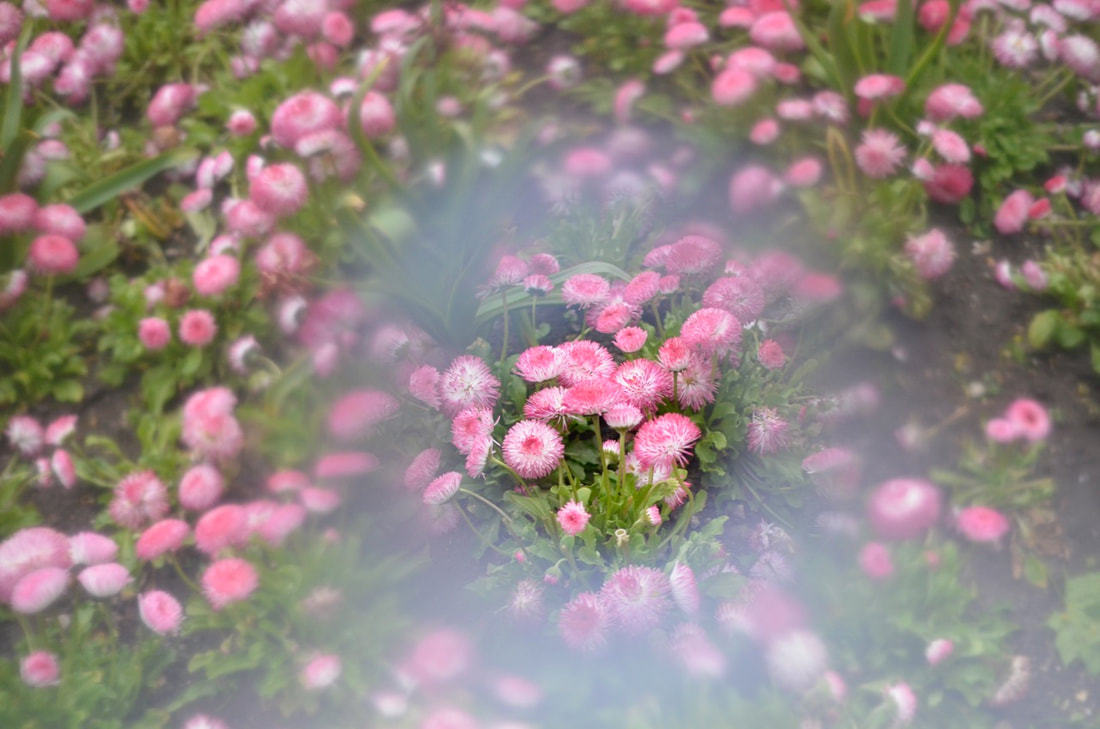
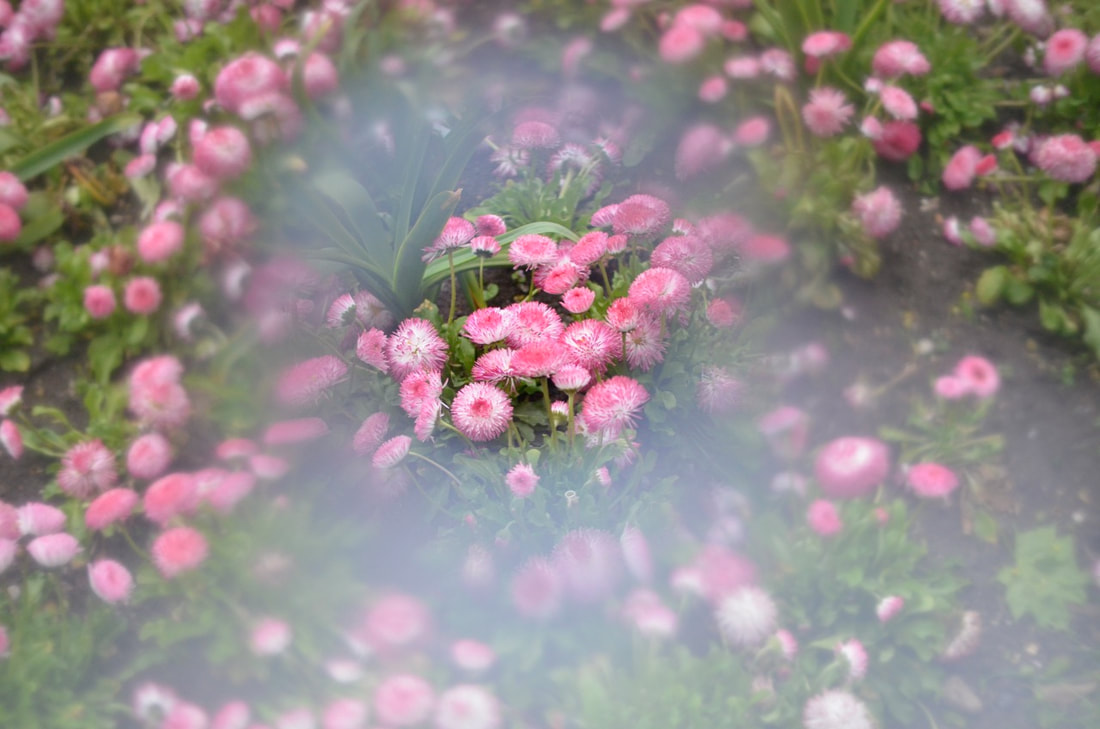
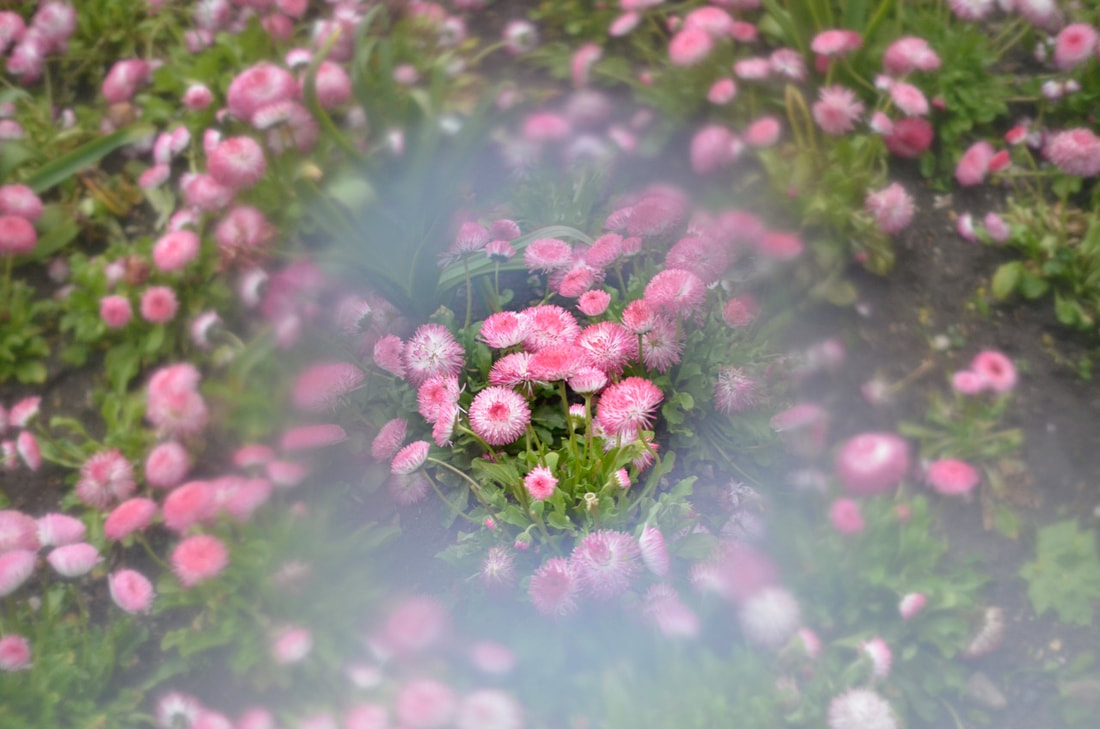
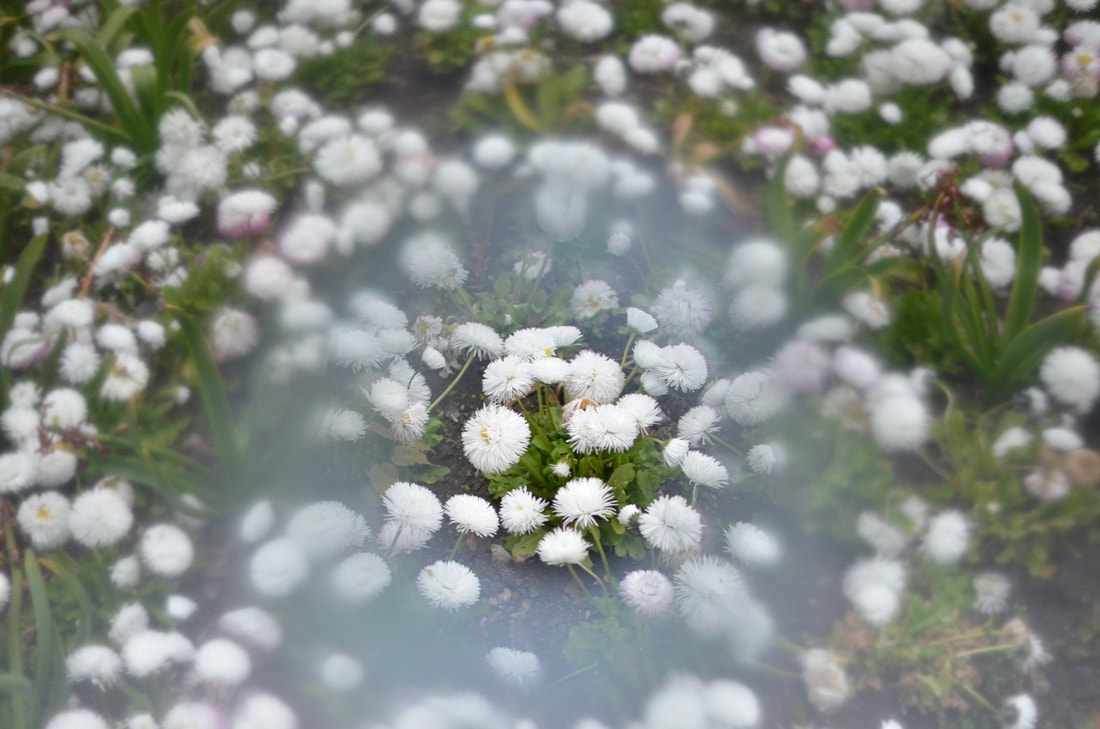
John Hilliard born in 1945 is an English conceptual artist. He gained an interest in photography when he was an art student in the 1960s; he first used the camera simply to capture images of his site-specific art installations he created. I was intrigued by John Hilliard's cause of Death - he photographs the same subject four times with different perspectives and narrates it with a word each. He provides us minimal information which makes the viewer narrate the photograph themselves to understand the photographers intention.
|
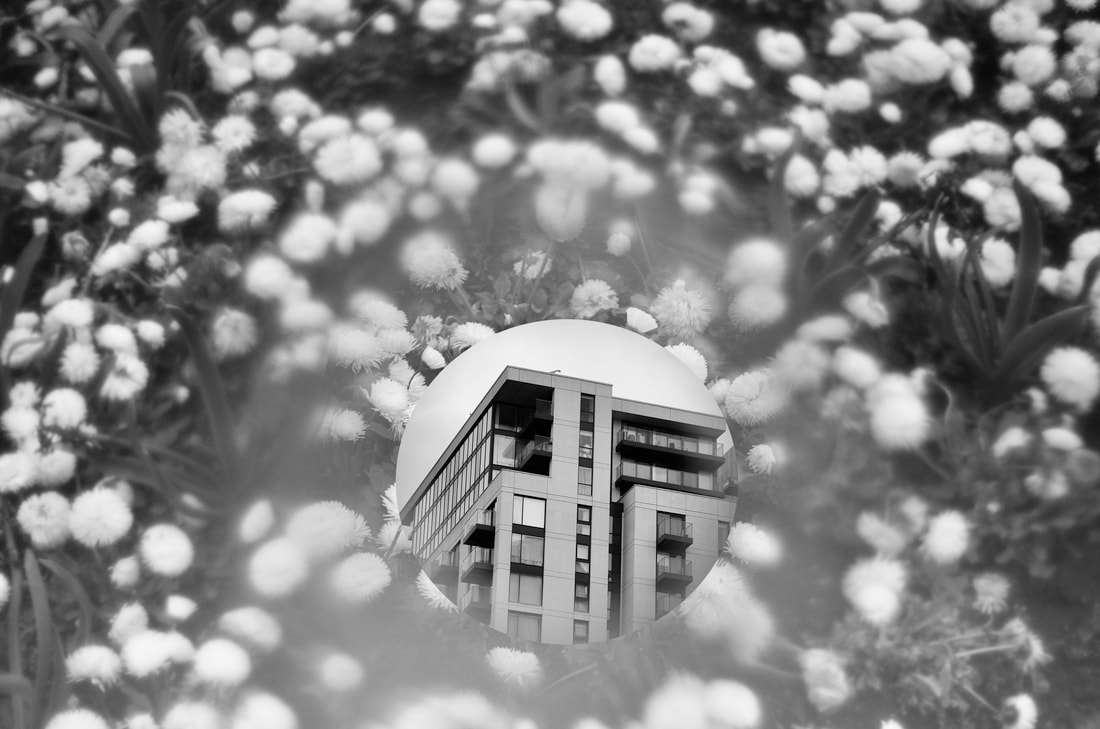
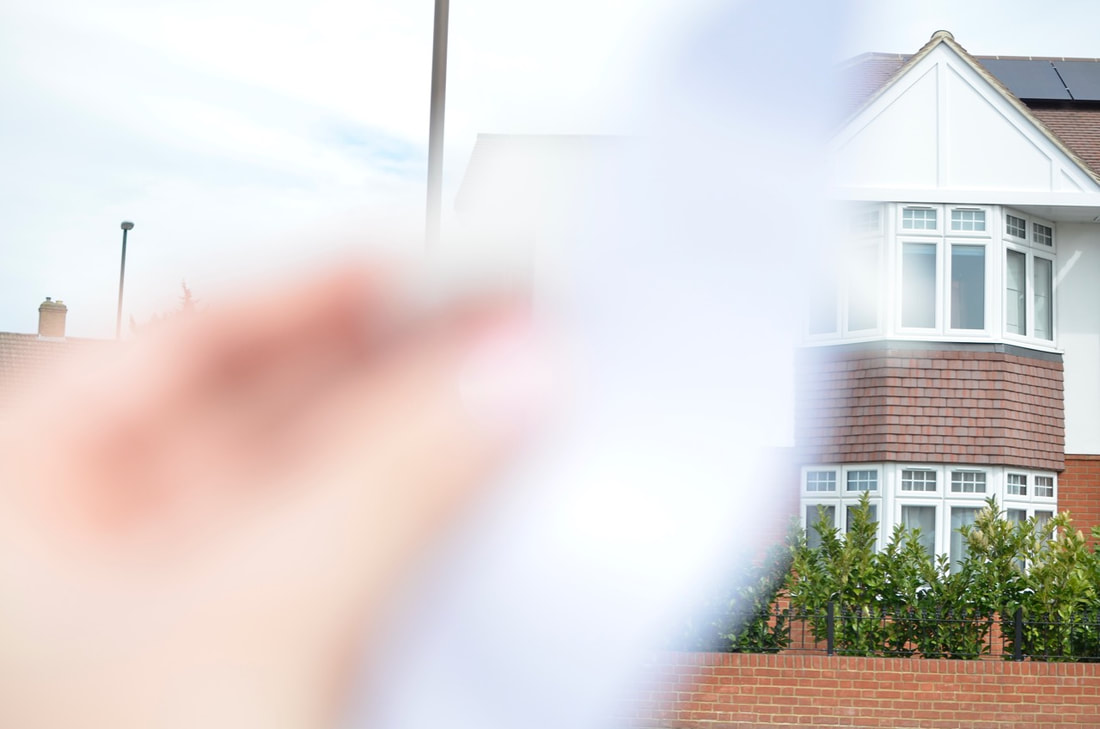
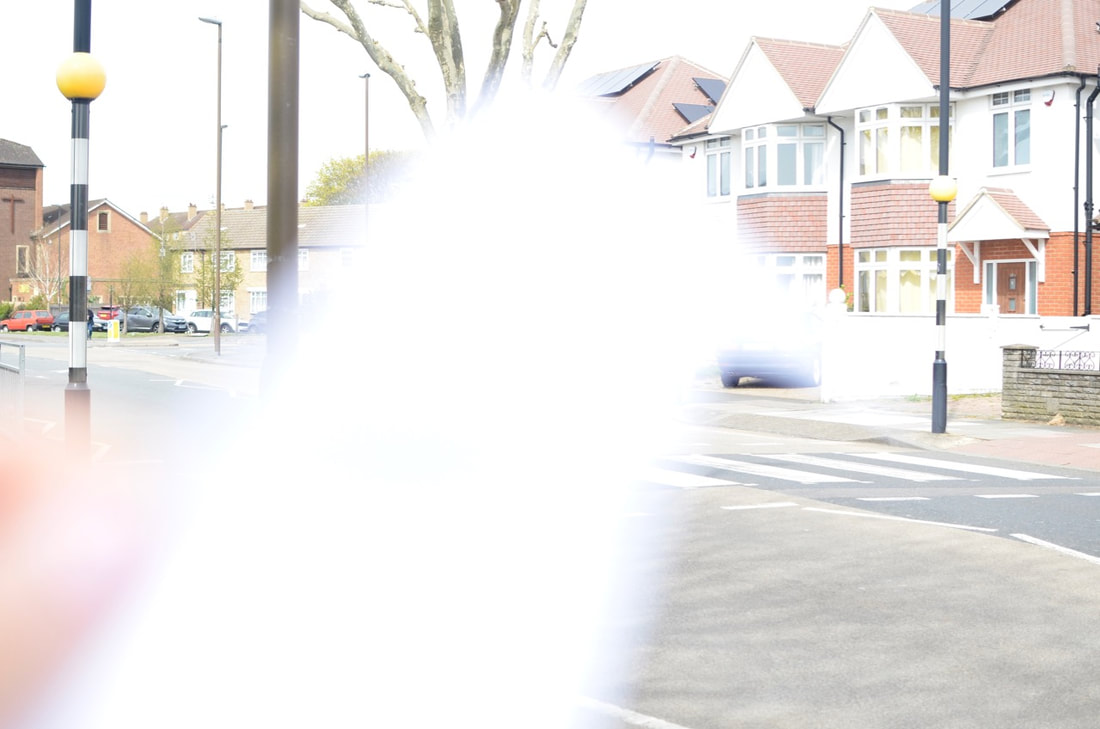
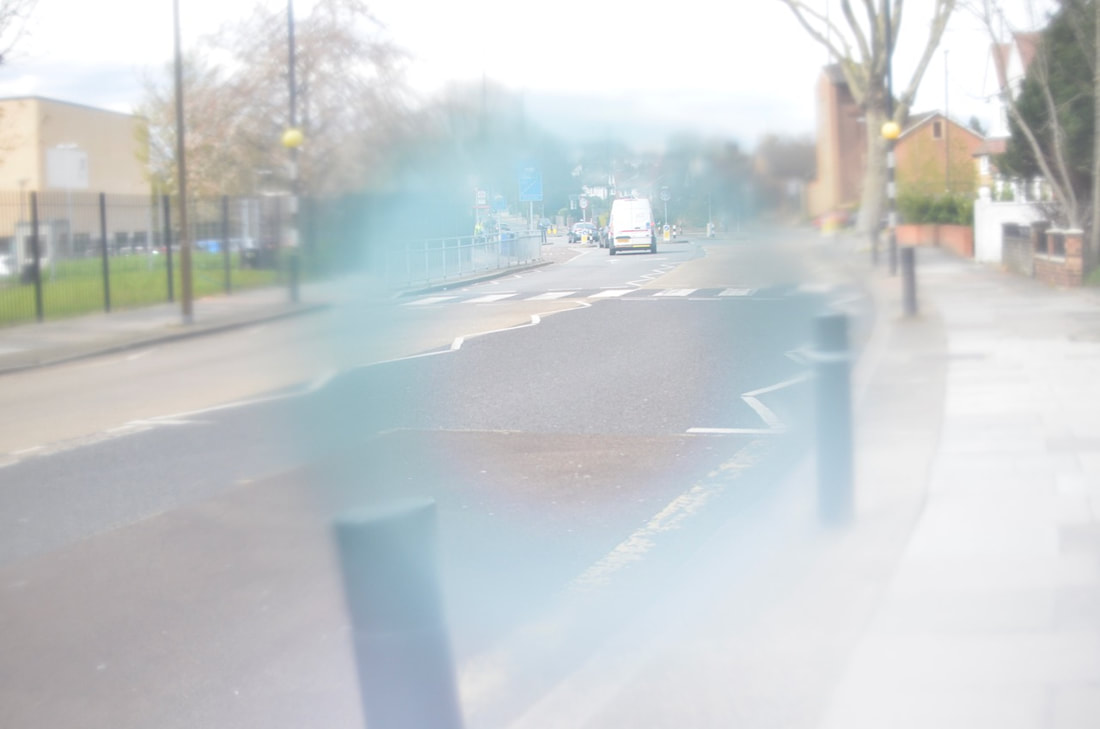
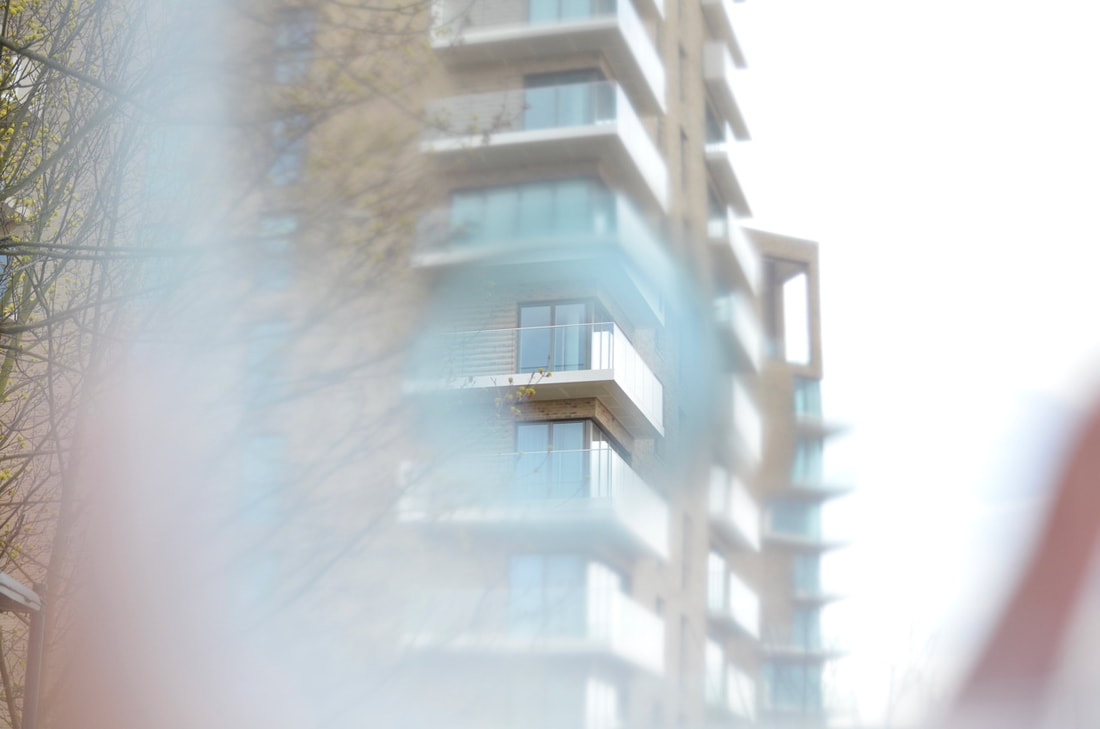
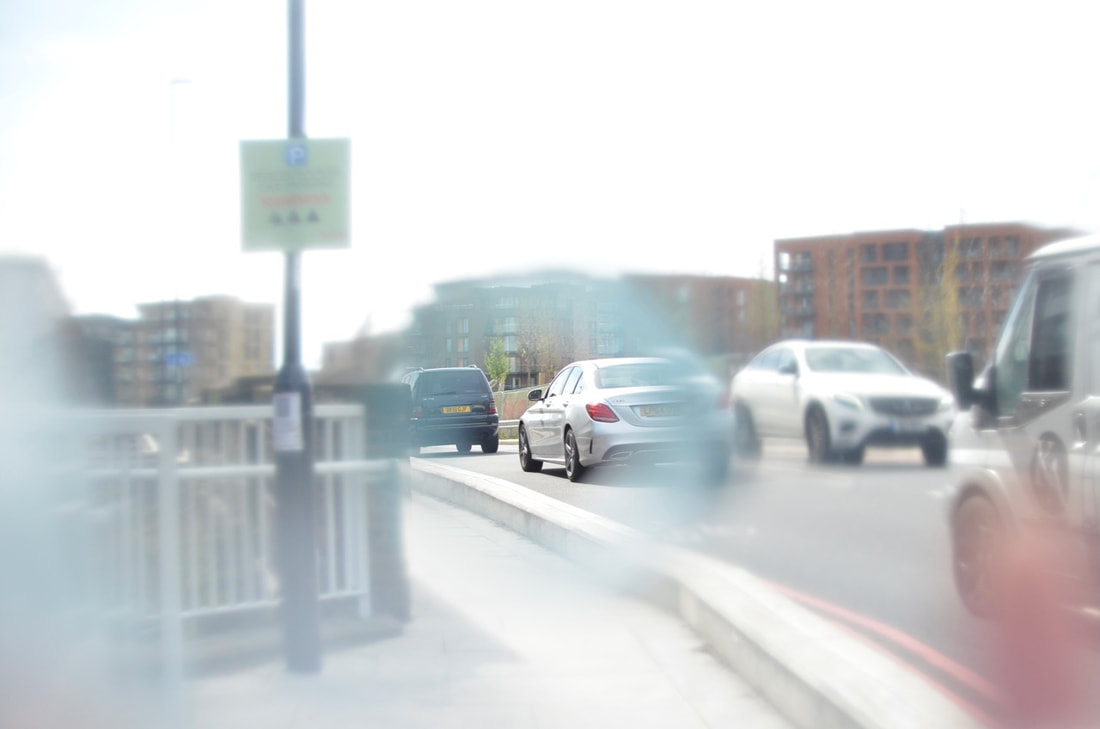
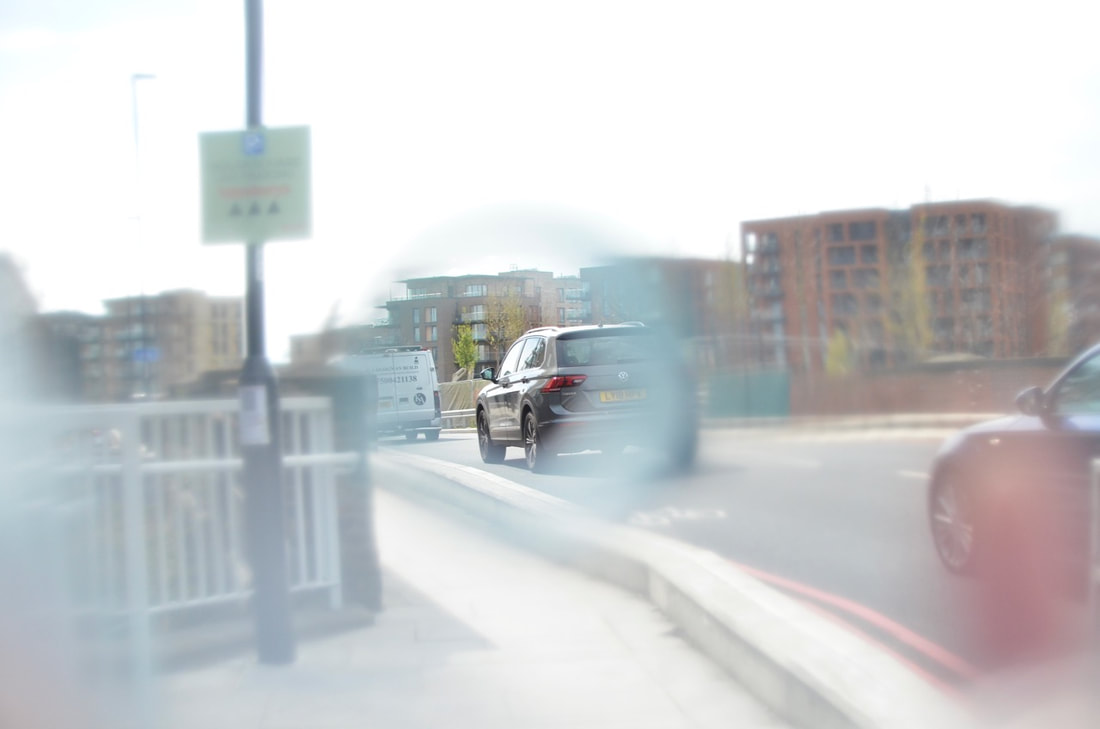
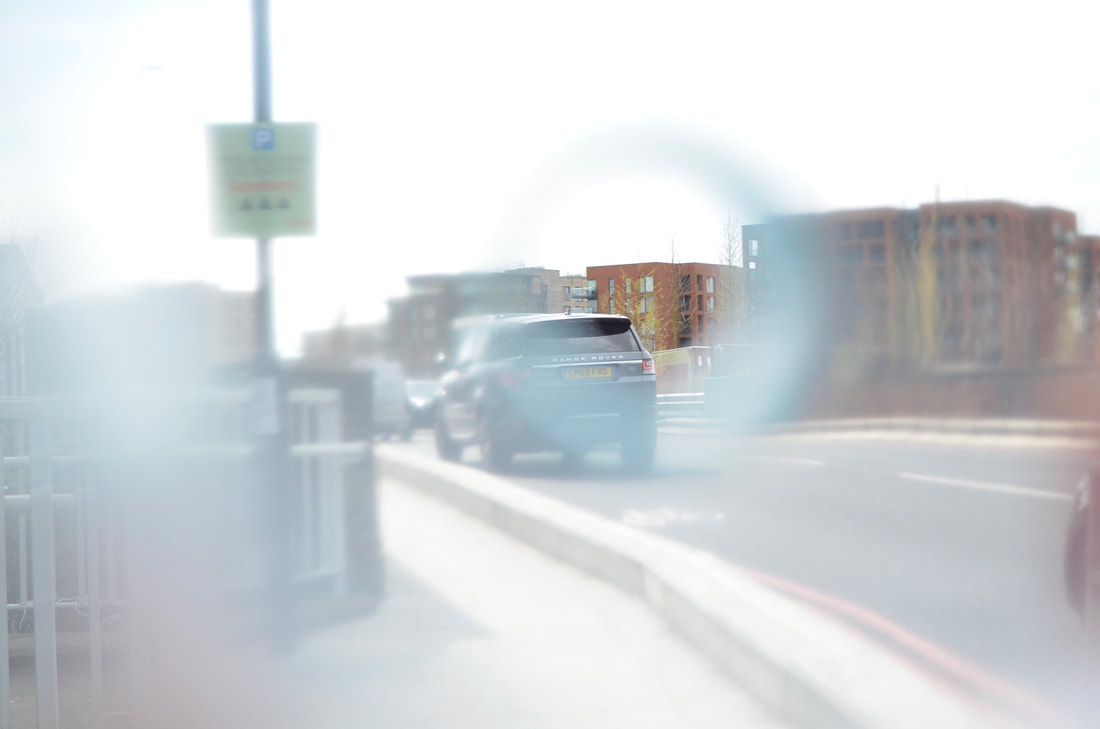
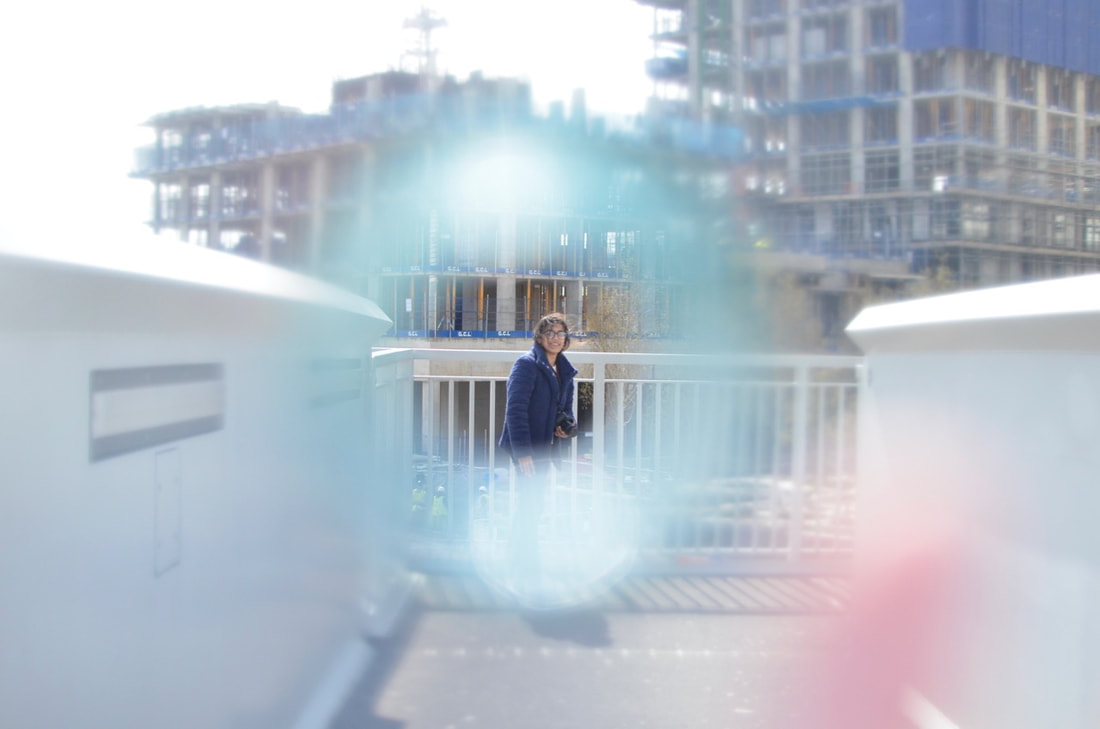
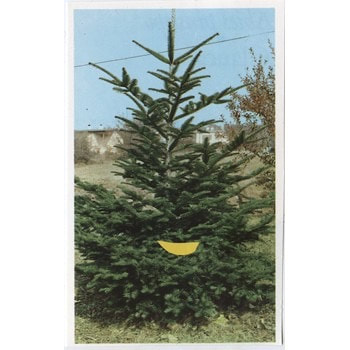
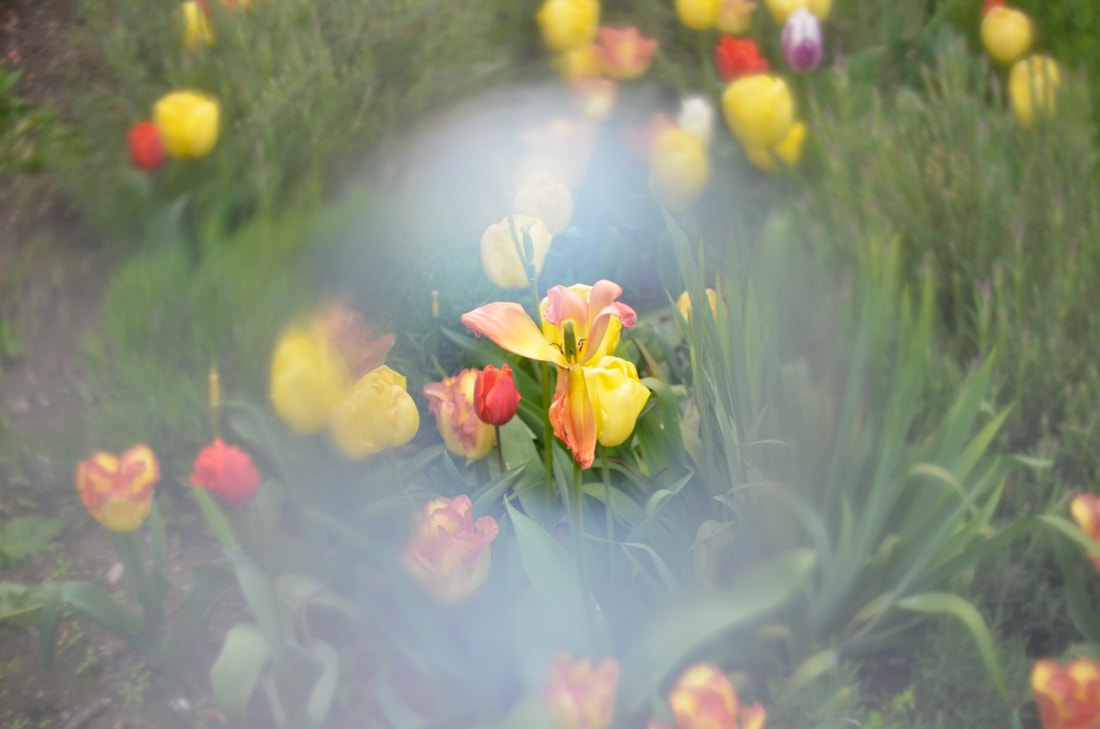
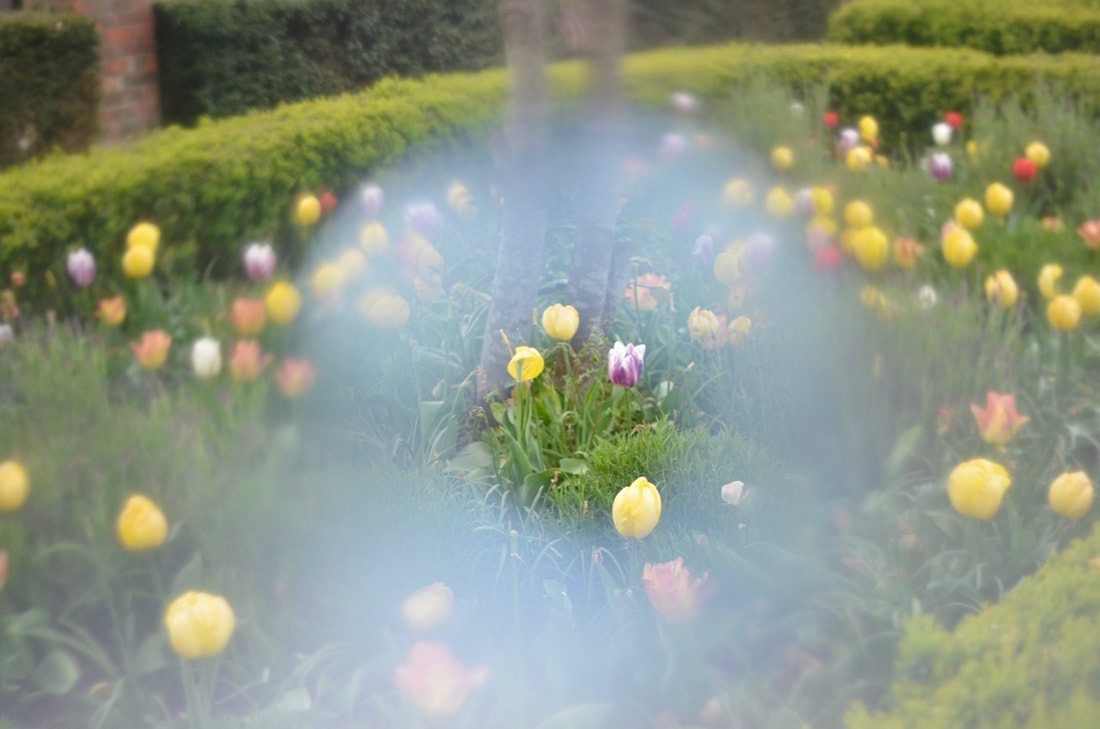
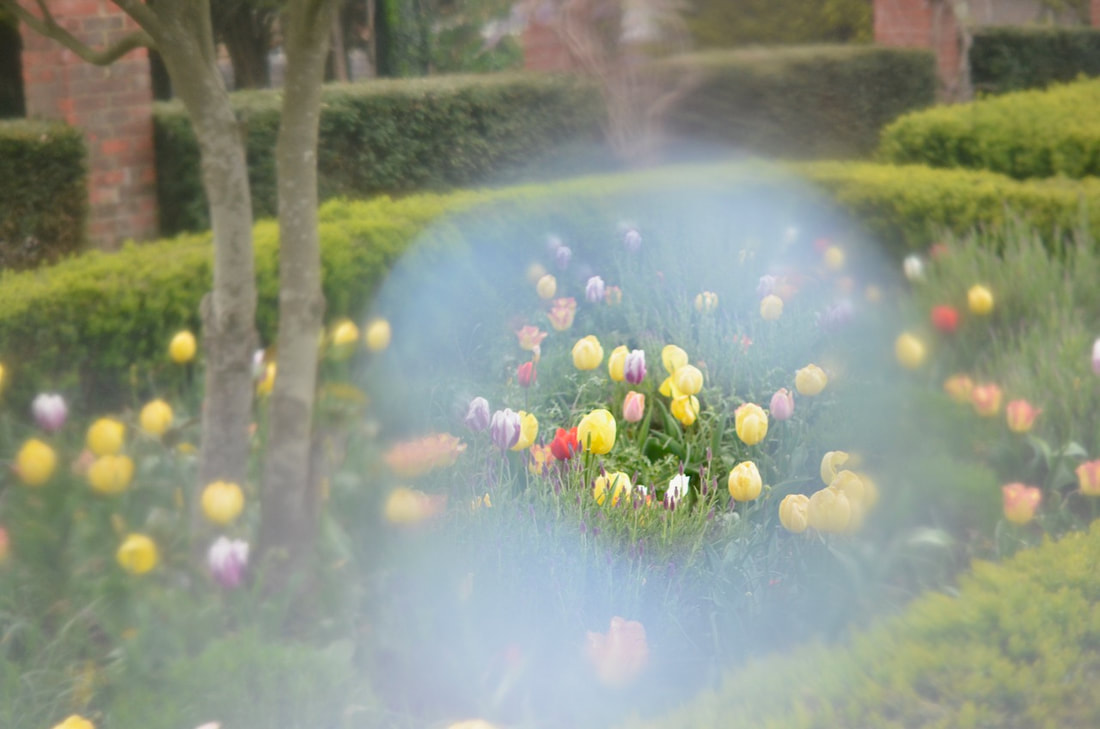
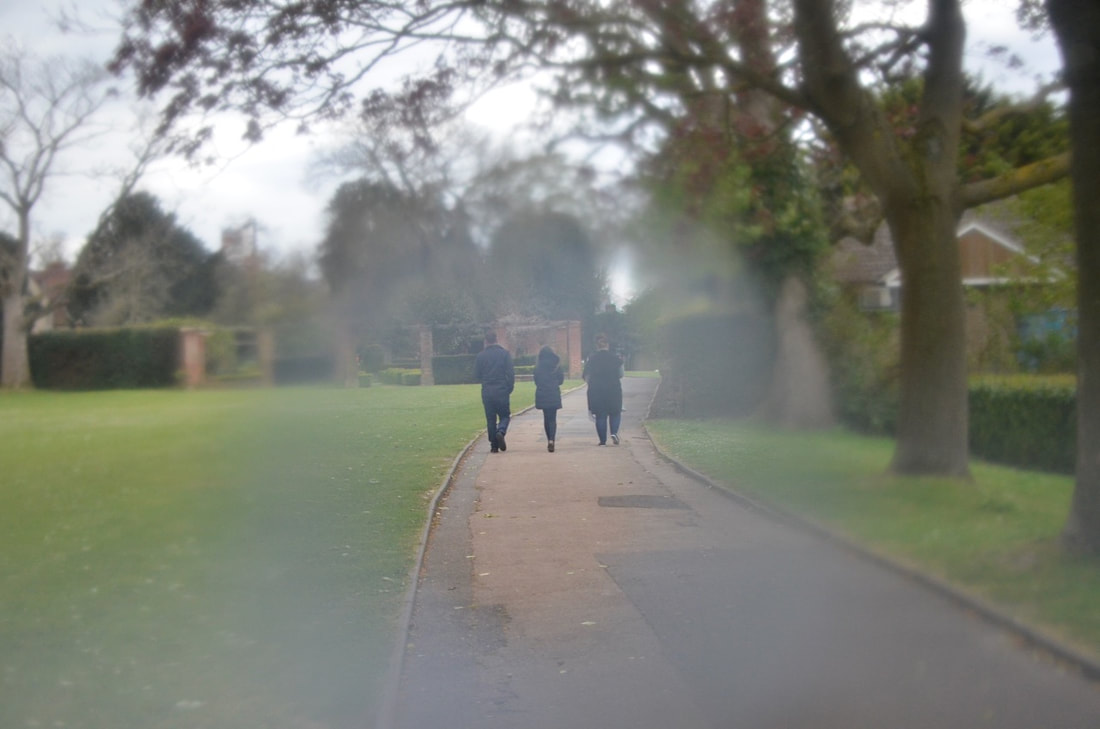
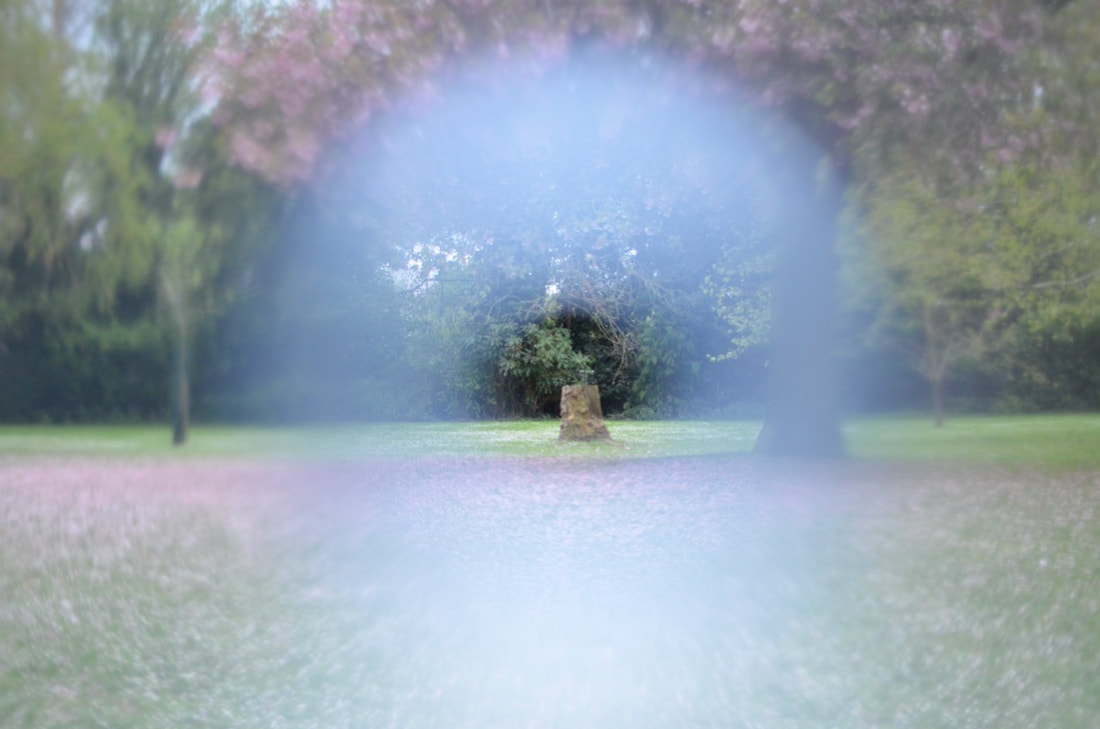
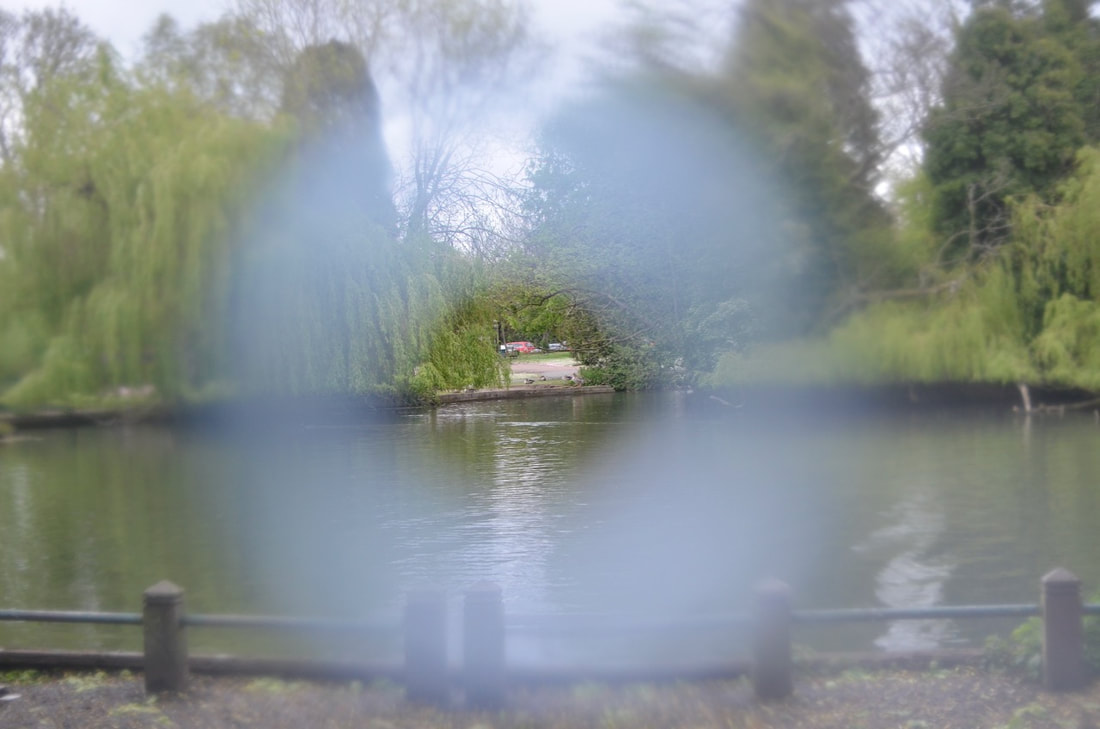
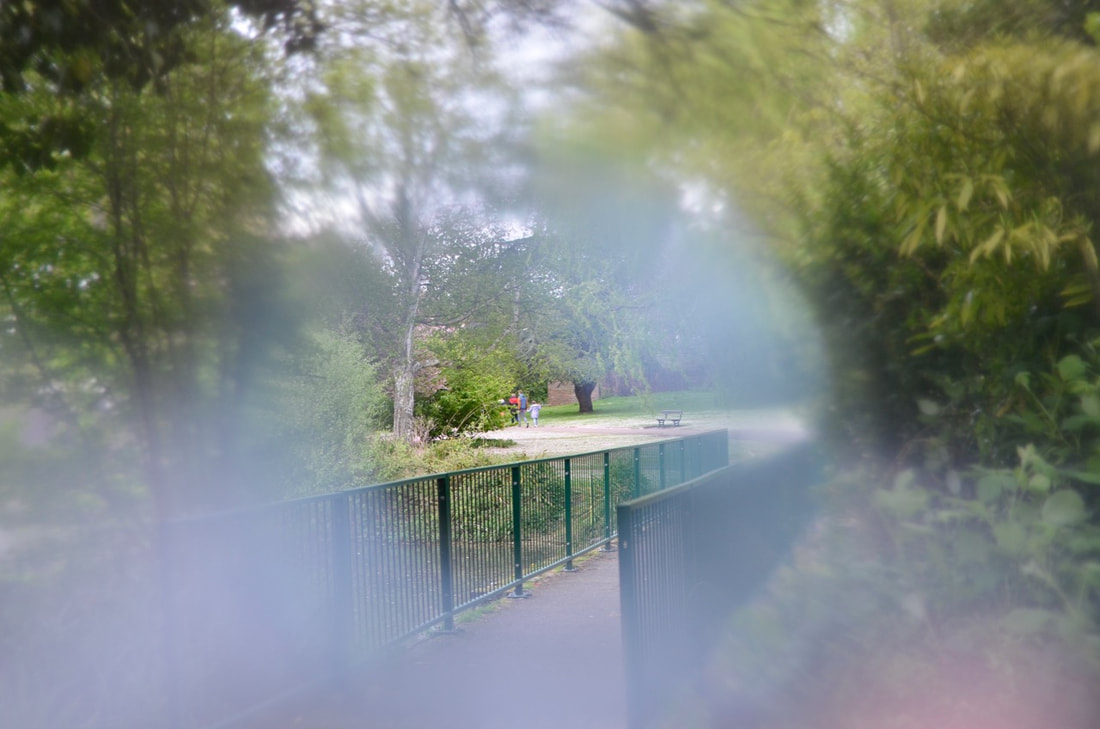
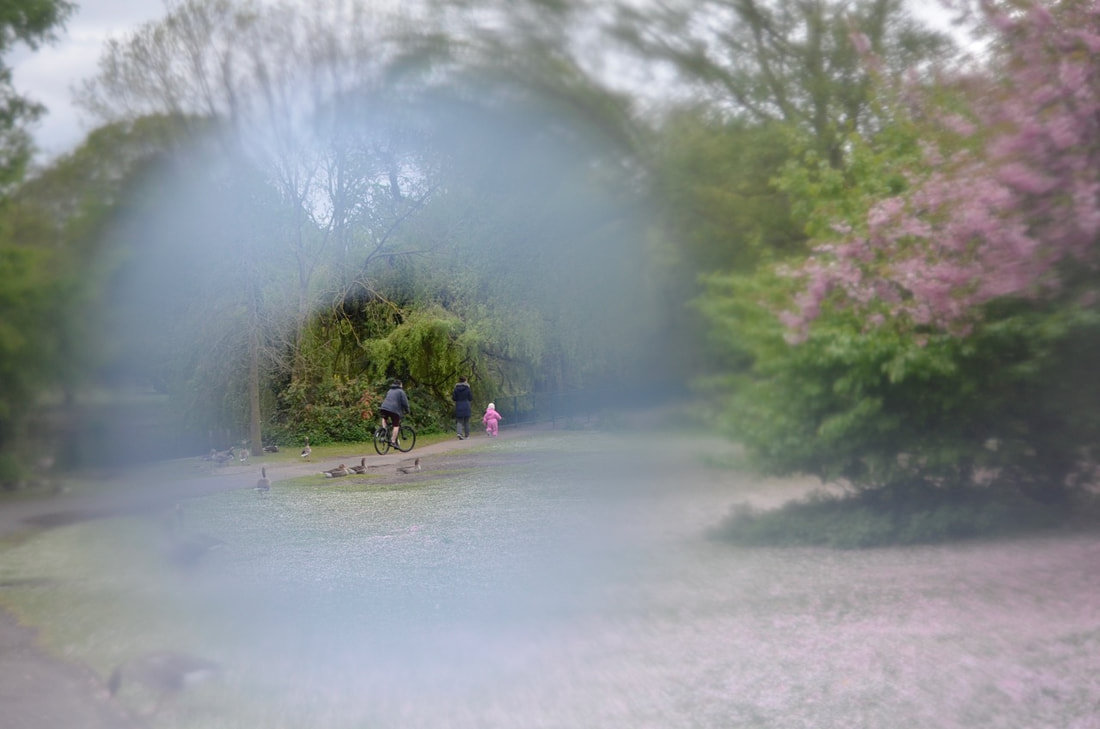
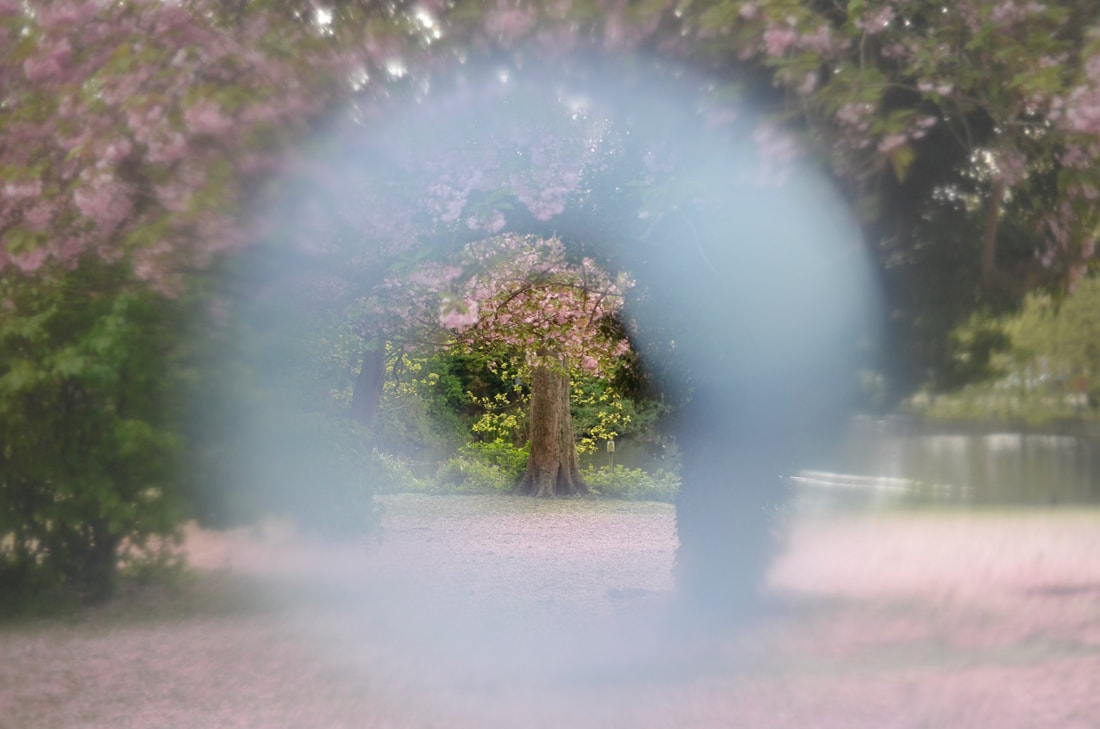
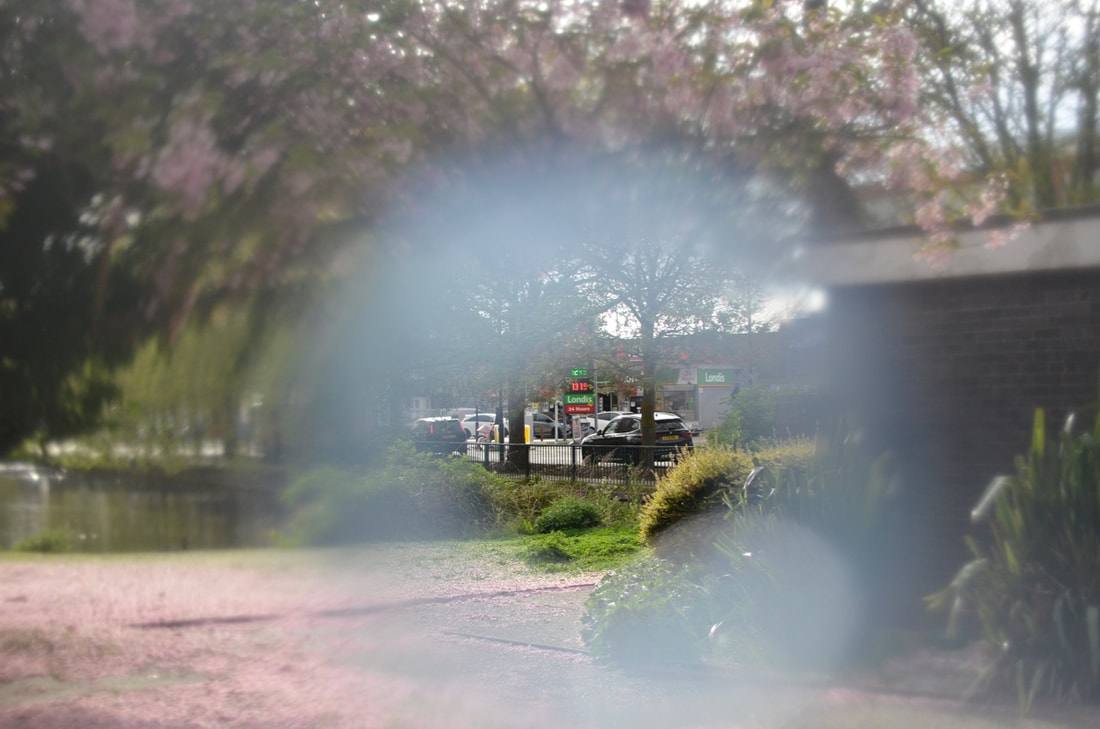
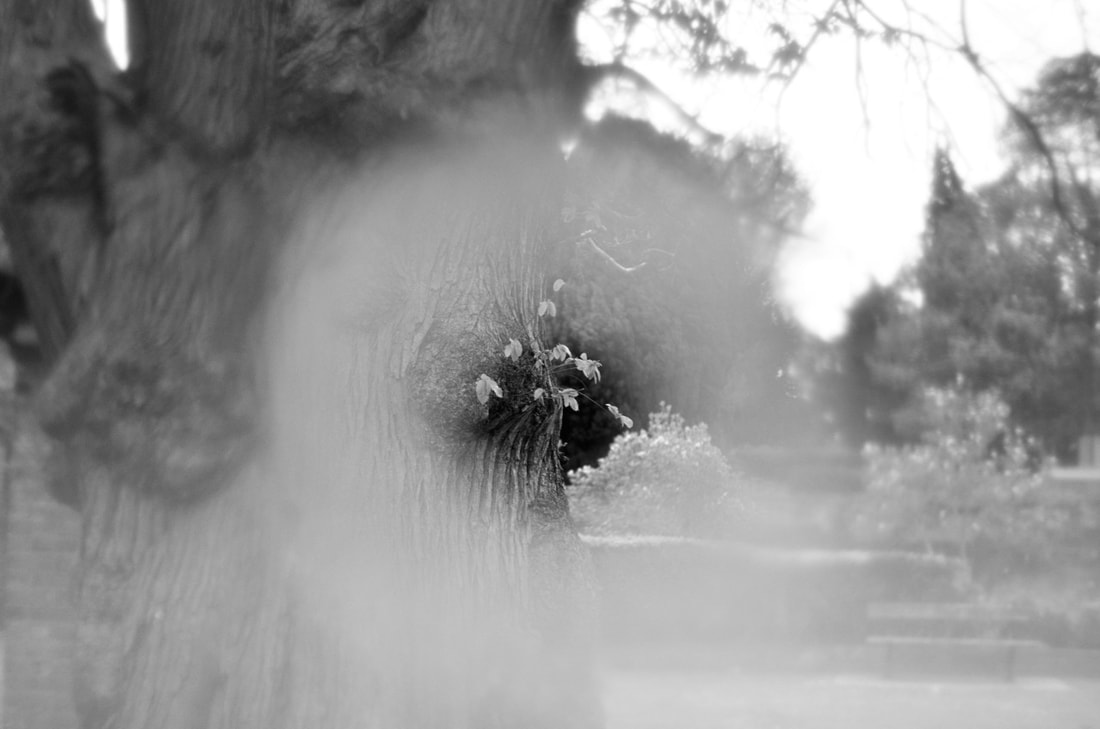
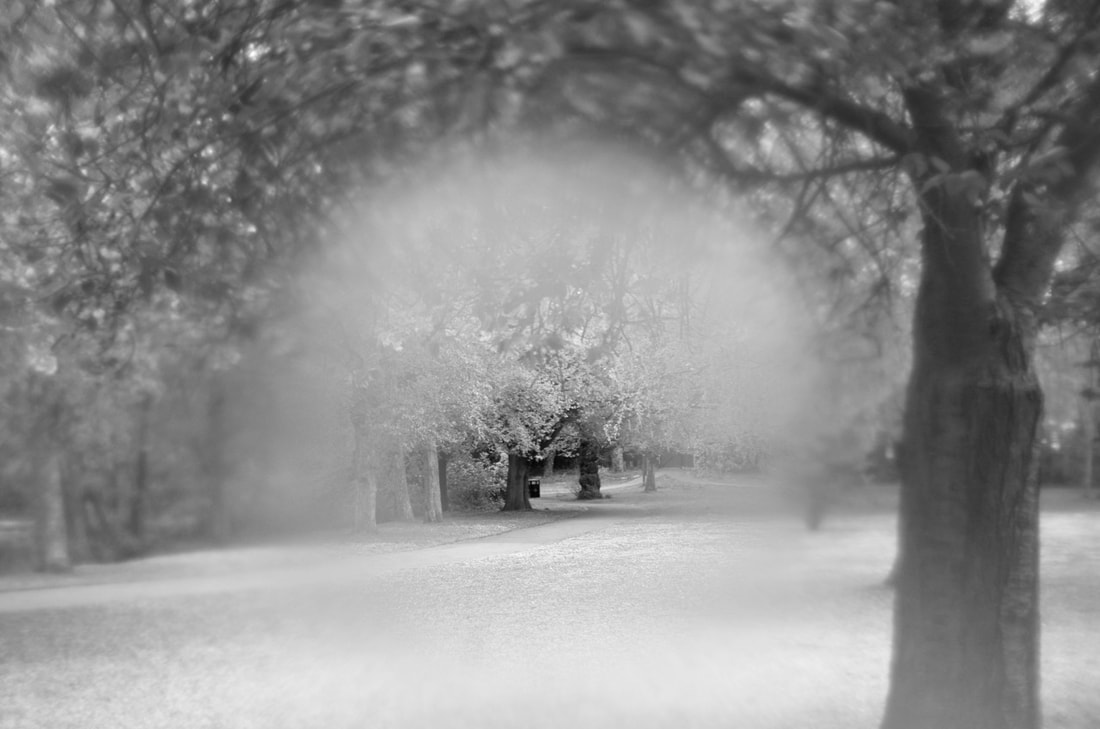
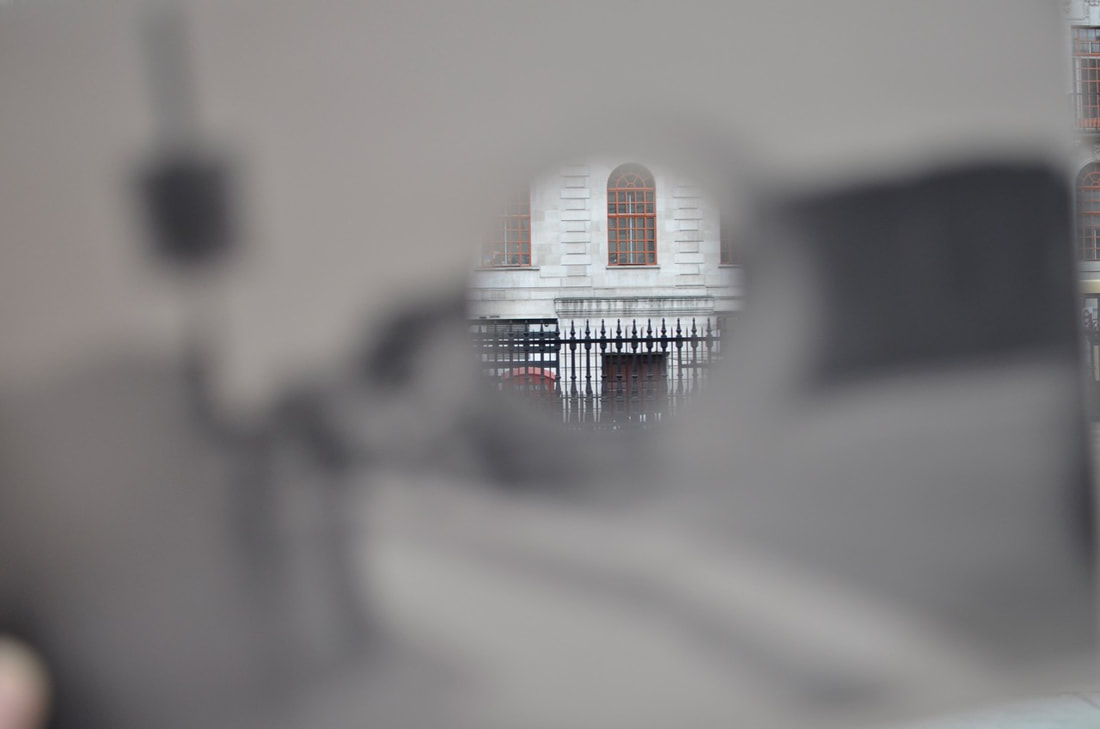
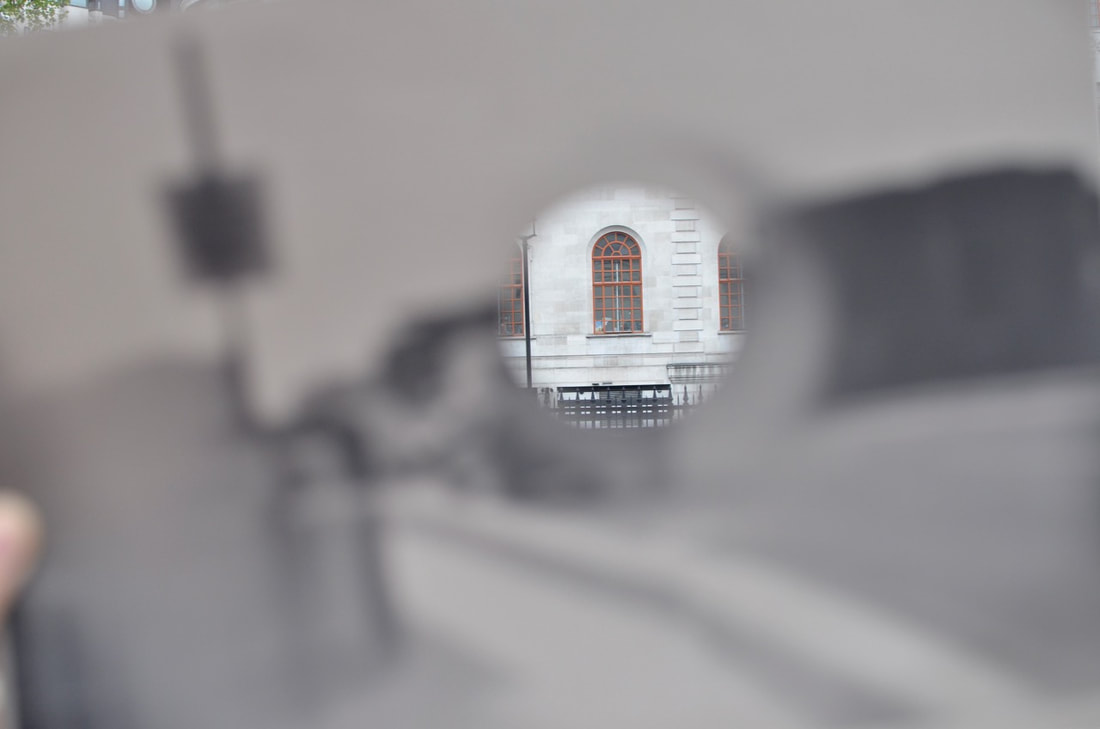
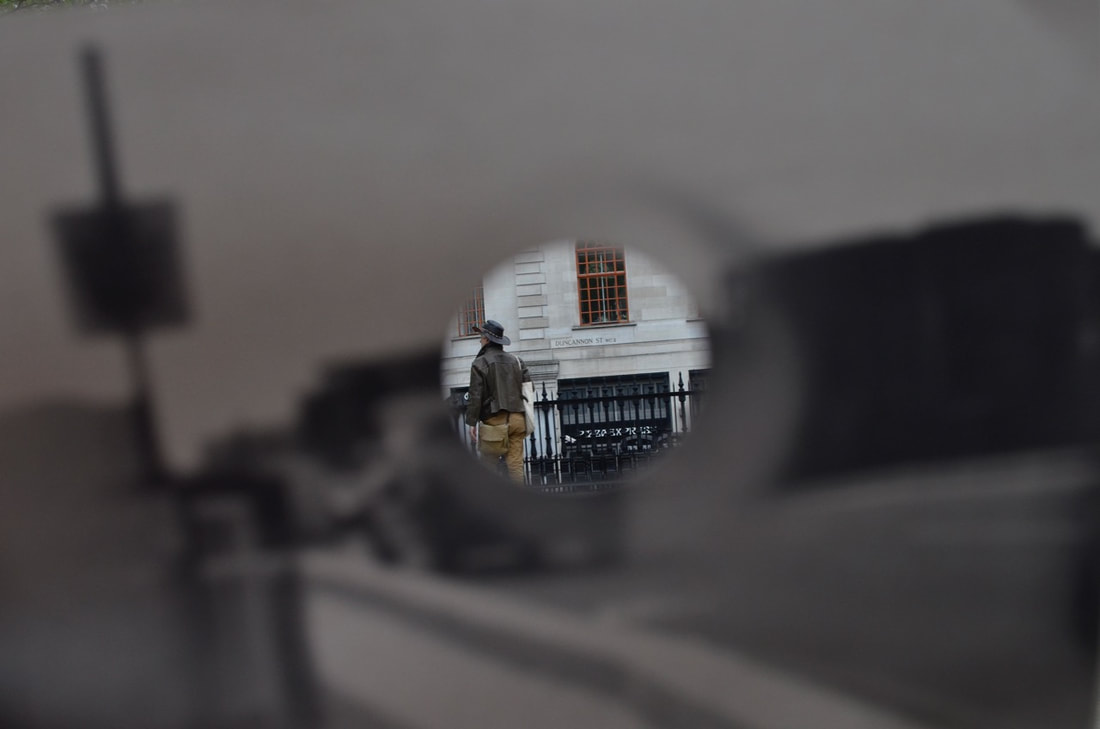
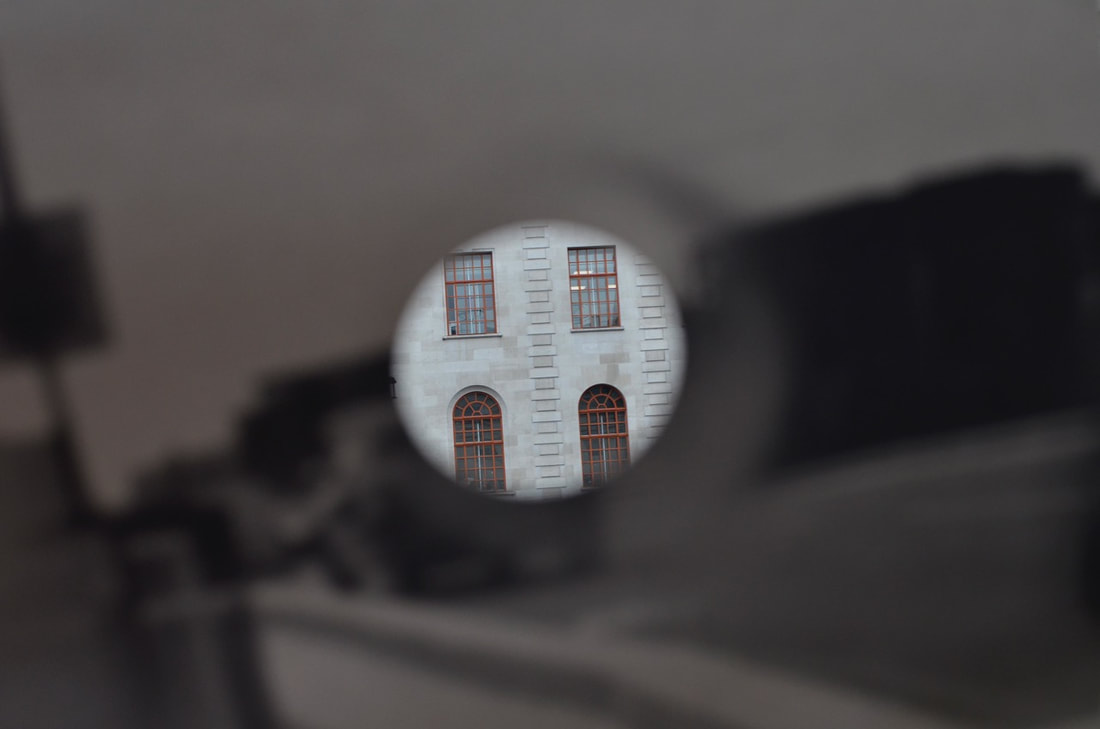
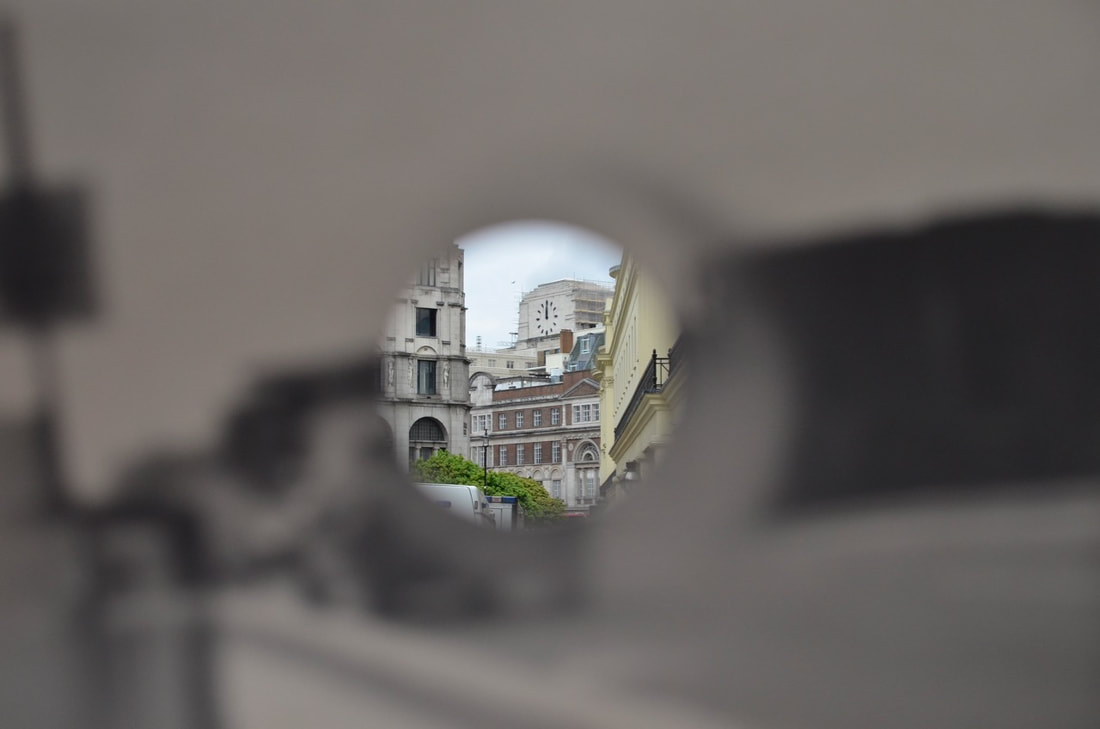
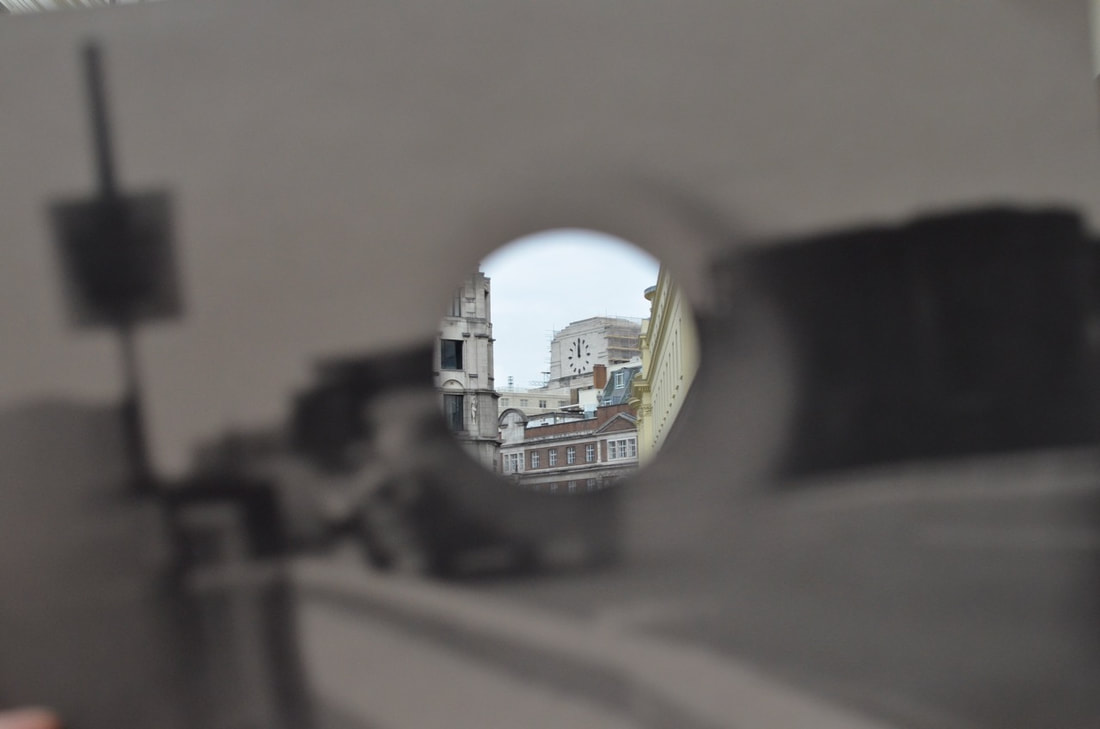
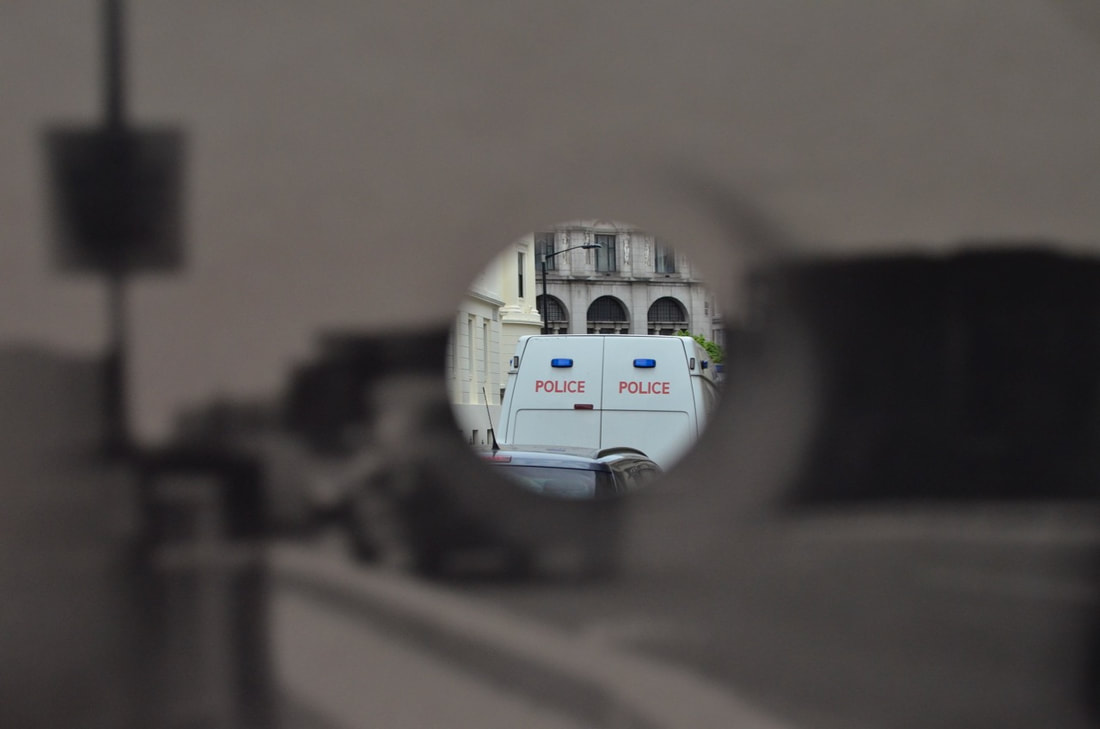
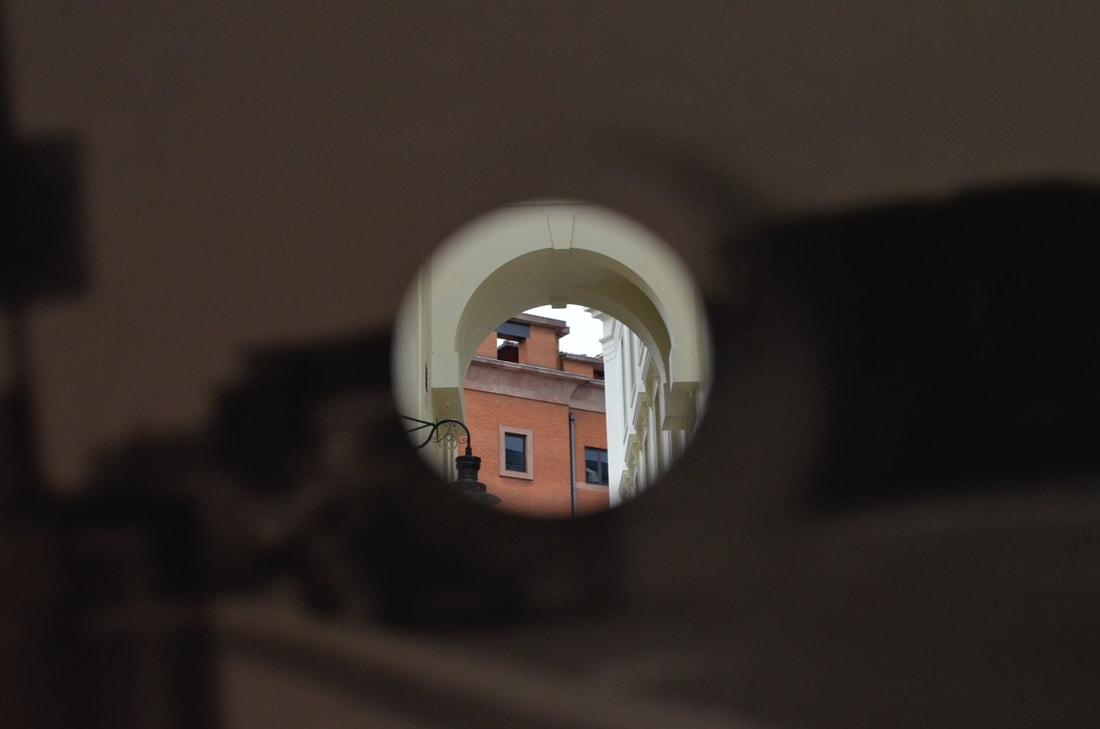
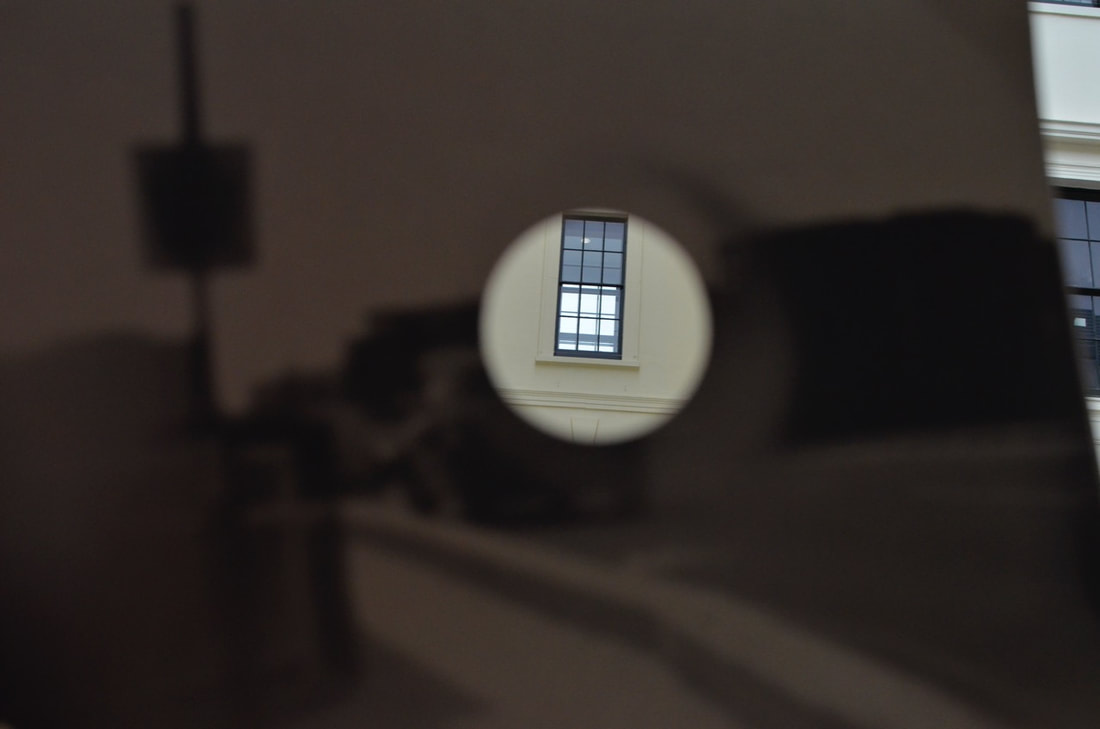
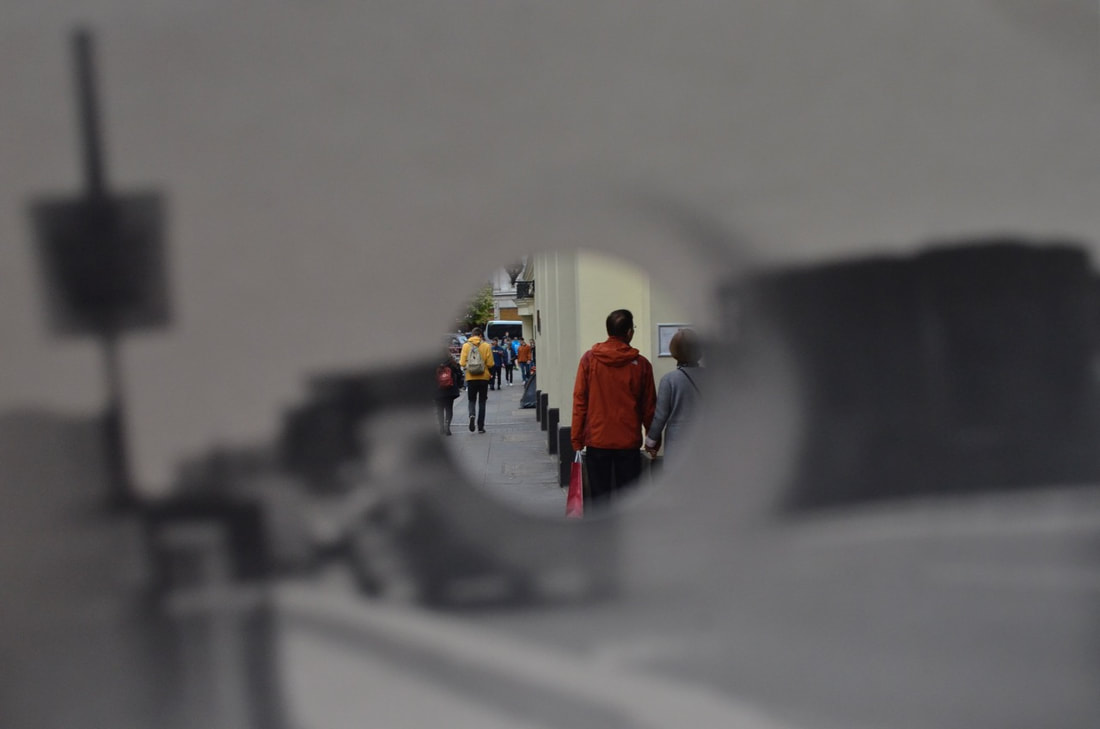
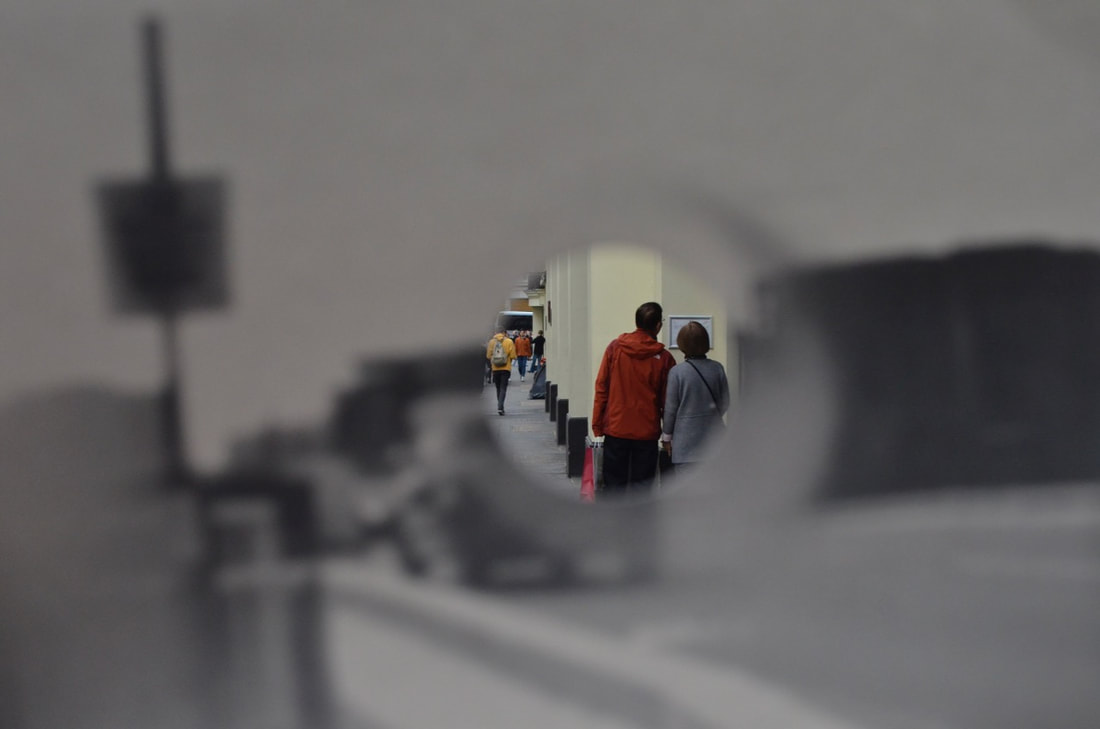
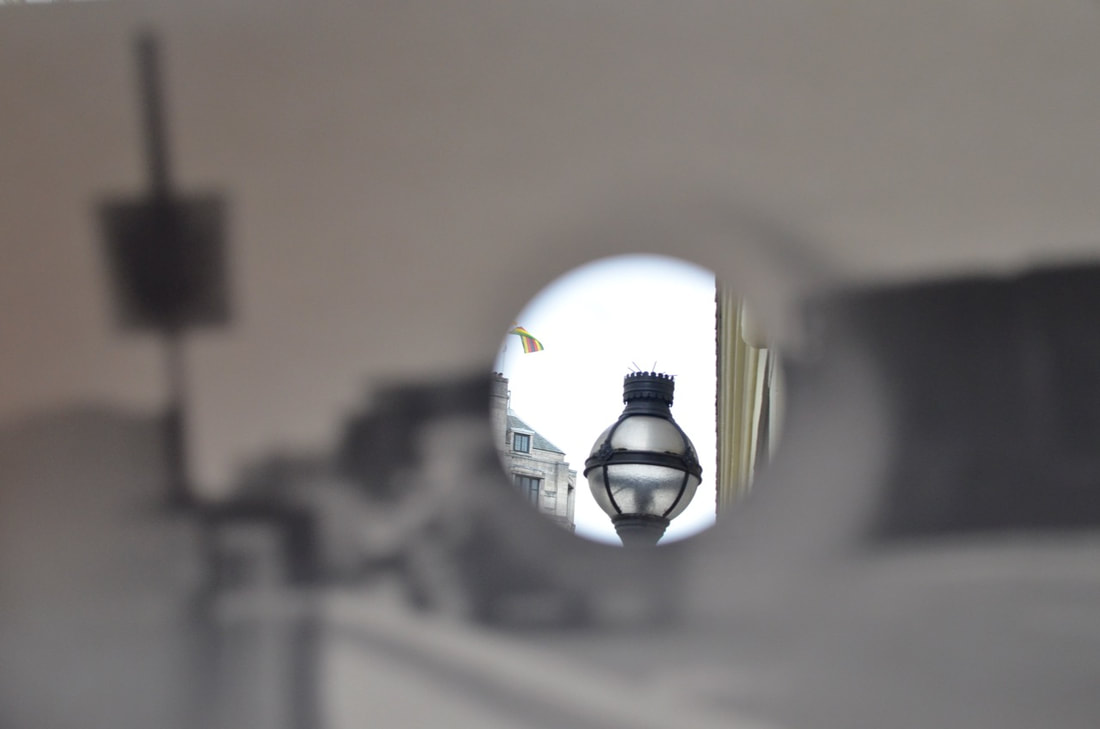
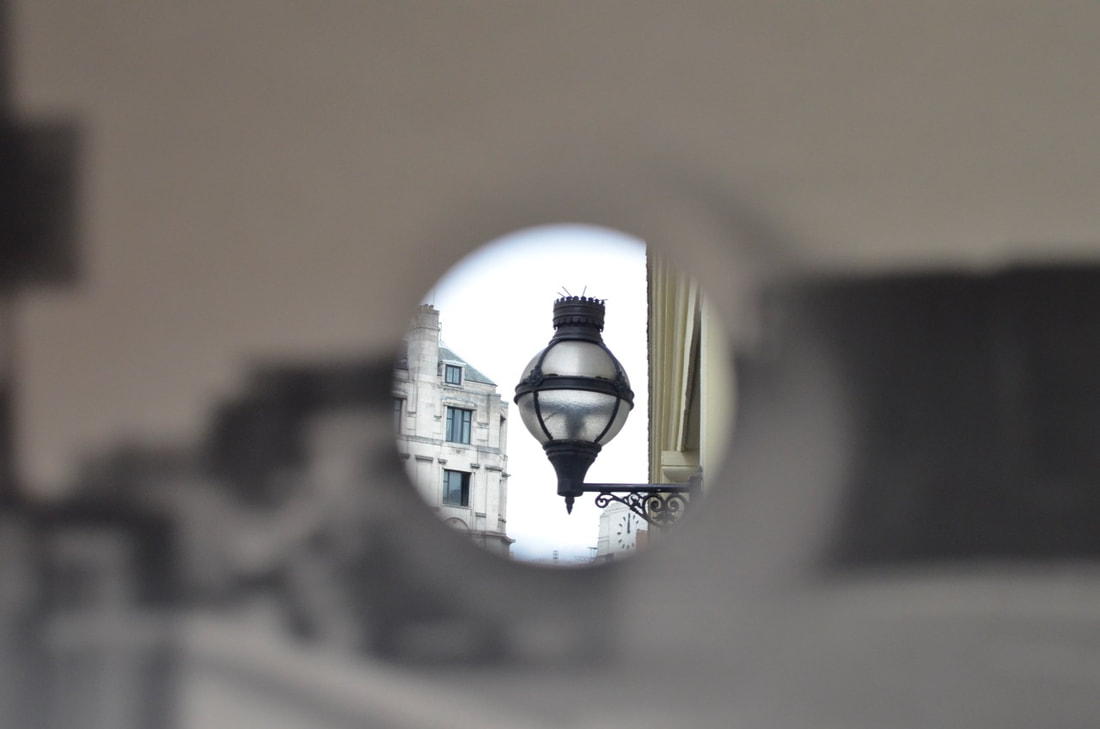
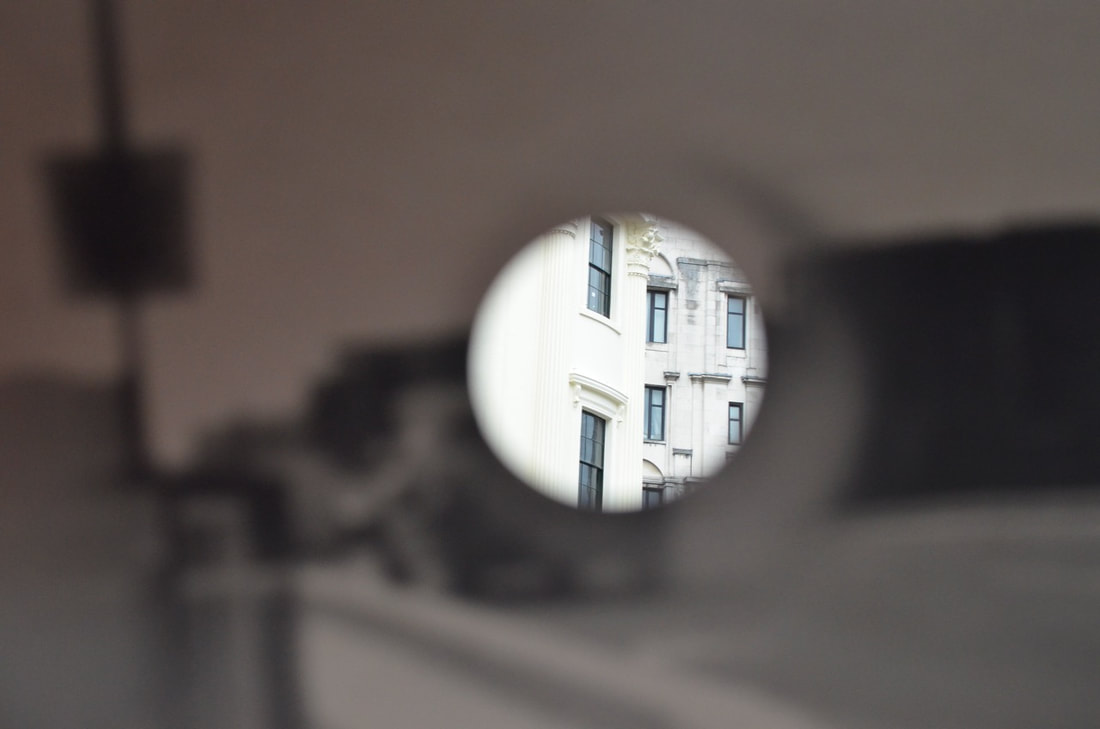
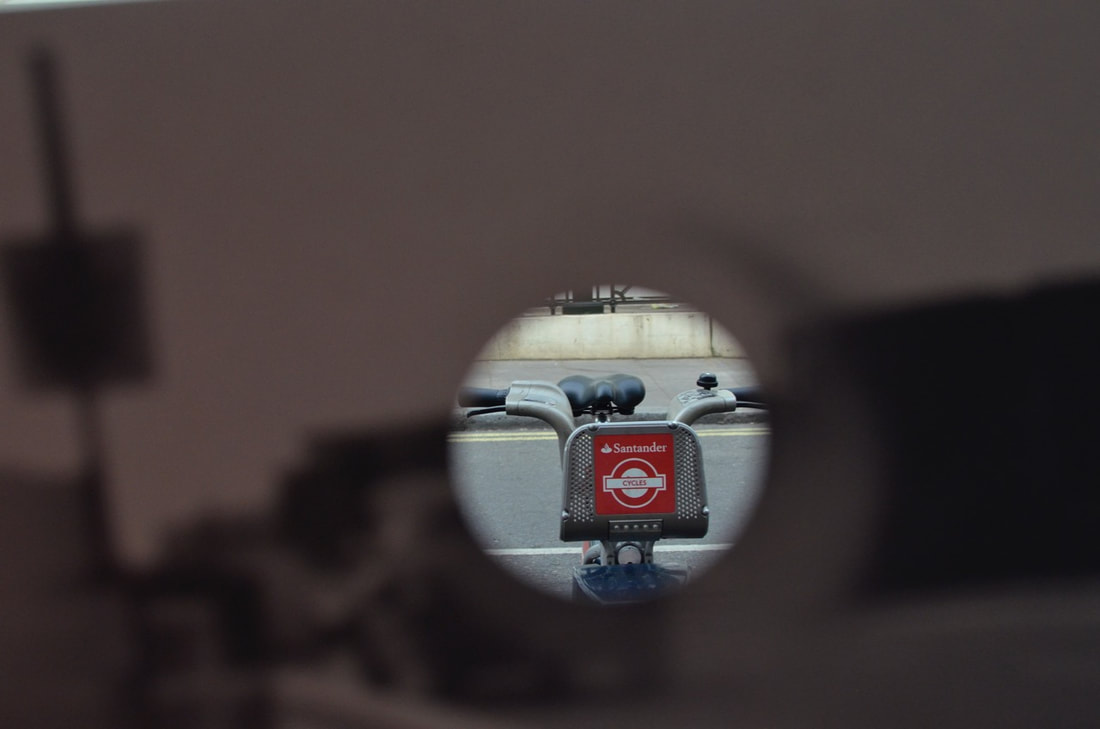
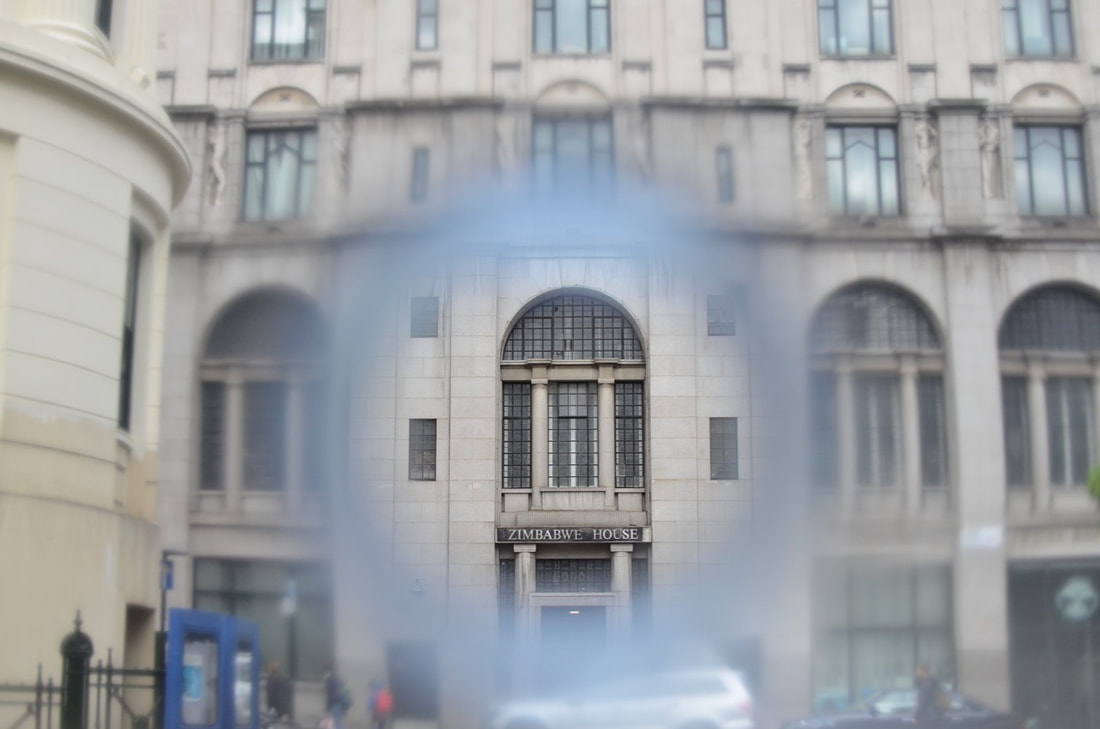
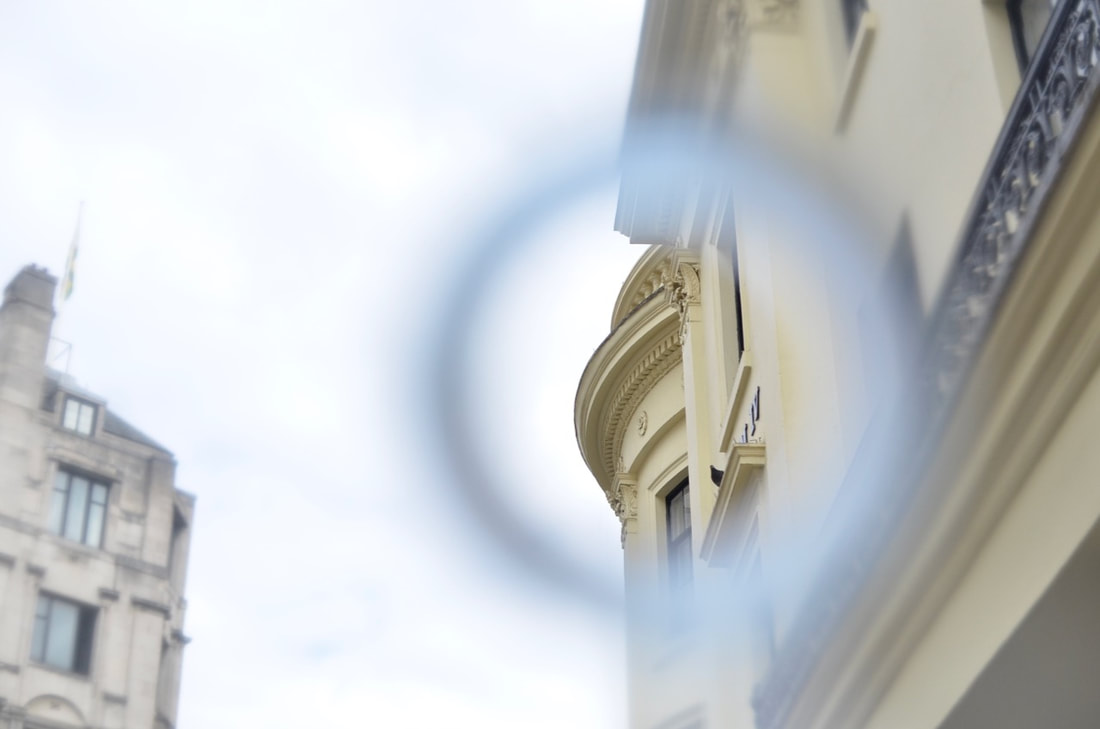
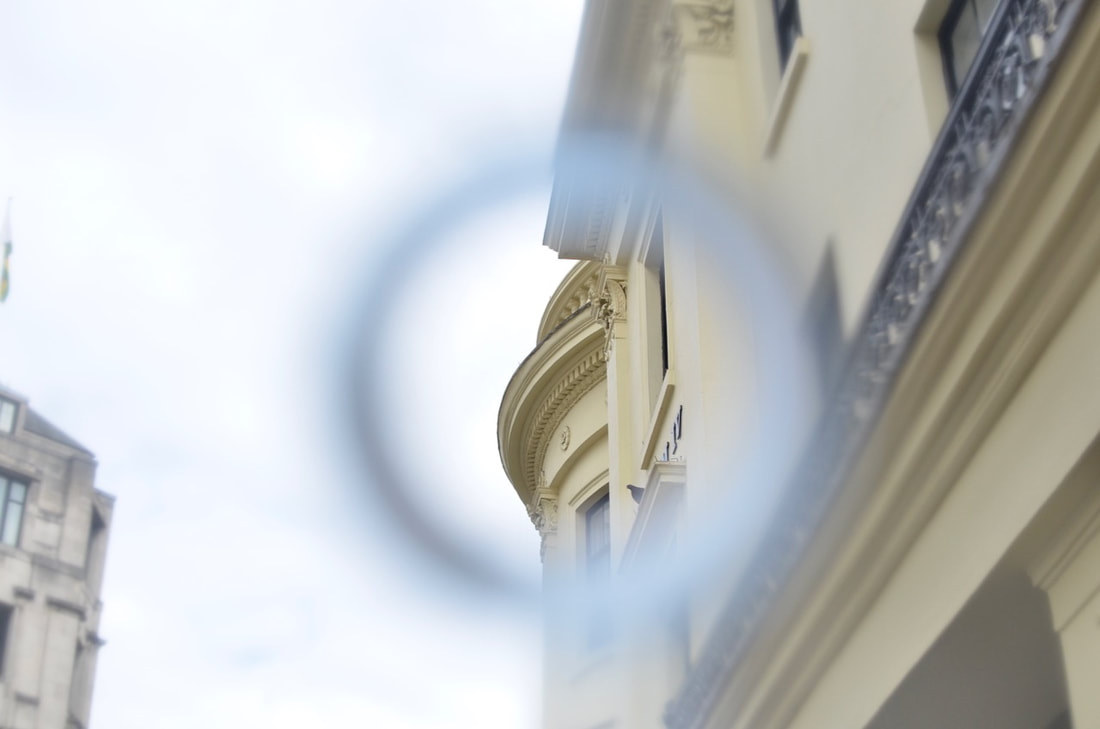
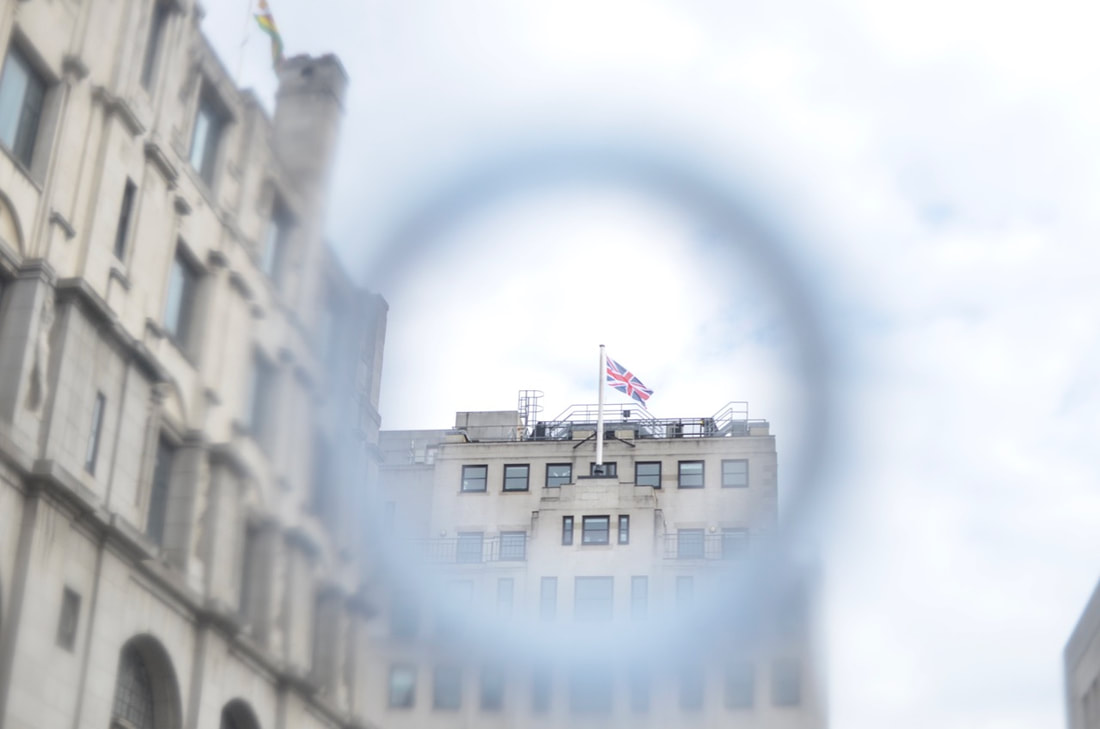
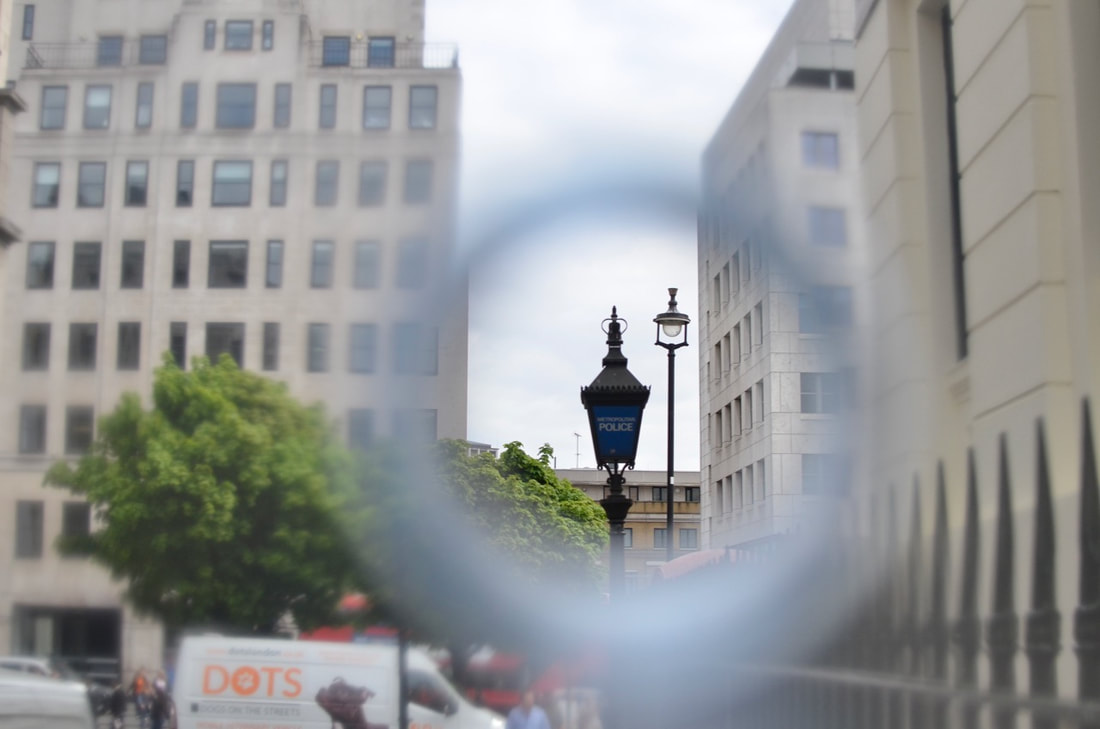
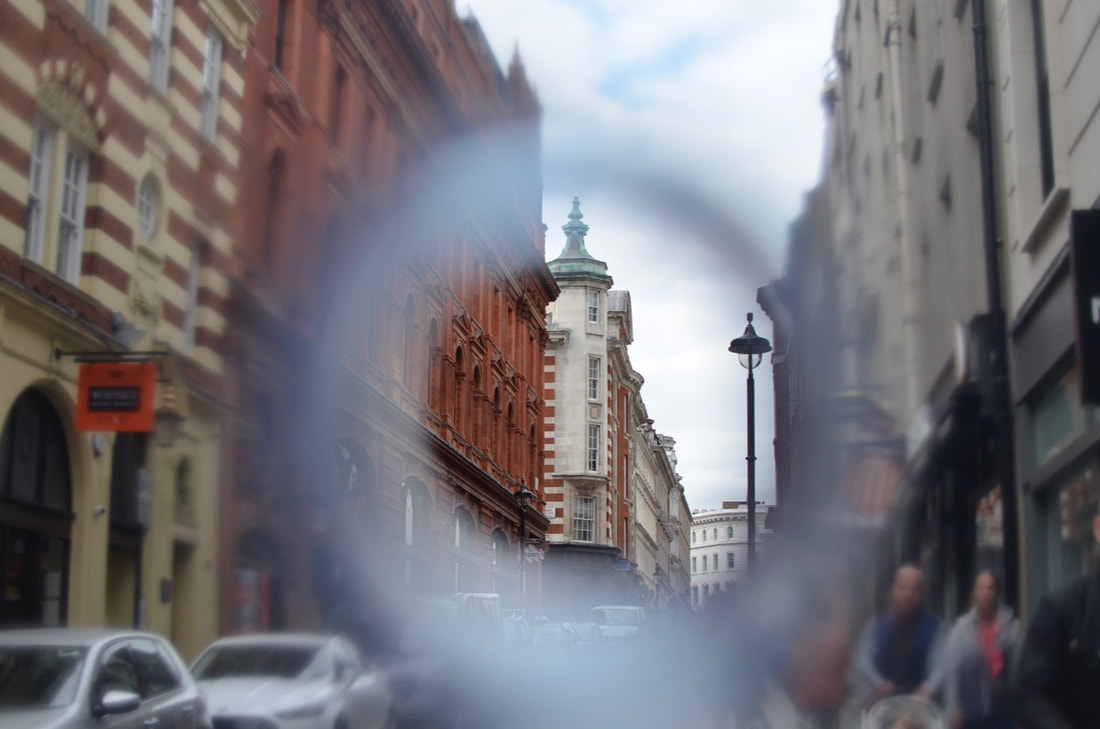
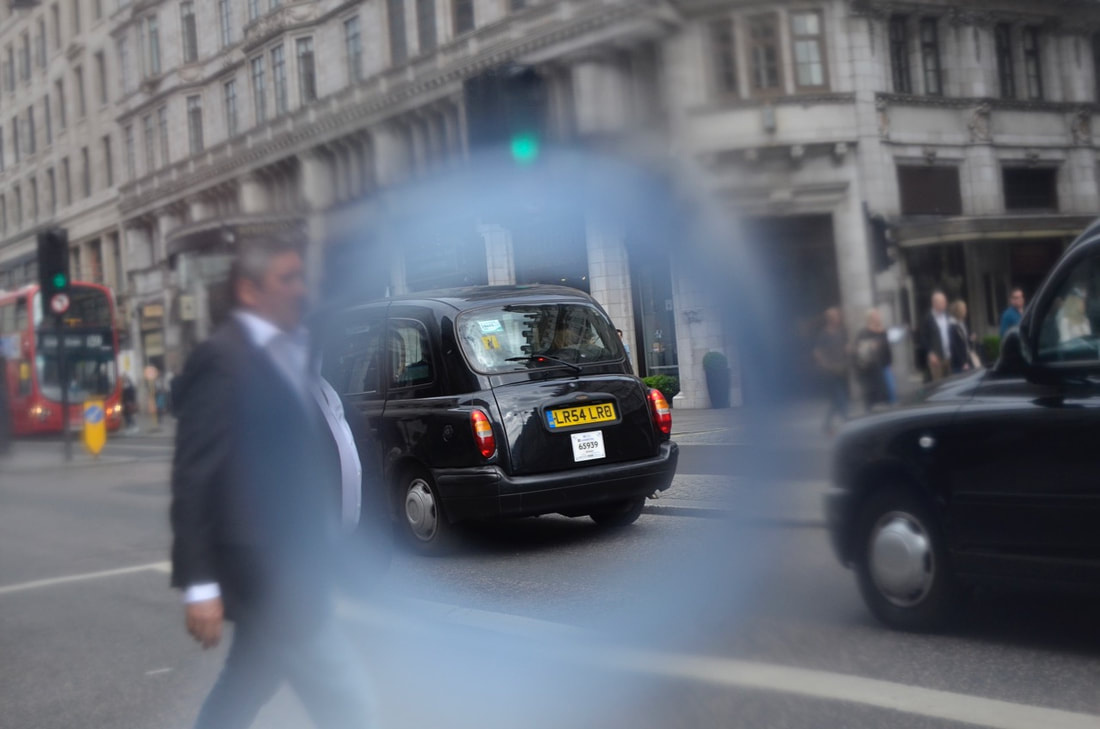
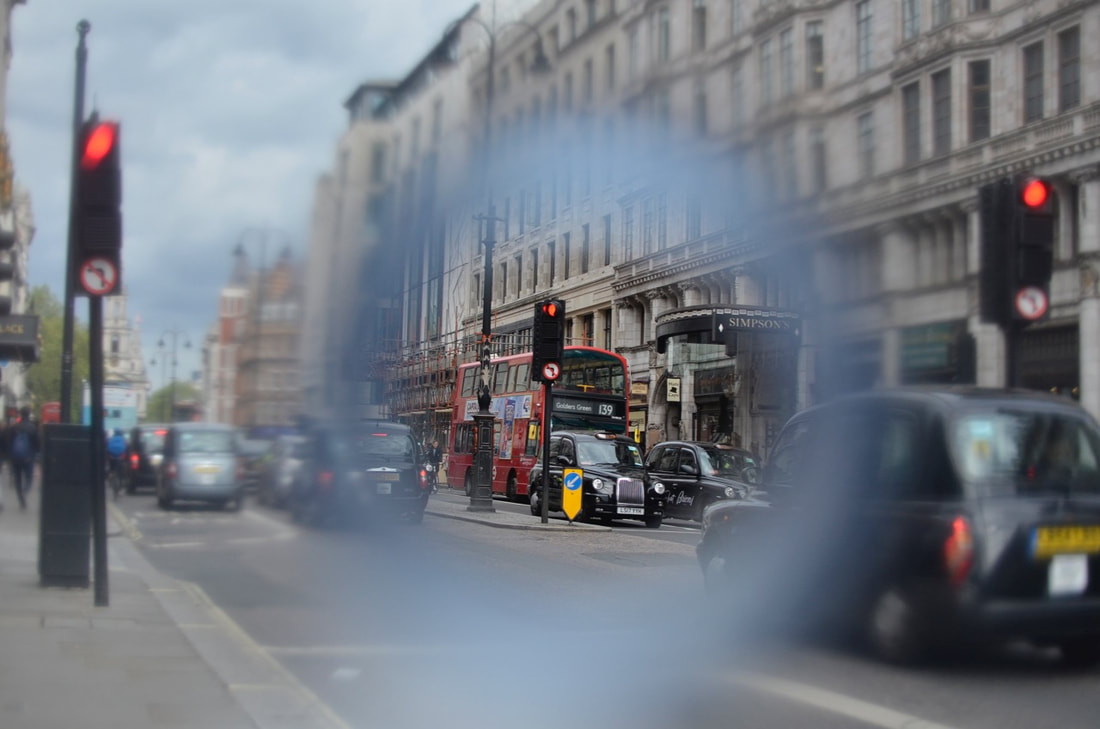
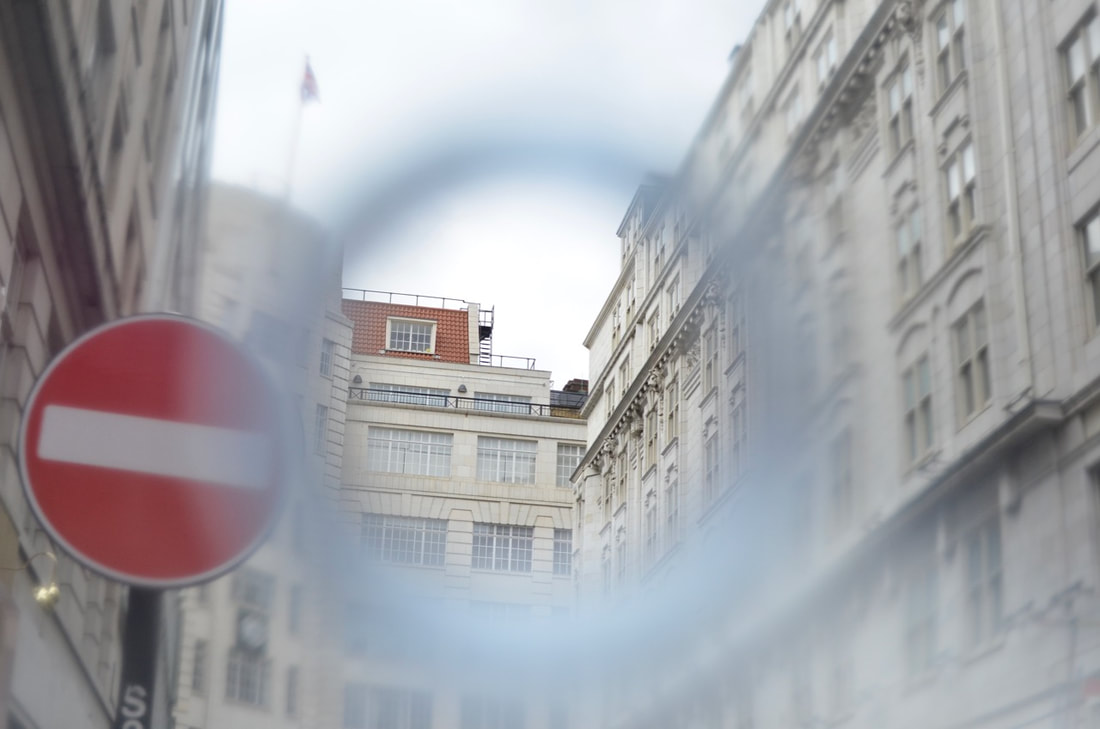
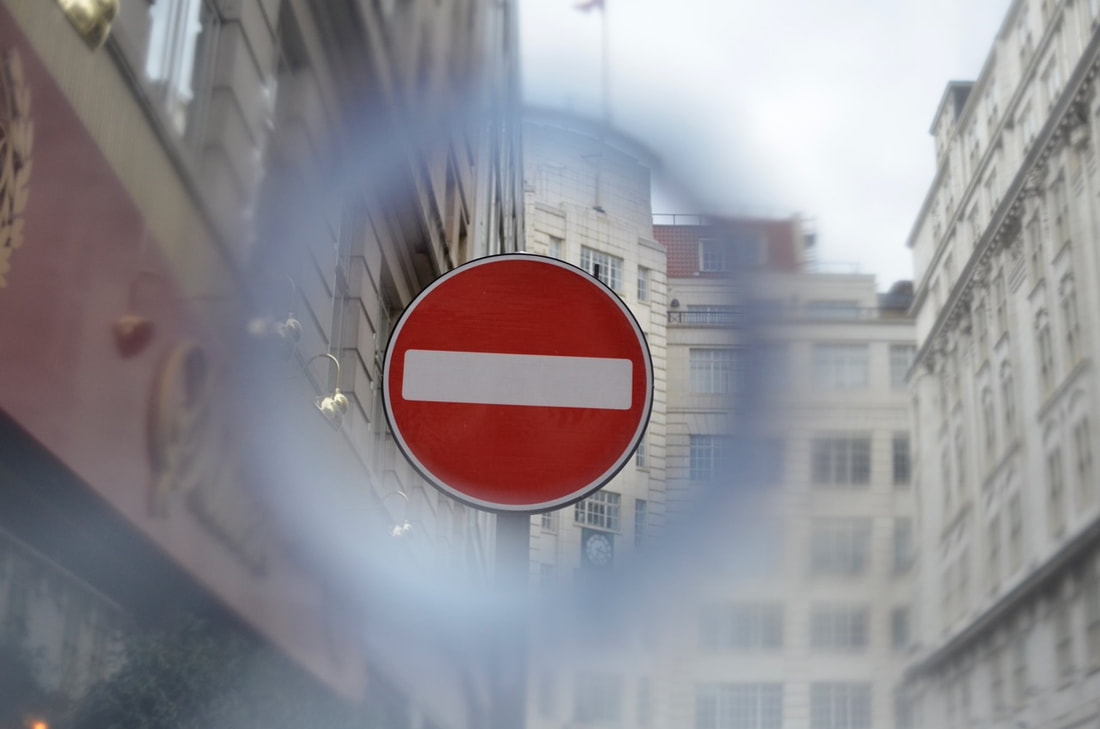
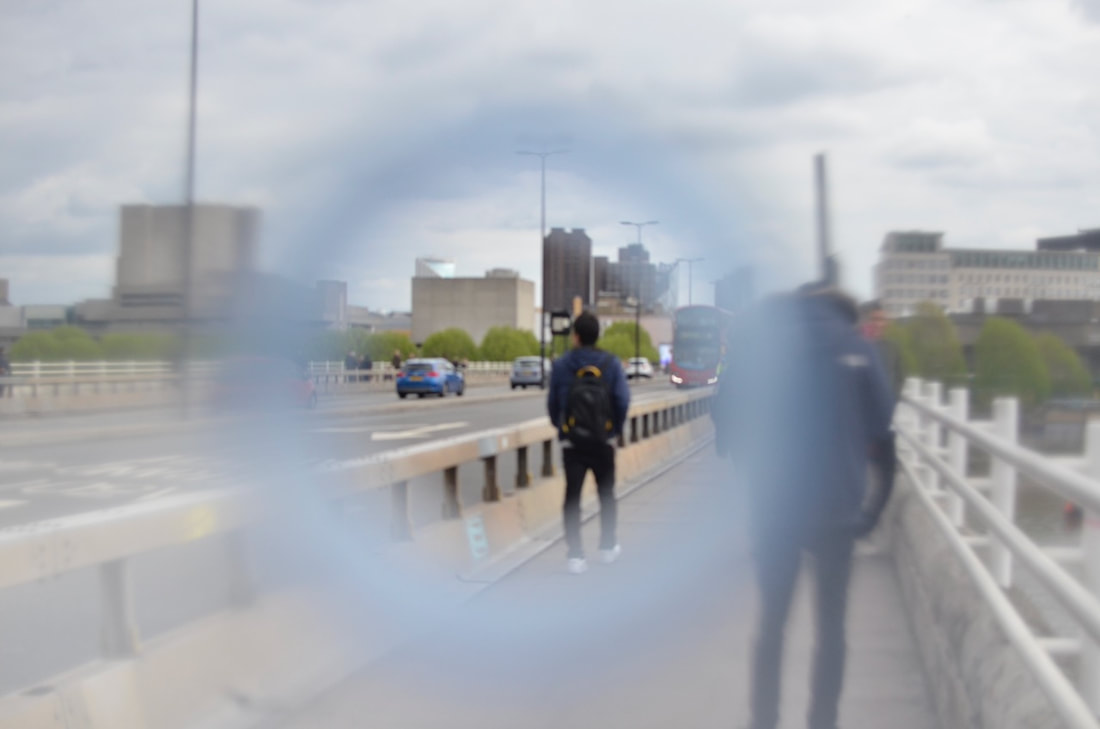
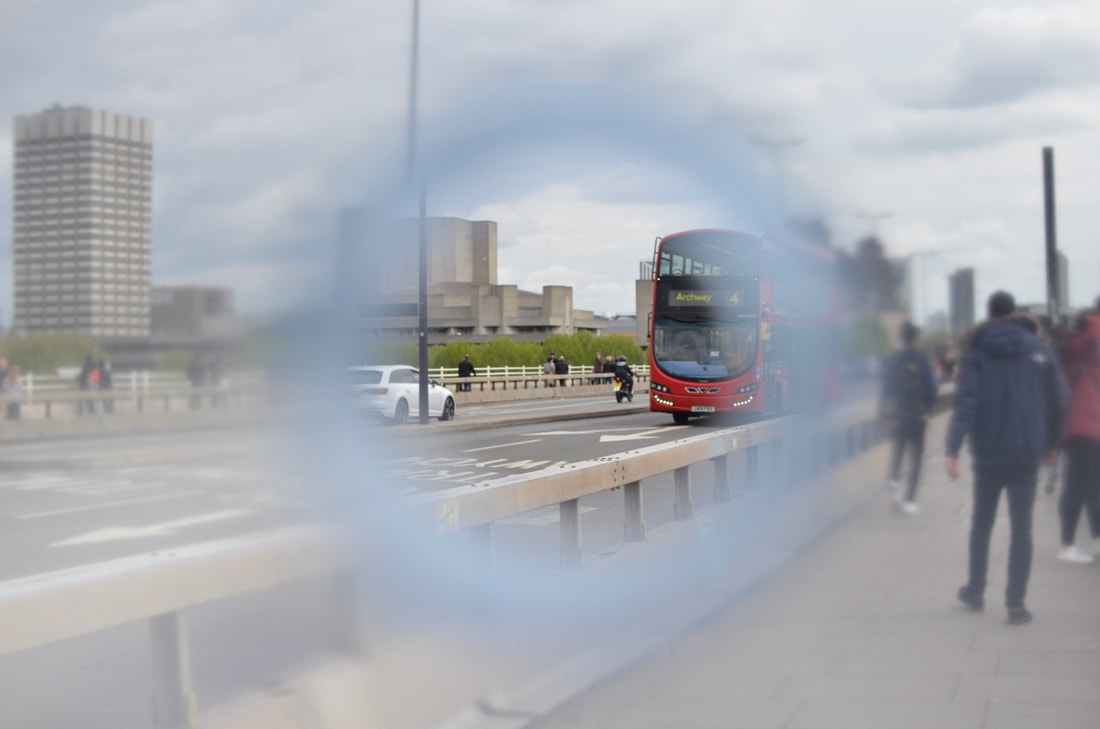
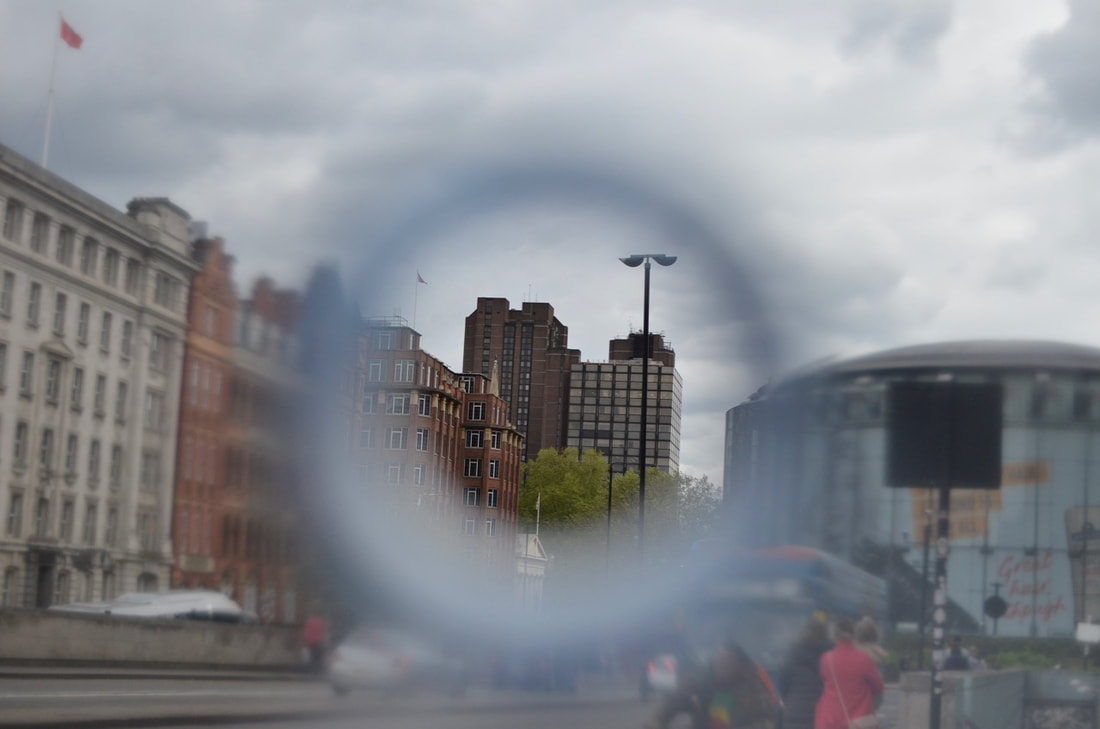
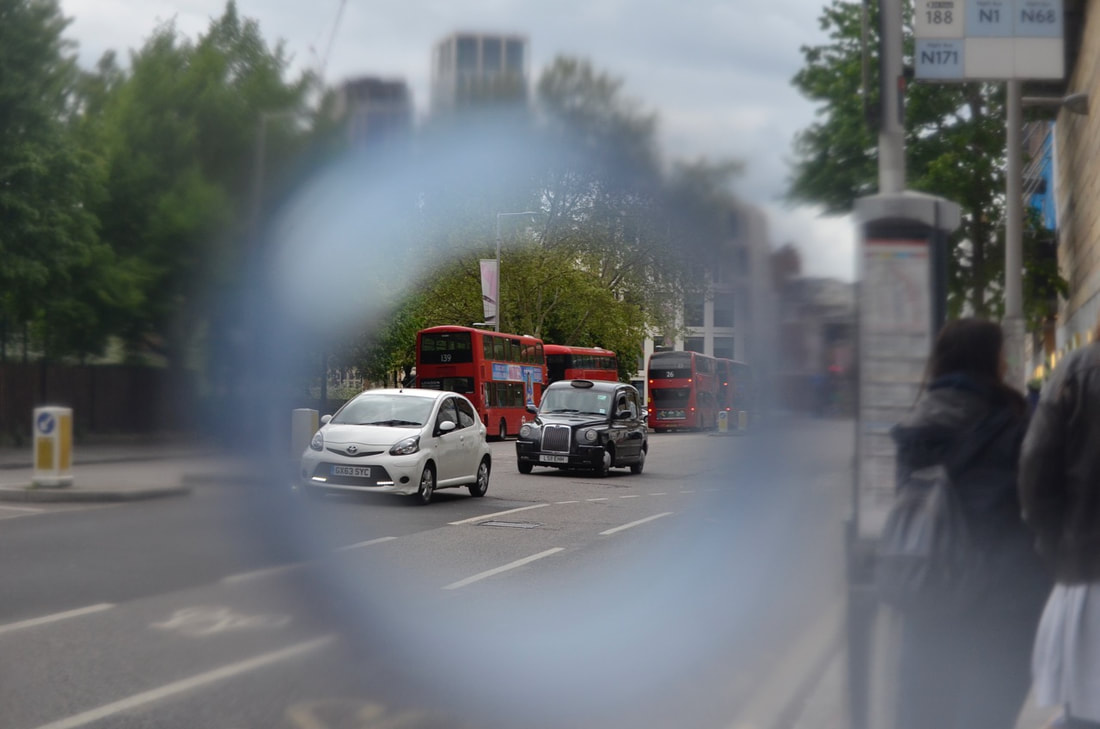
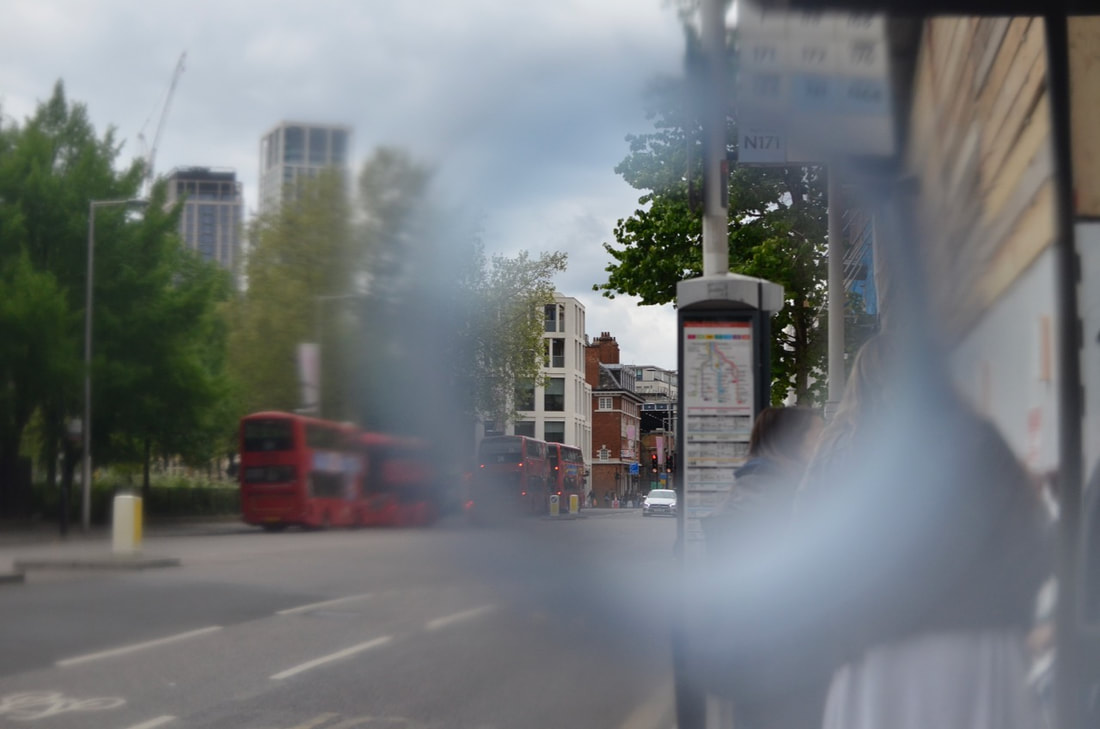
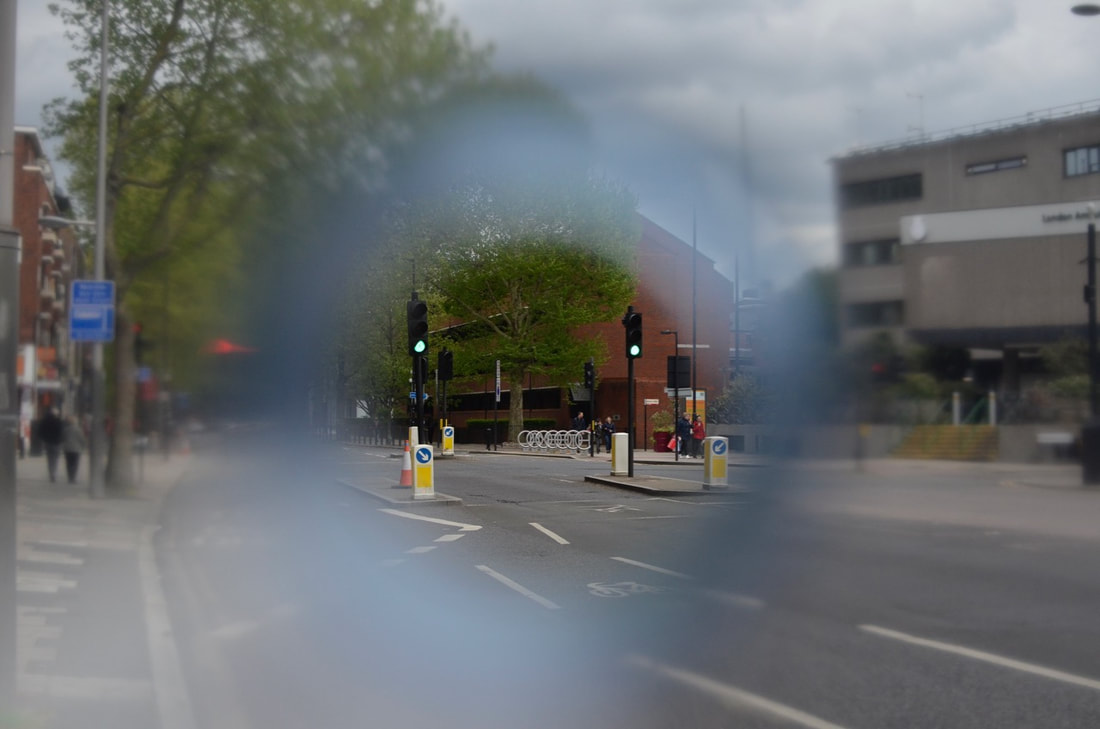
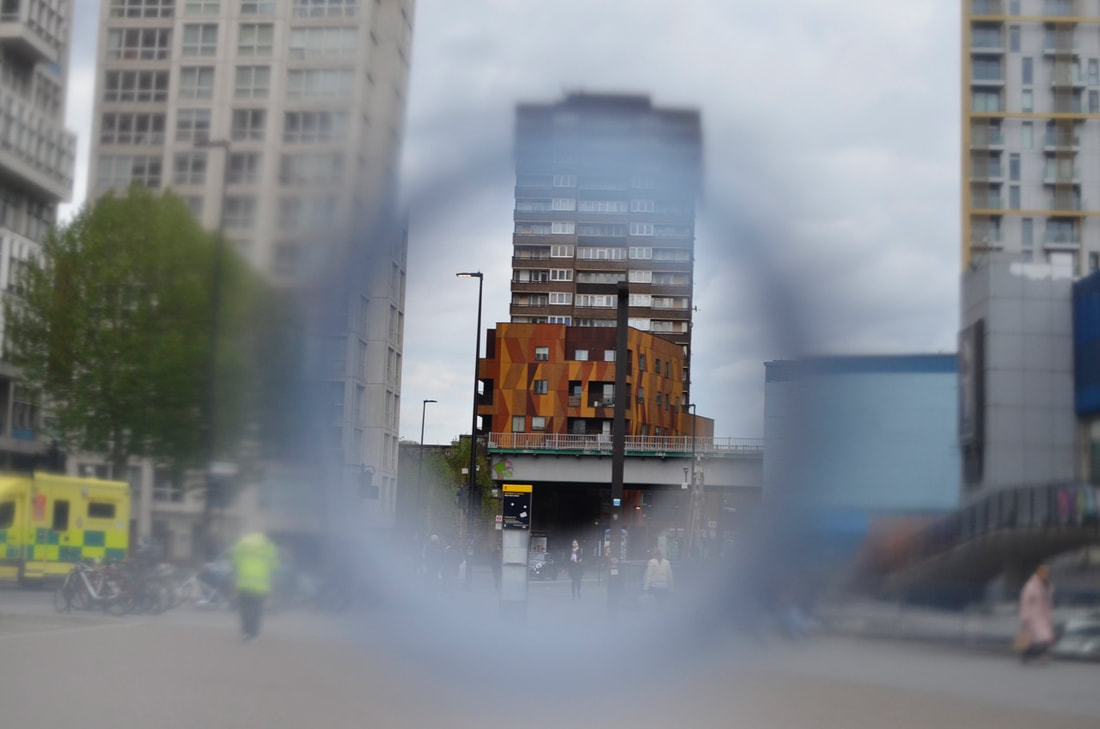
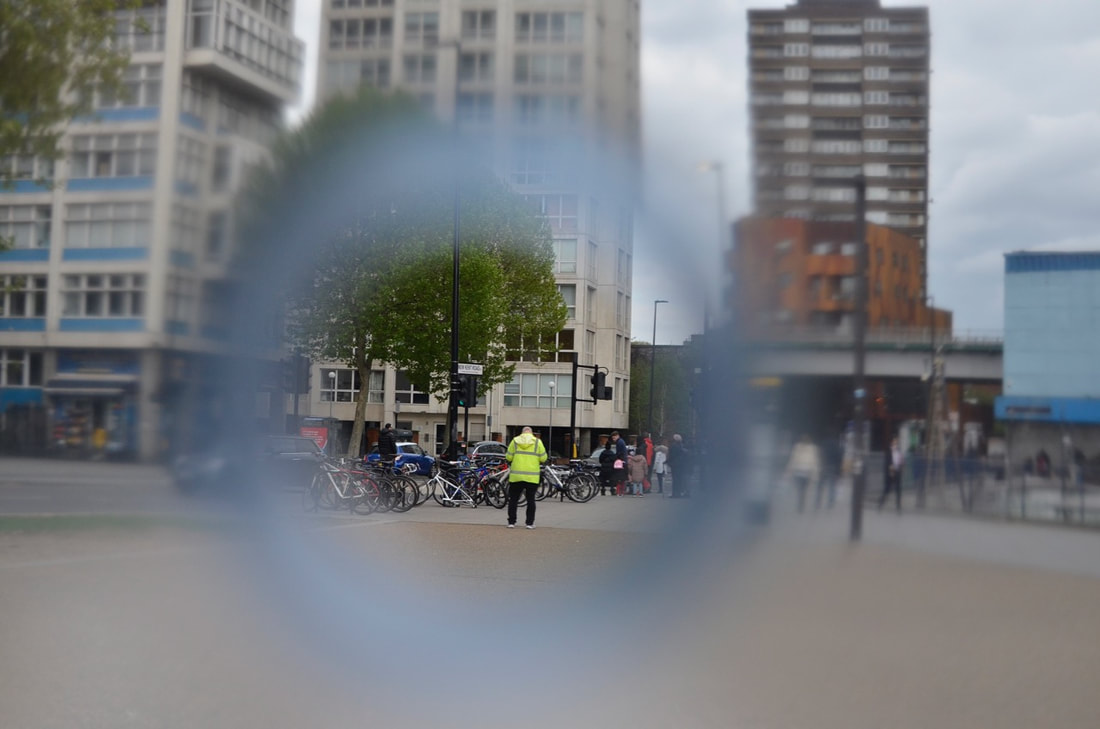
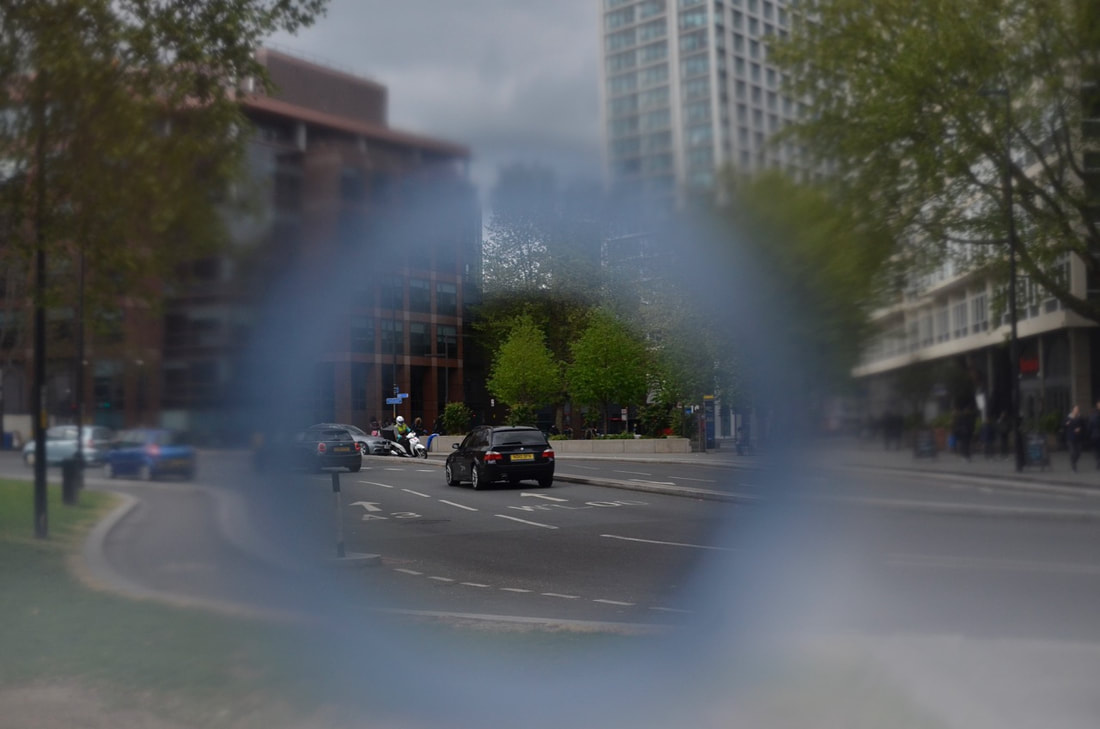
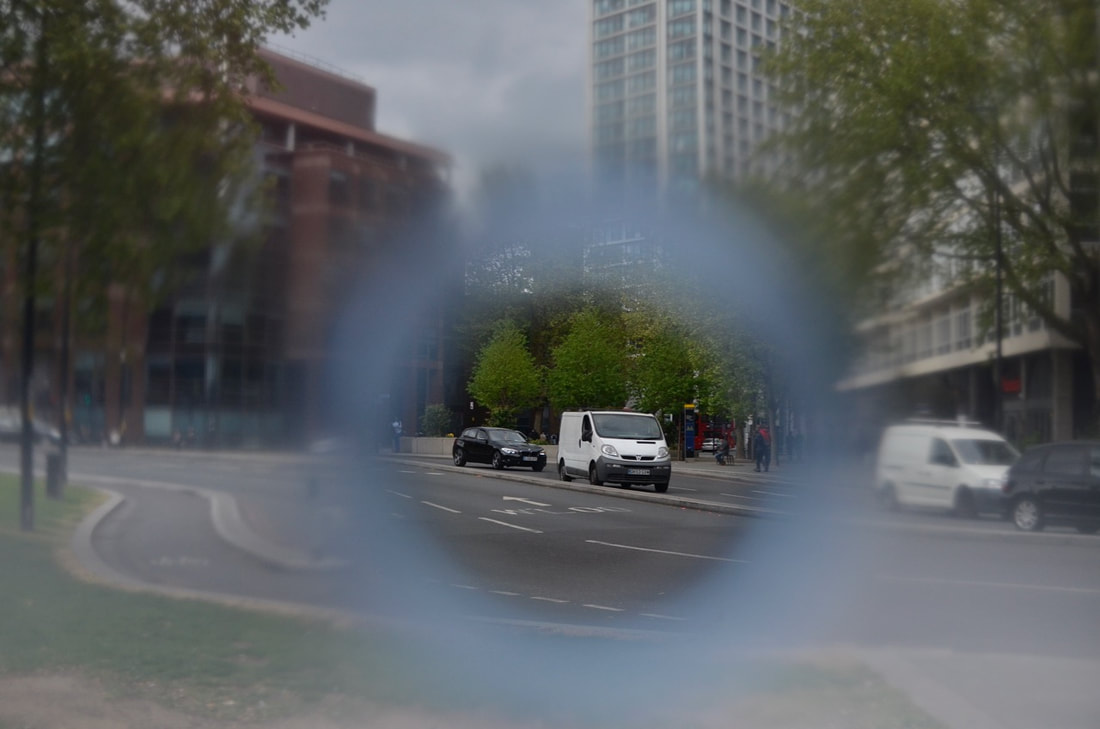
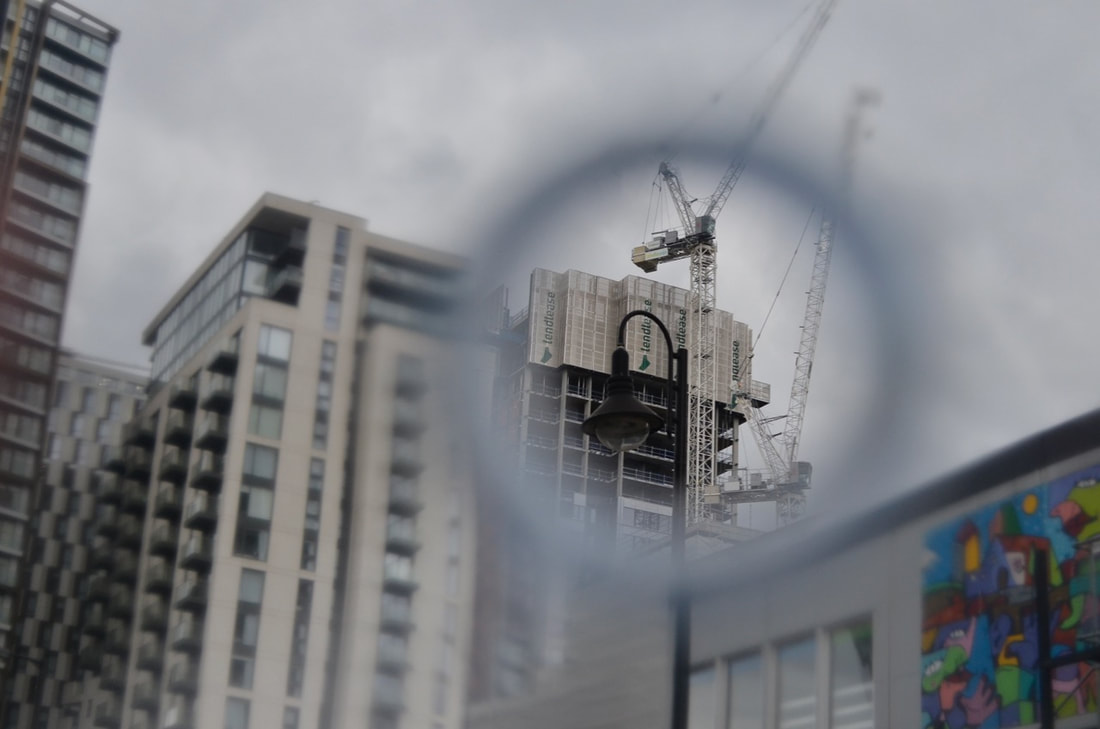
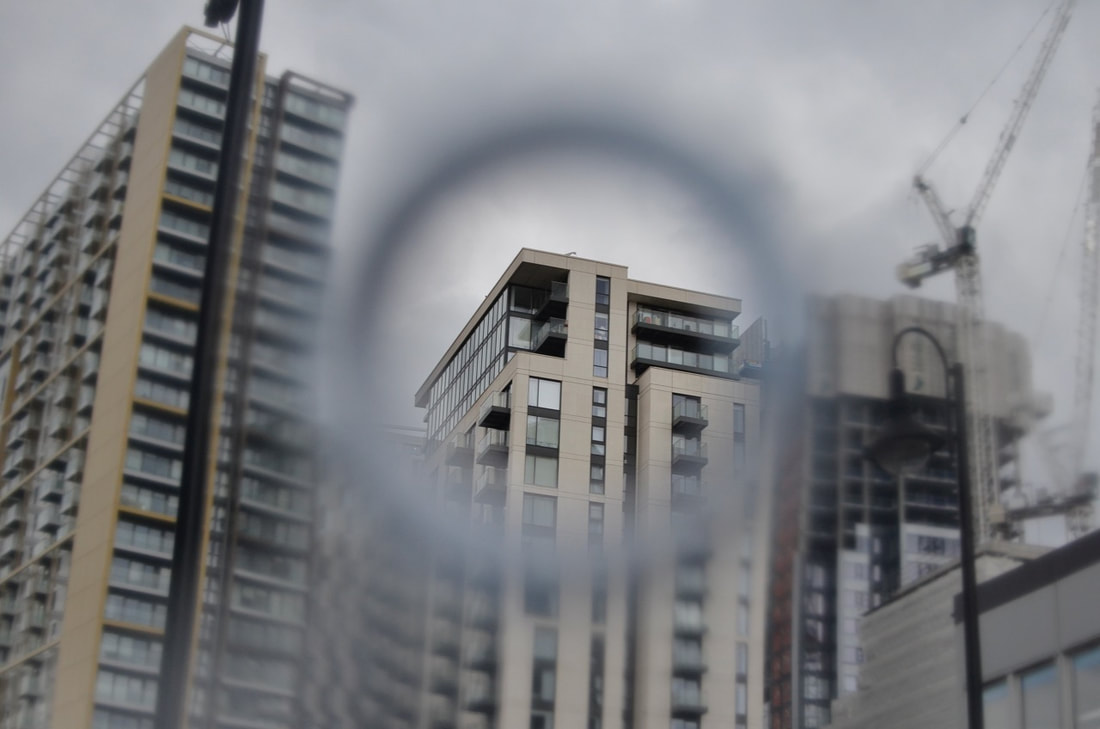
My initial ideas to create a response to John Hilliard's cause of death by photographing a full landscape image and using a digital design software to crop that whole image into 4 different sections. However, after reviewing this idea it is almost like a replica of his technique and I wanted to experiment and explore his style of work differently. Therefore, instead of cropping the image, I thought of cutting out a circle to act as my cropped lens and this process would make me think carefully of what I want to specifically capture in the frame as I am restricted to a much smaller area than usual.
Although Hilliard's cropped images create a different narrative due to his cropping and words he used to name the different perspectives of the same scene. I think that this shows that a photographer has the power to manipulate the image and show what they want therefore, I am doing so by creating a lens to disrupt the traditional frame we would view and restrict it using a piece of paper with a hole to draw attention to certain sections within a landscape.
Although Hilliard's cropped images create a different narrative due to his cropping and words he used to name the different perspectives of the same scene. I think that this shows that a photographer has the power to manipulate the image and show what they want therefore, I am doing so by creating a lens to disrupt the traditional frame we would view and restrict it using a piece of paper with a hole to draw attention to certain sections within a landscape.
MY RESPONSE

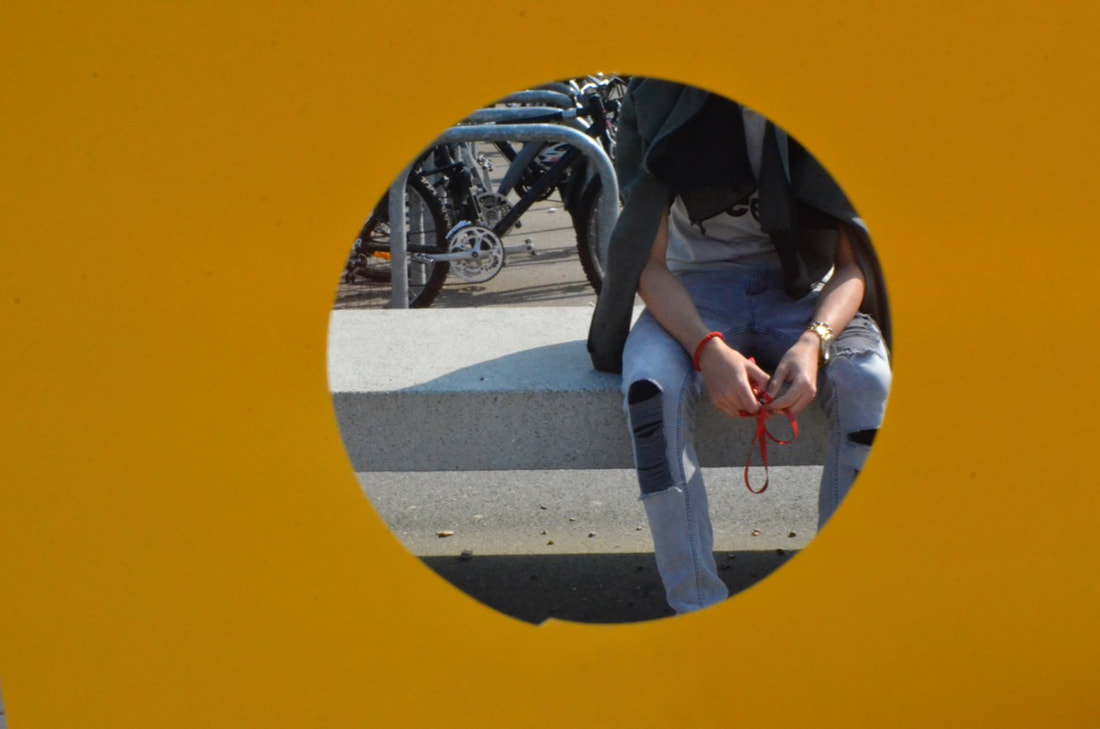
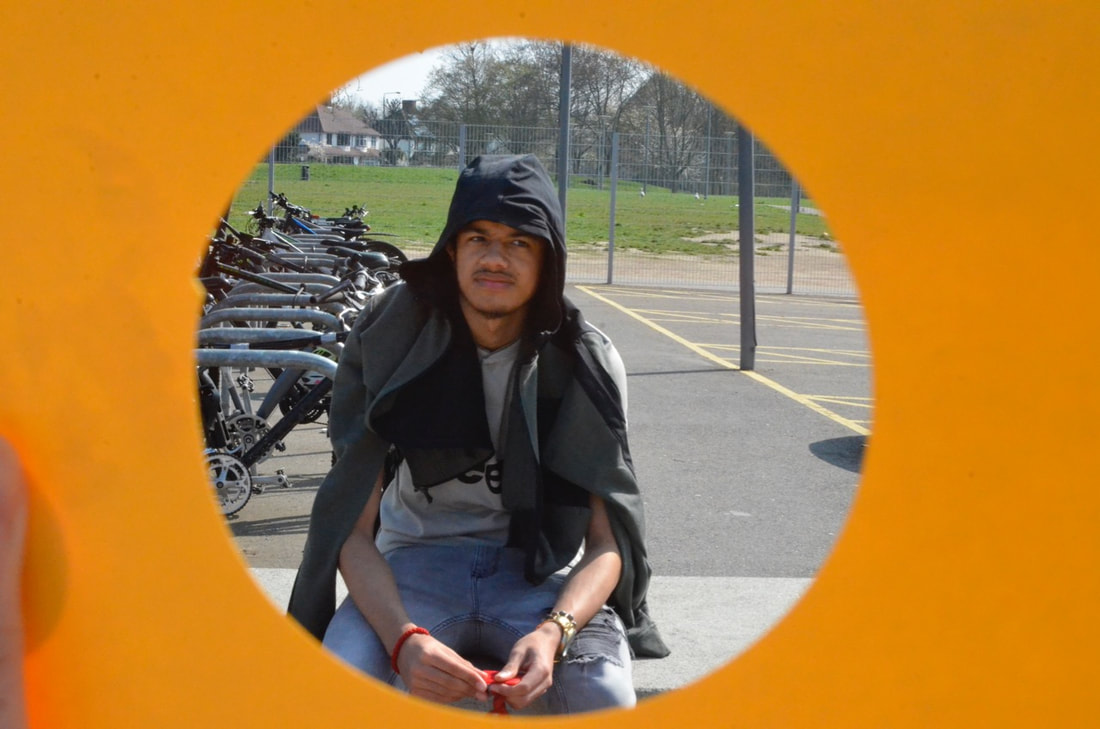
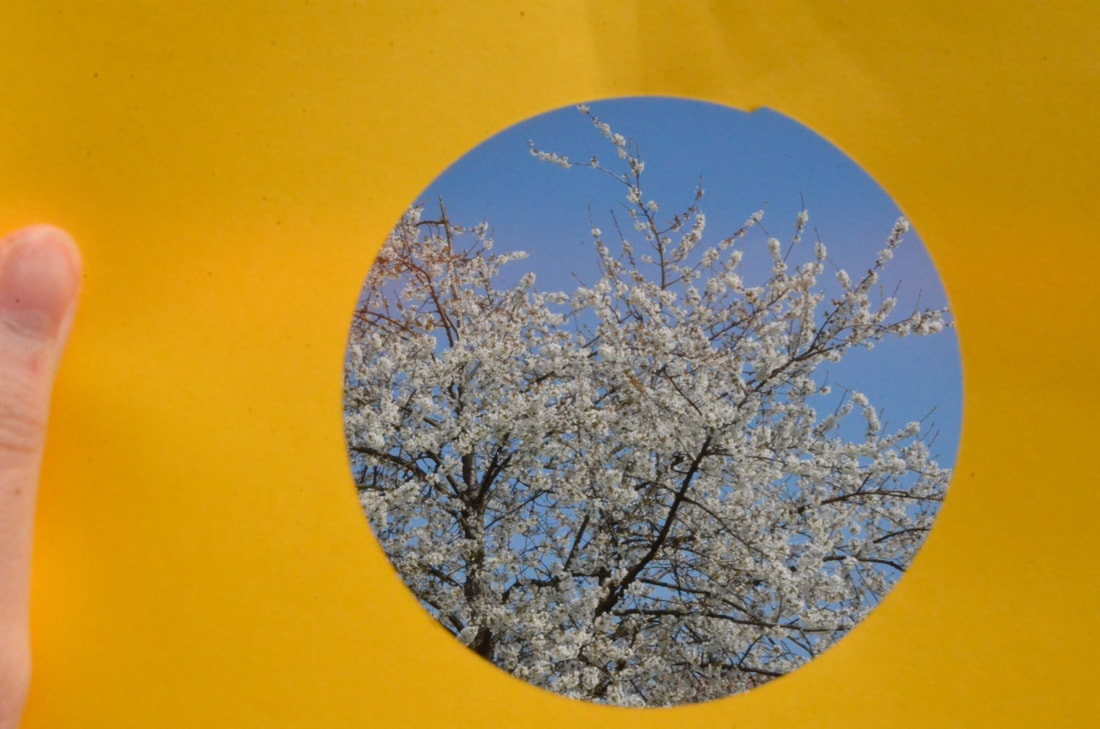
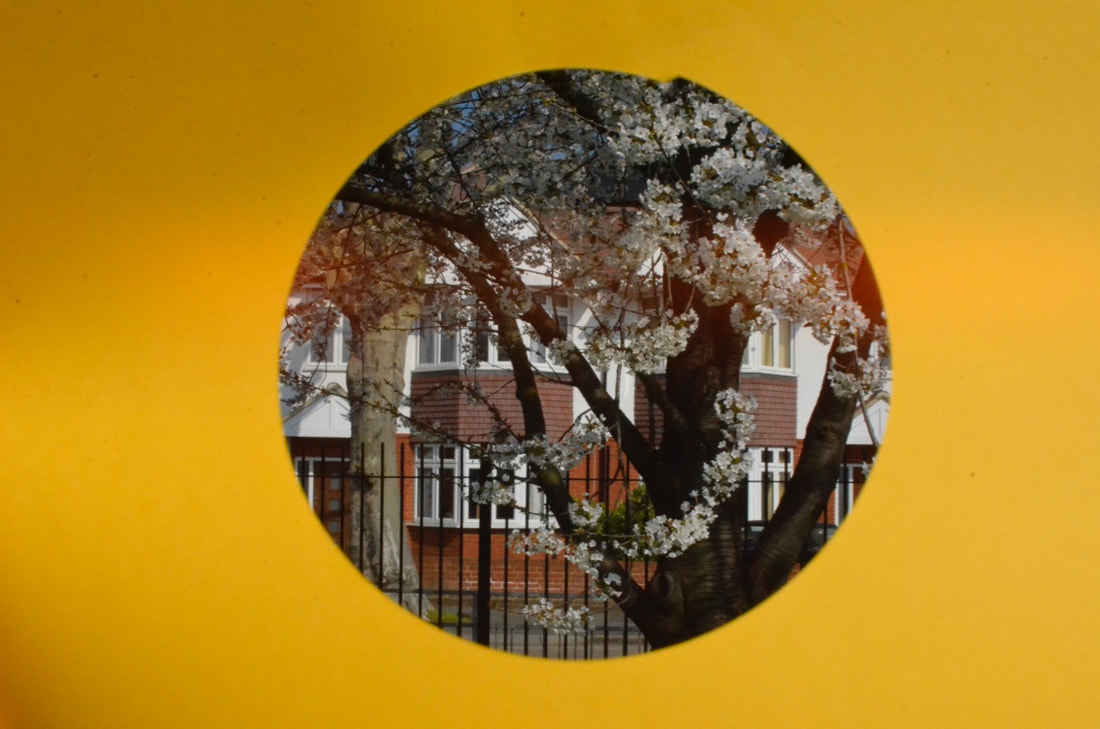
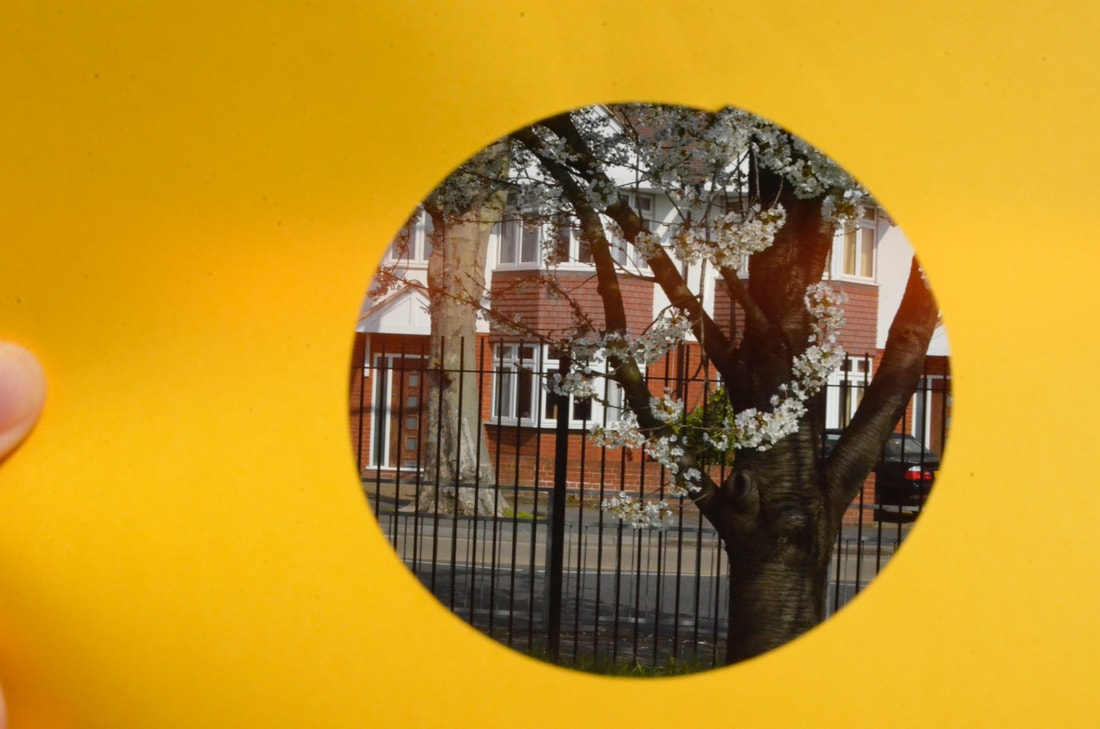
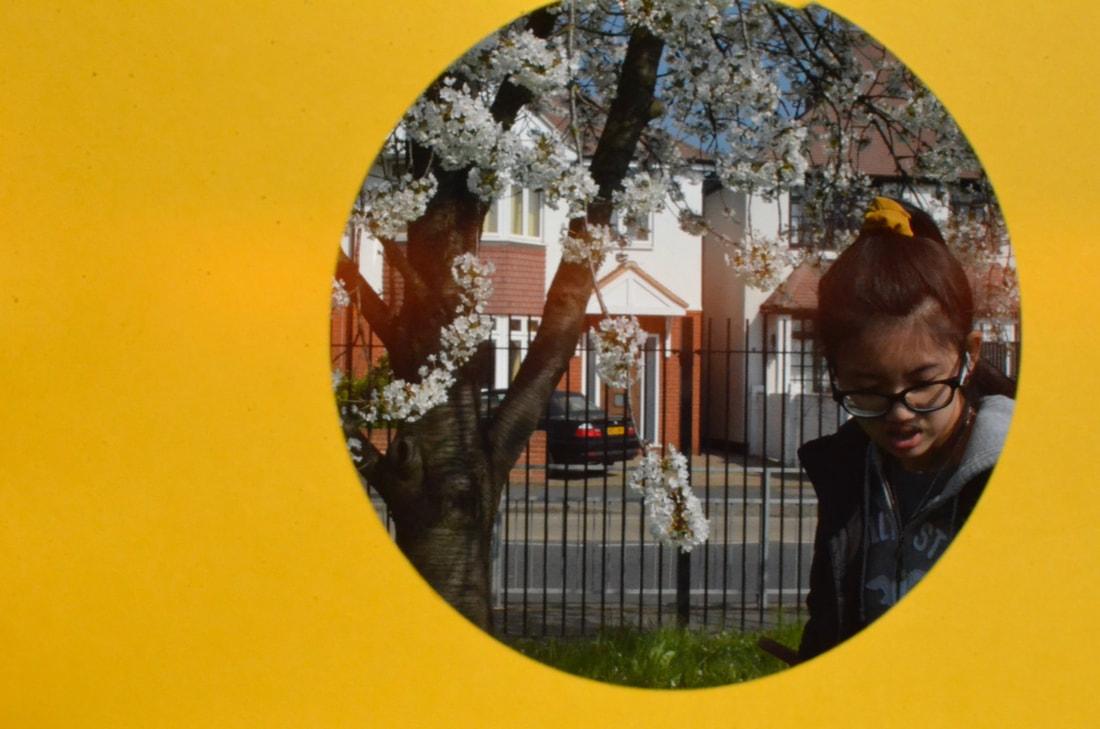
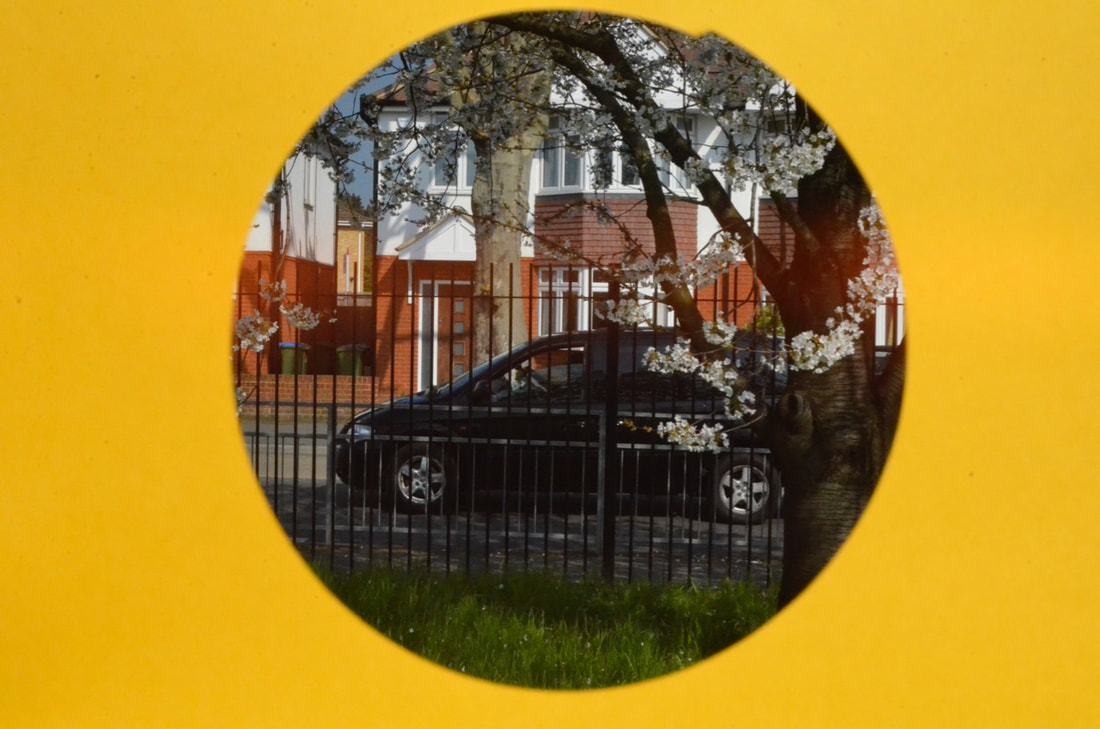

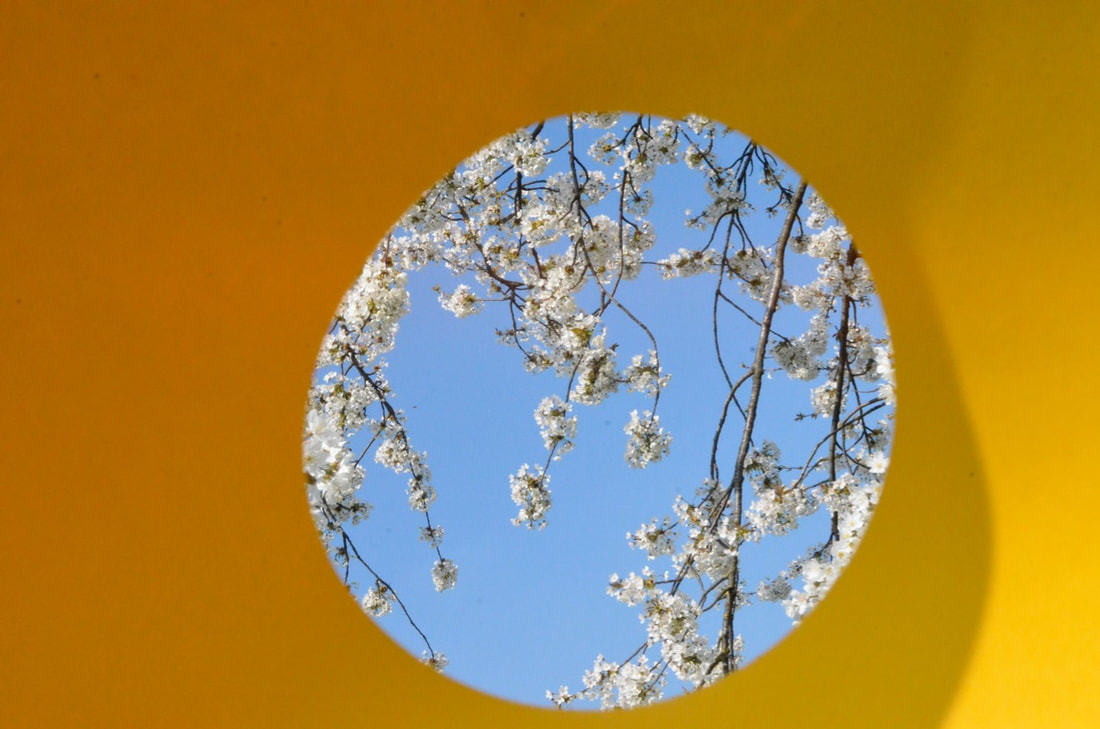
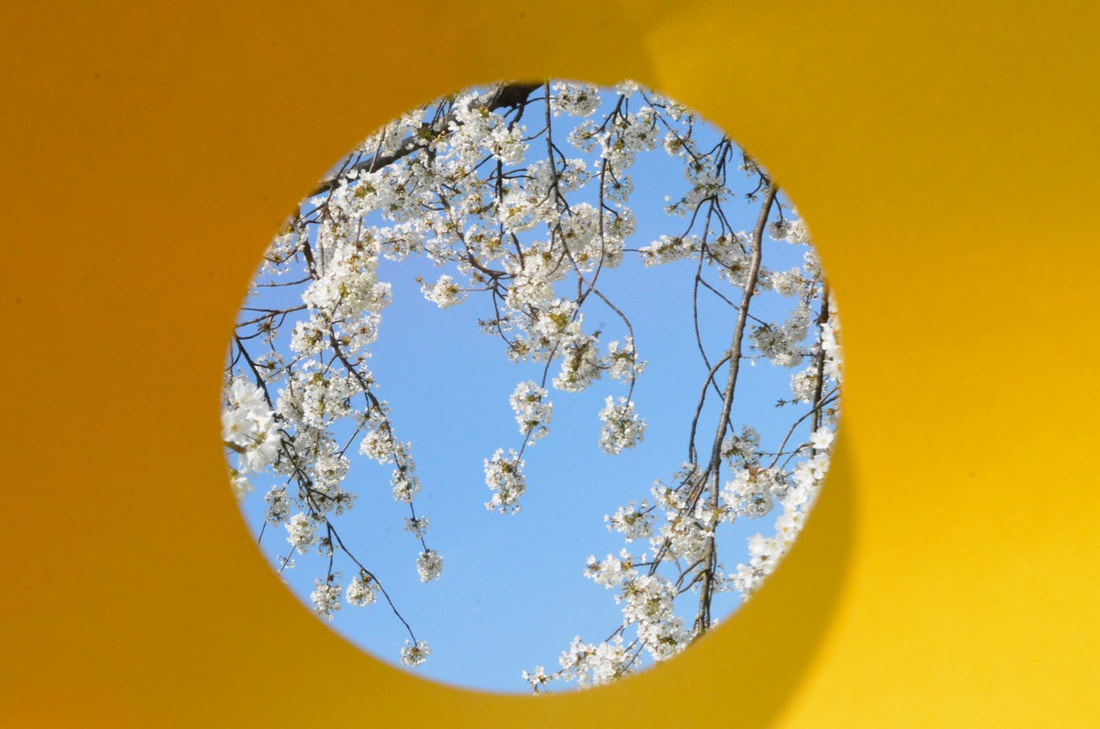
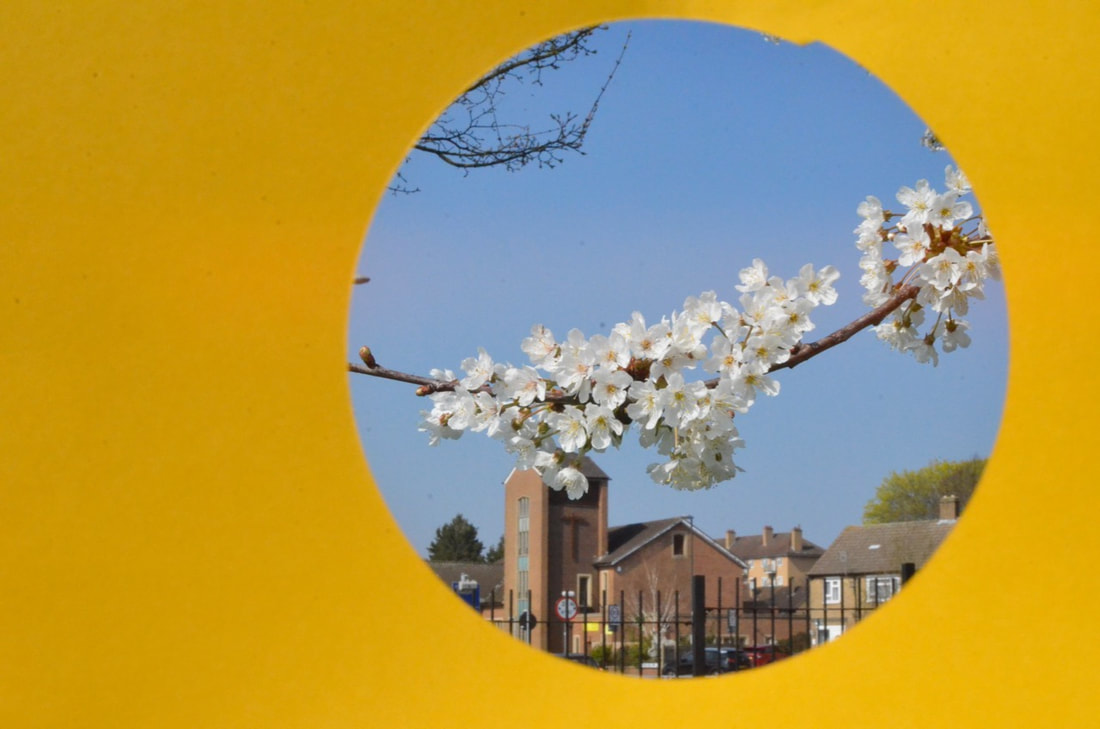
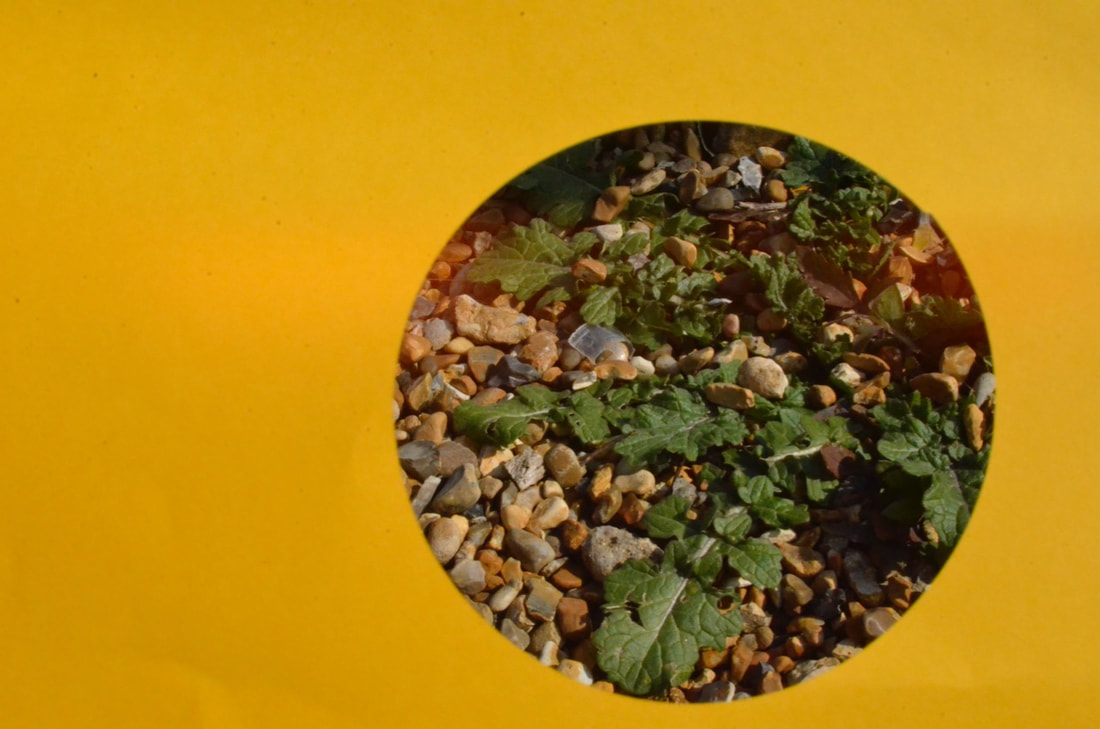
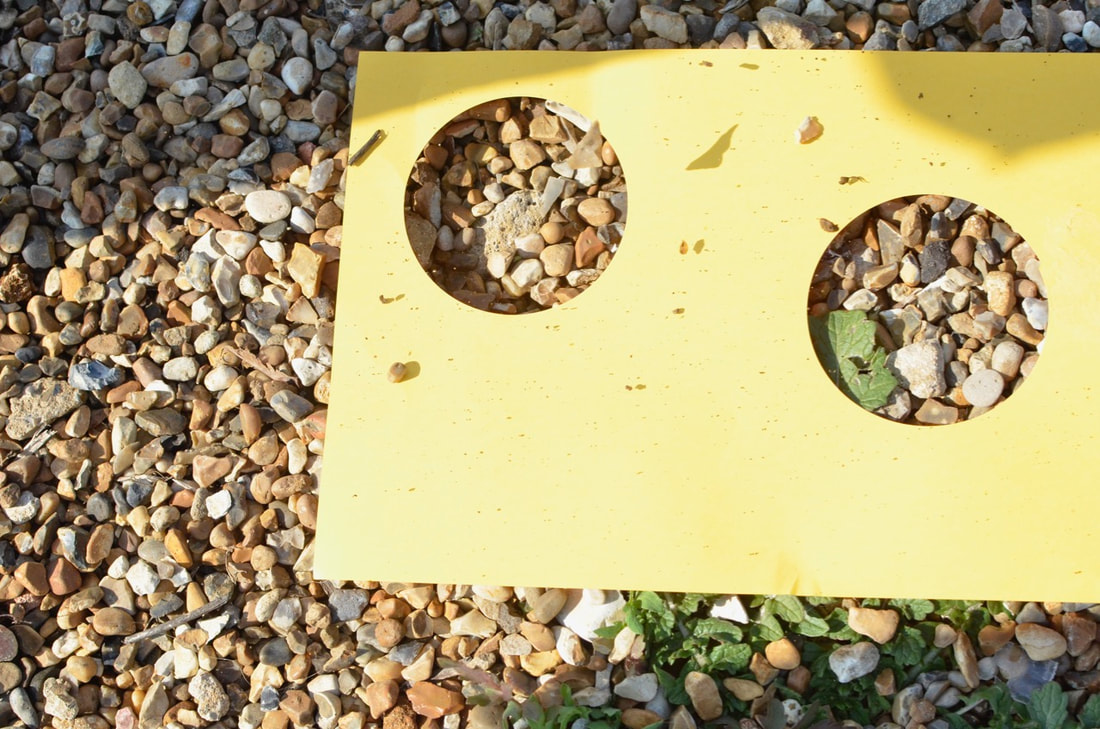
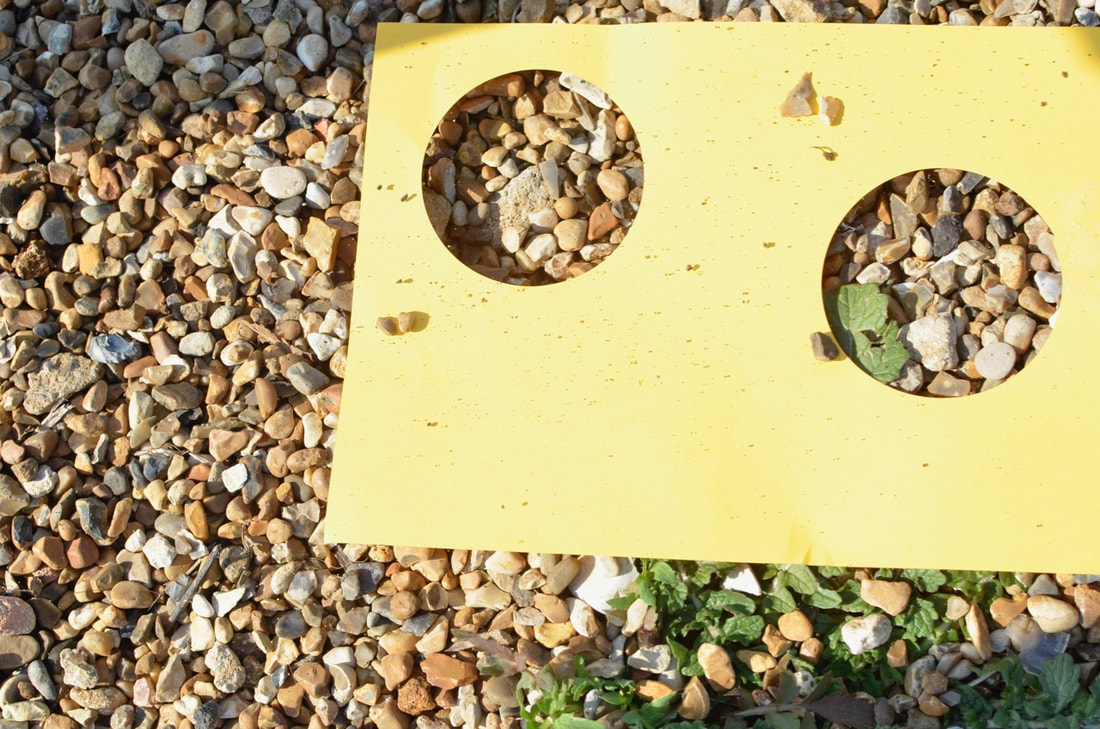

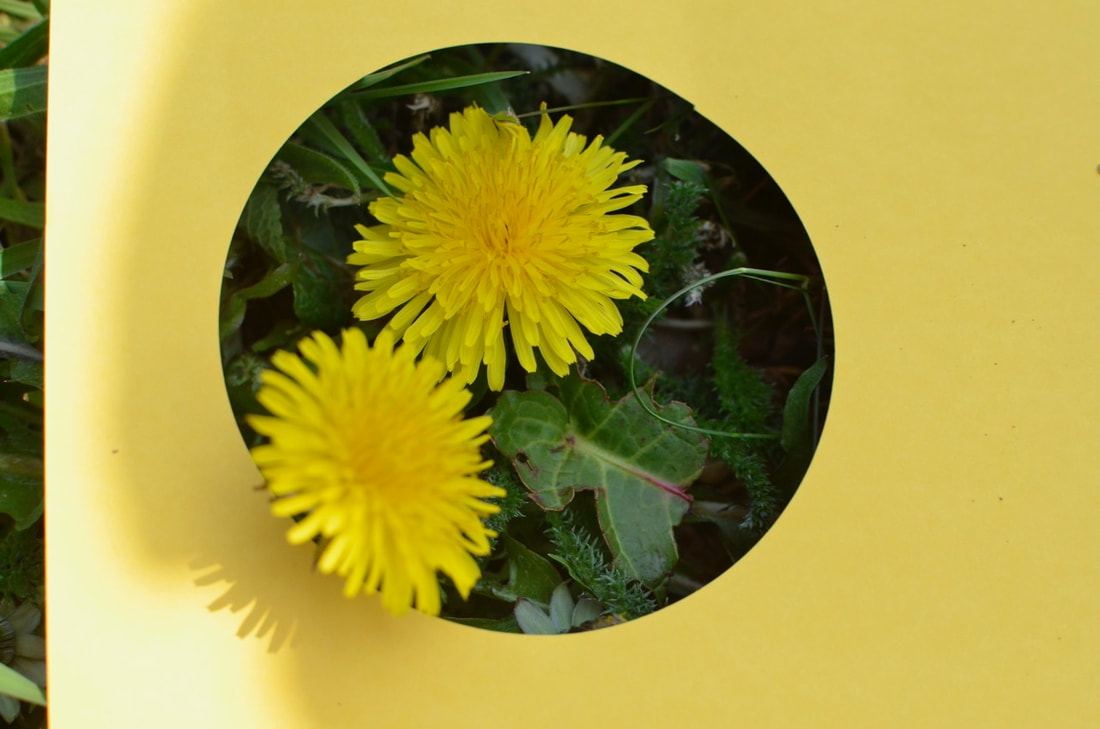
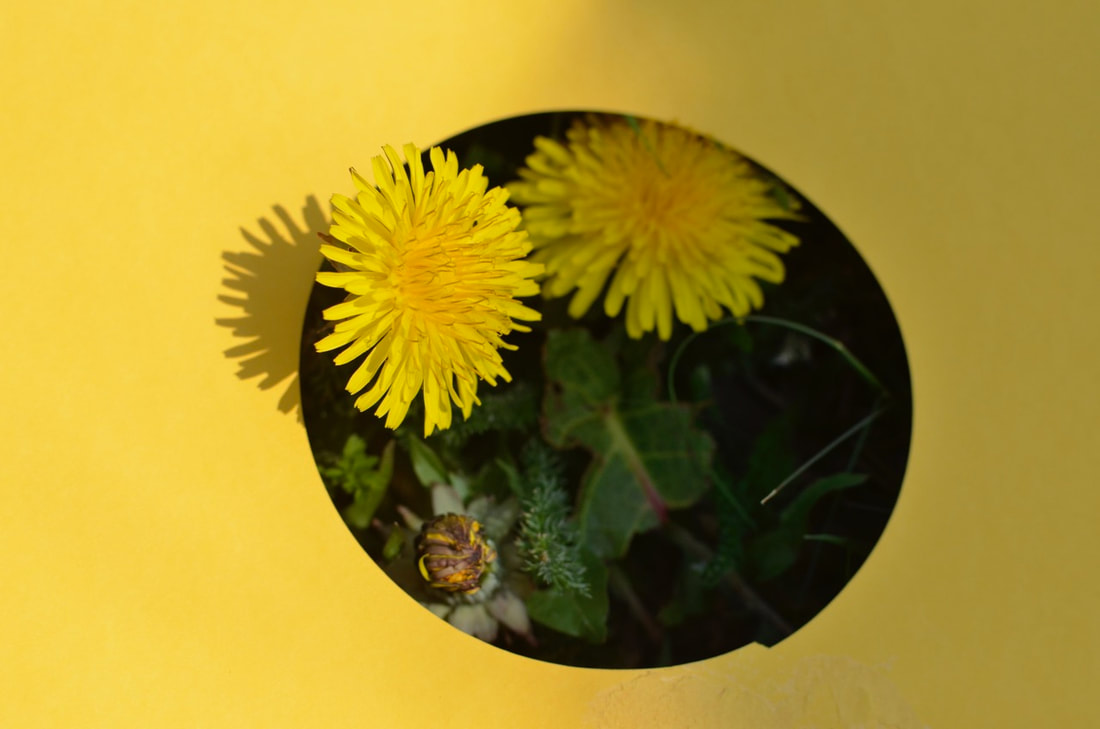
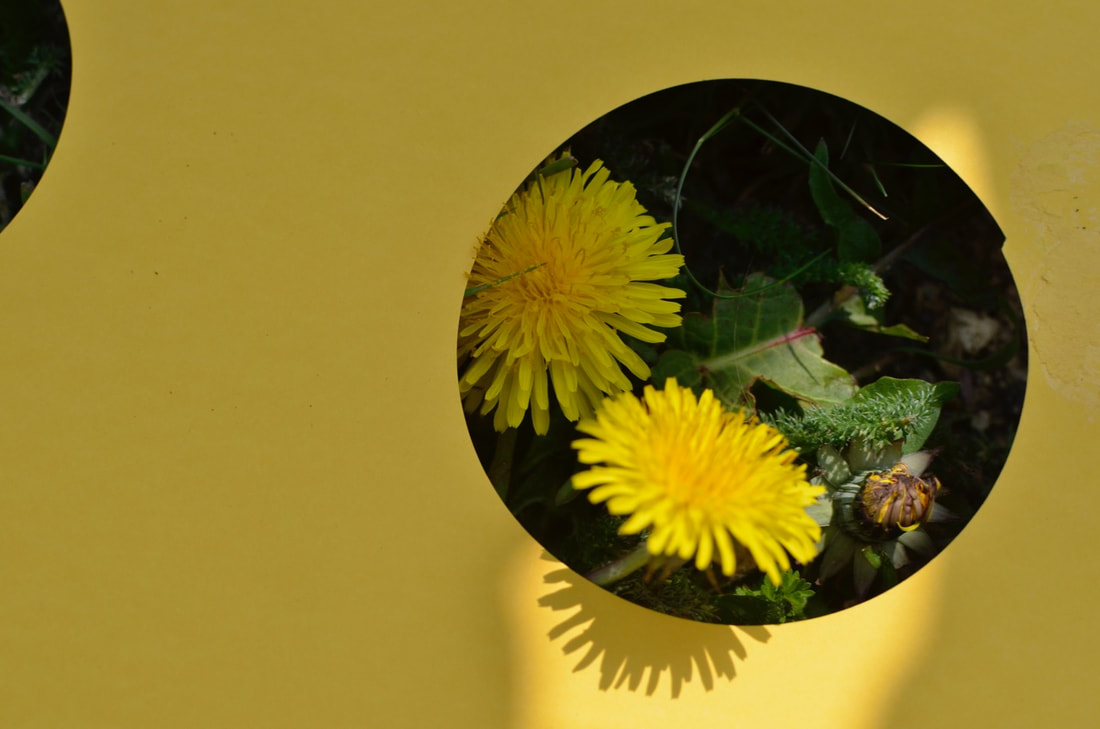
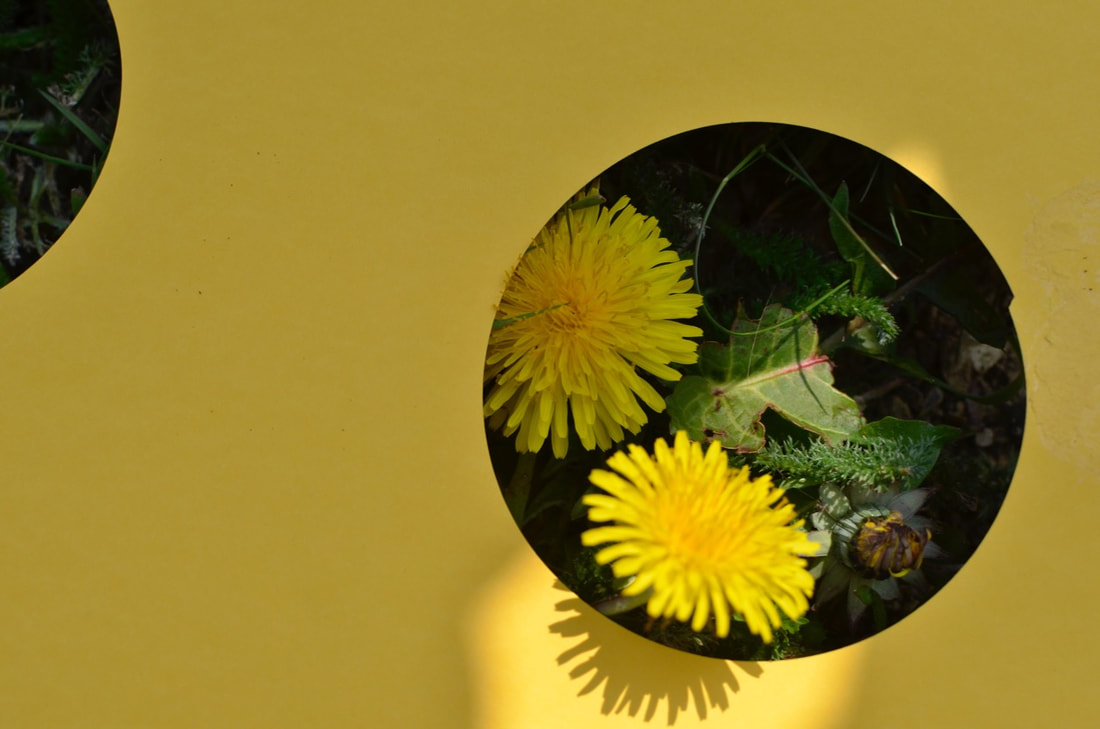
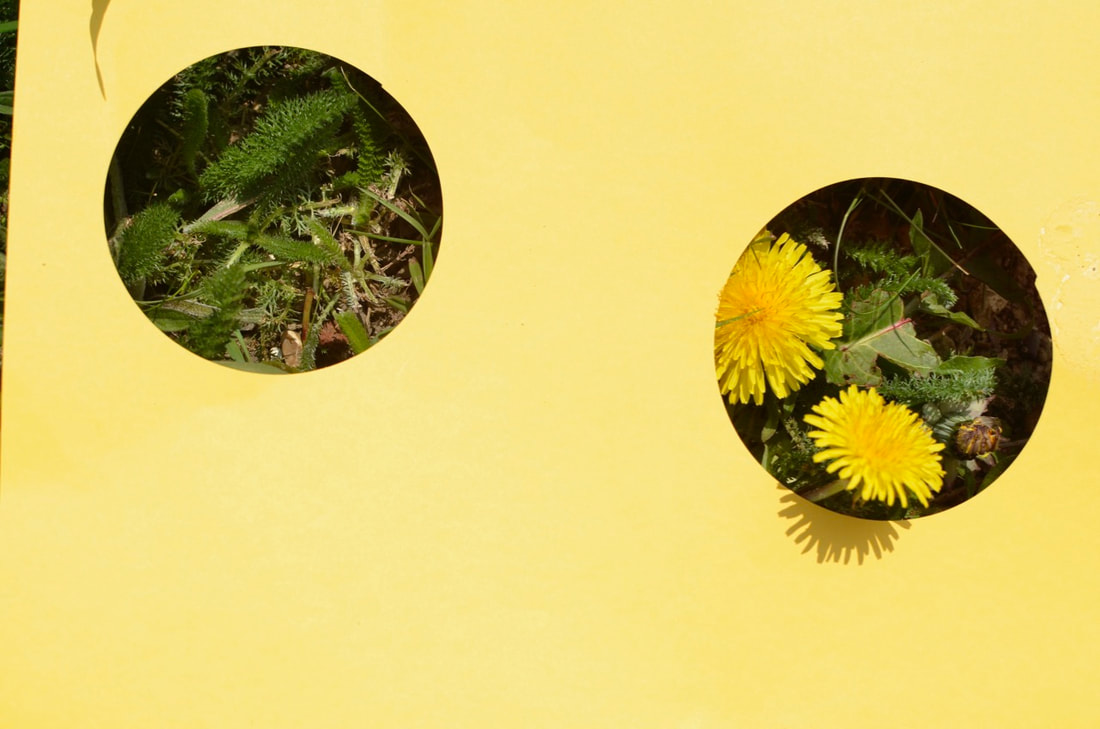
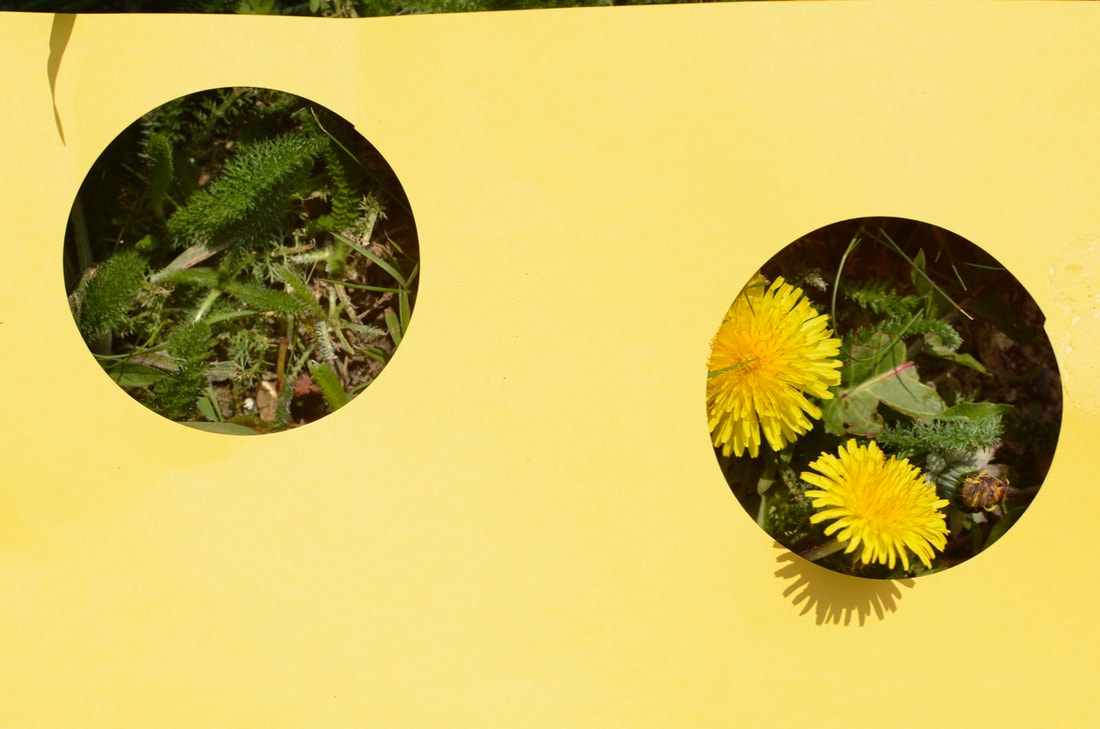
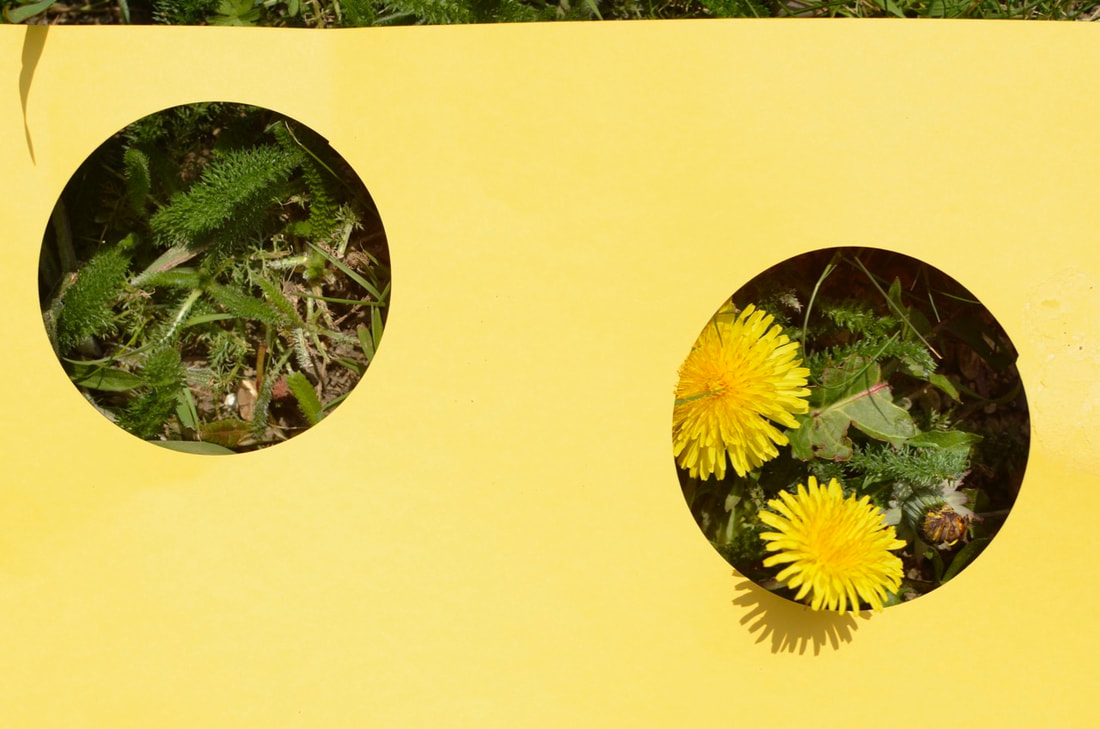
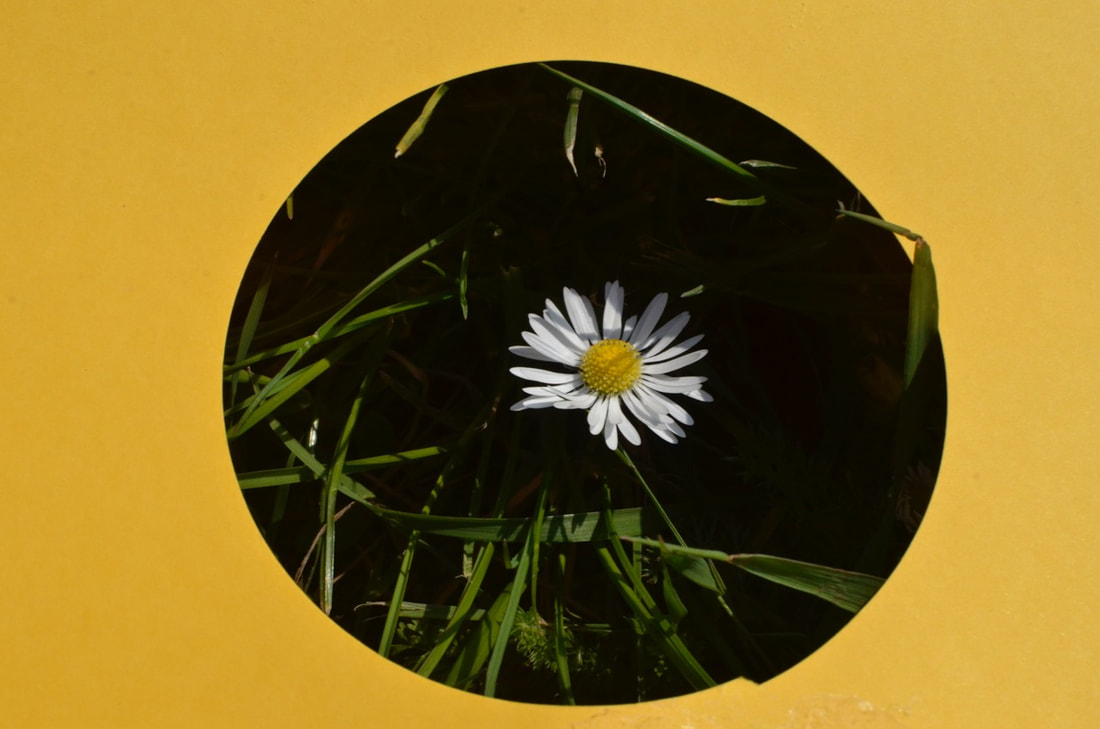
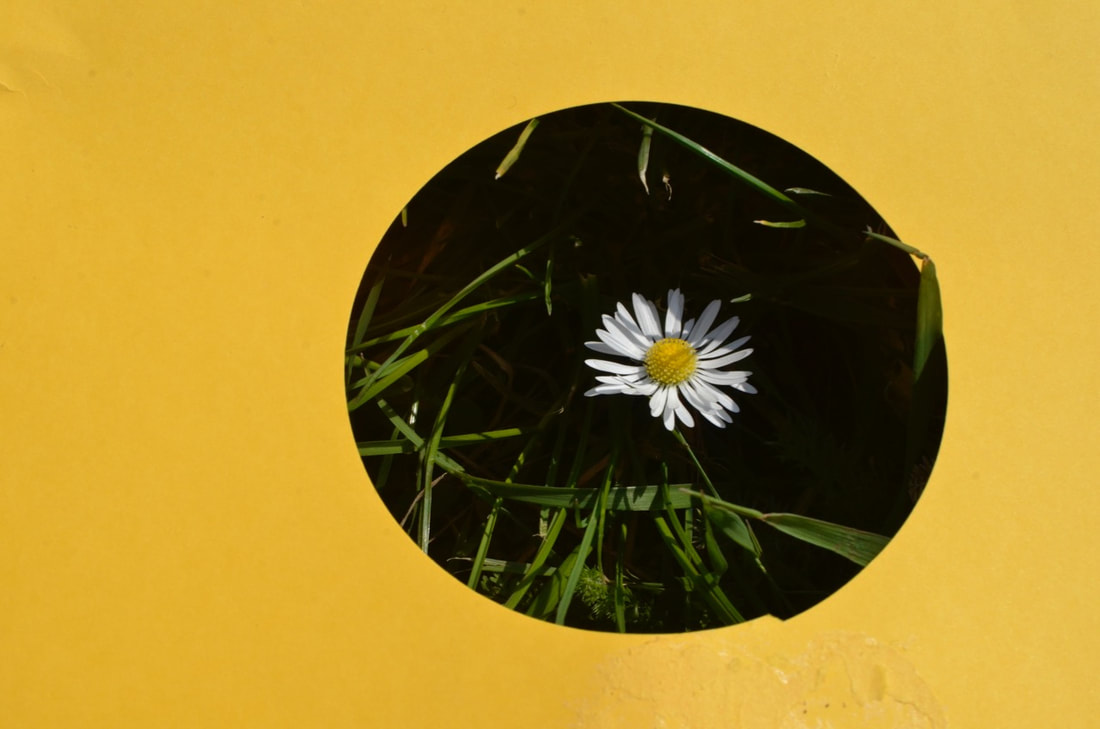

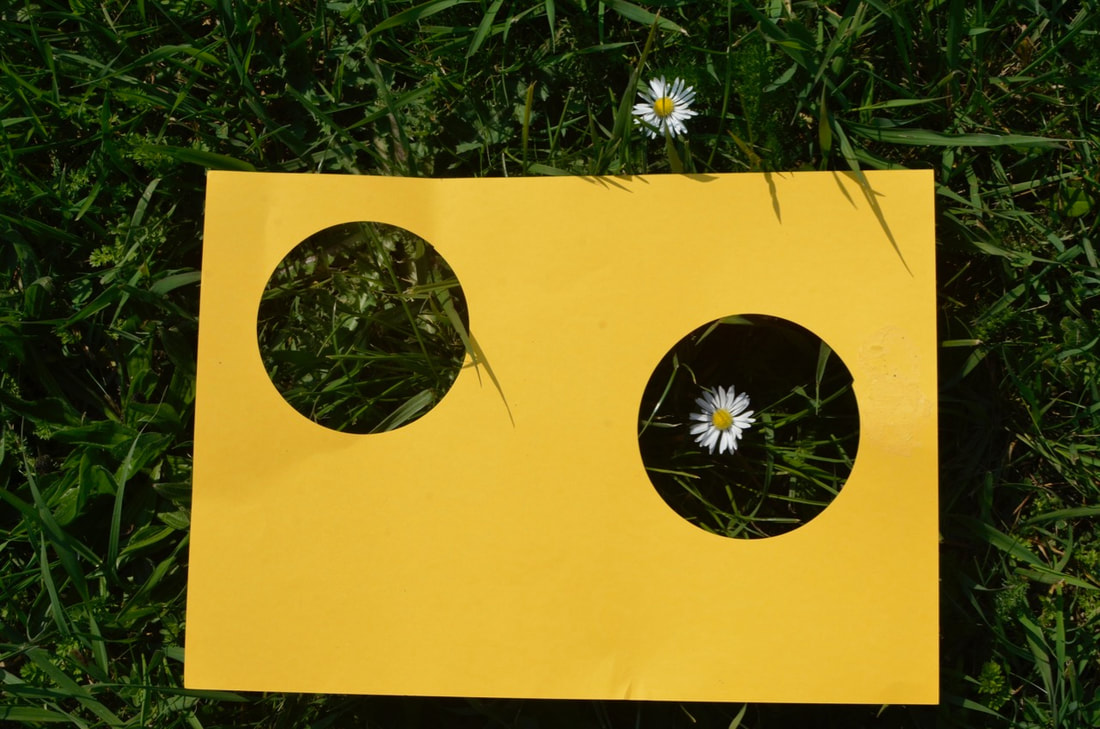

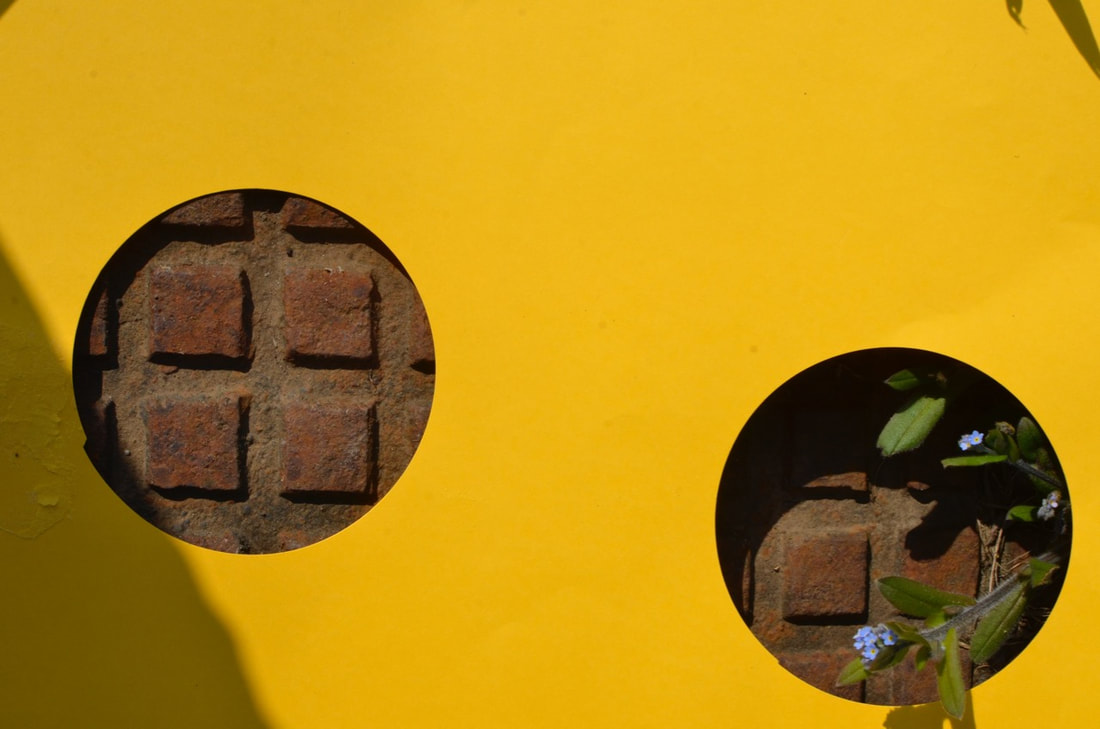
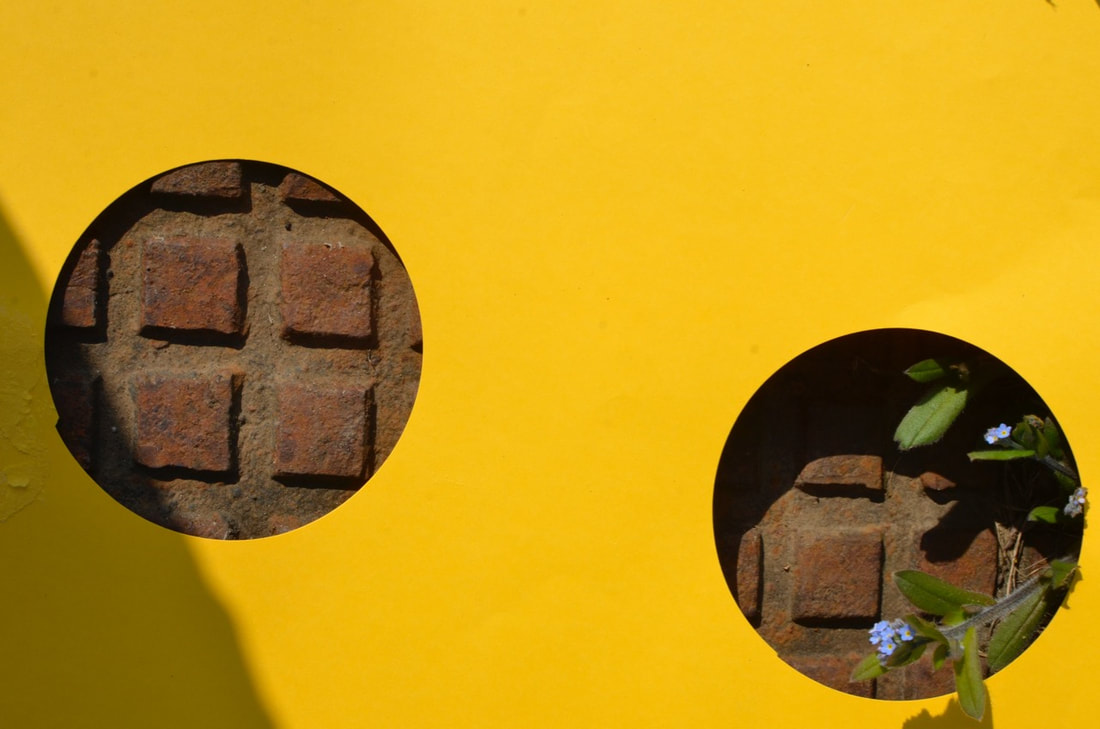

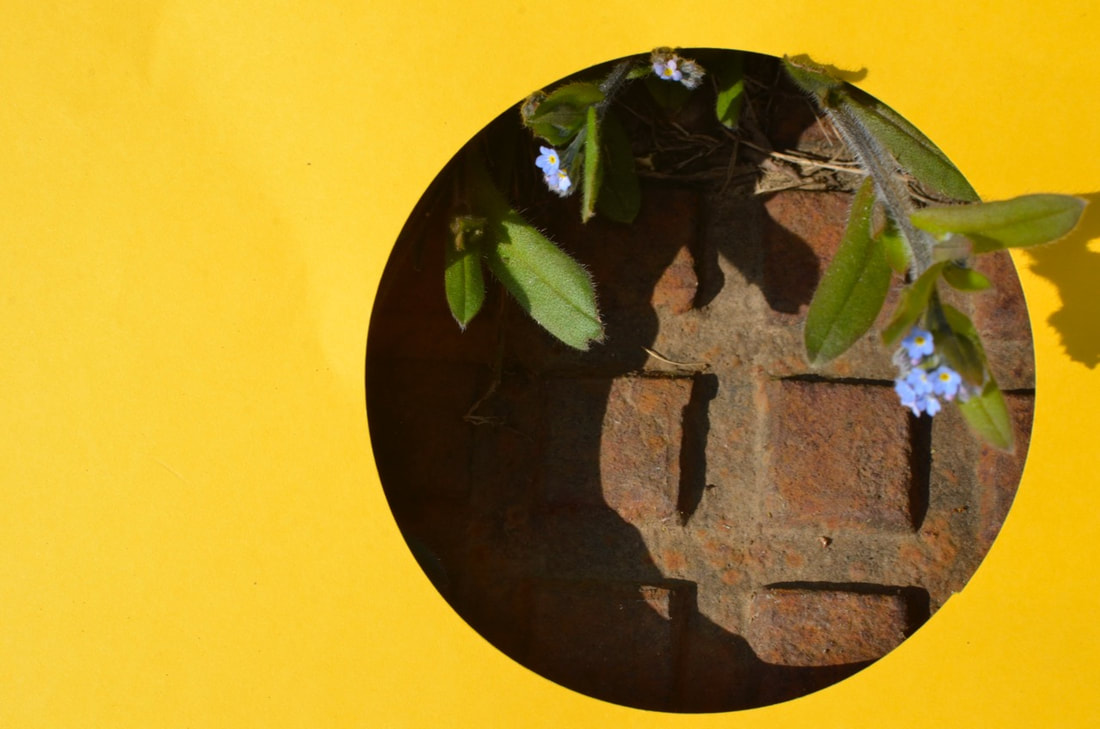
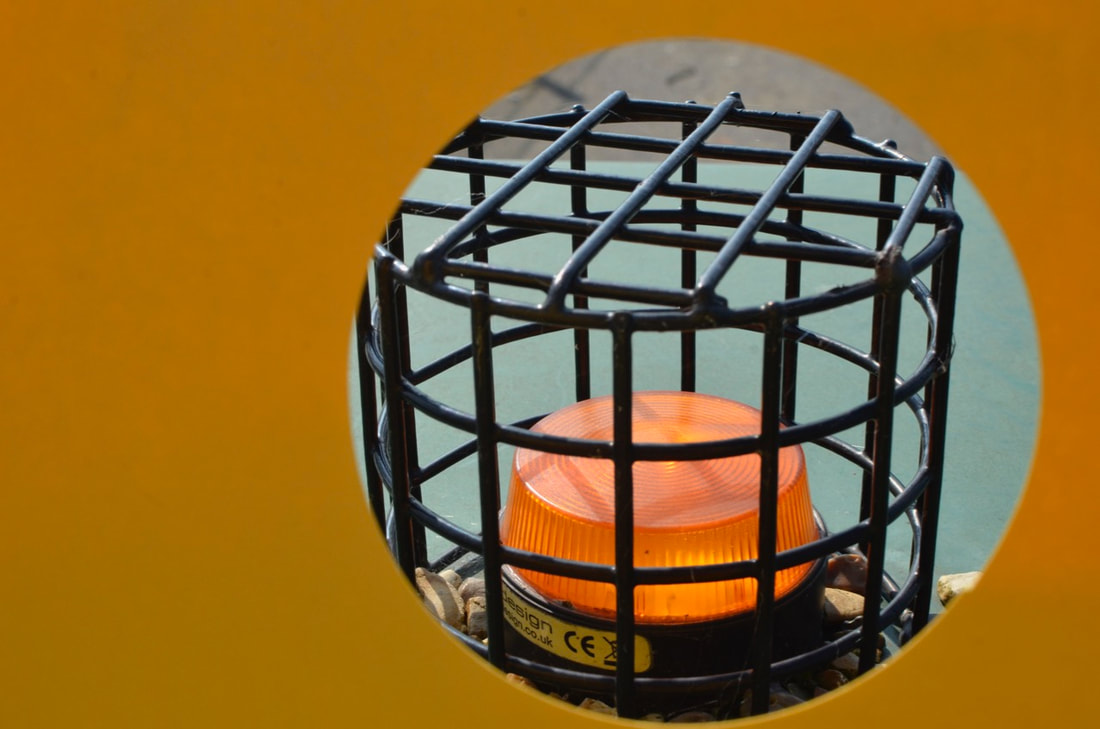
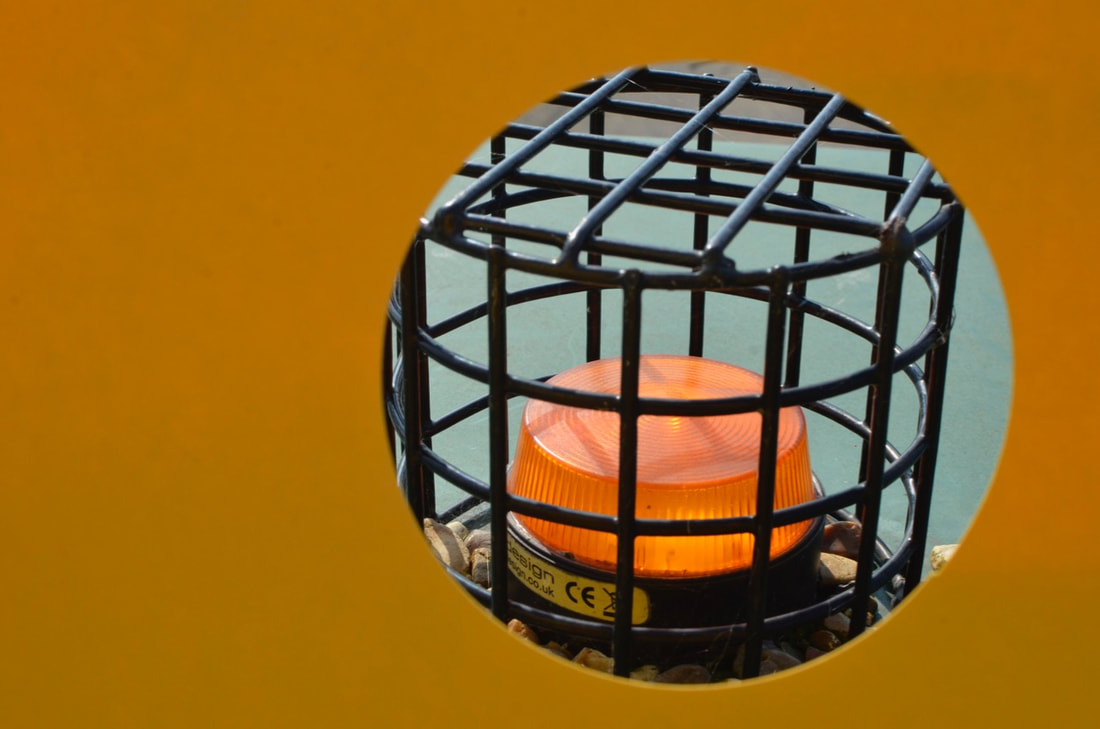
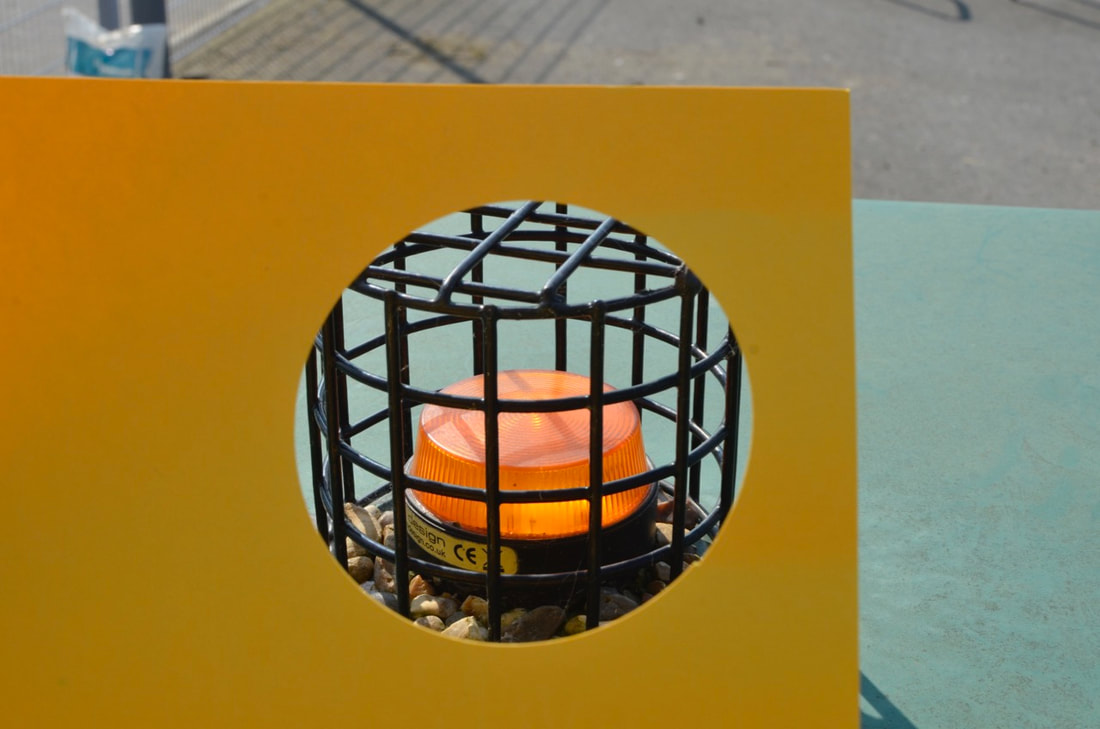
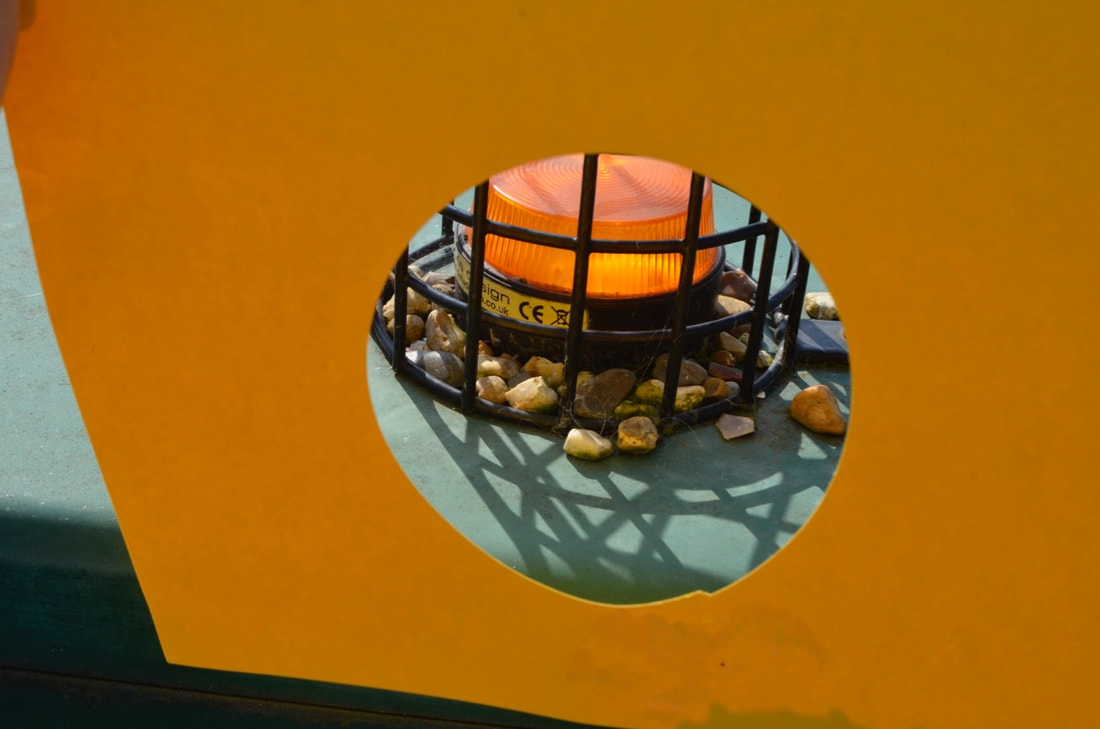
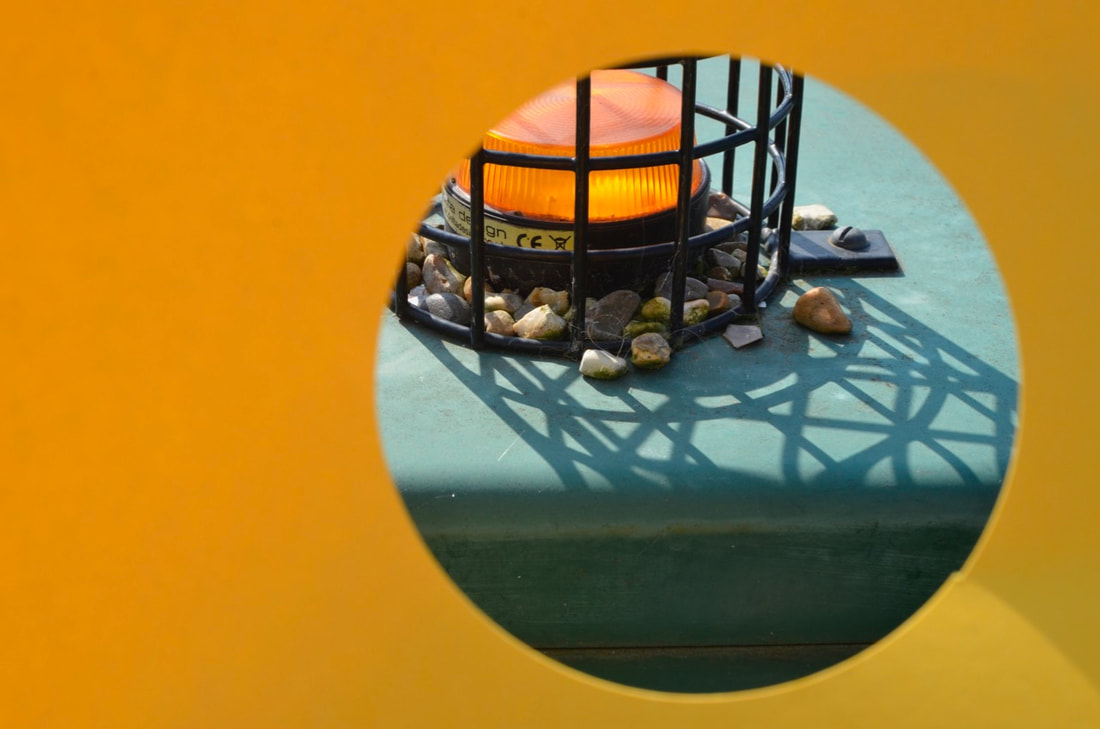
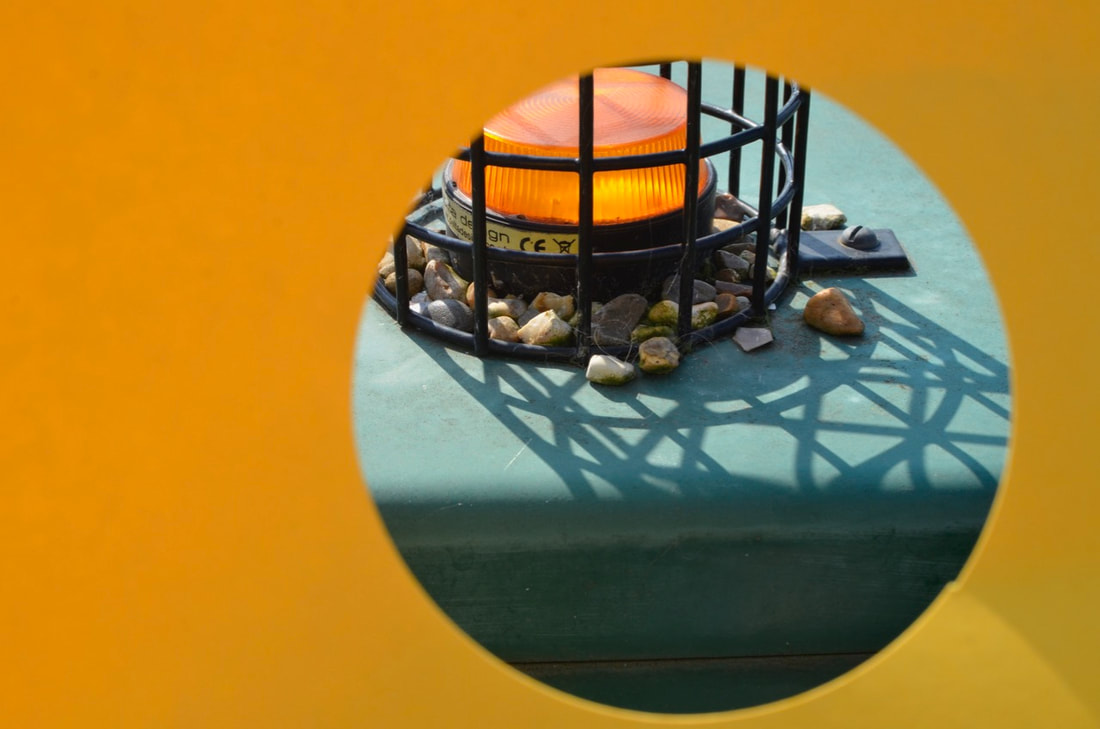
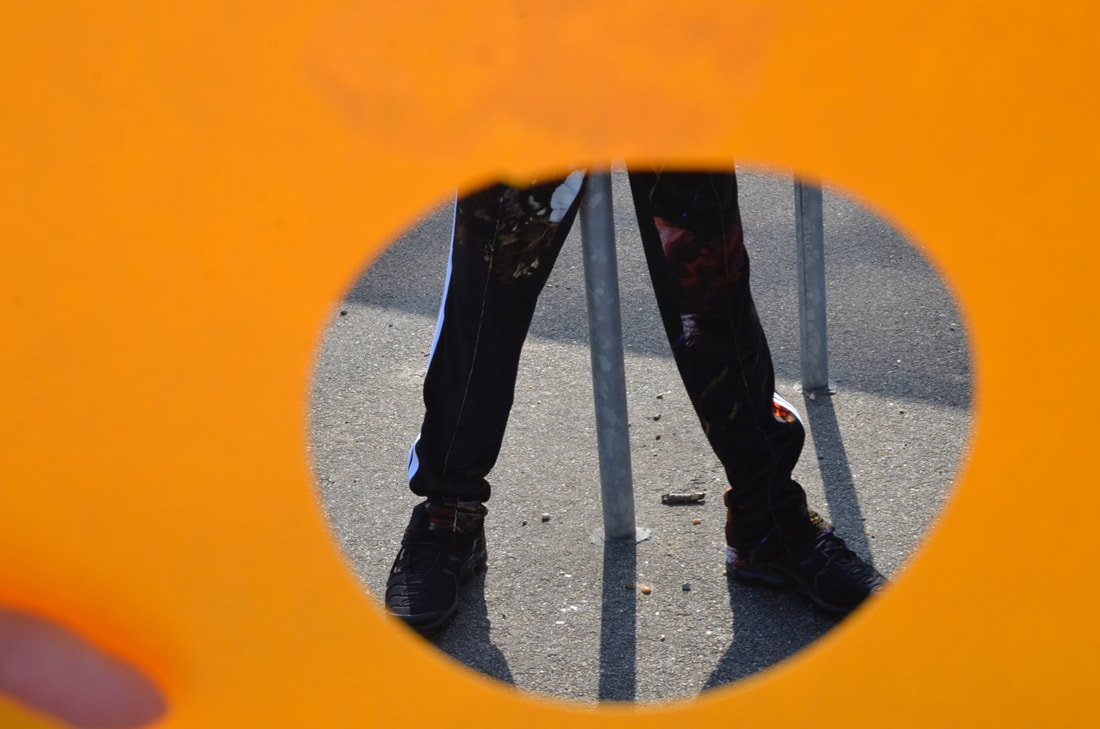
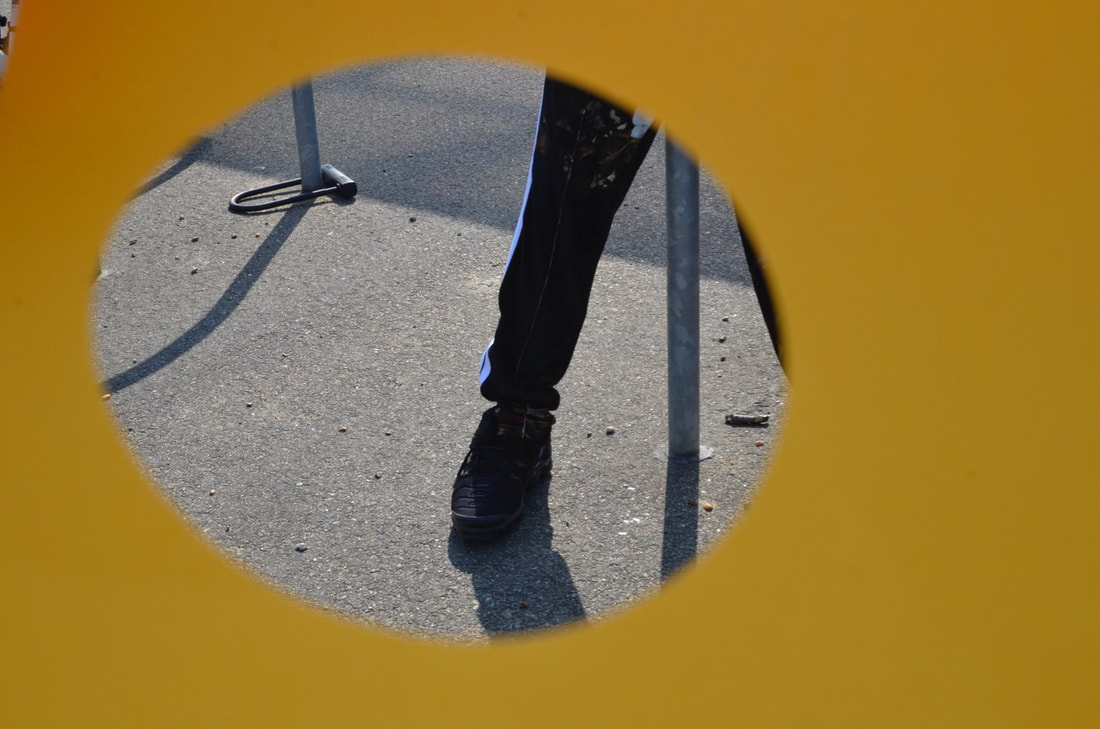
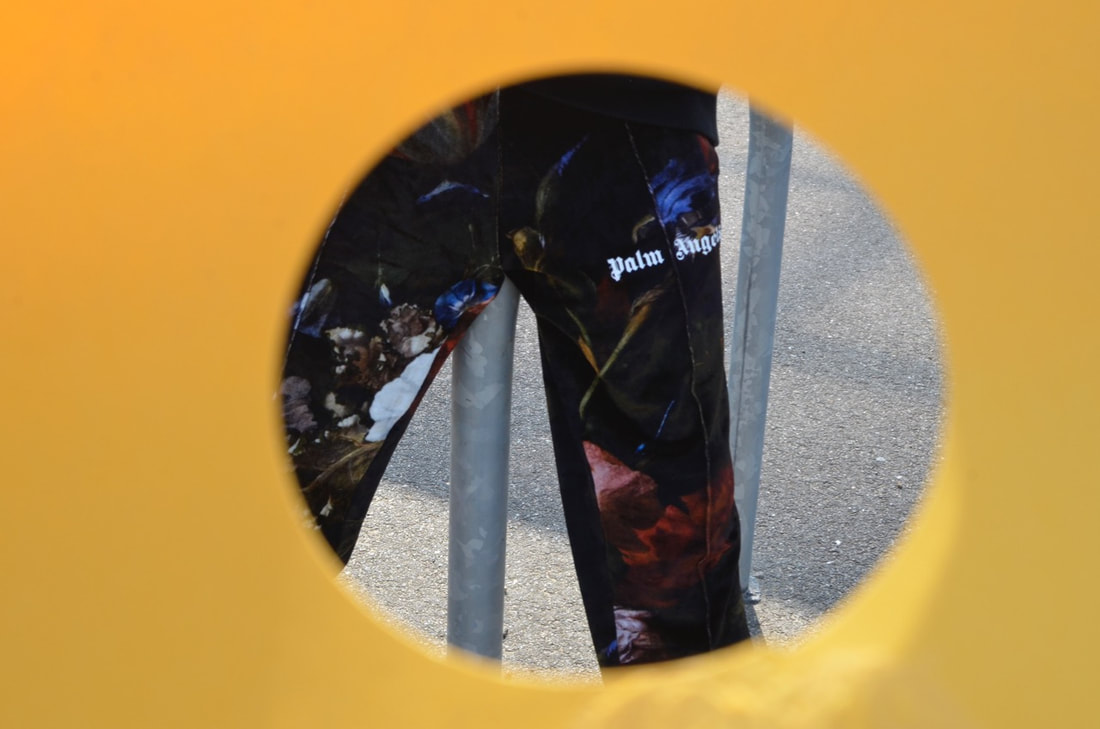
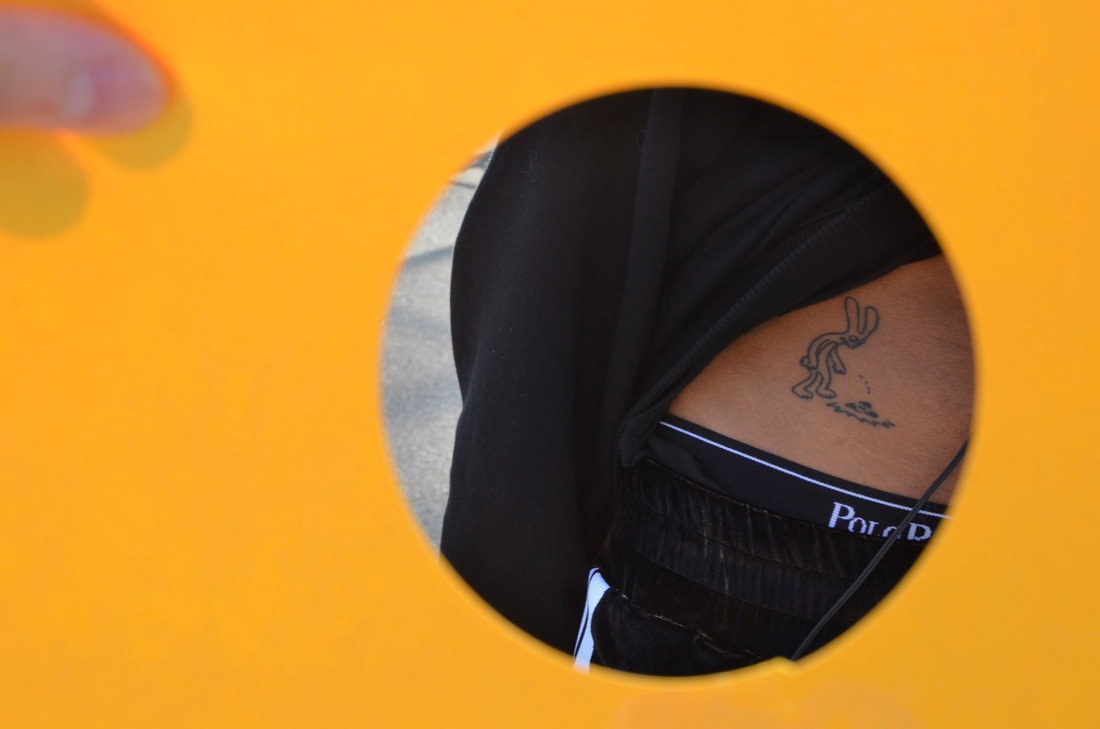
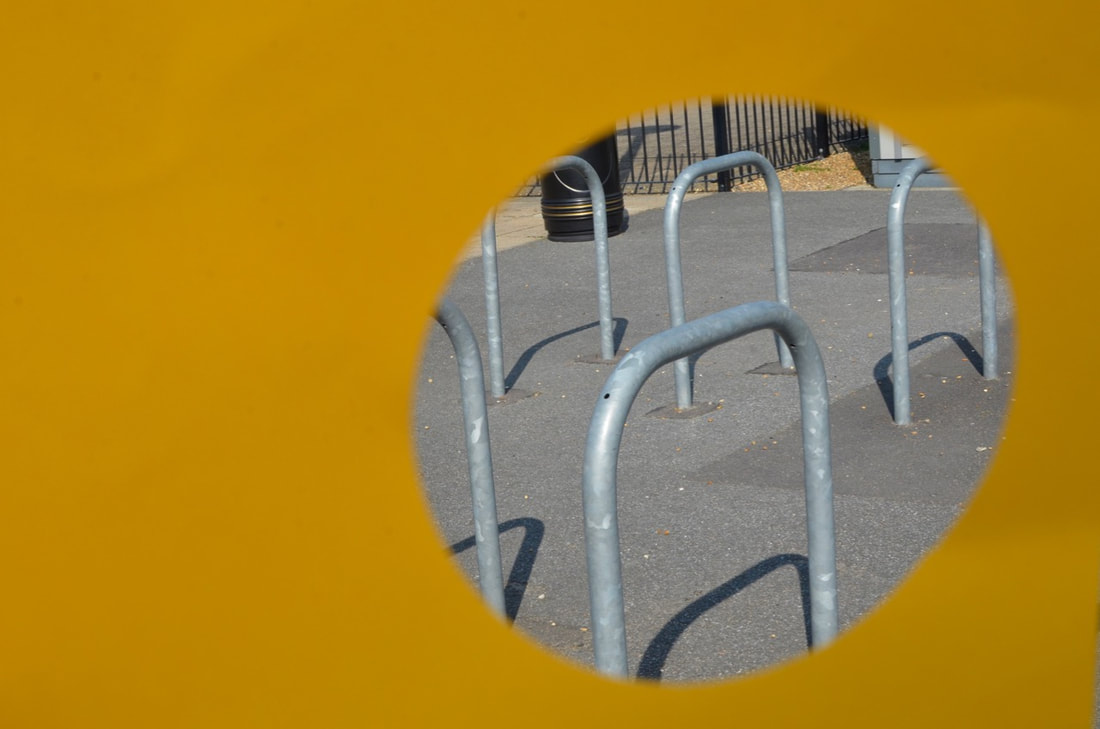
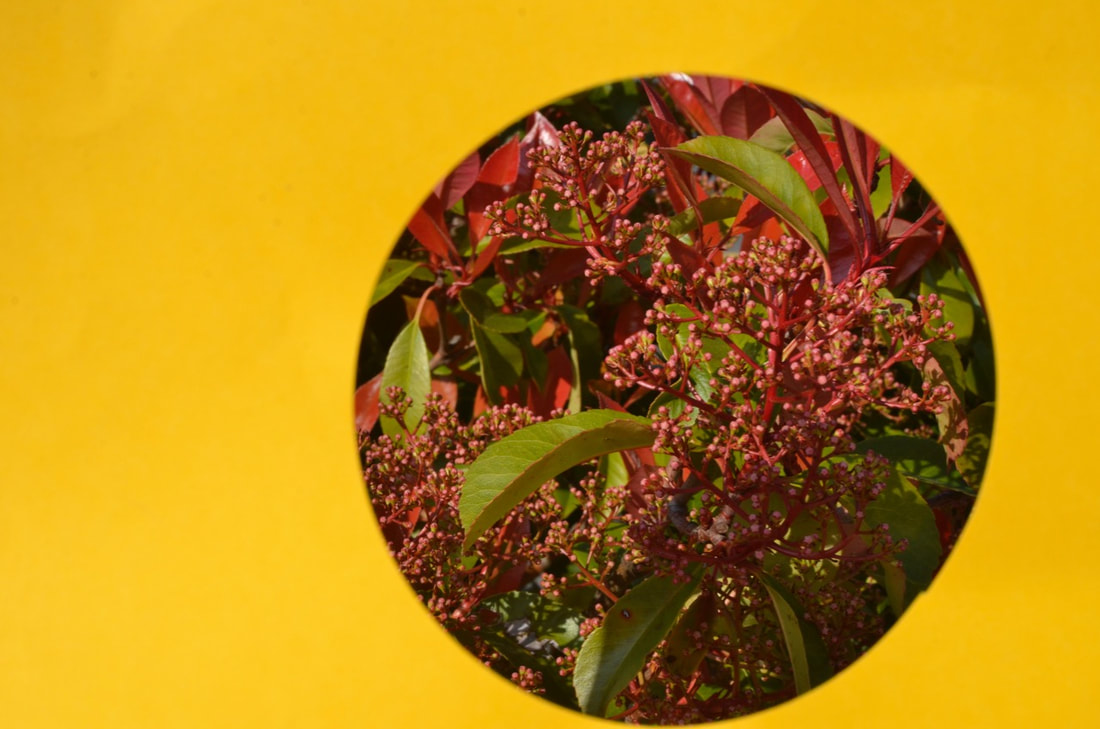
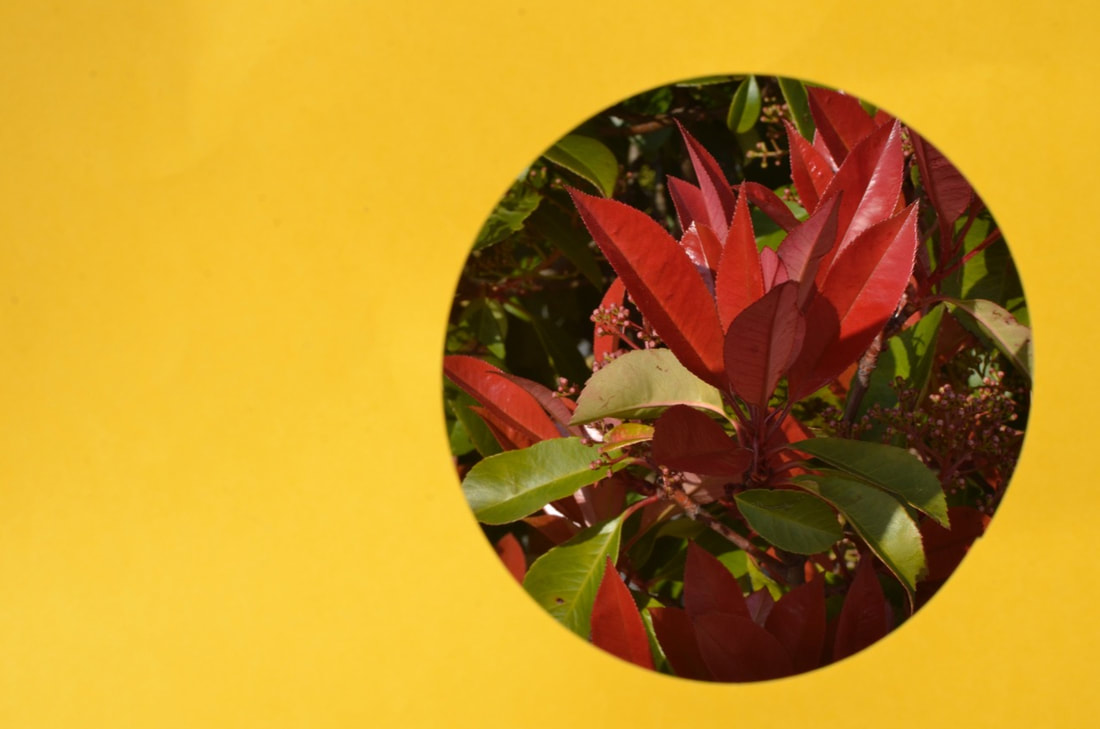
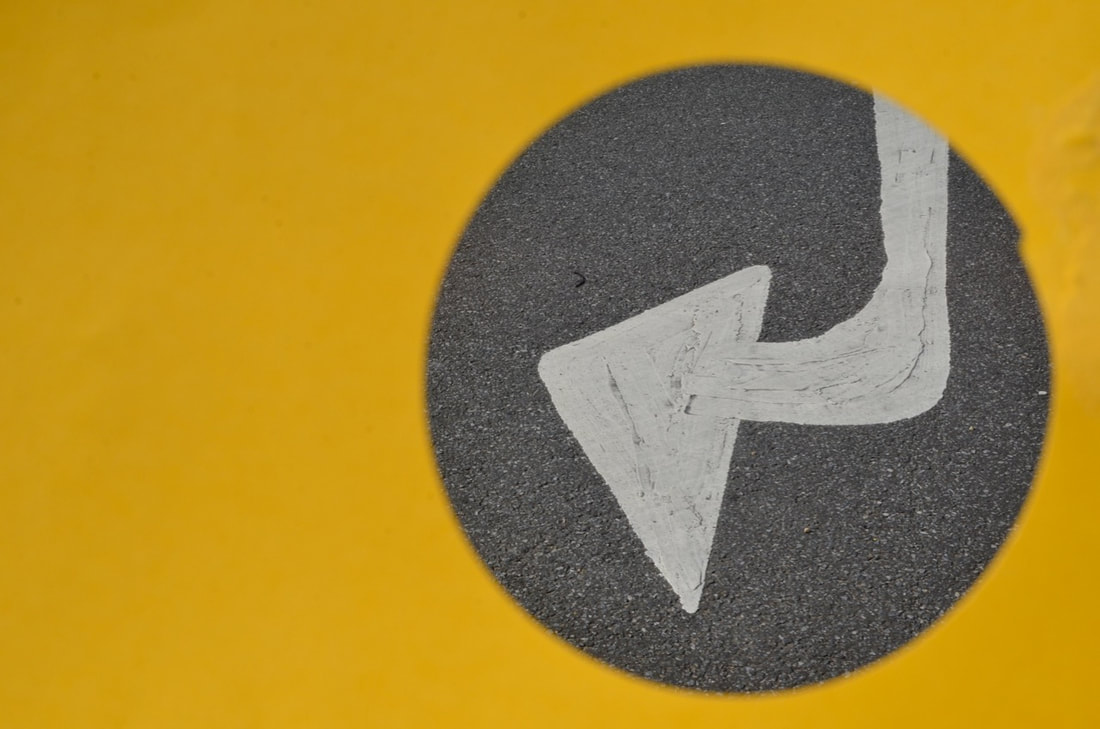
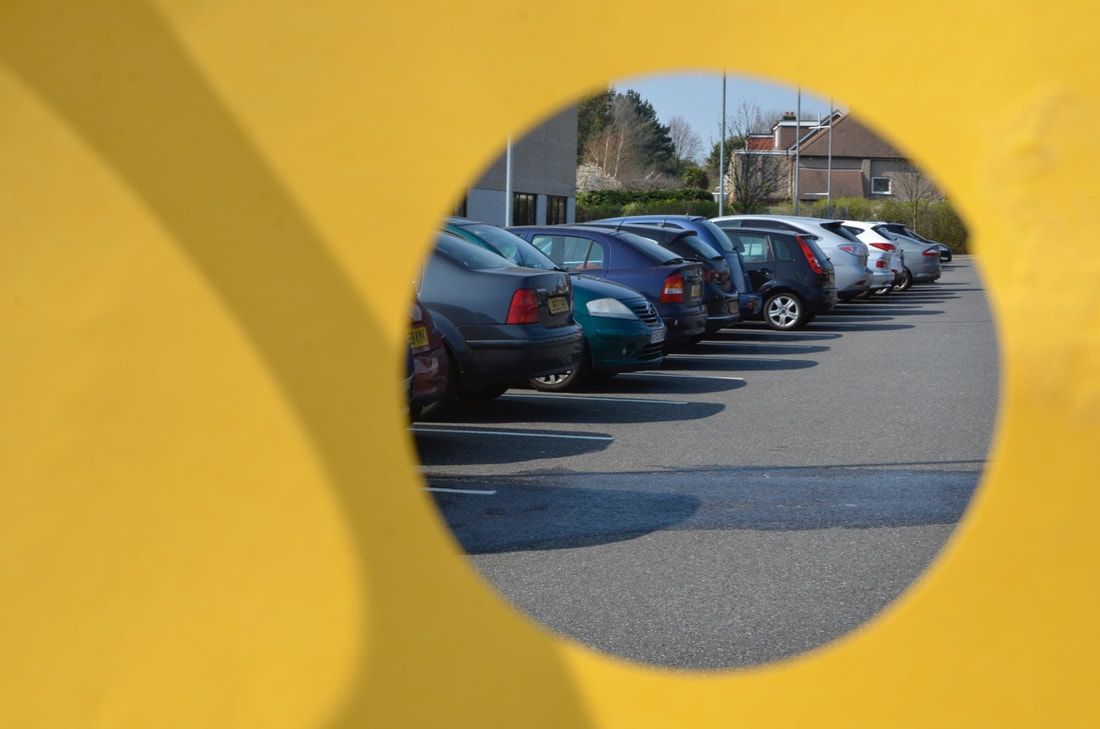
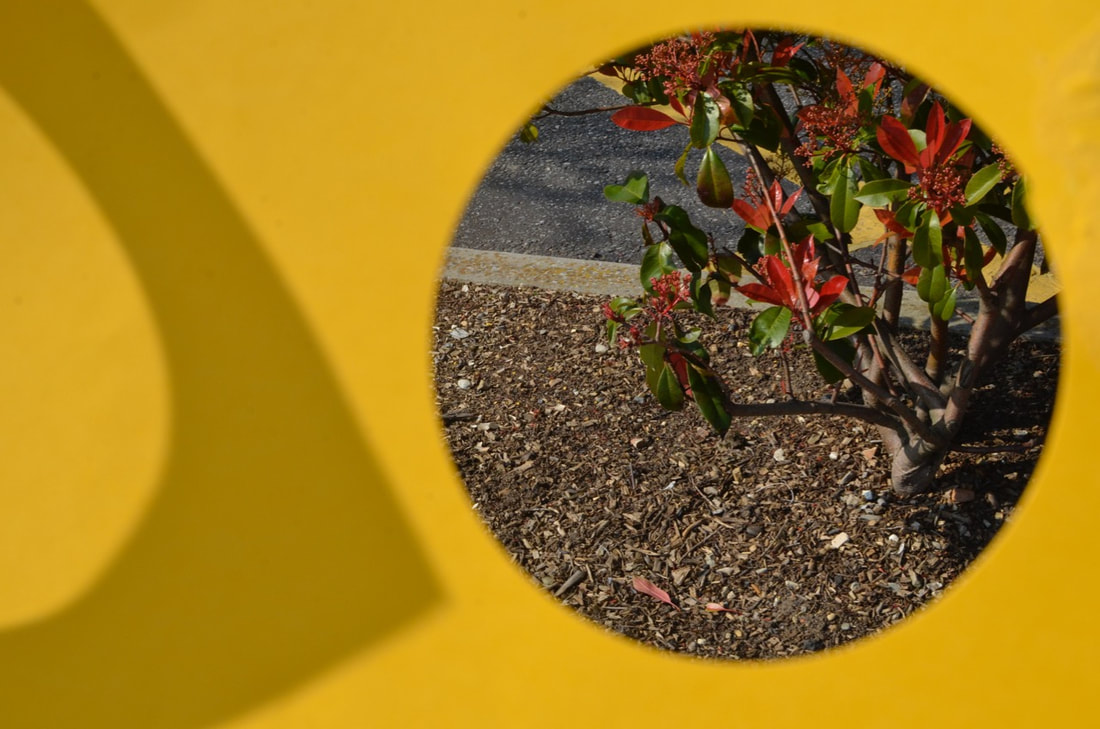
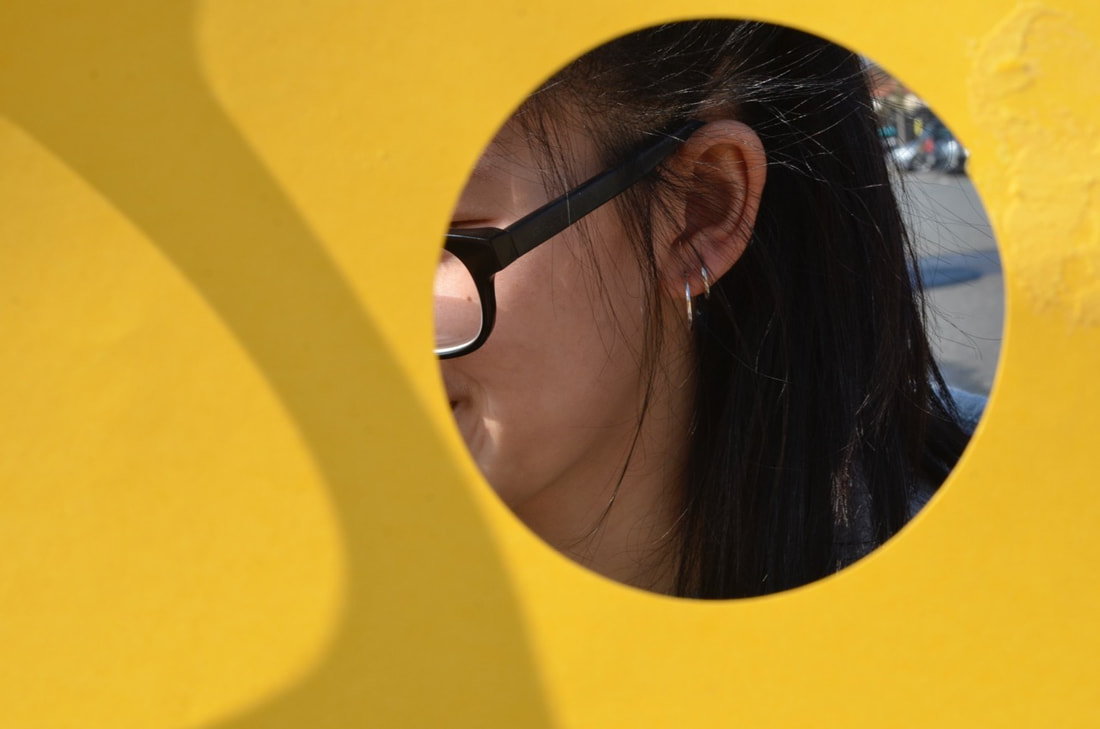
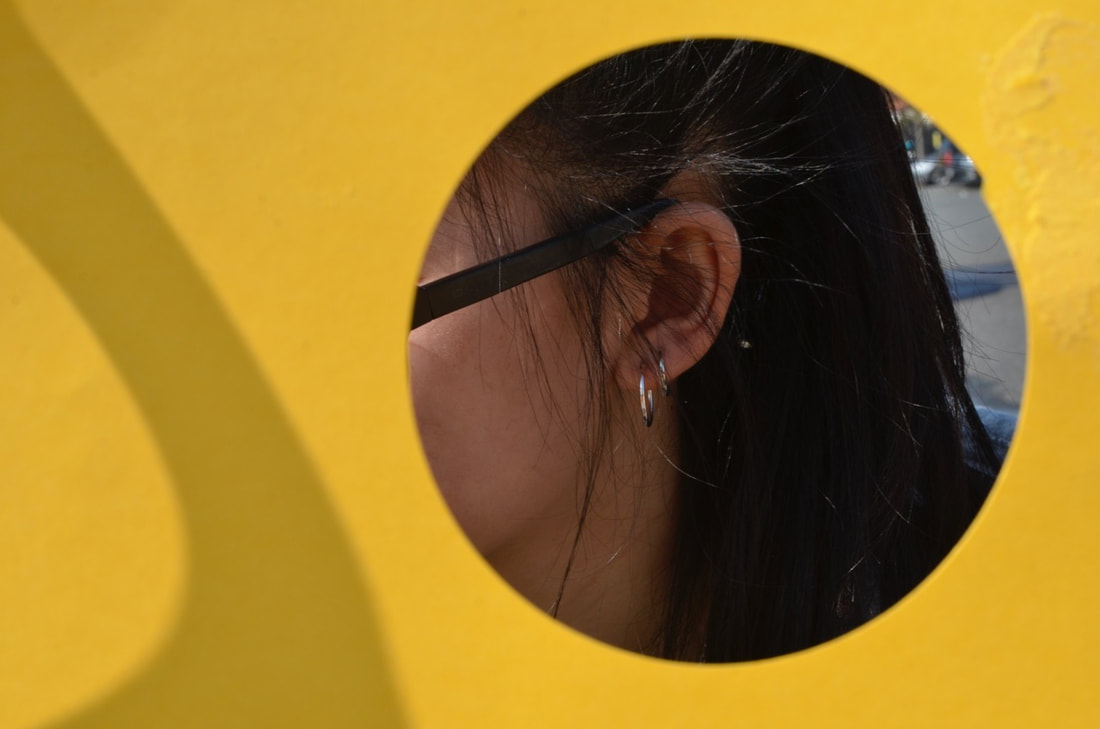
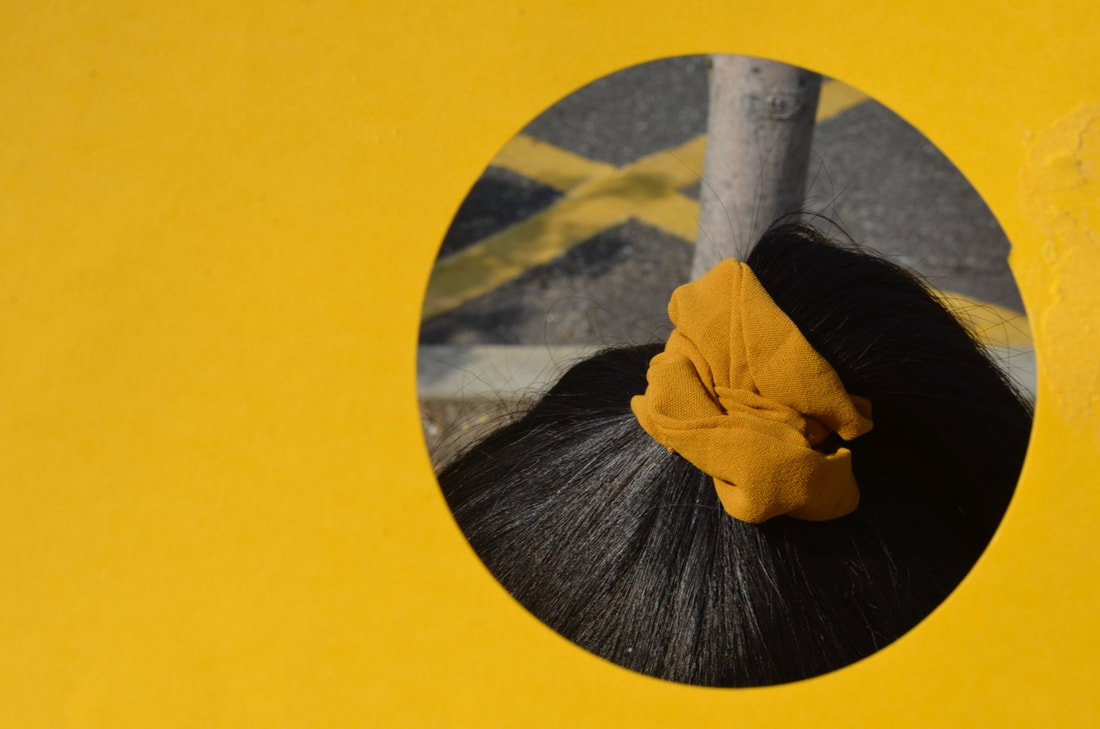

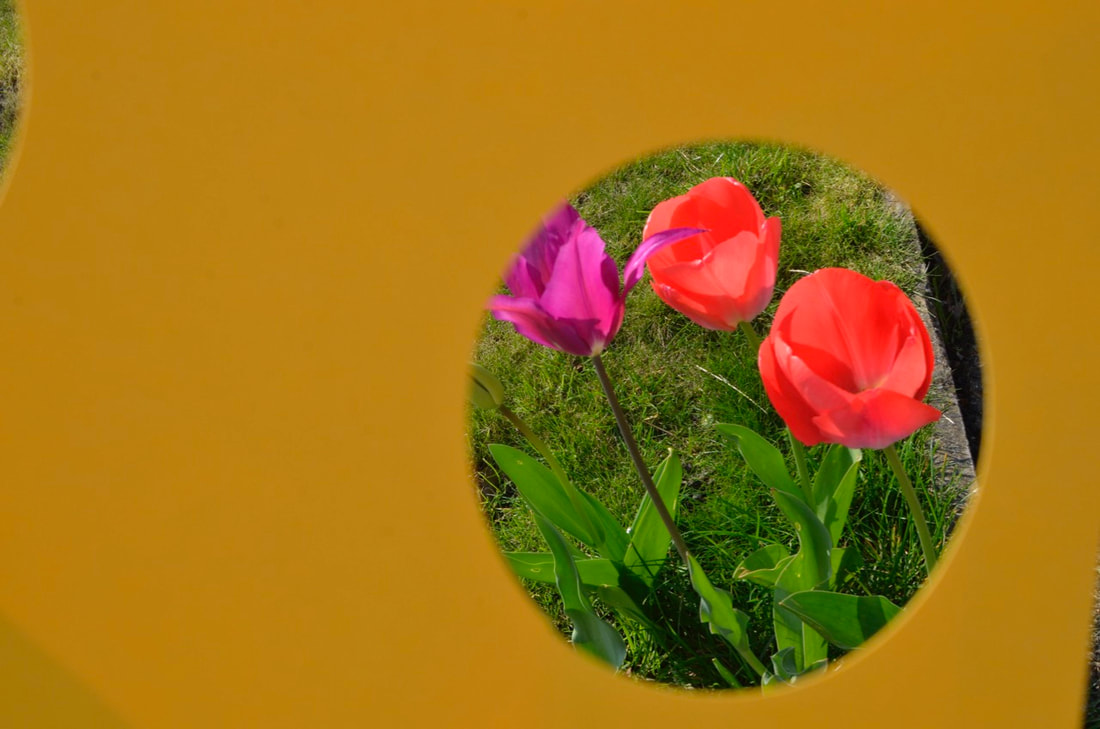
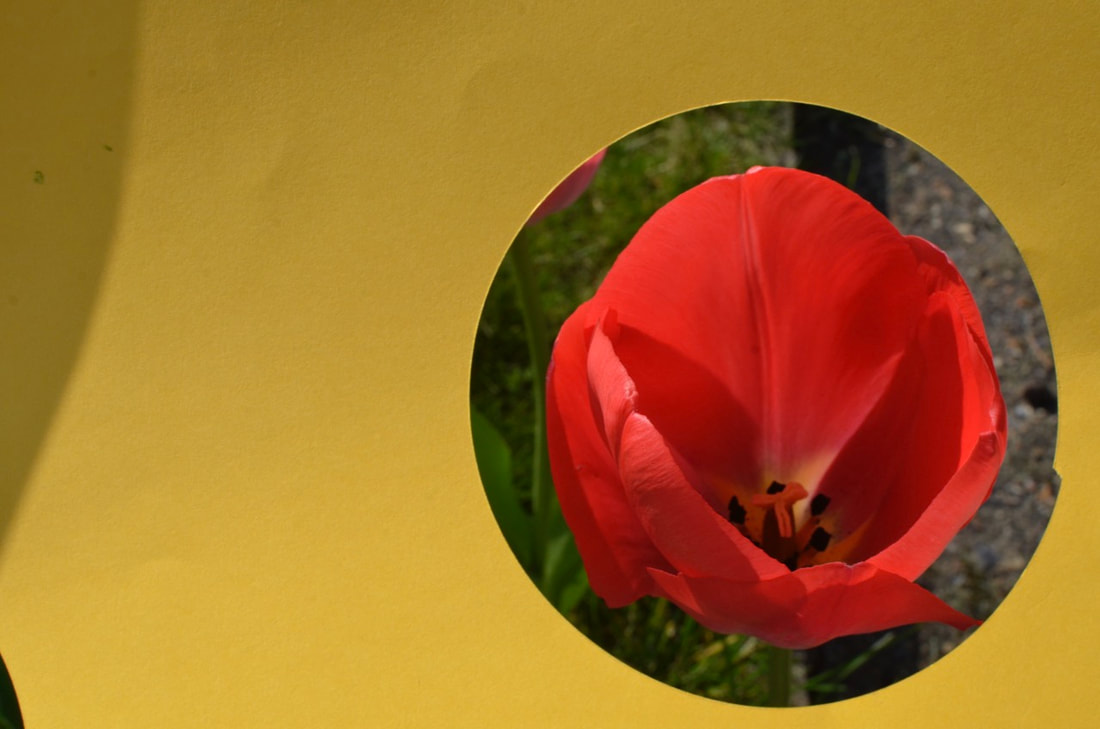
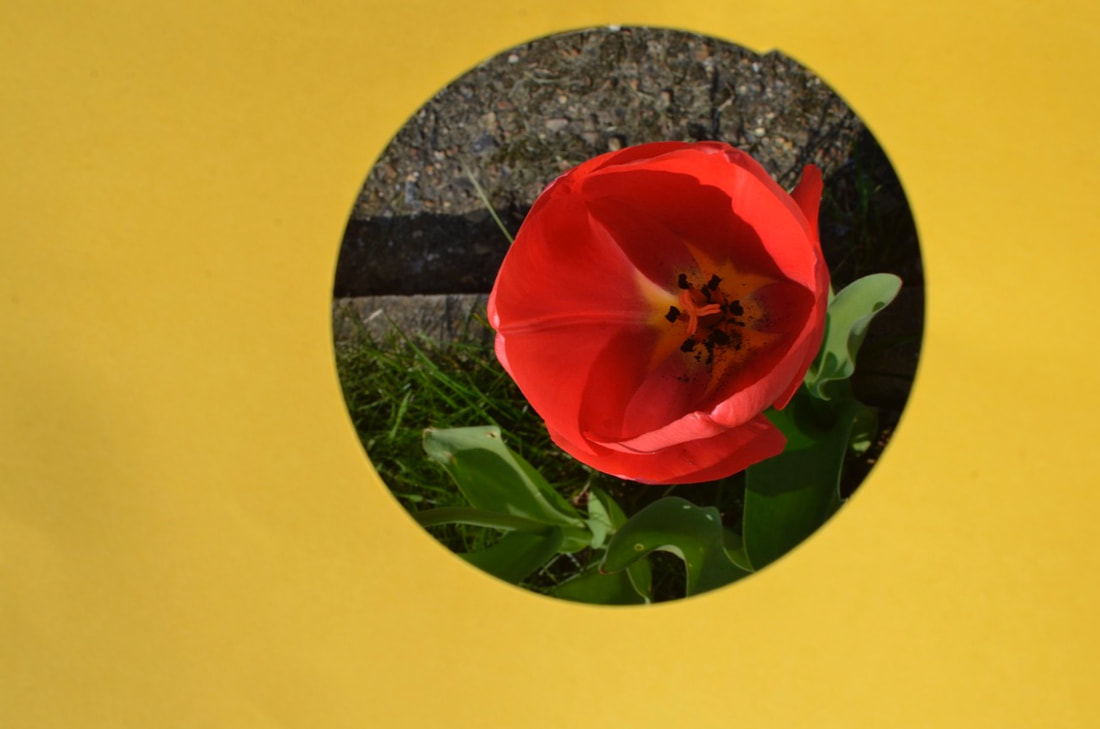
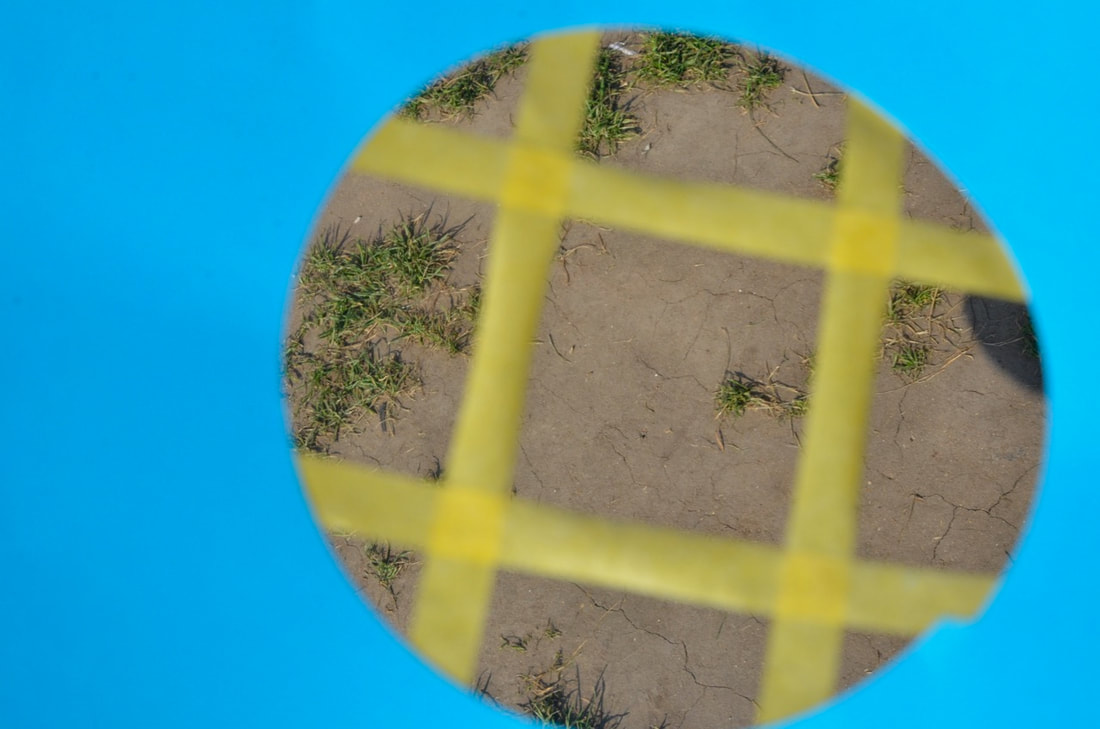
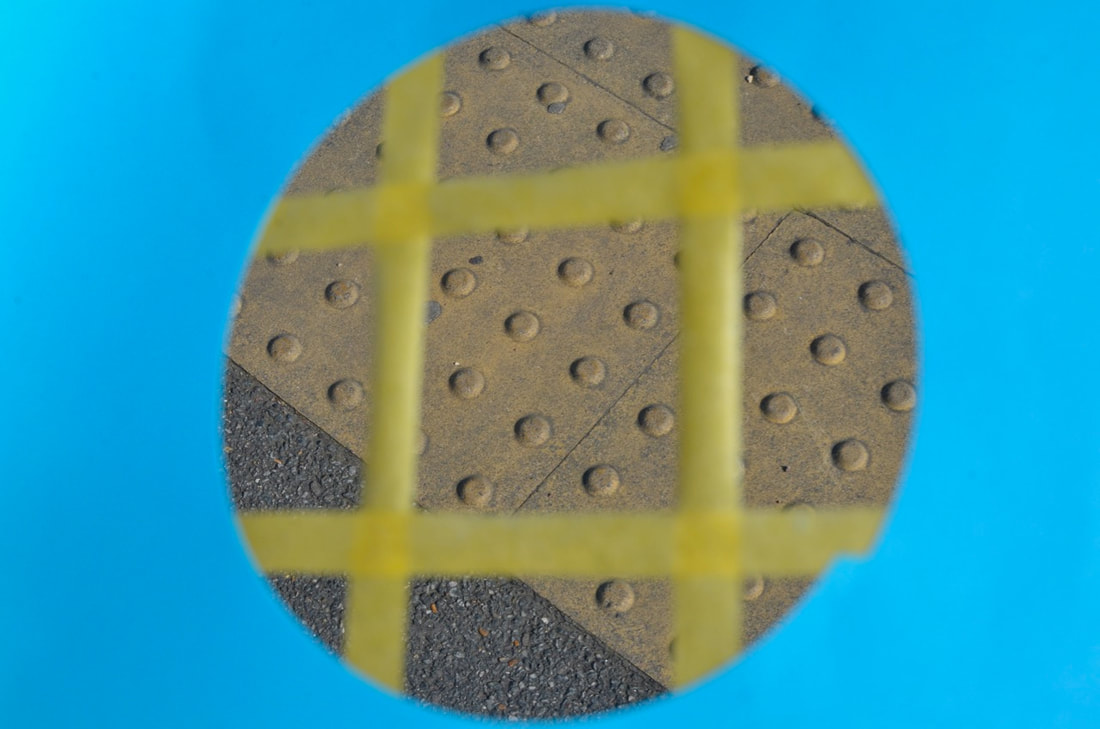
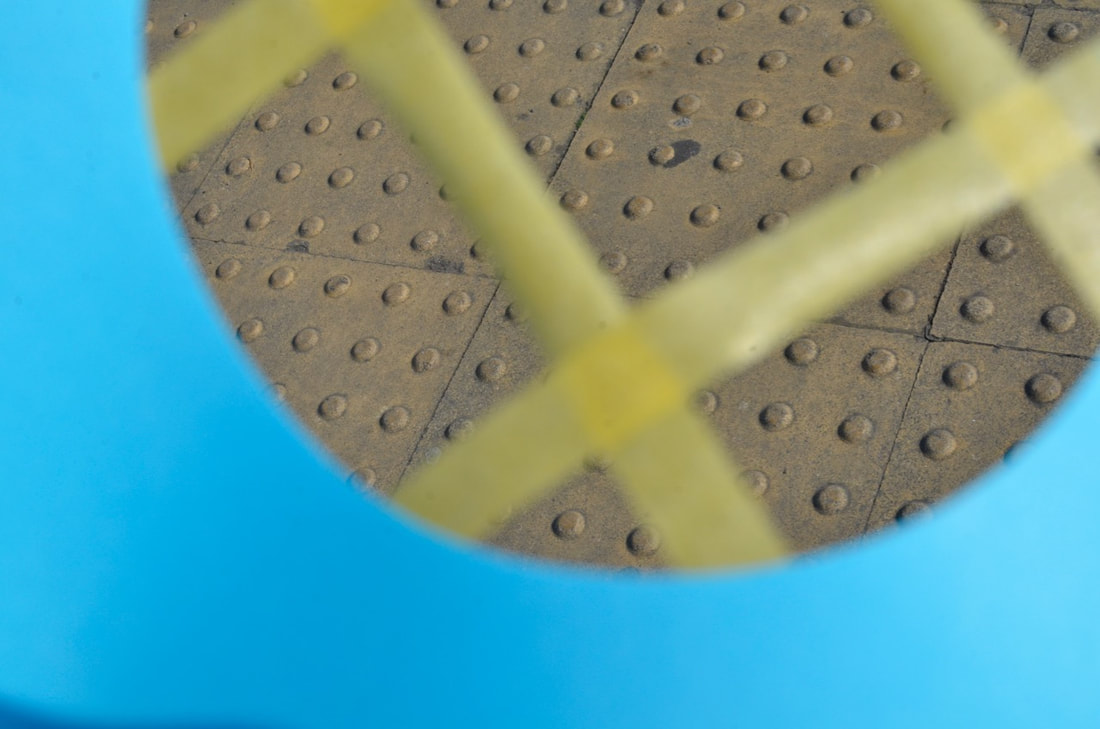
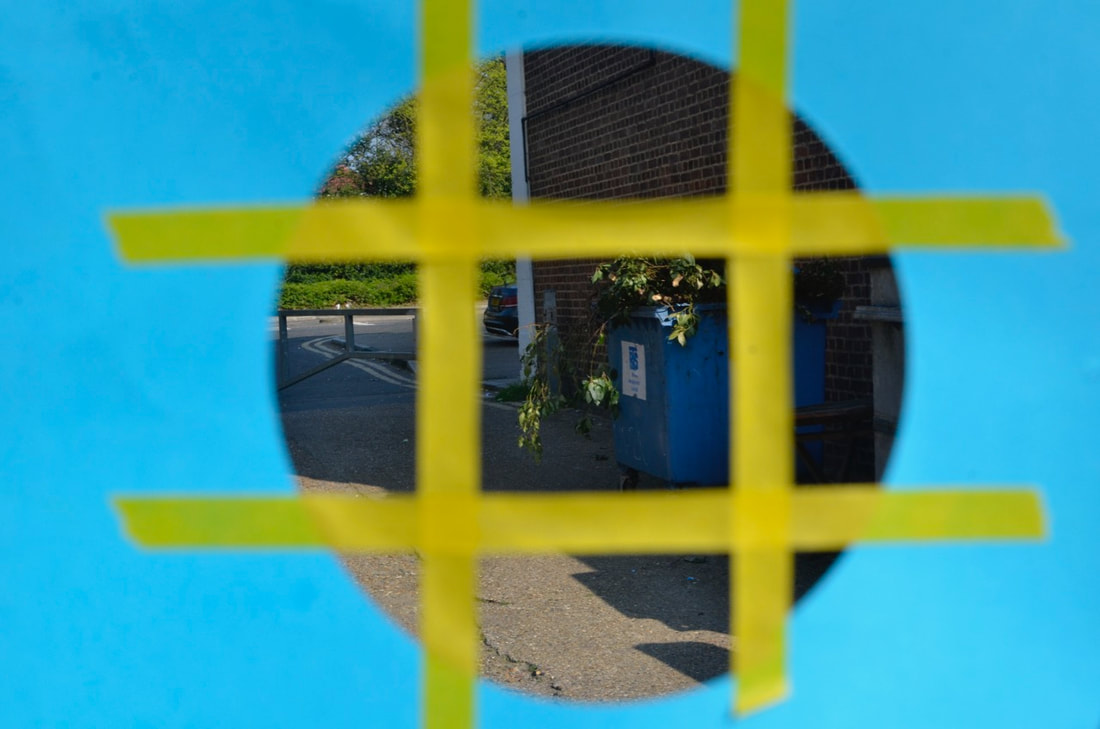
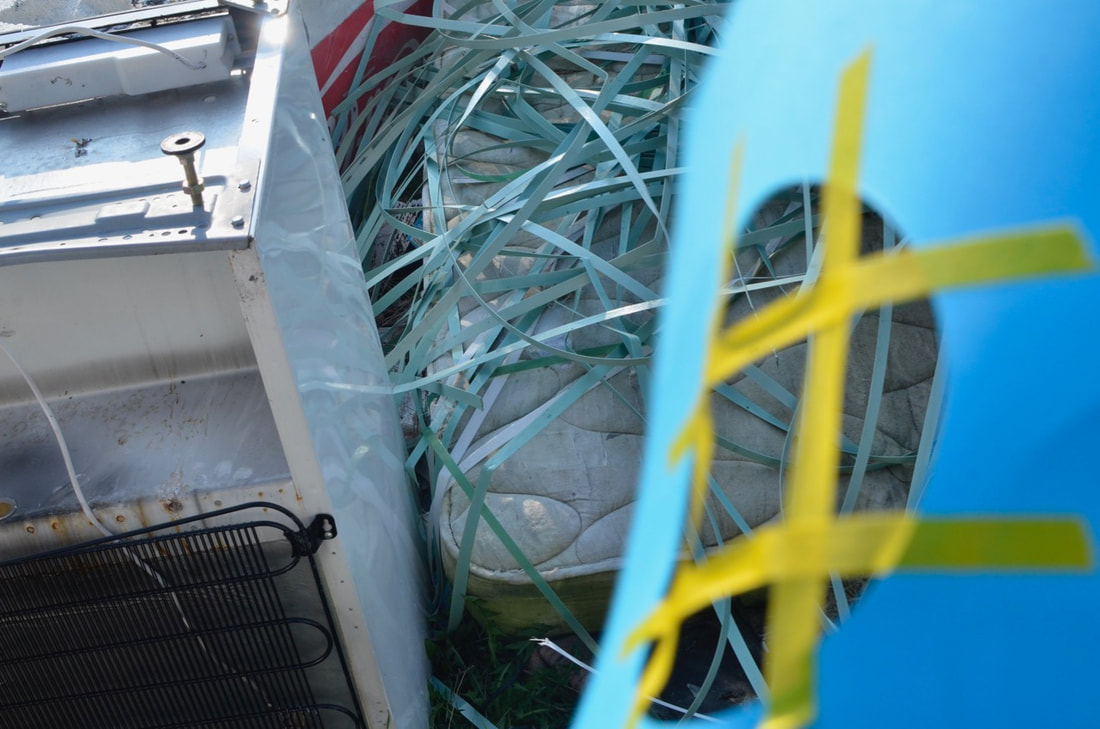
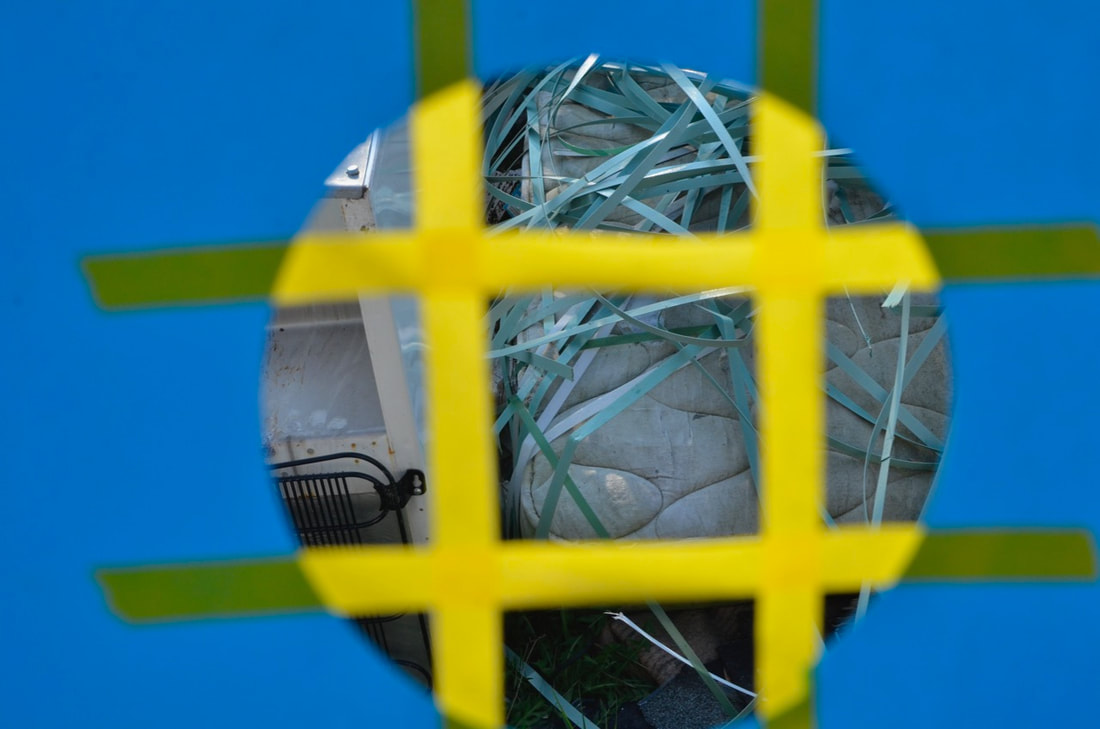
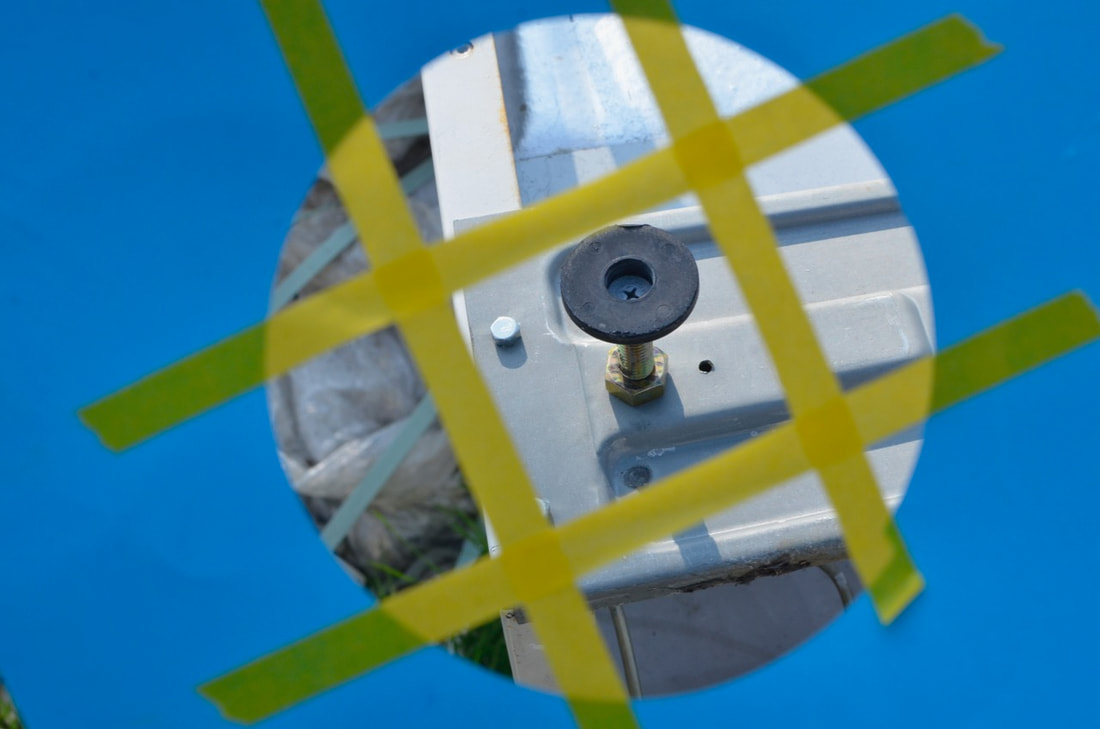
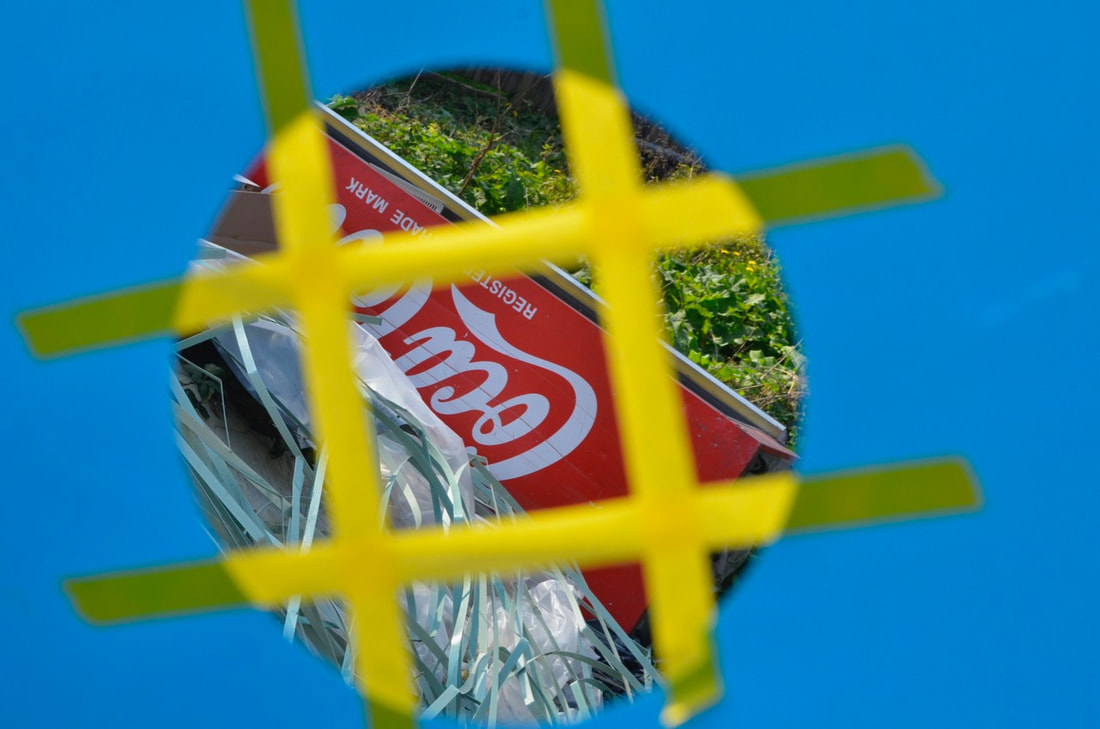
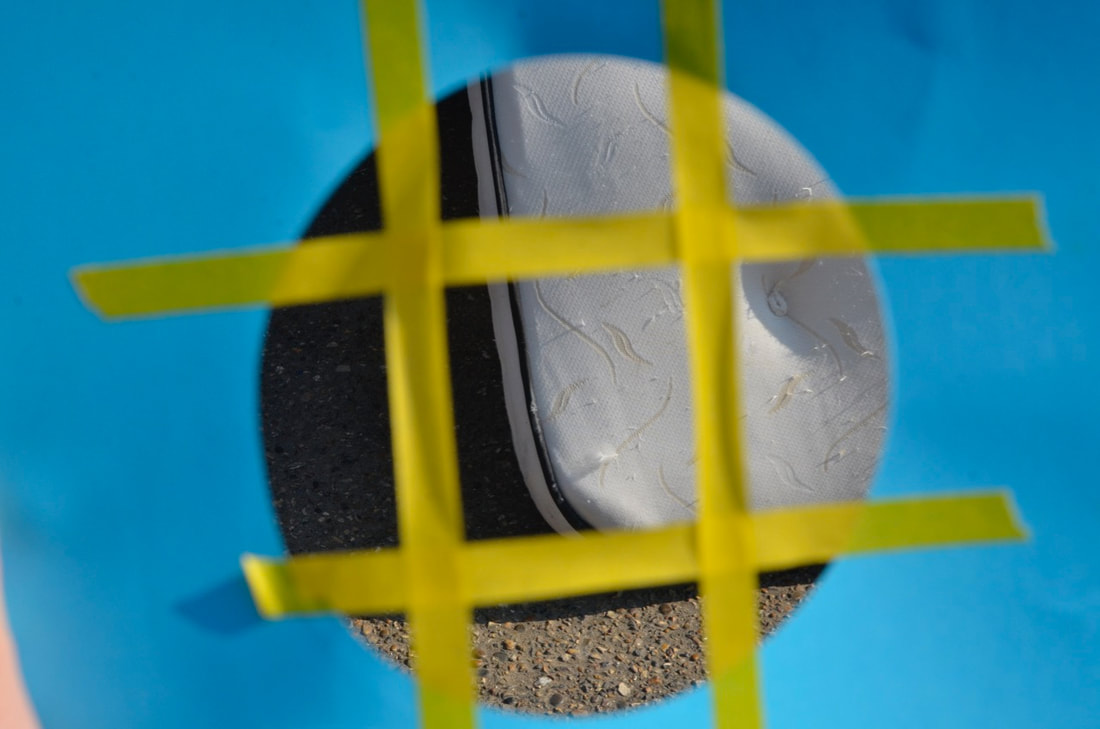
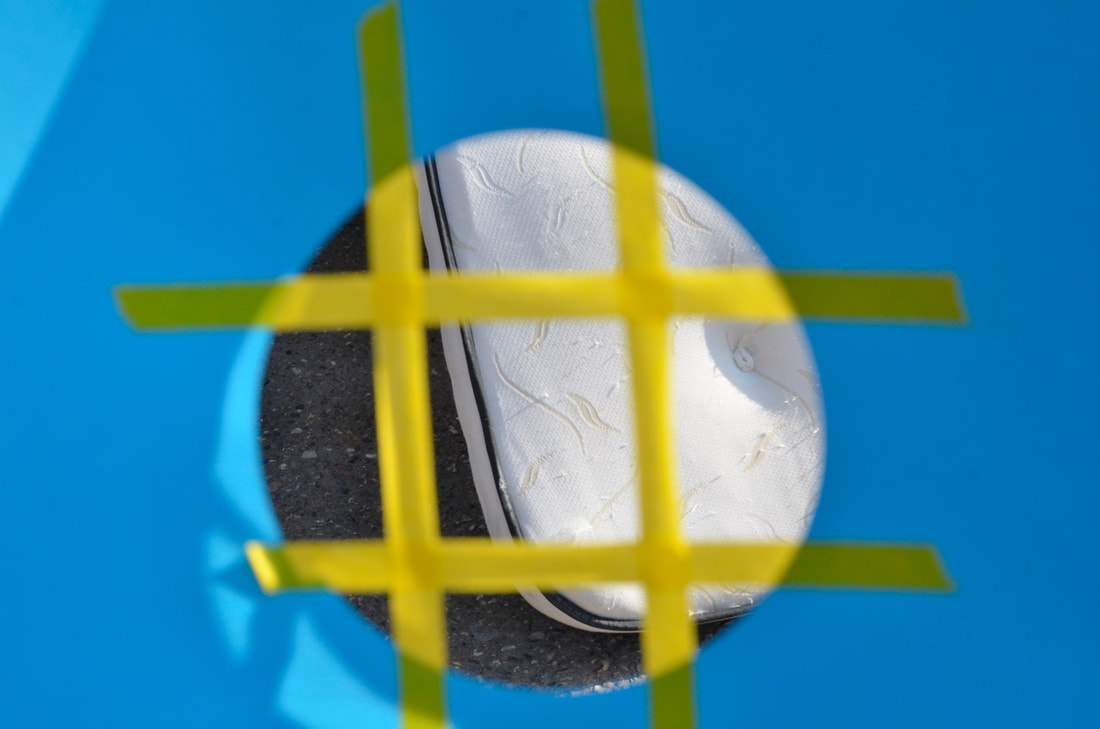
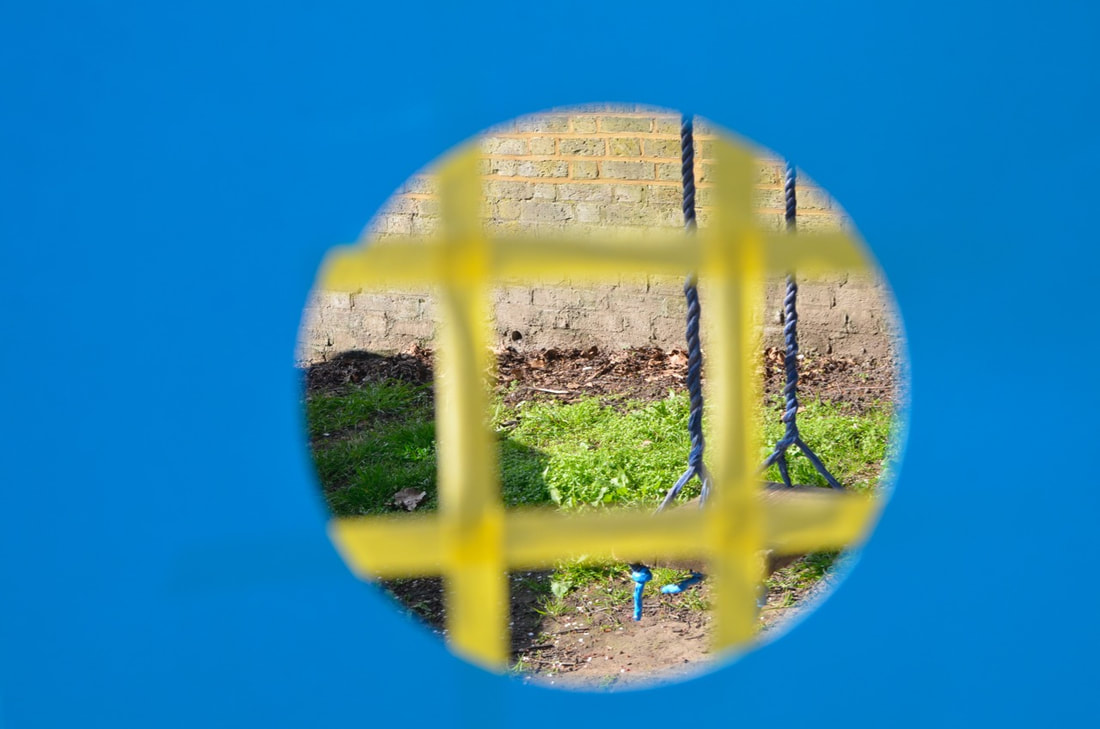
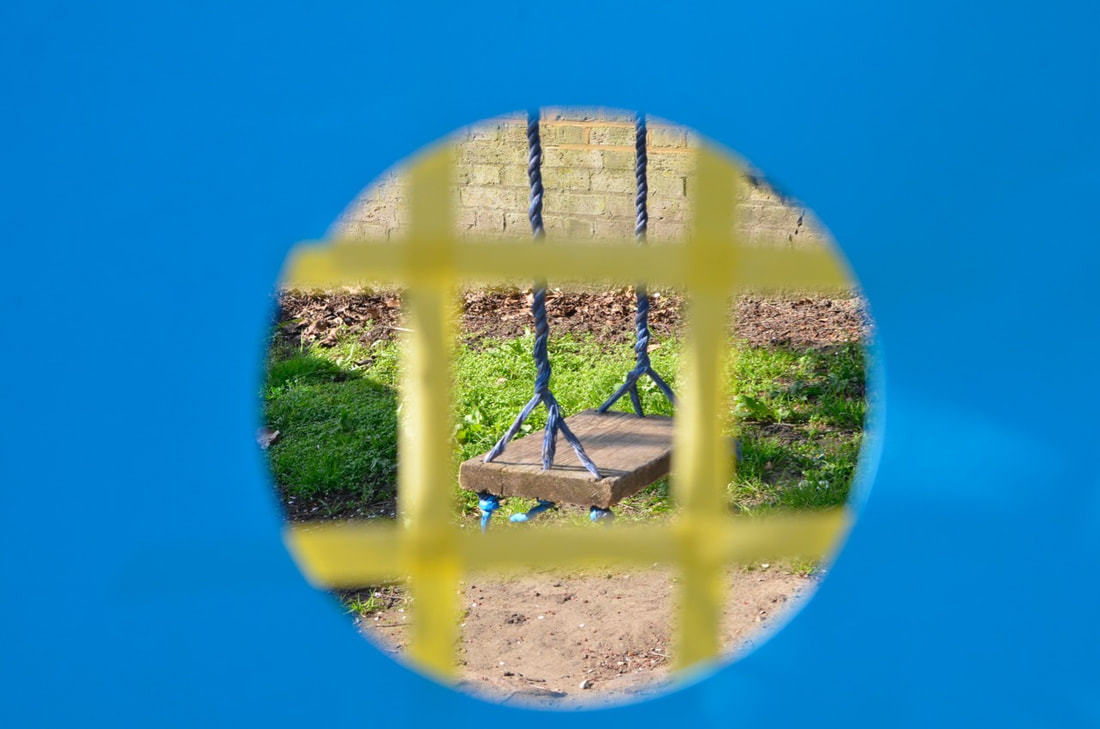
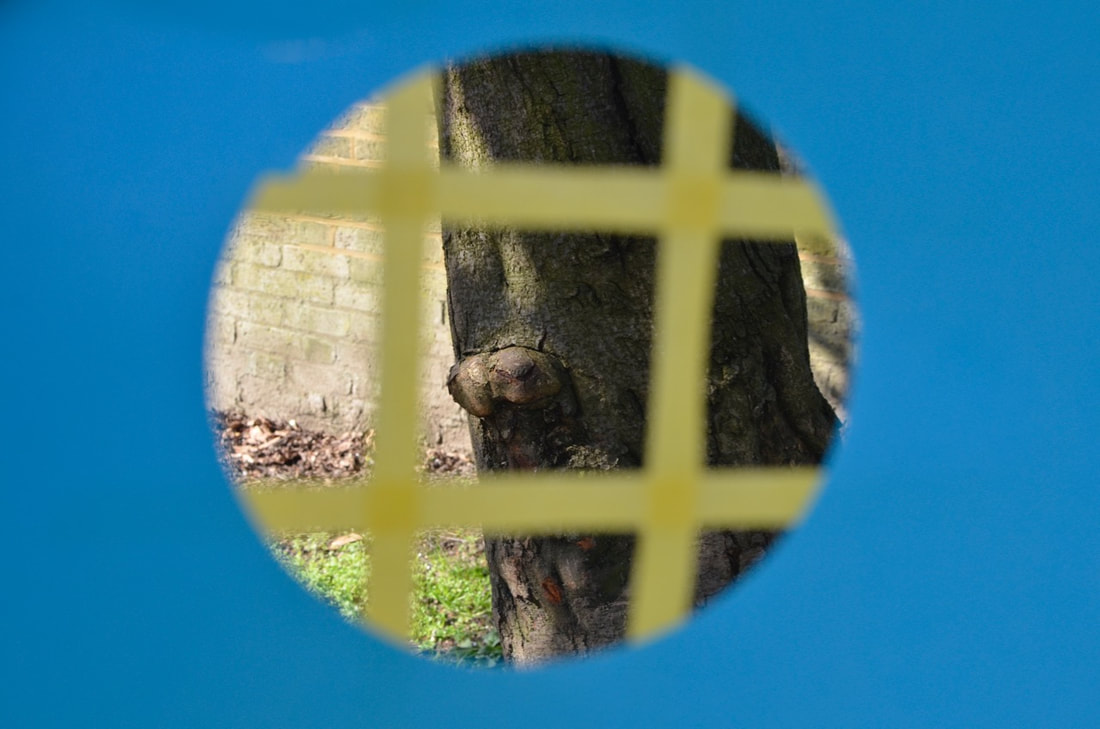
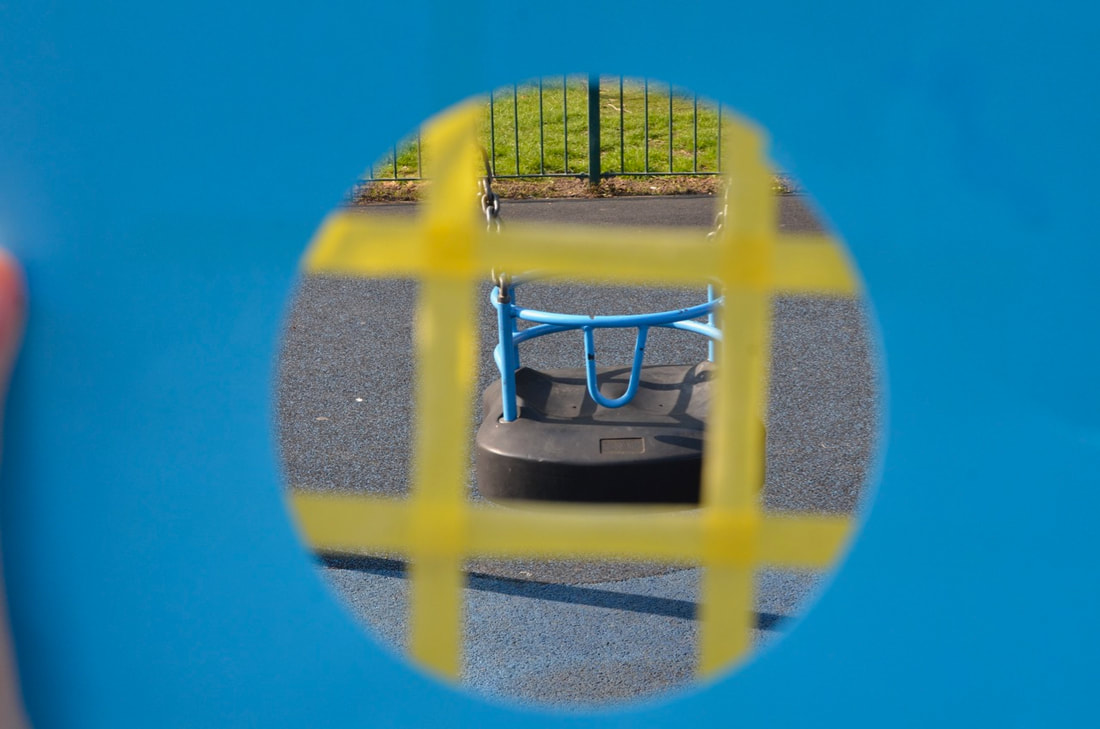
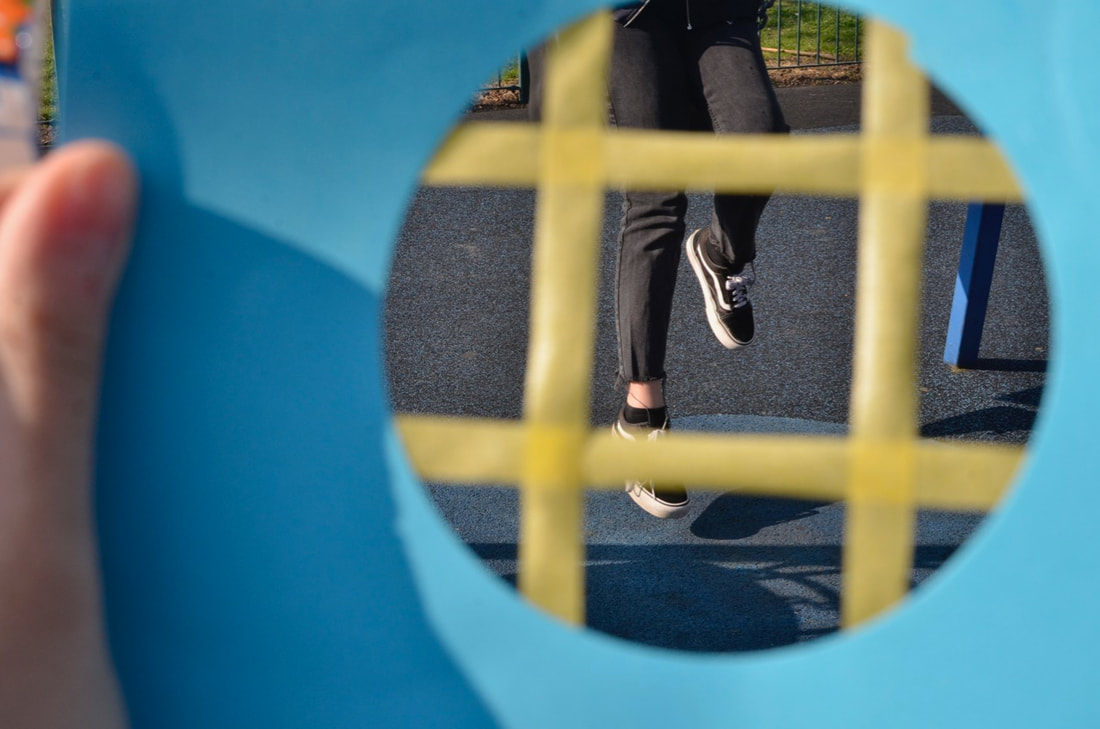
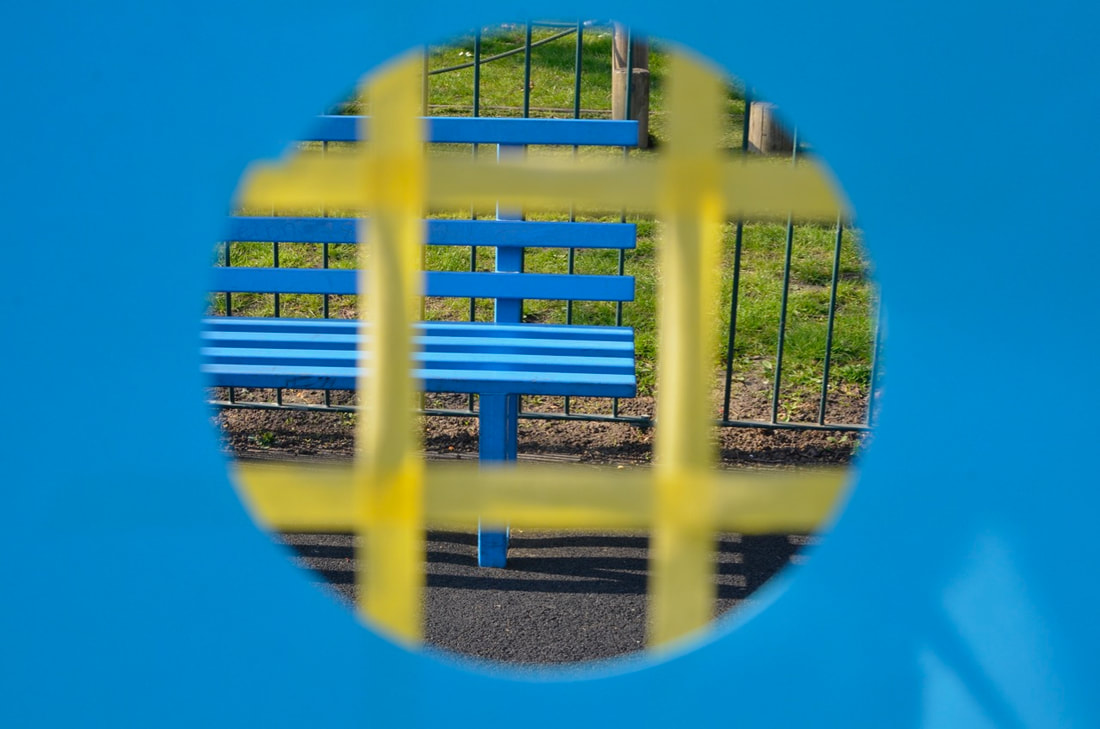
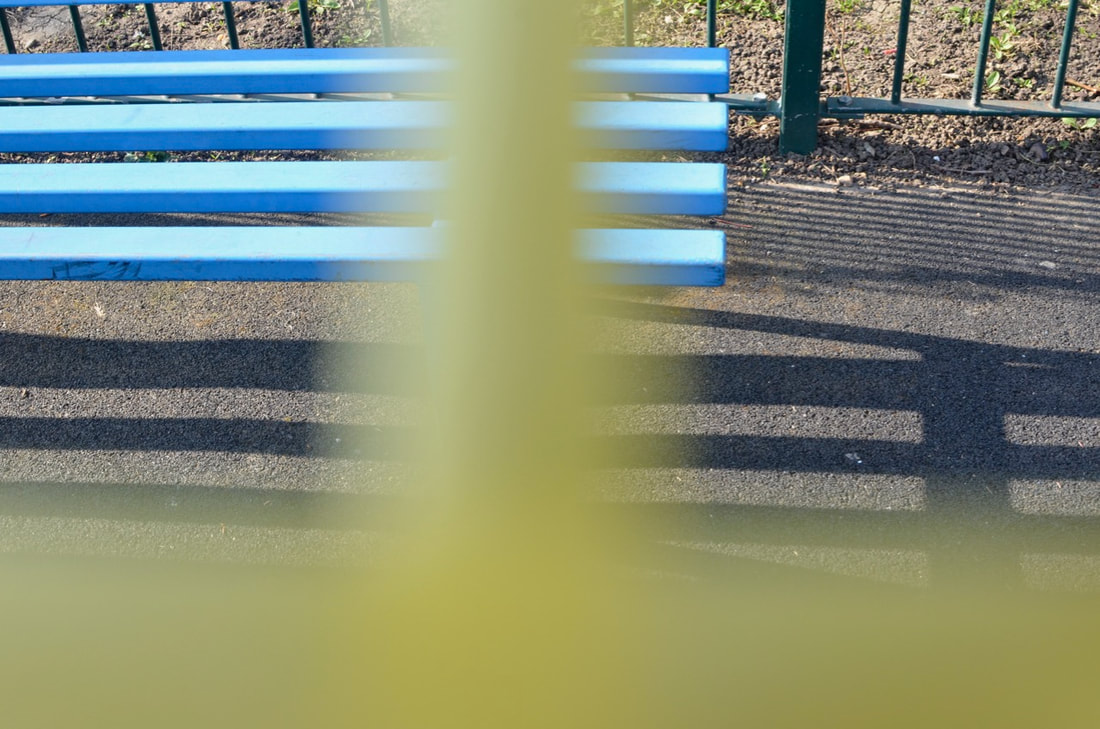
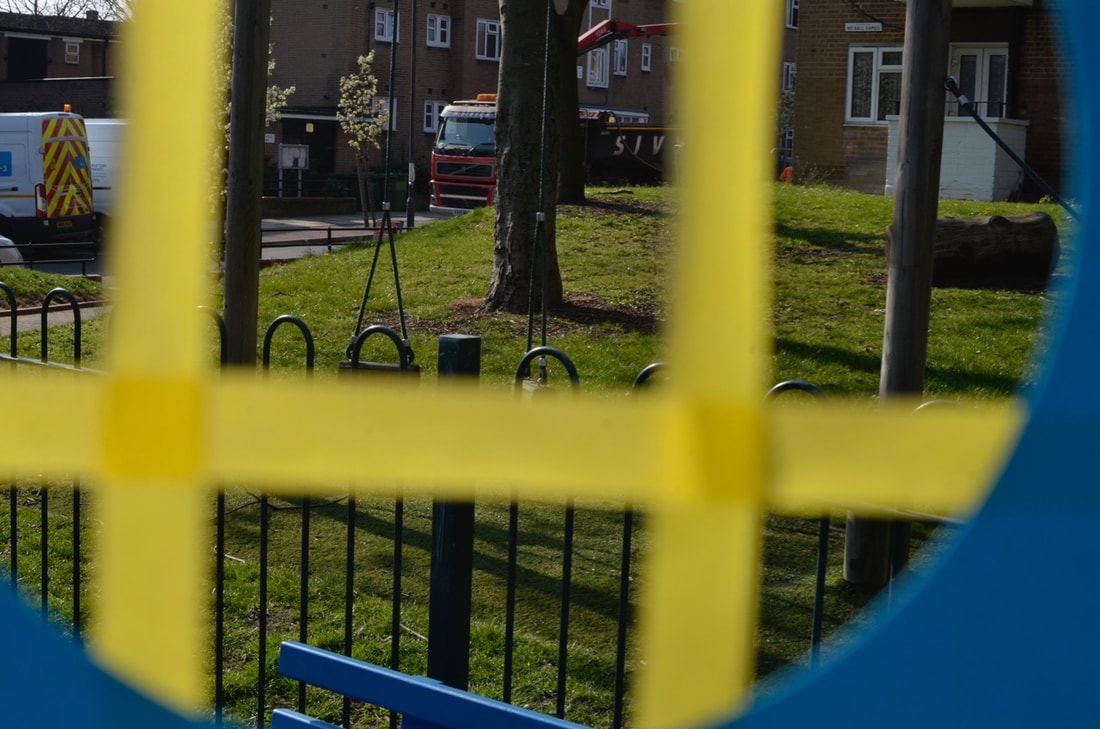
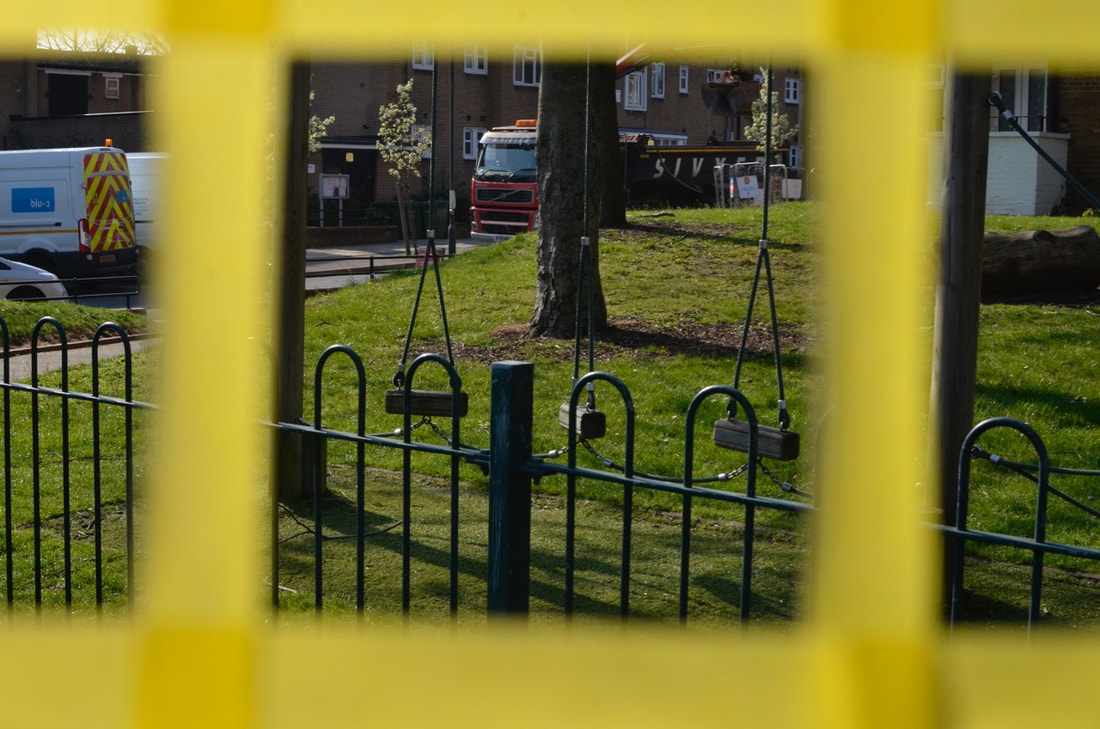
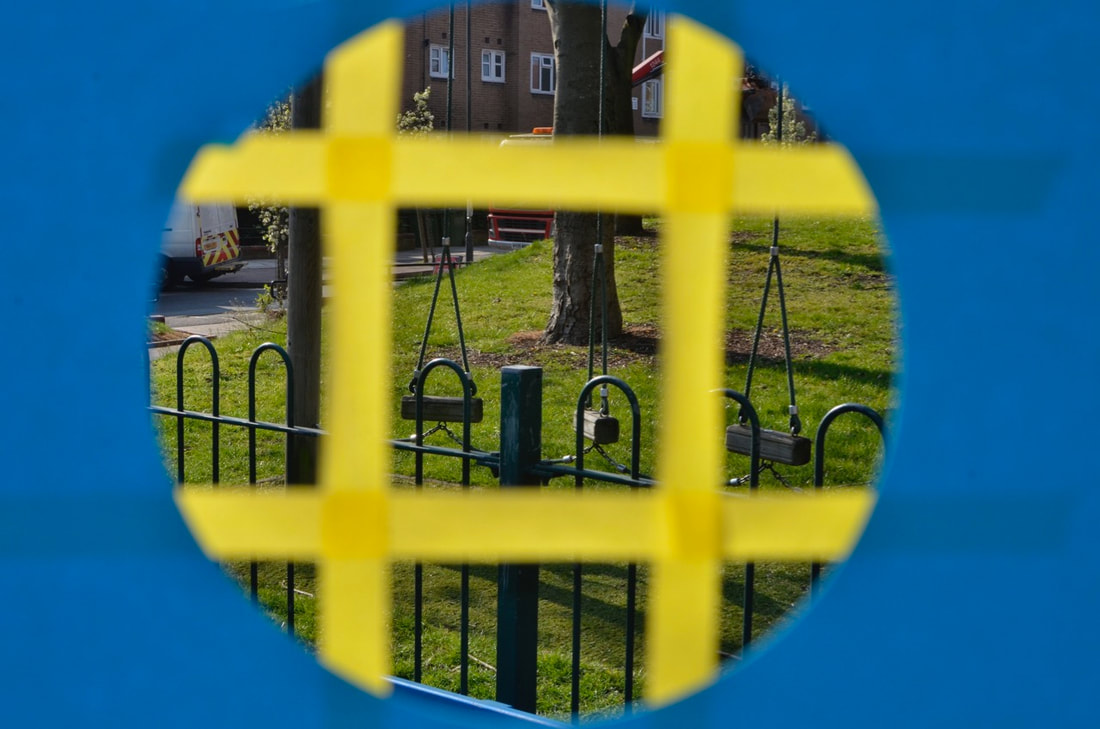
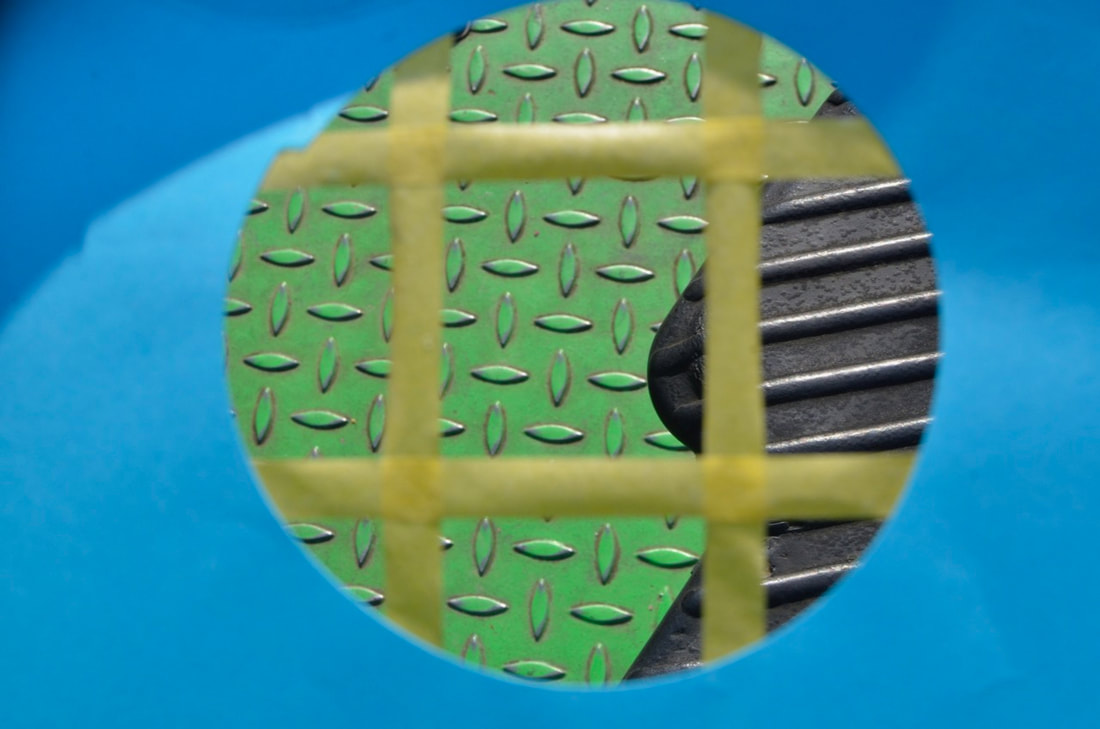
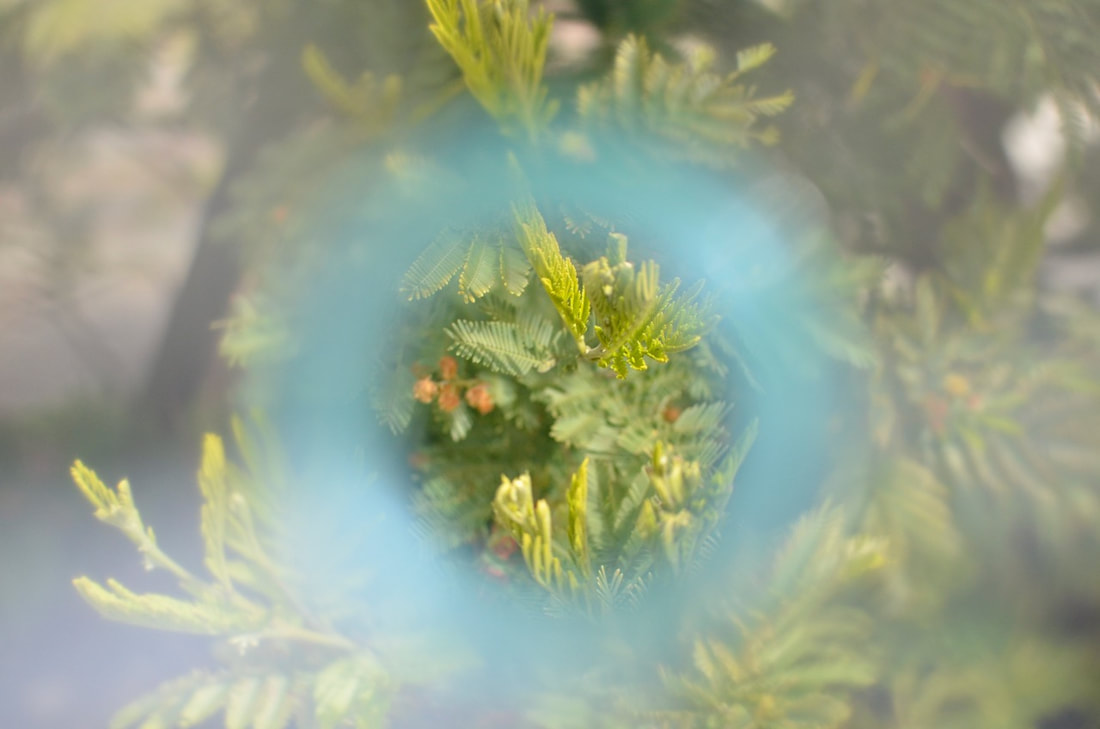
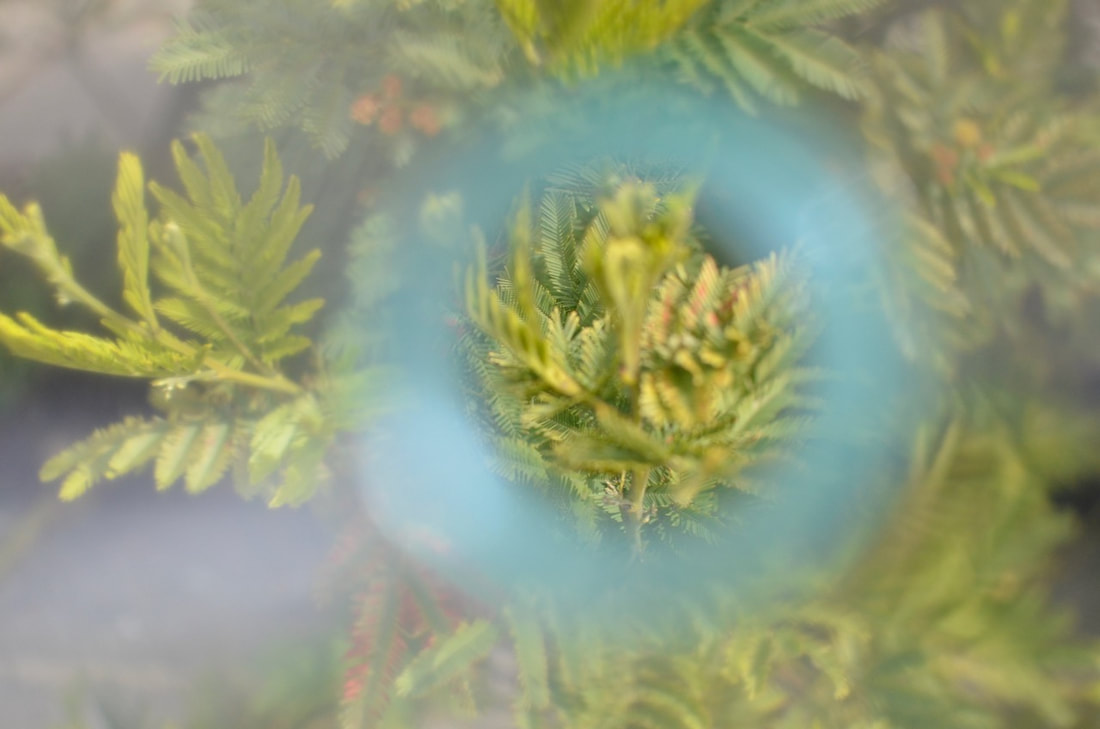
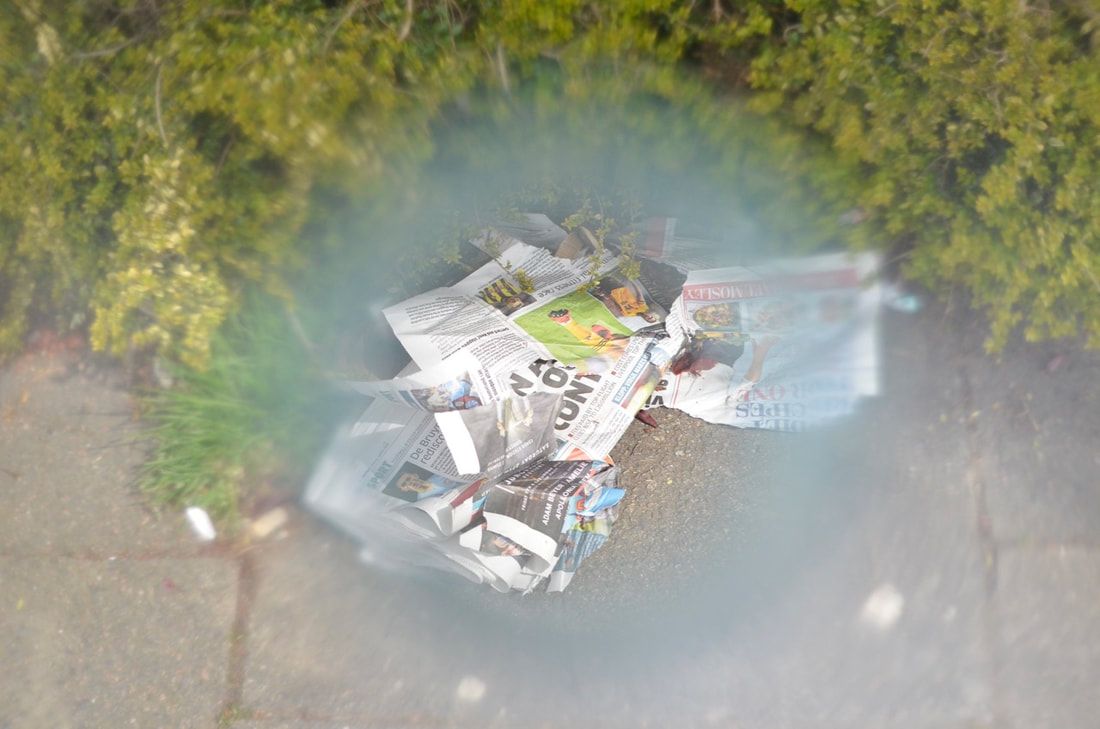
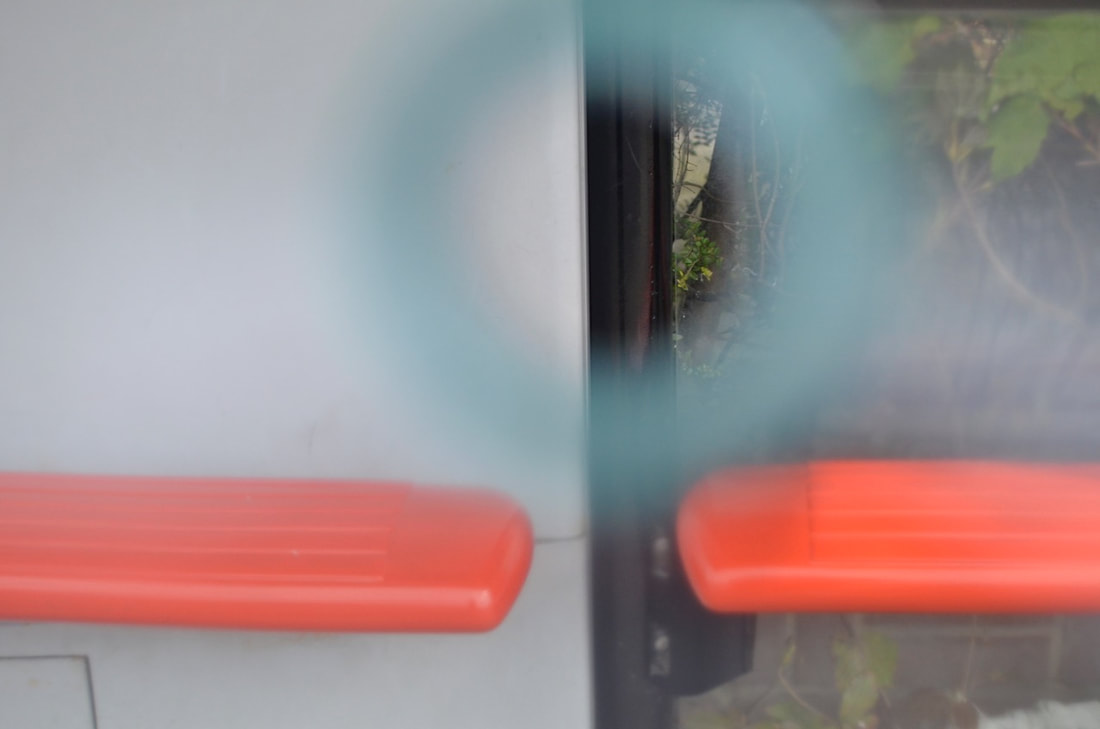
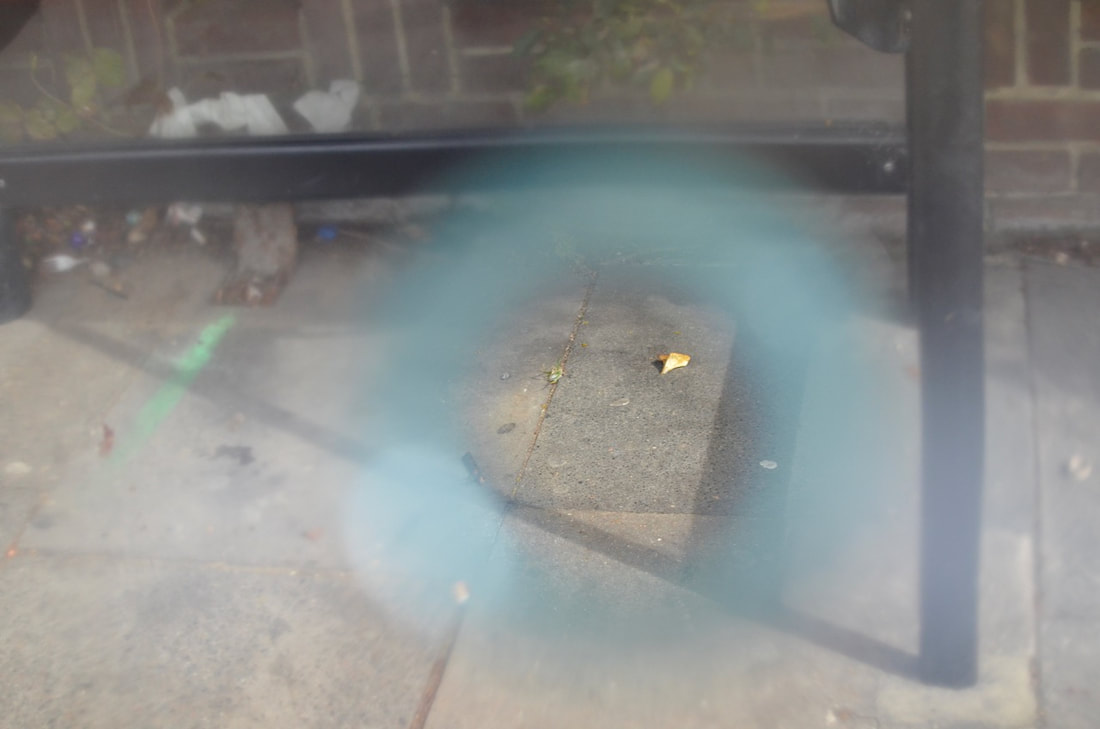
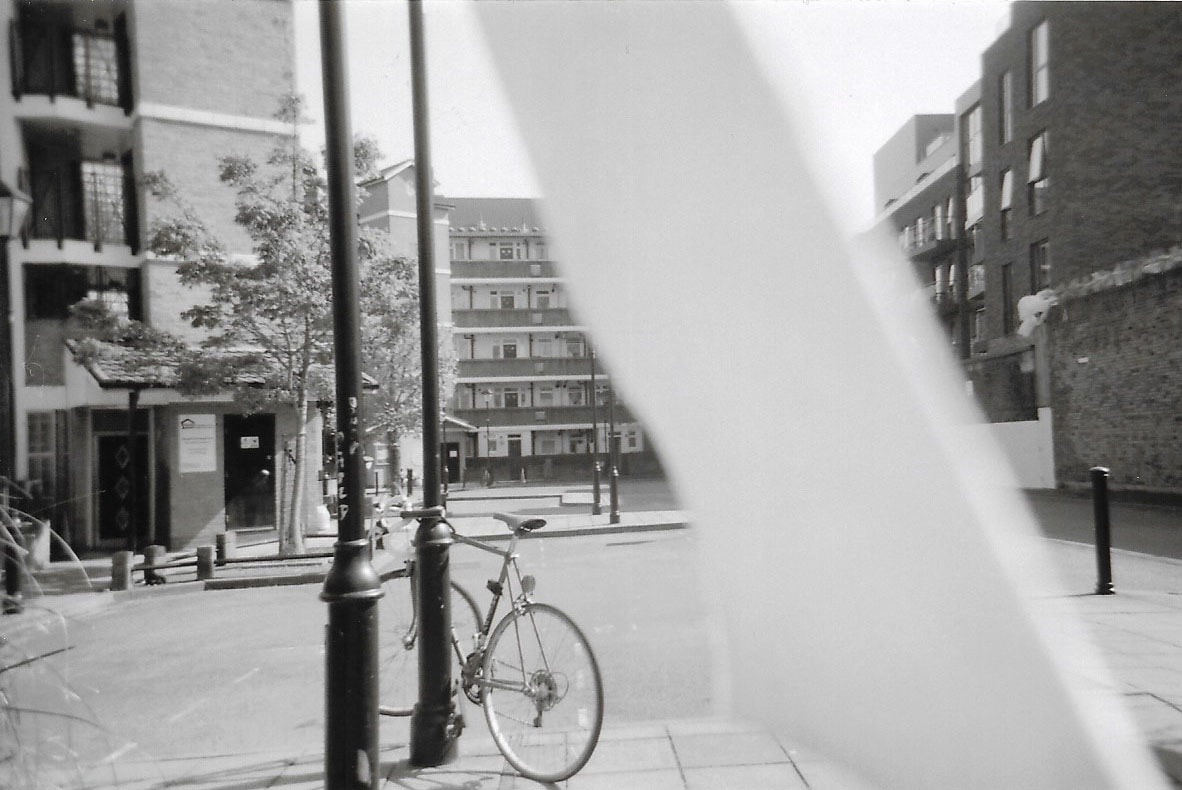
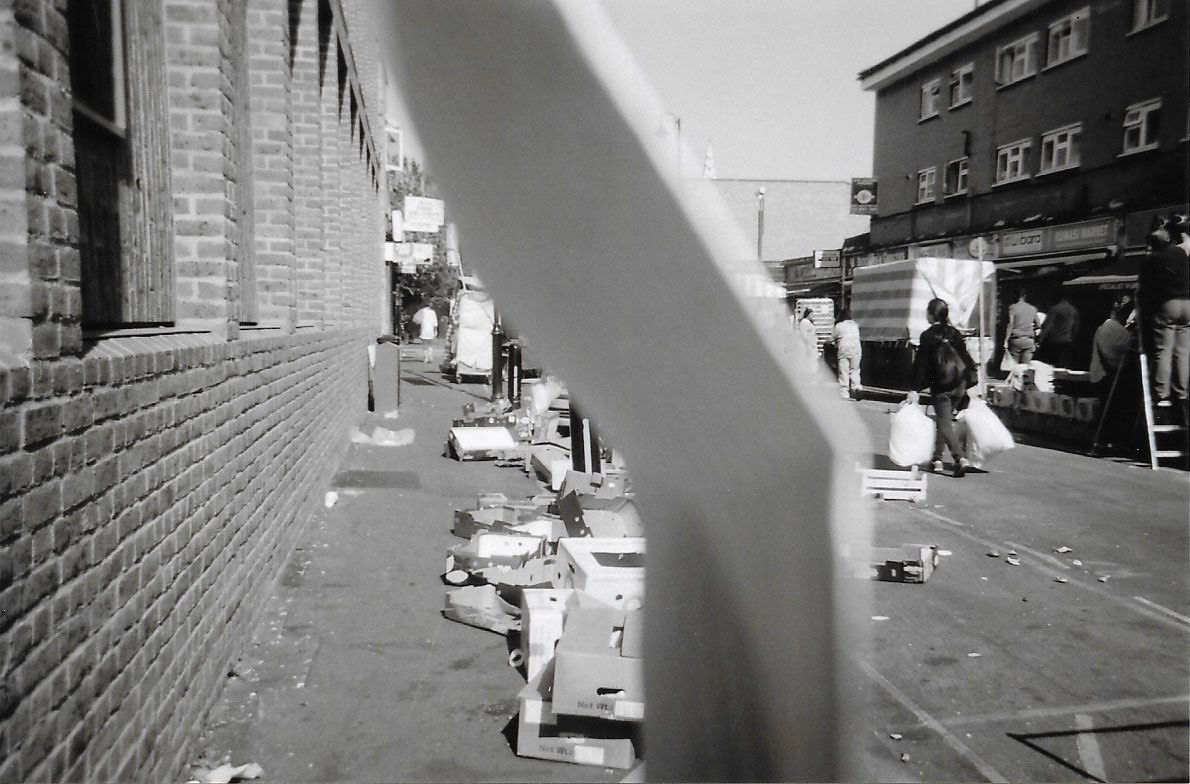
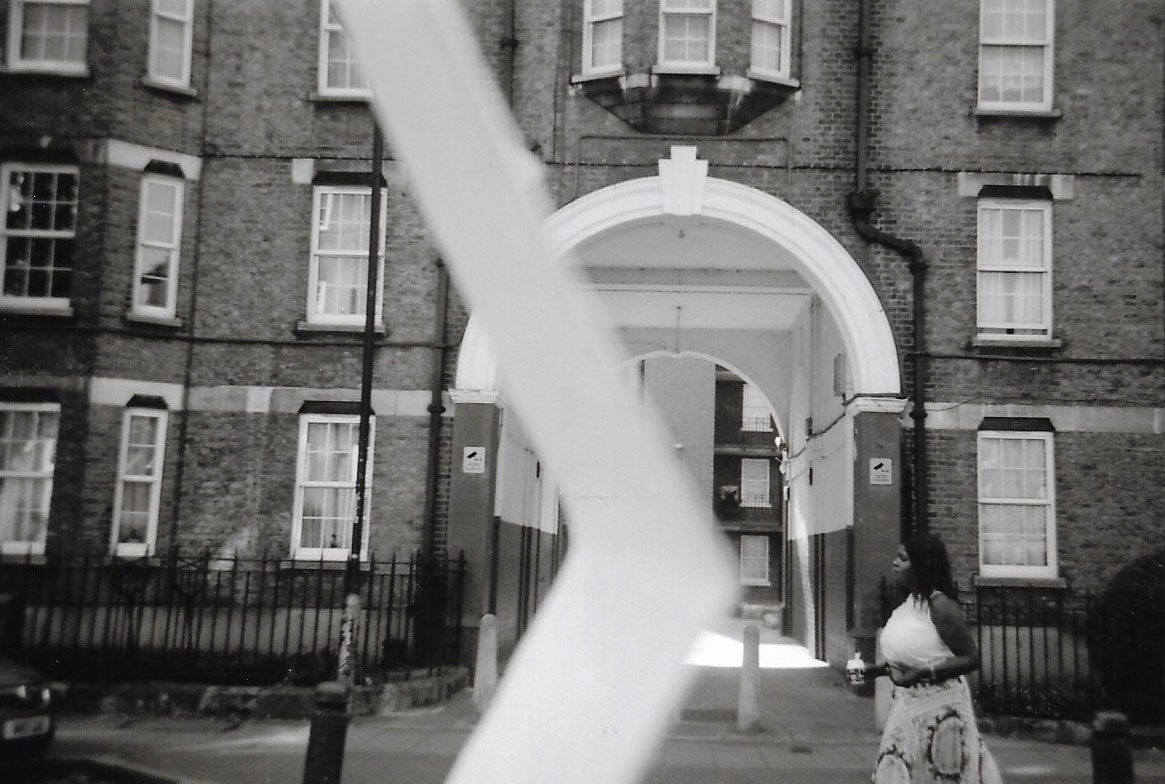
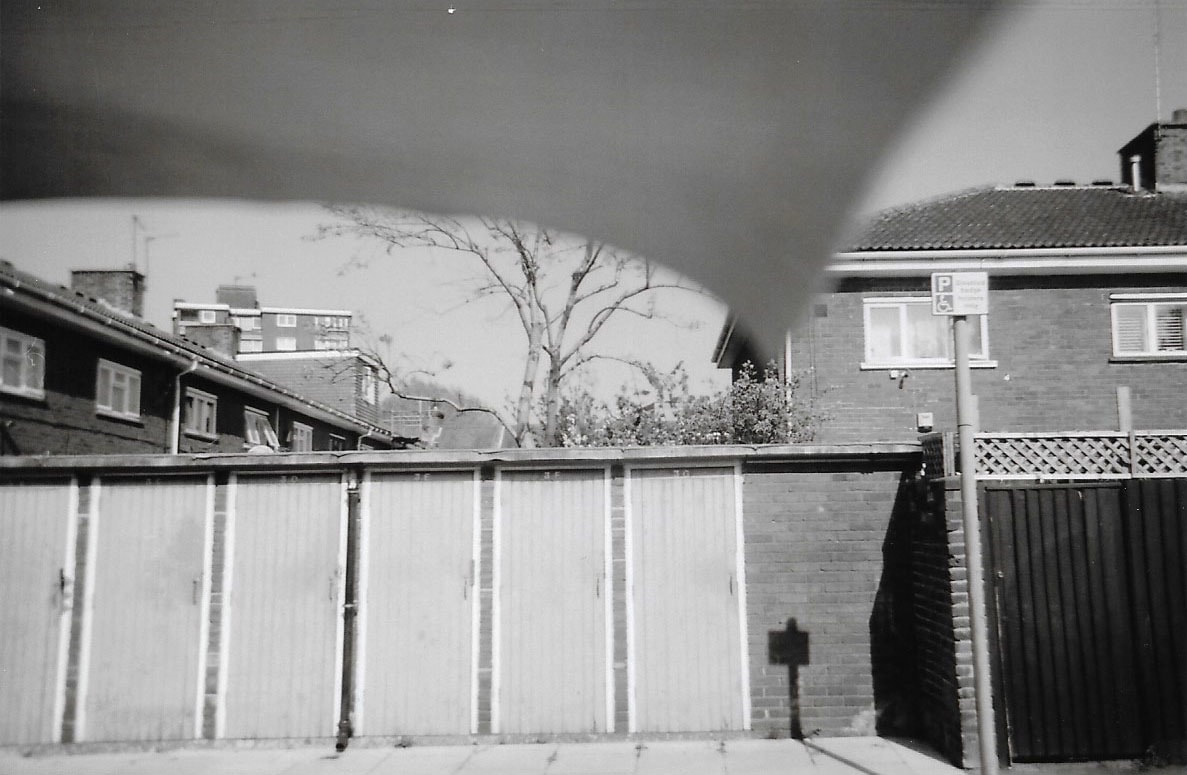
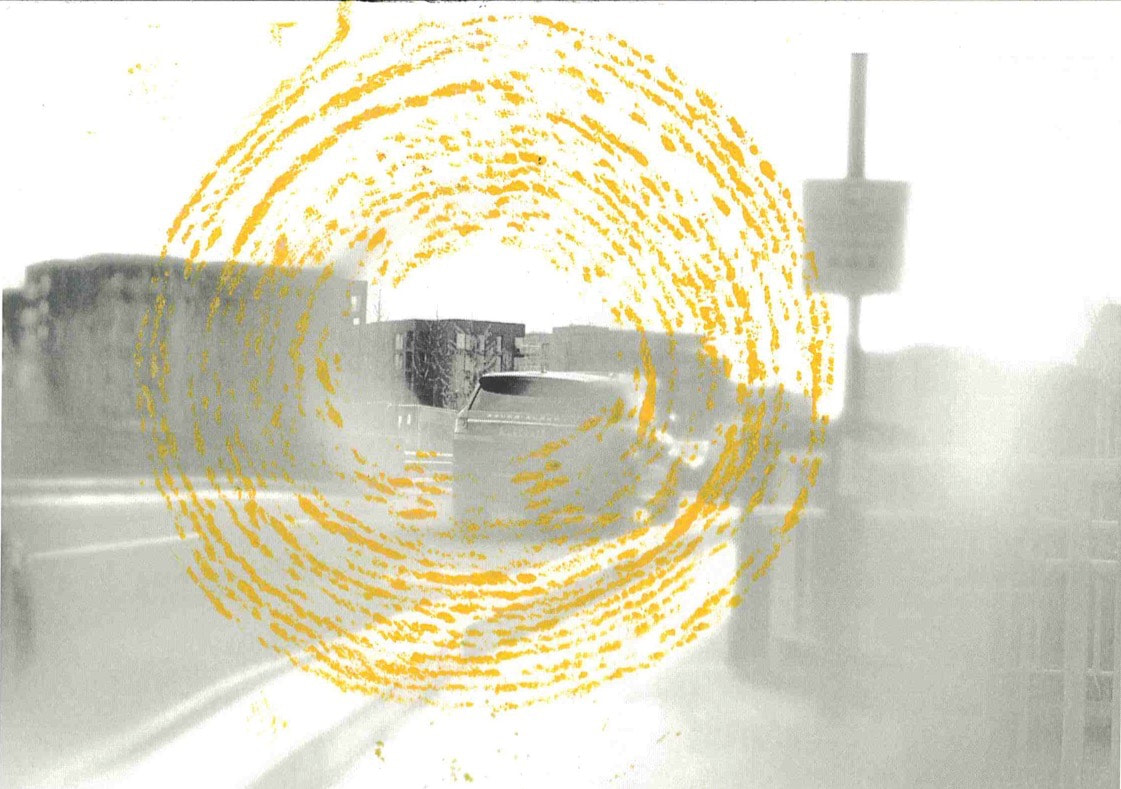
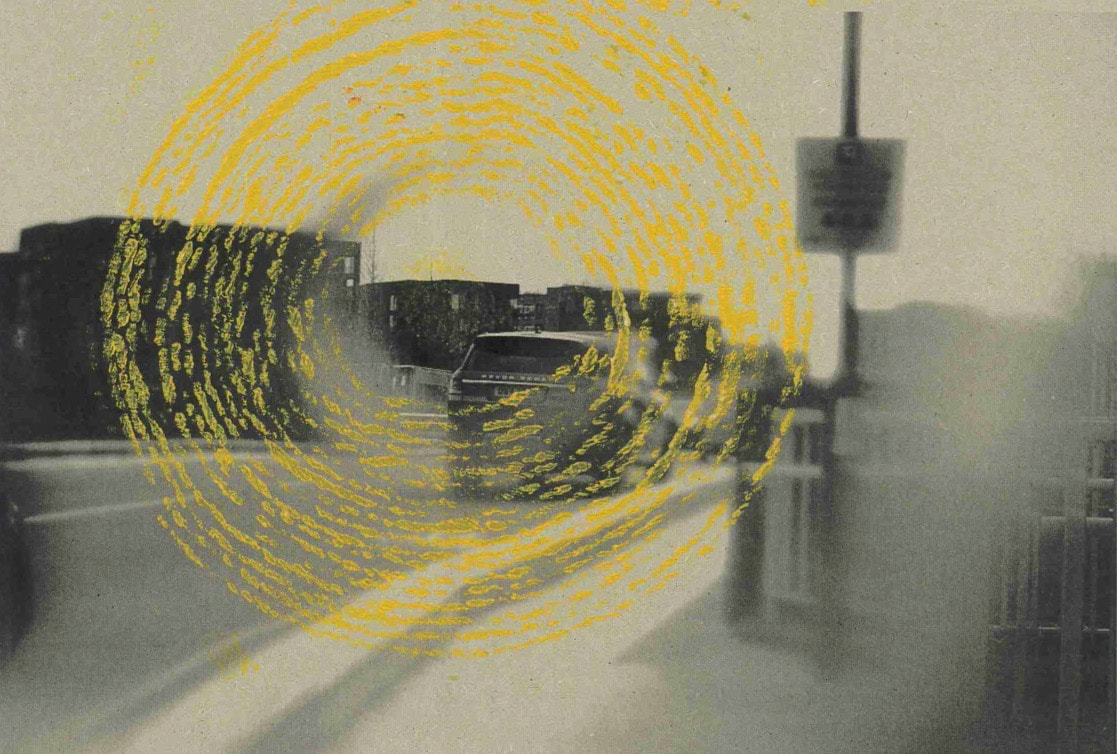
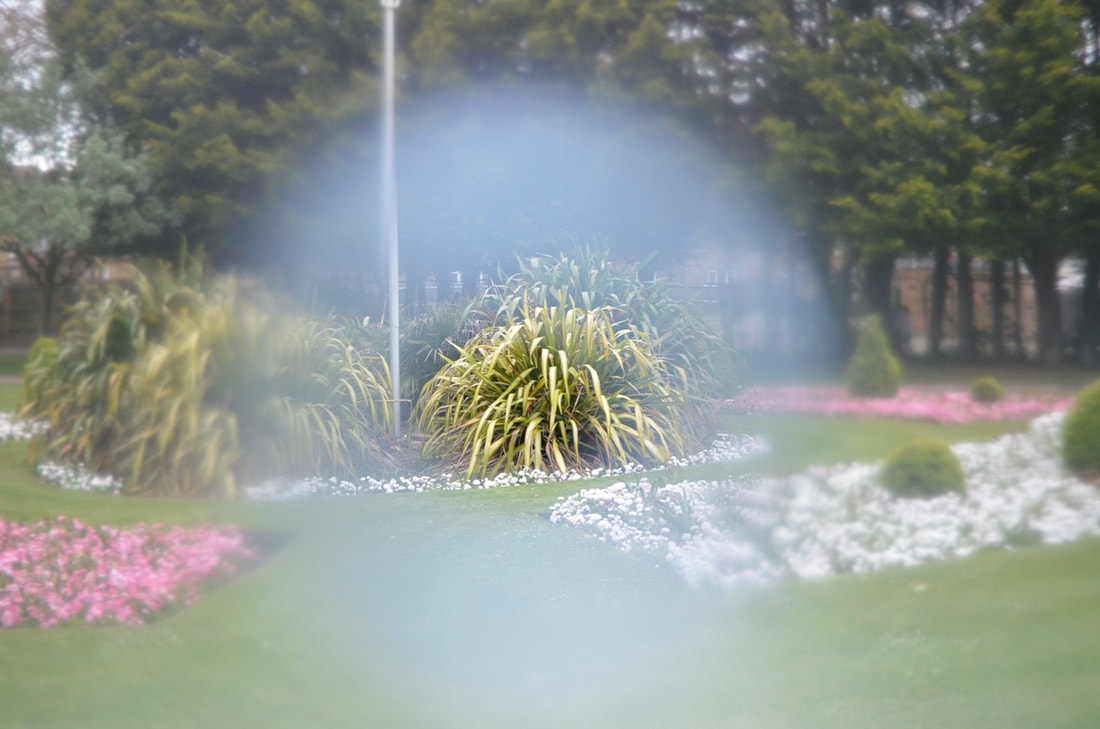
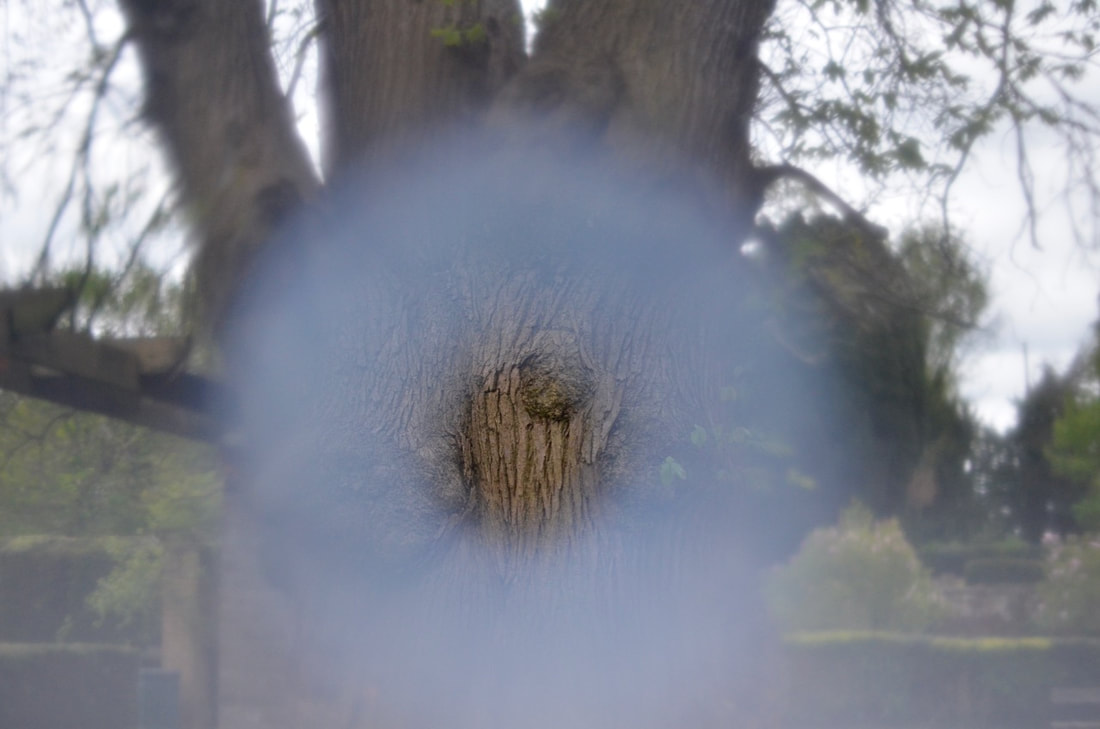
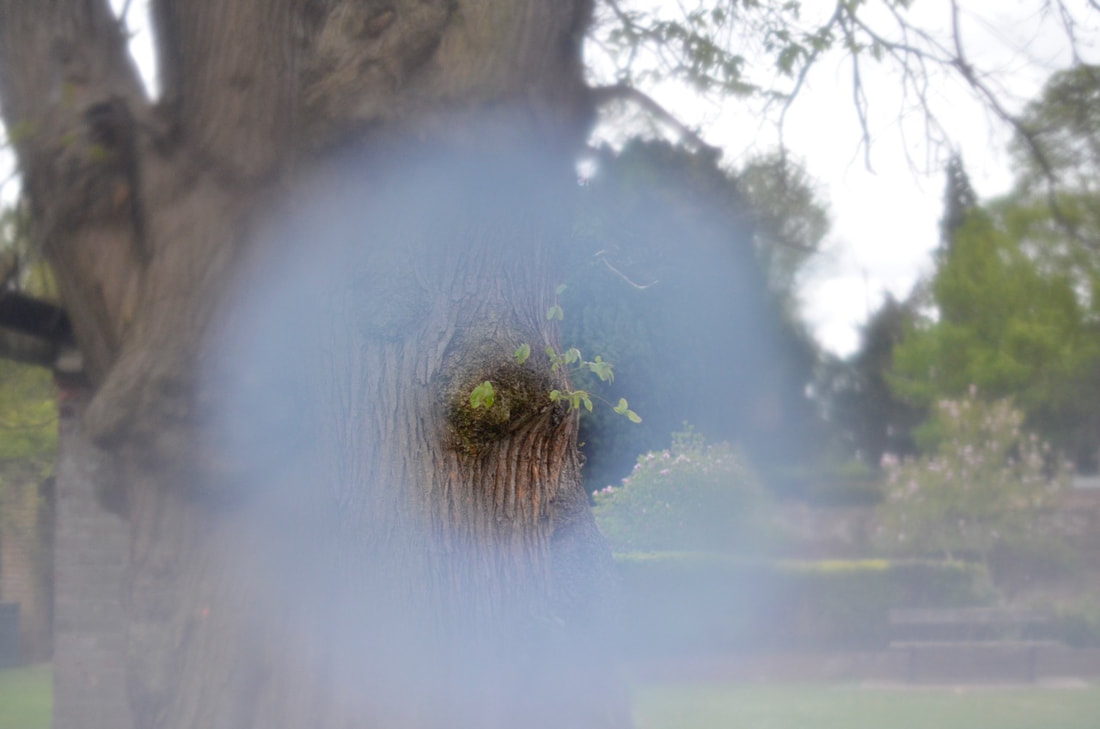
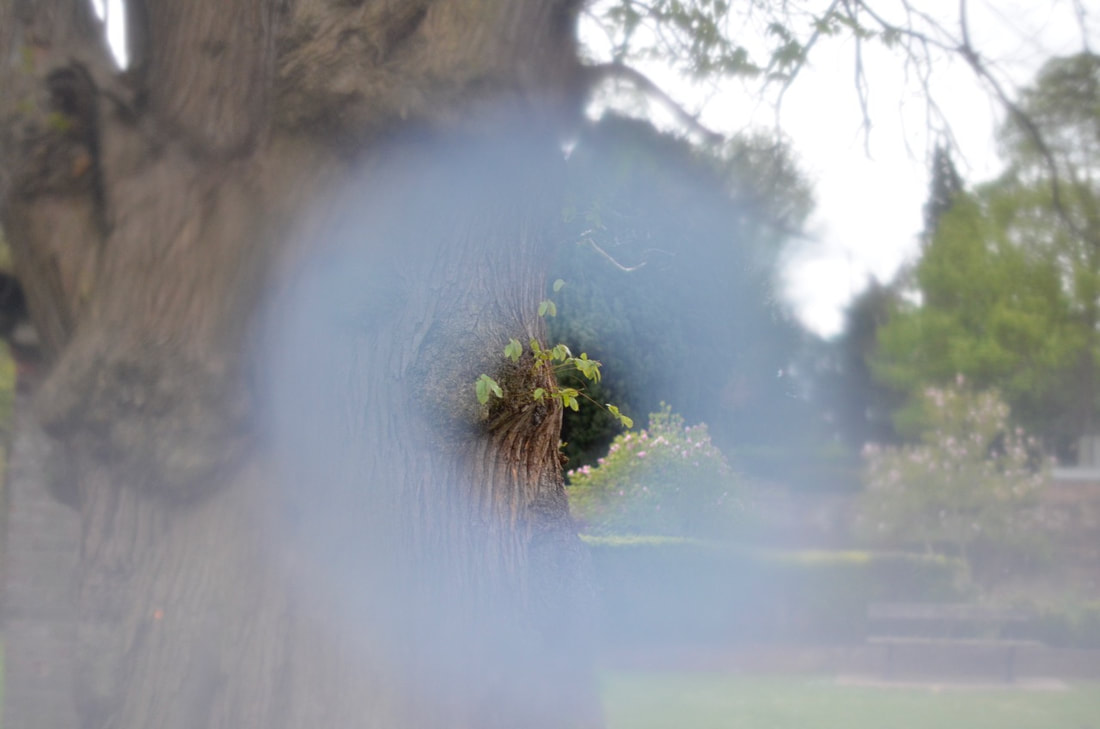
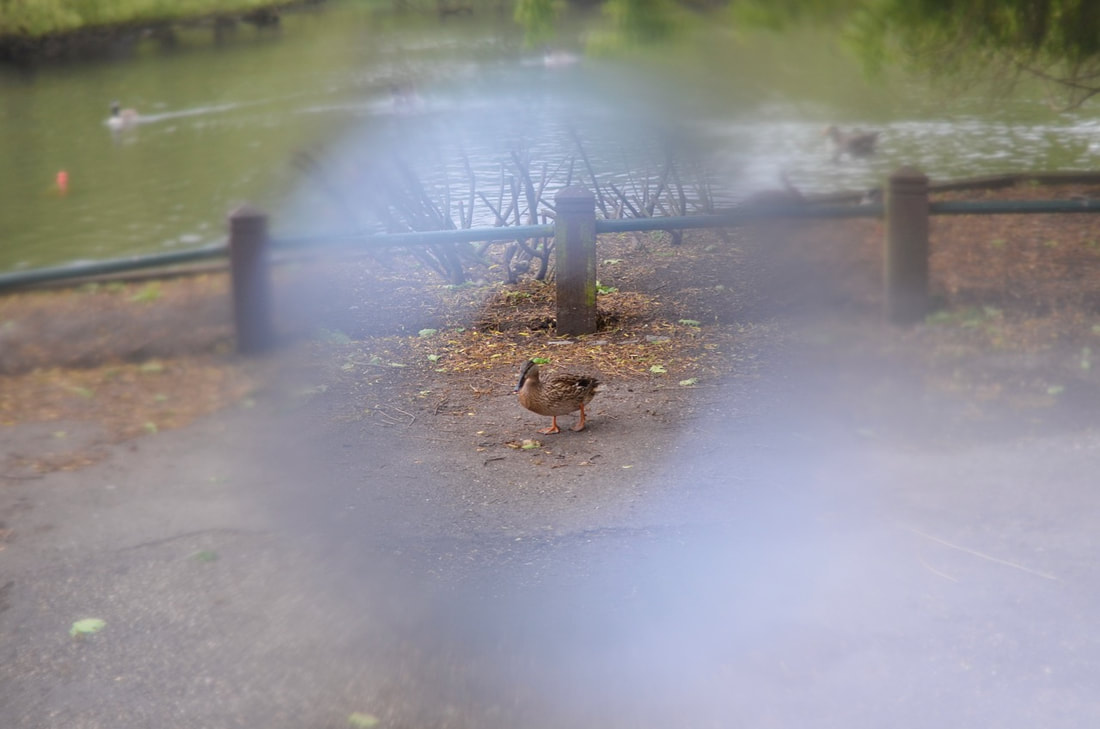
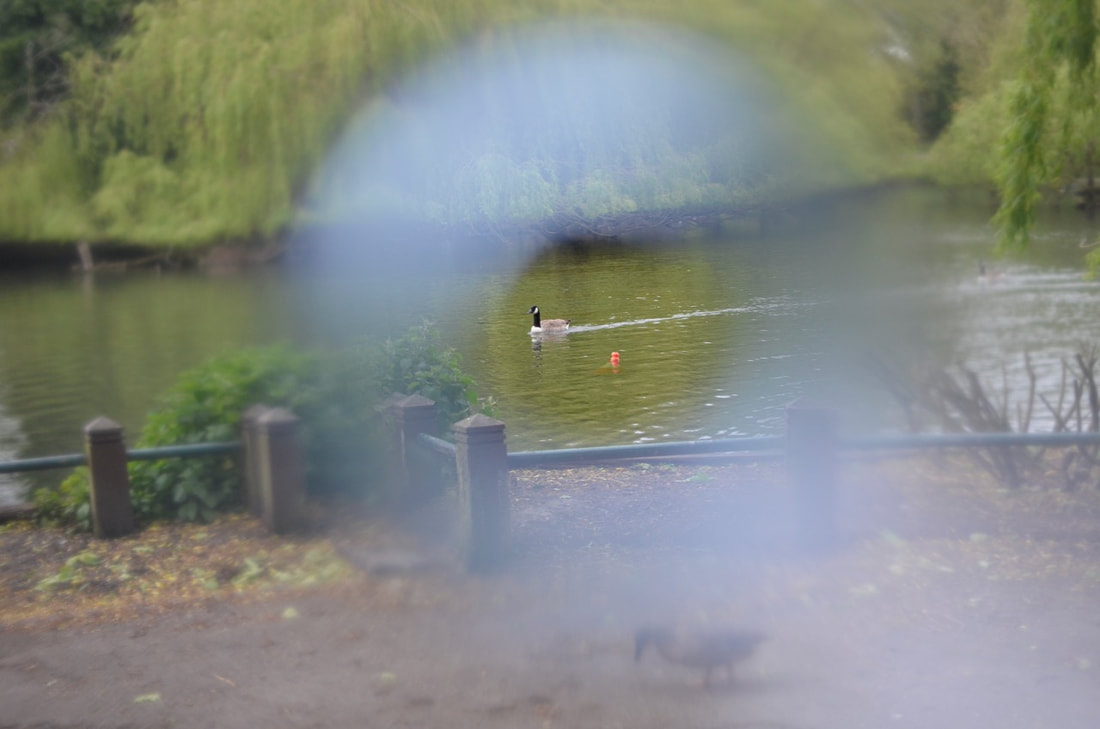
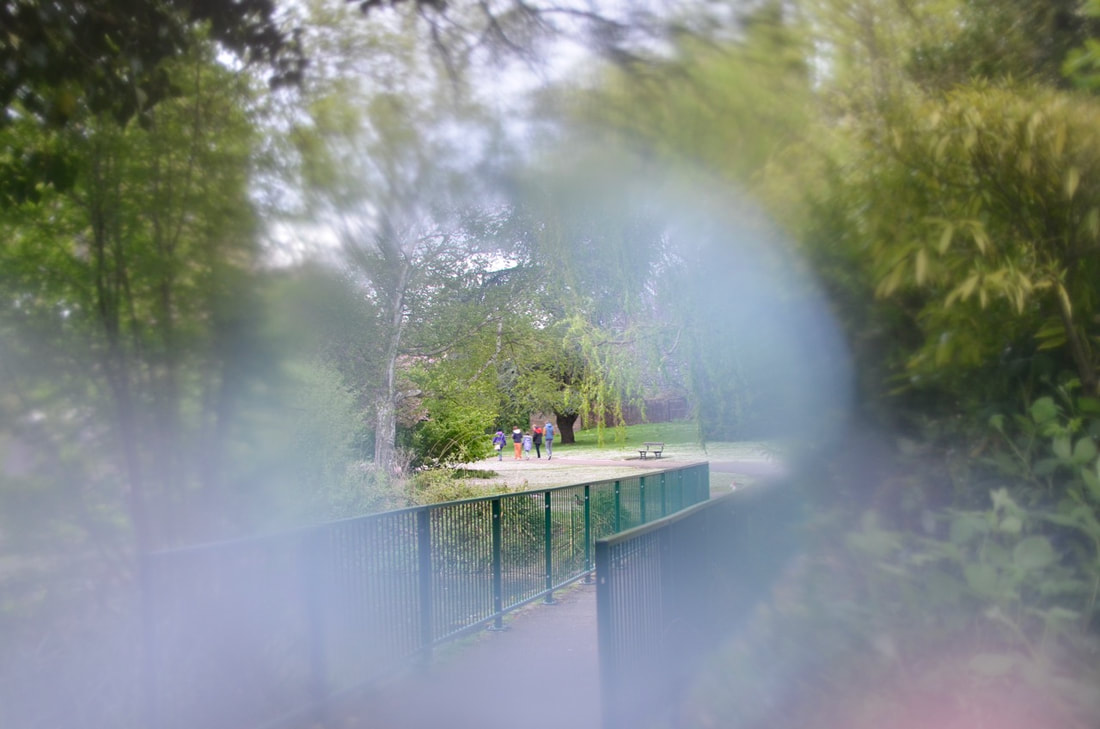
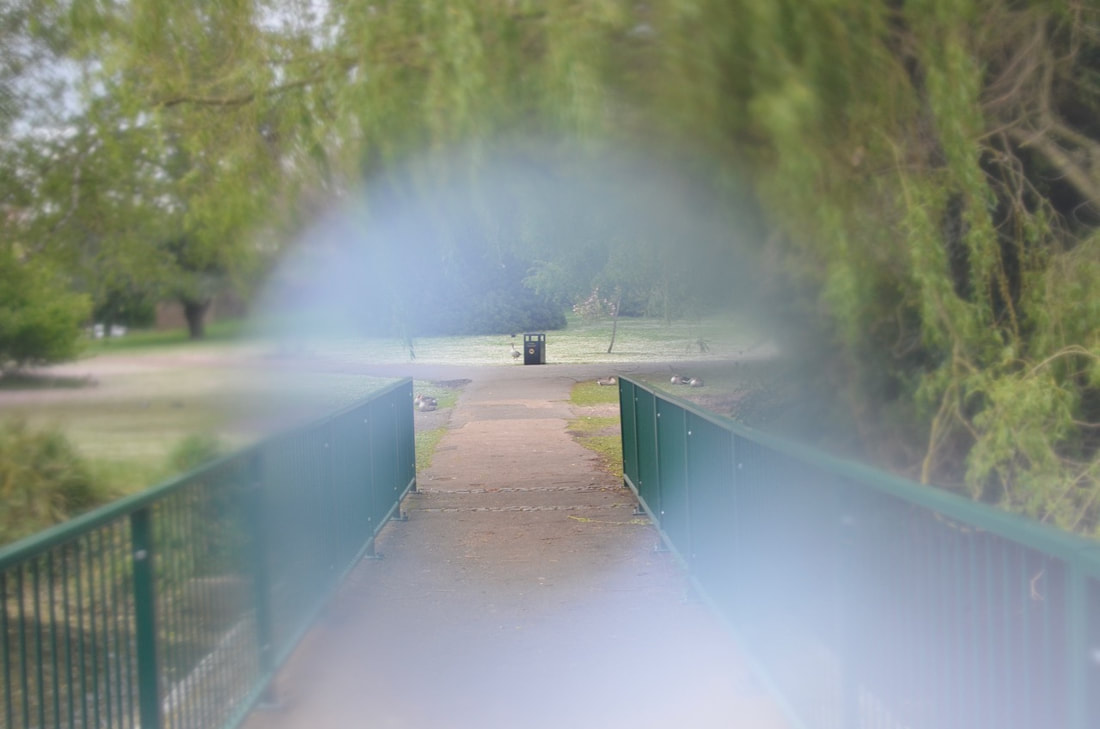
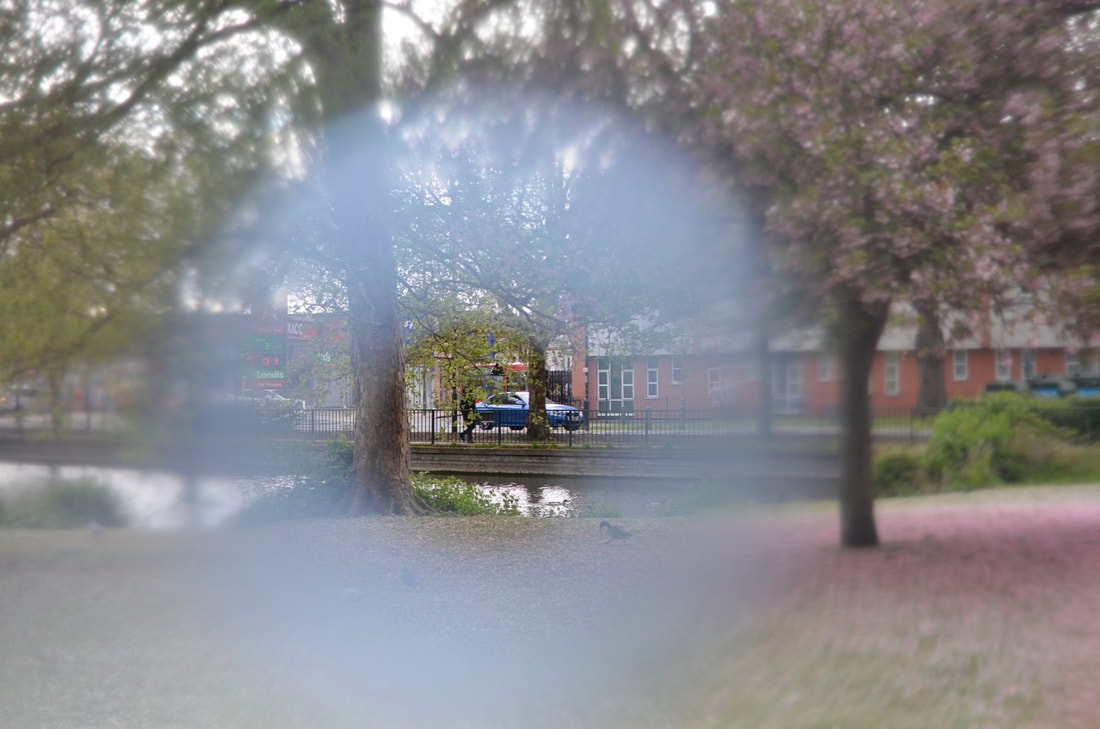
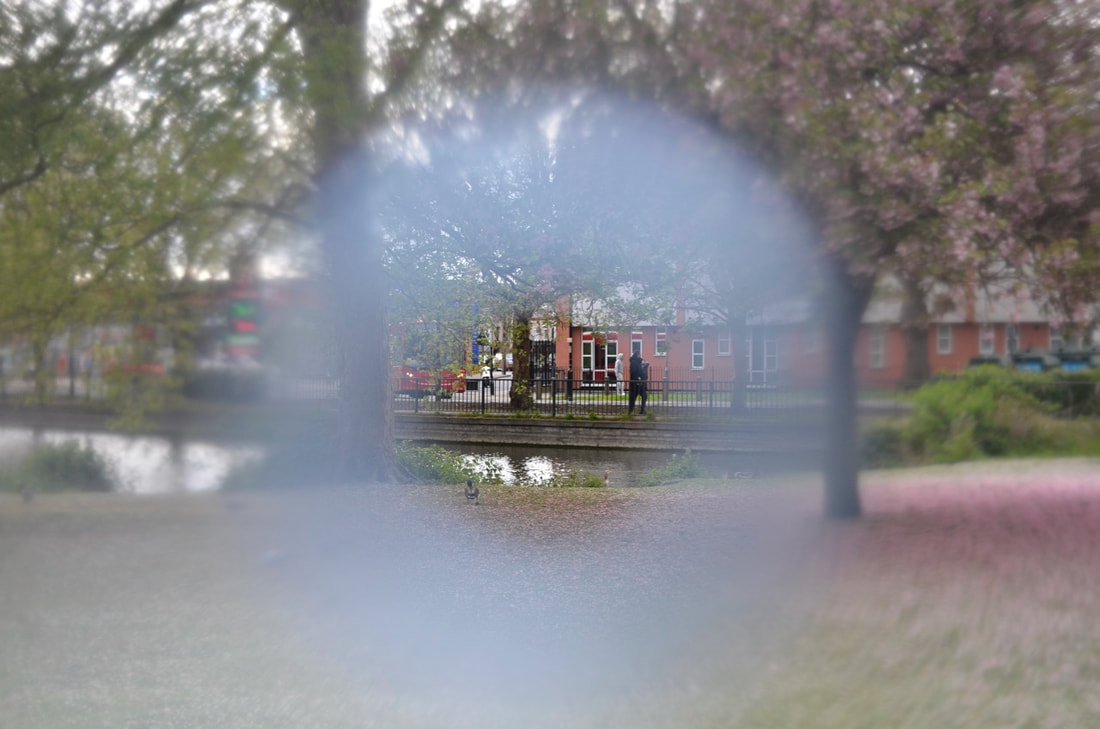
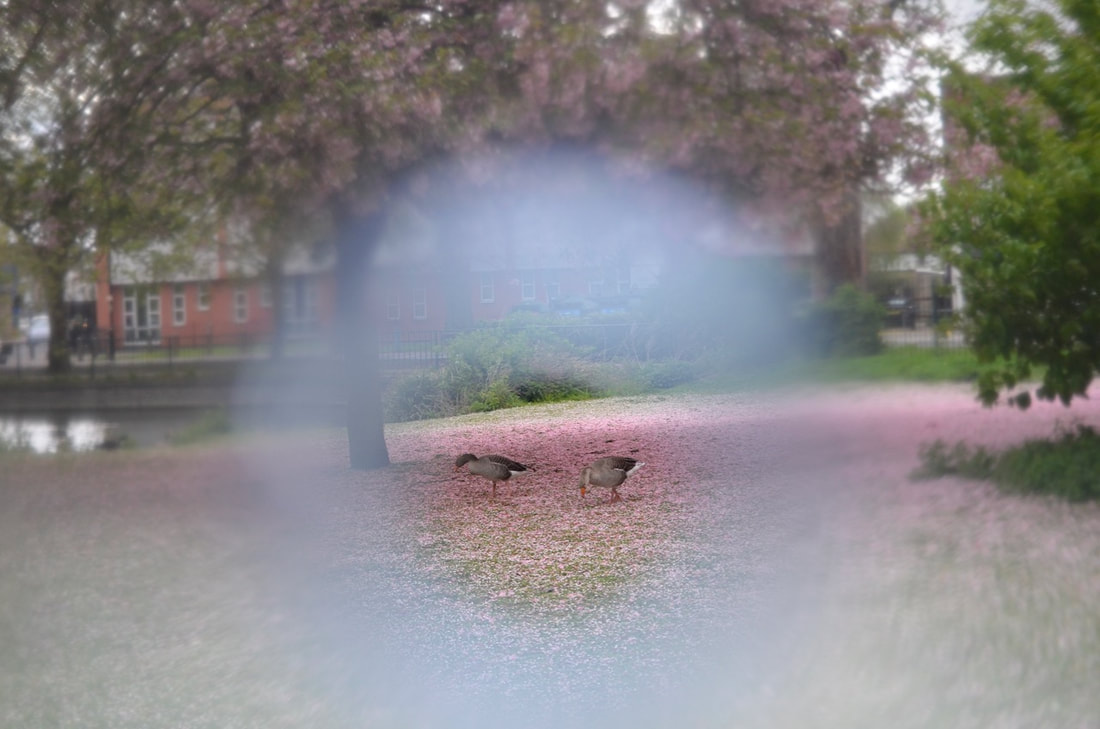
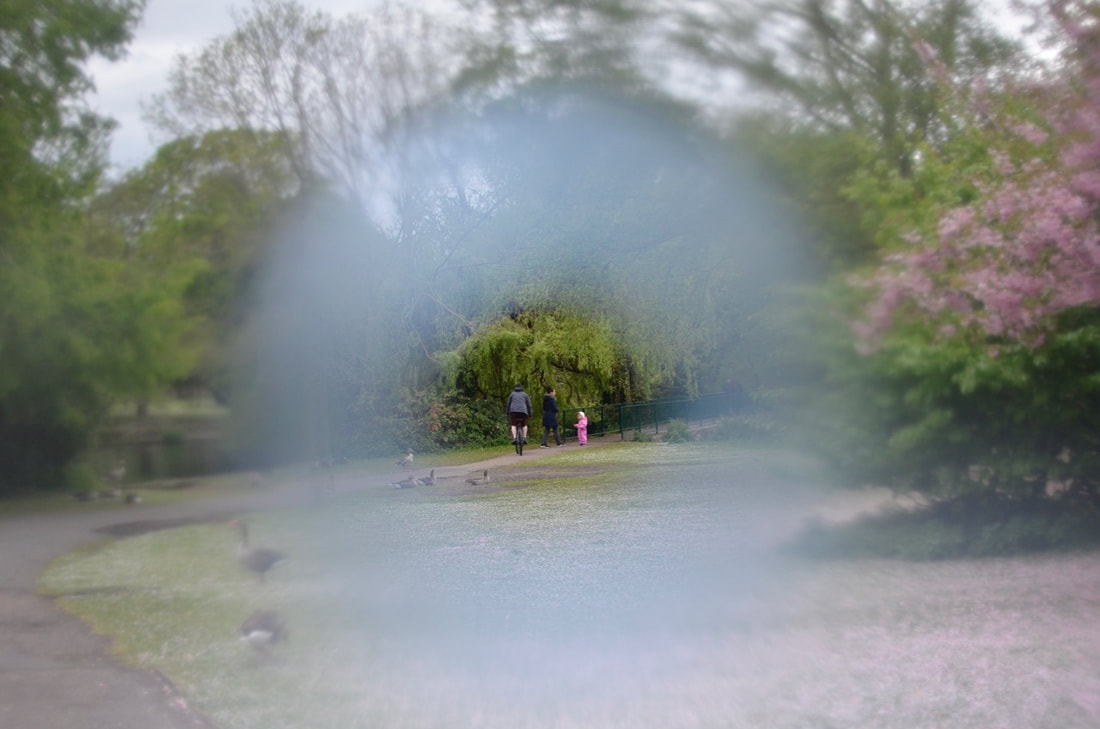
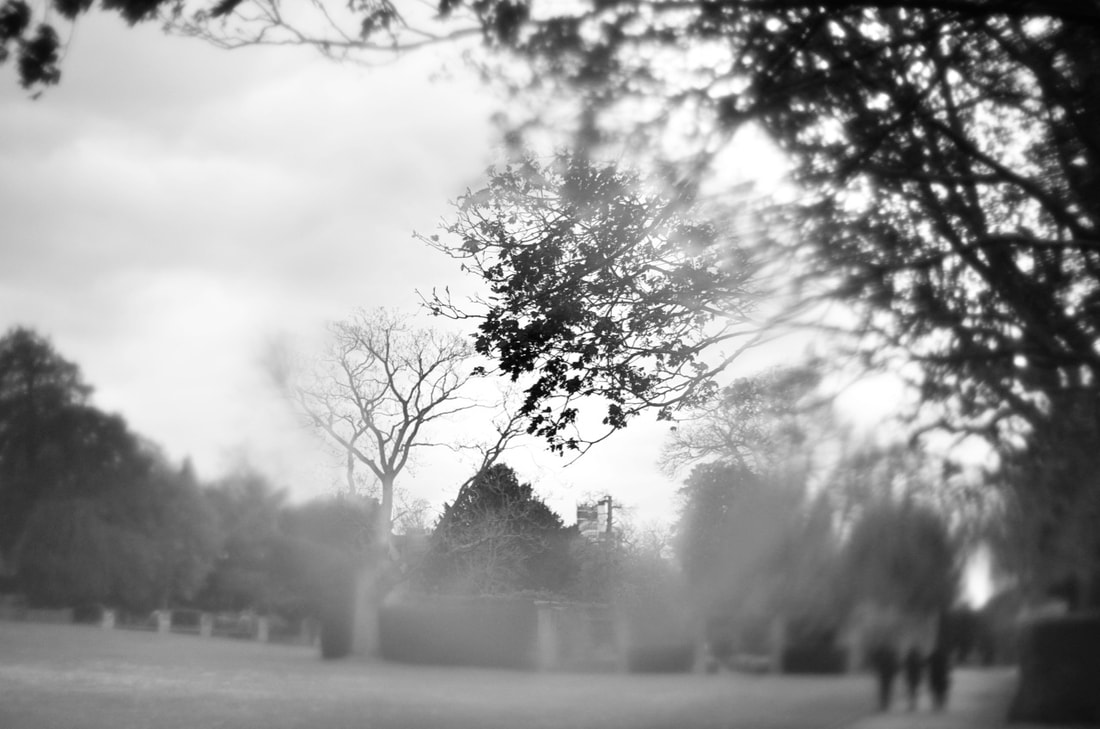
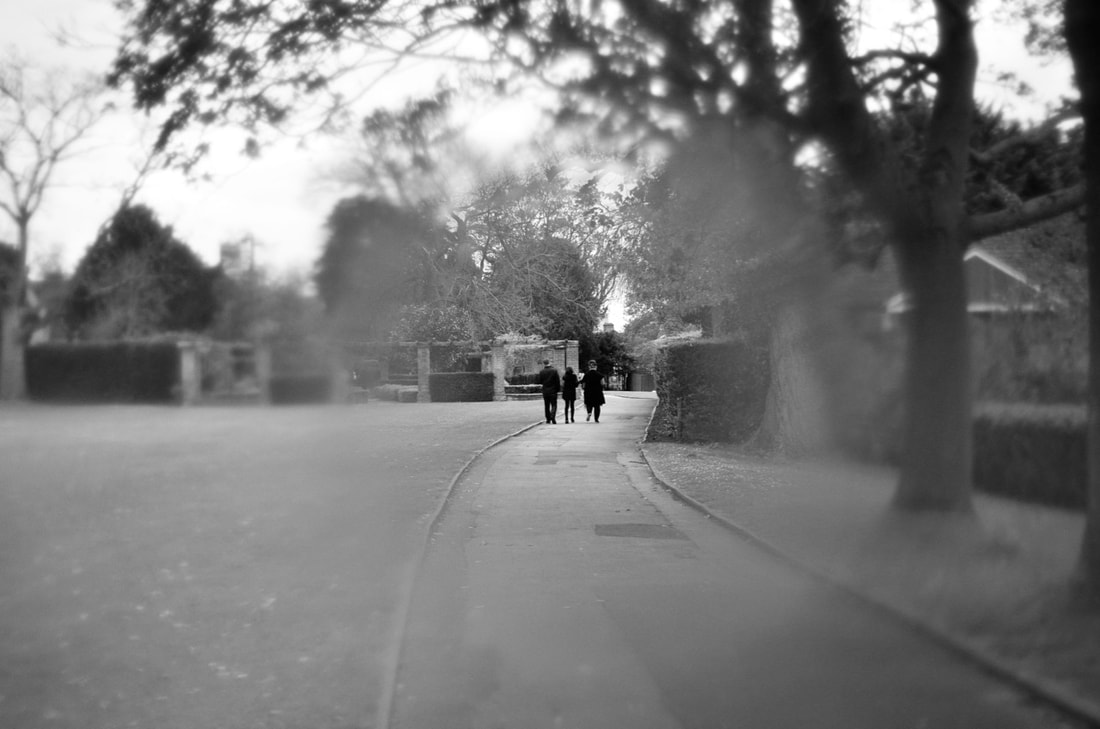
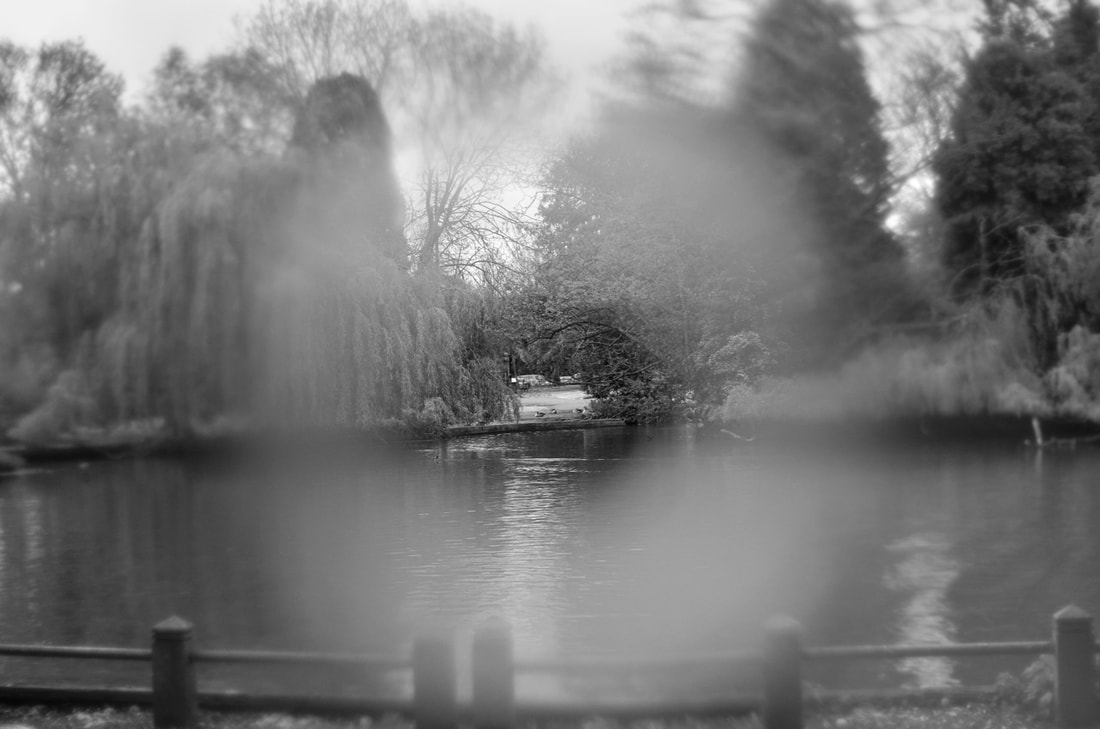
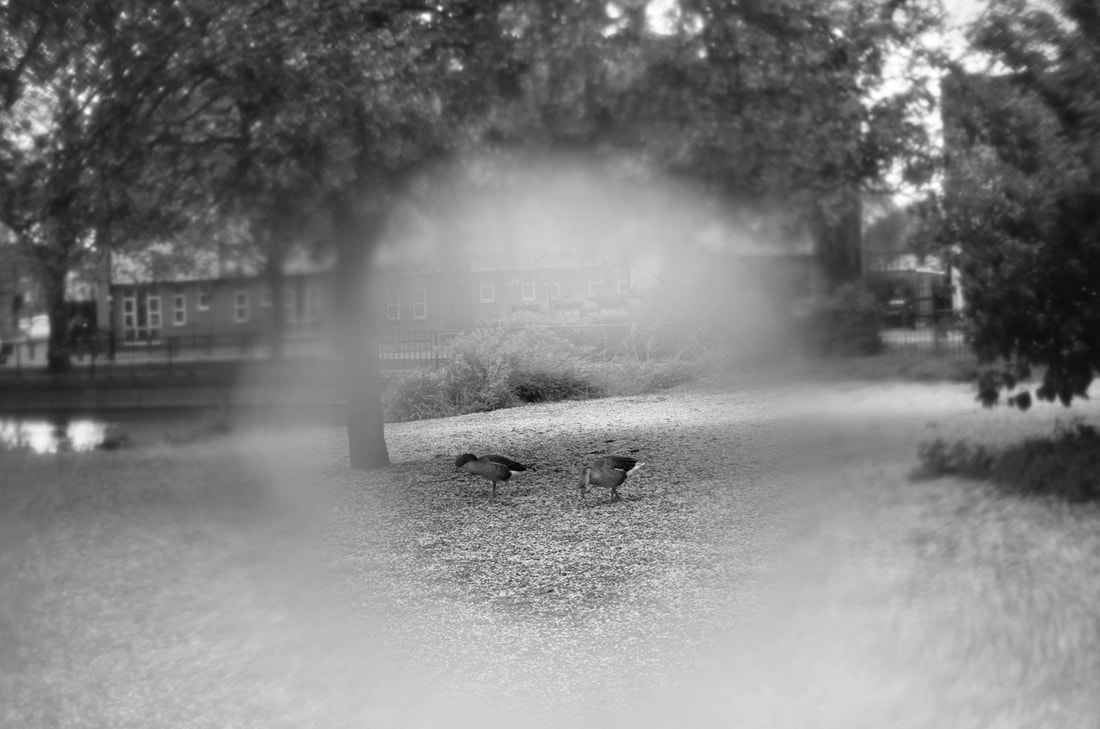
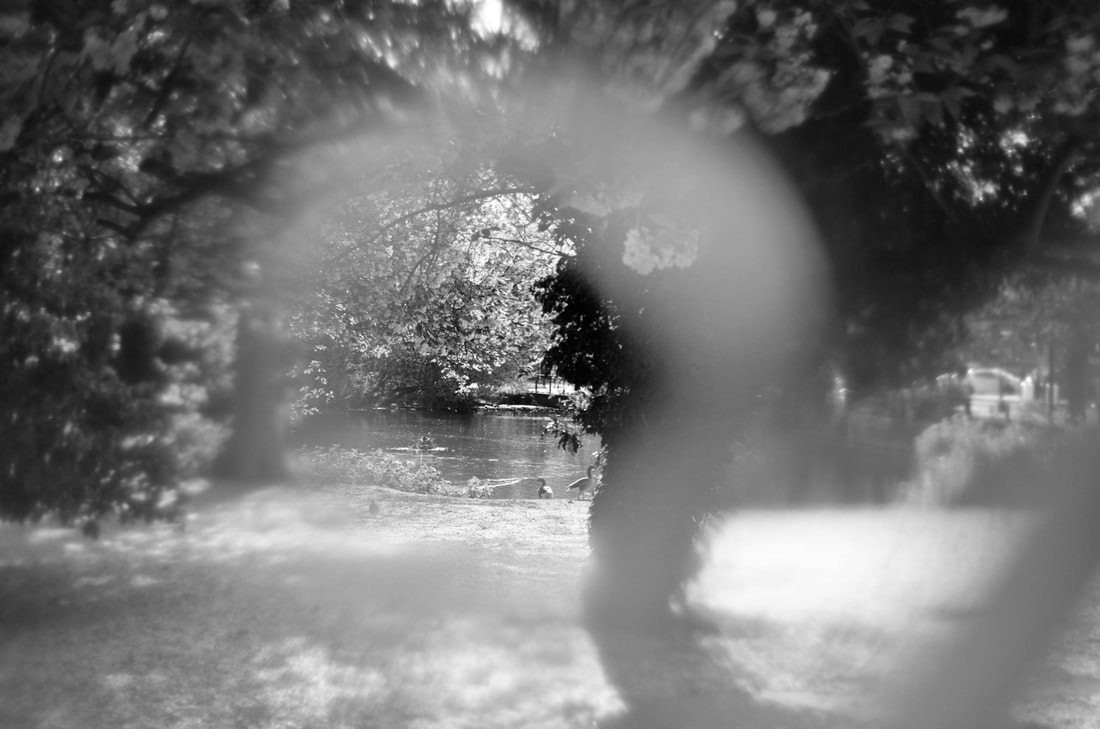
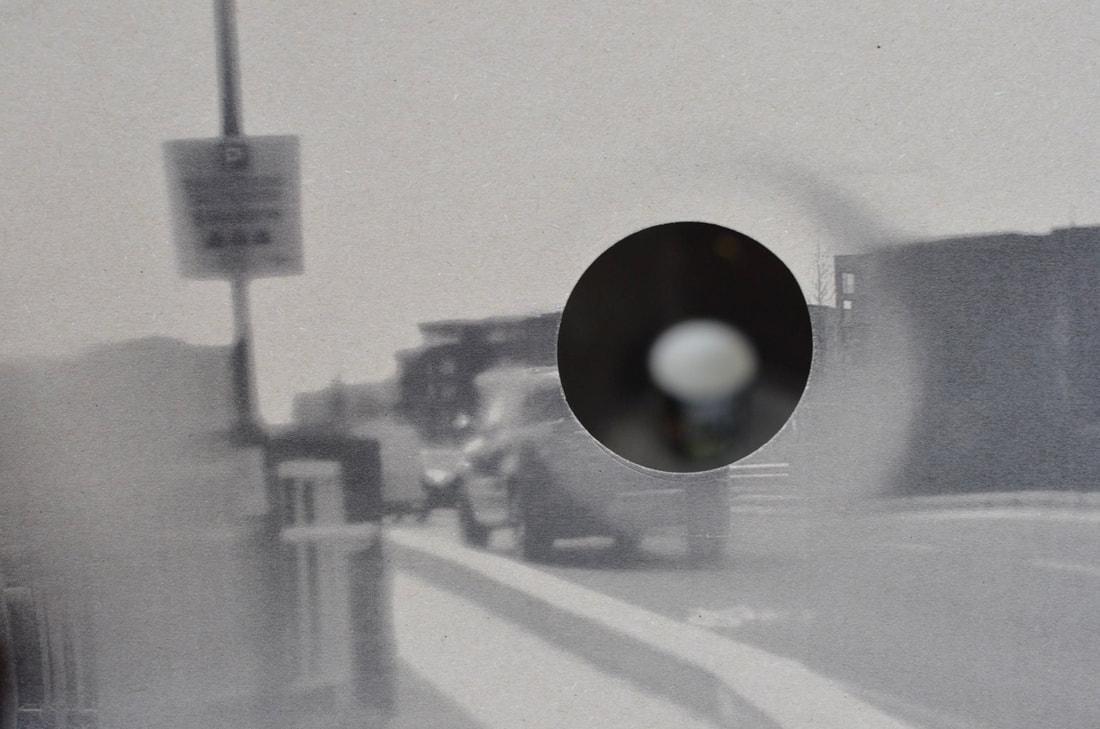
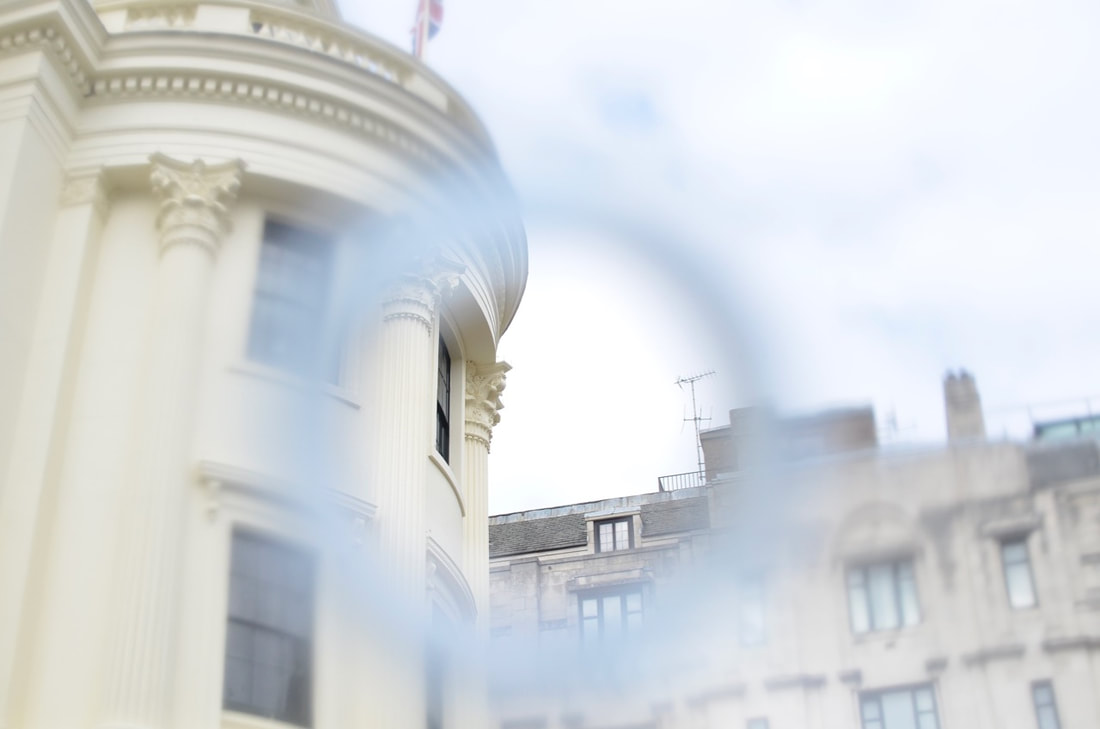
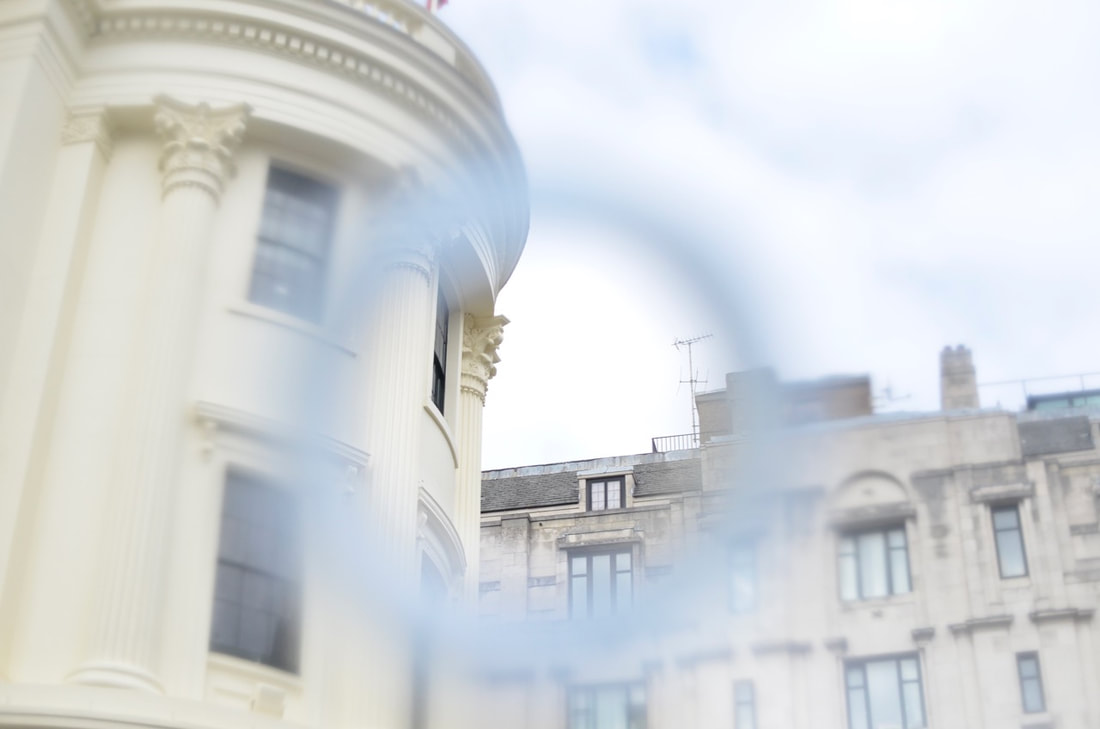
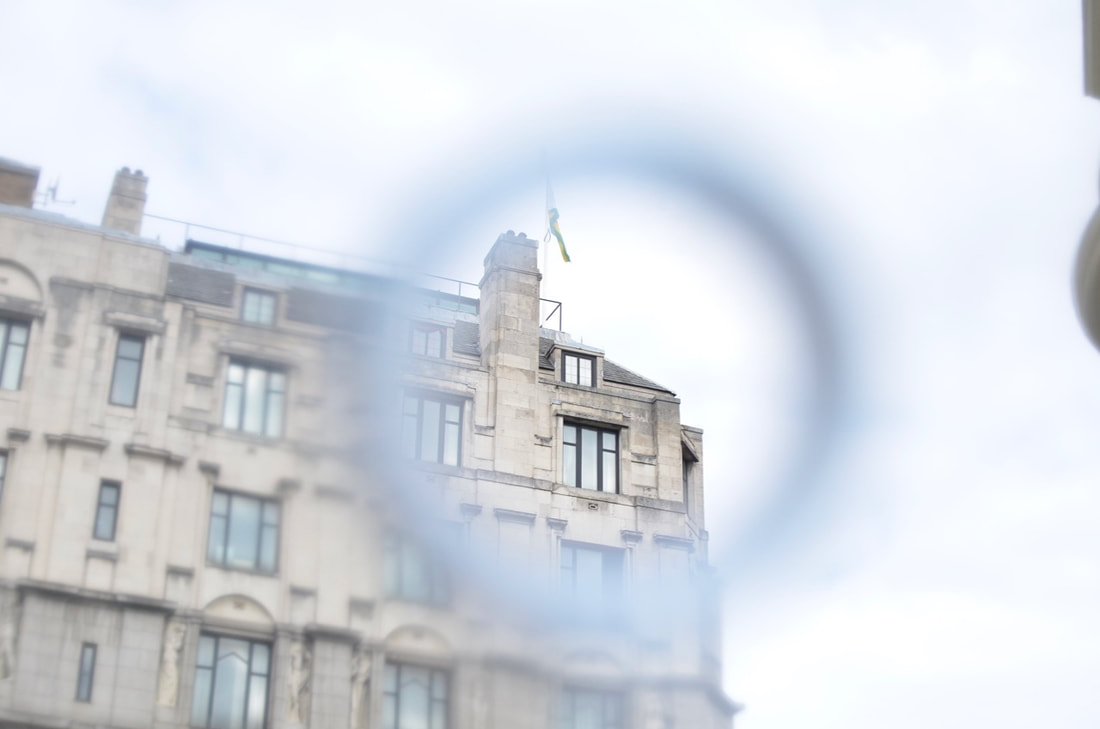
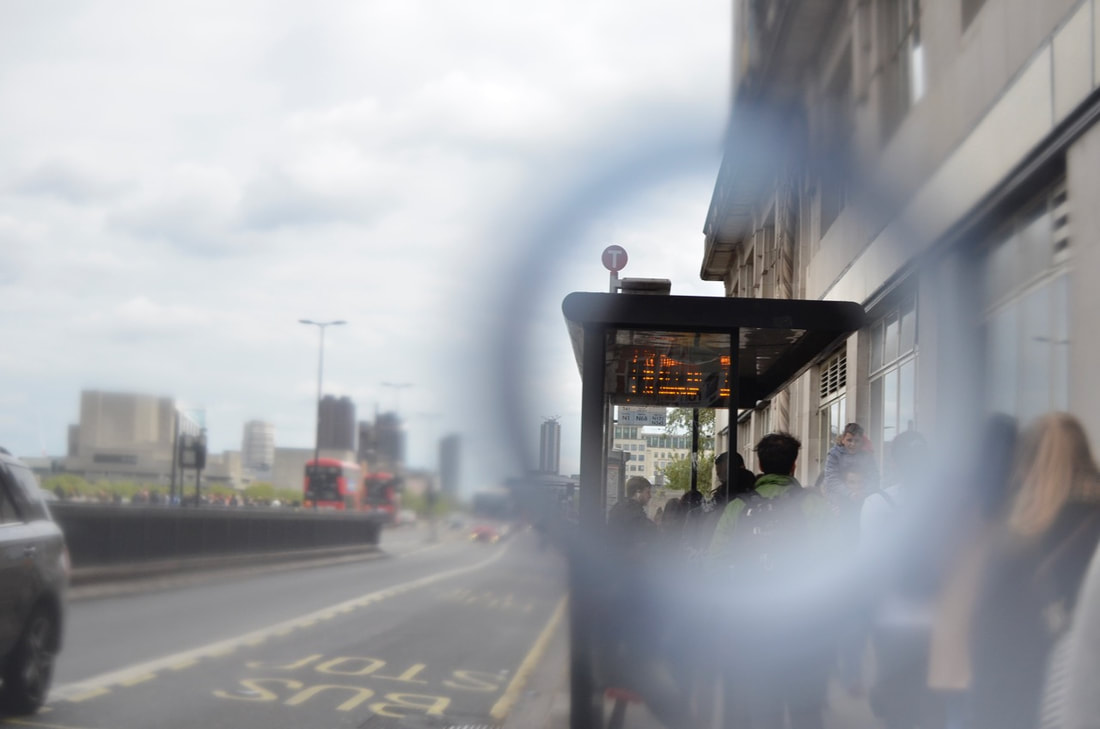
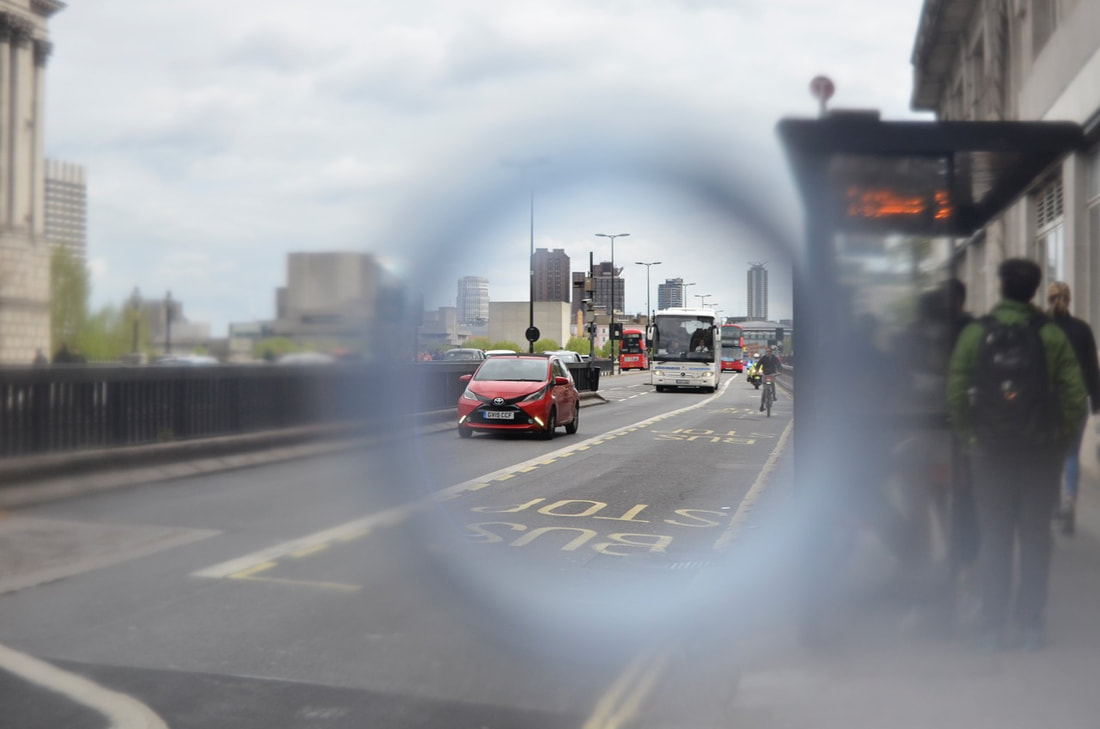
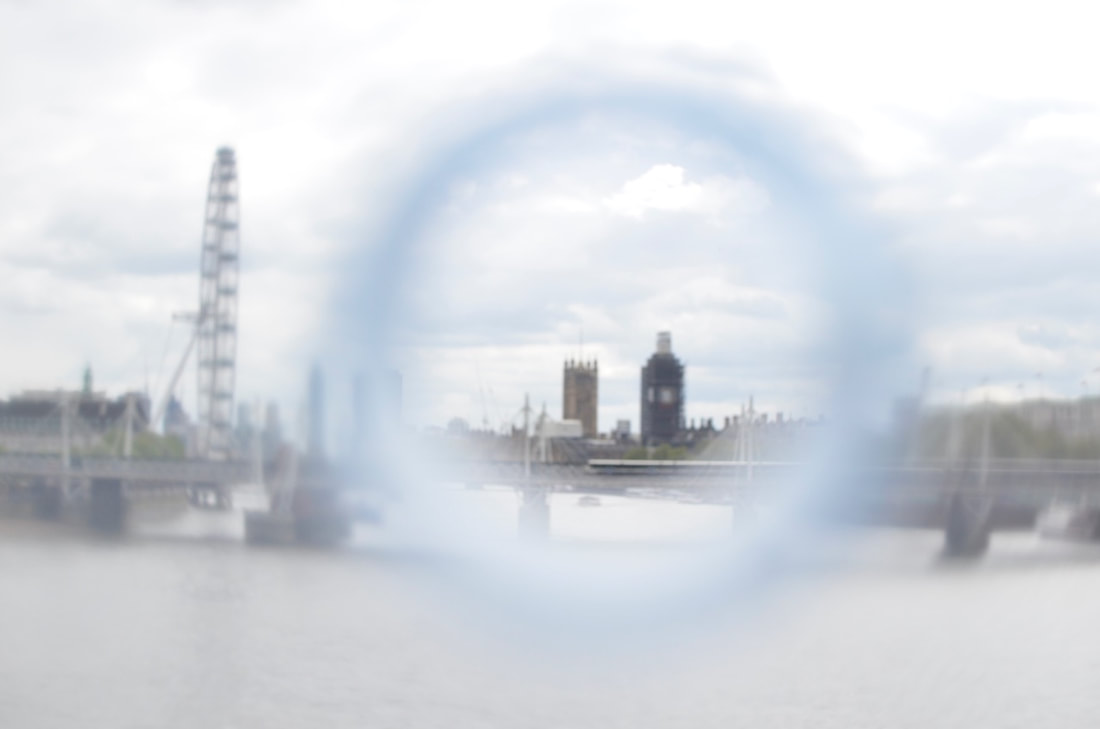
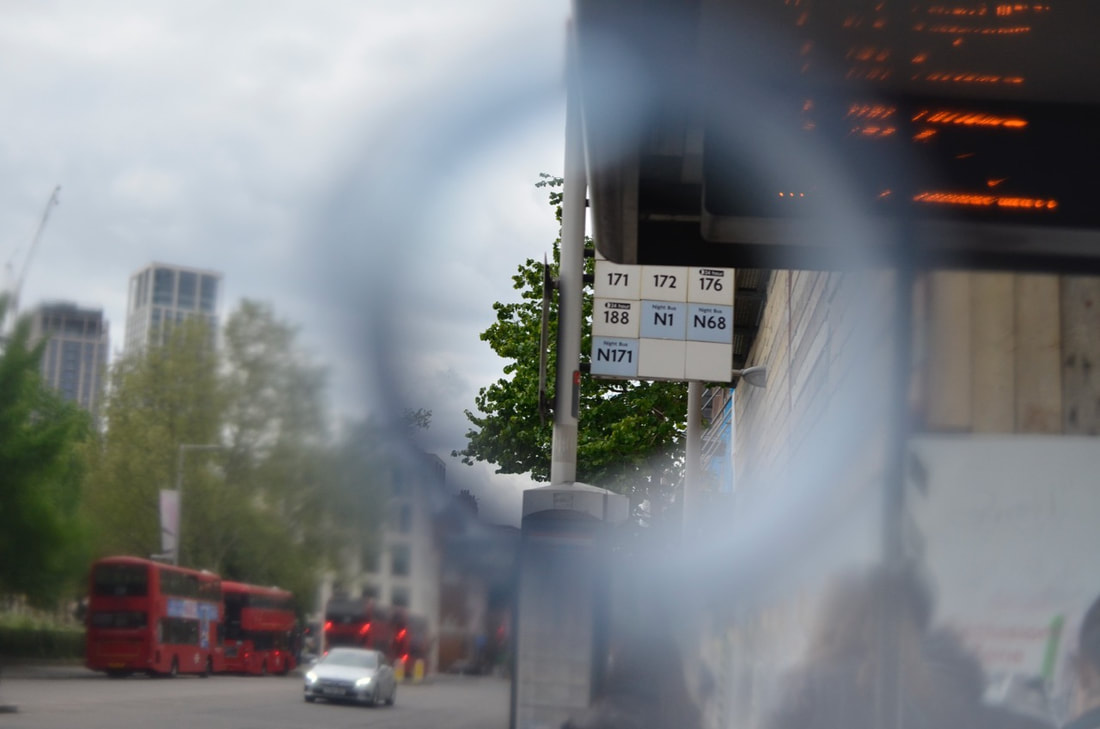
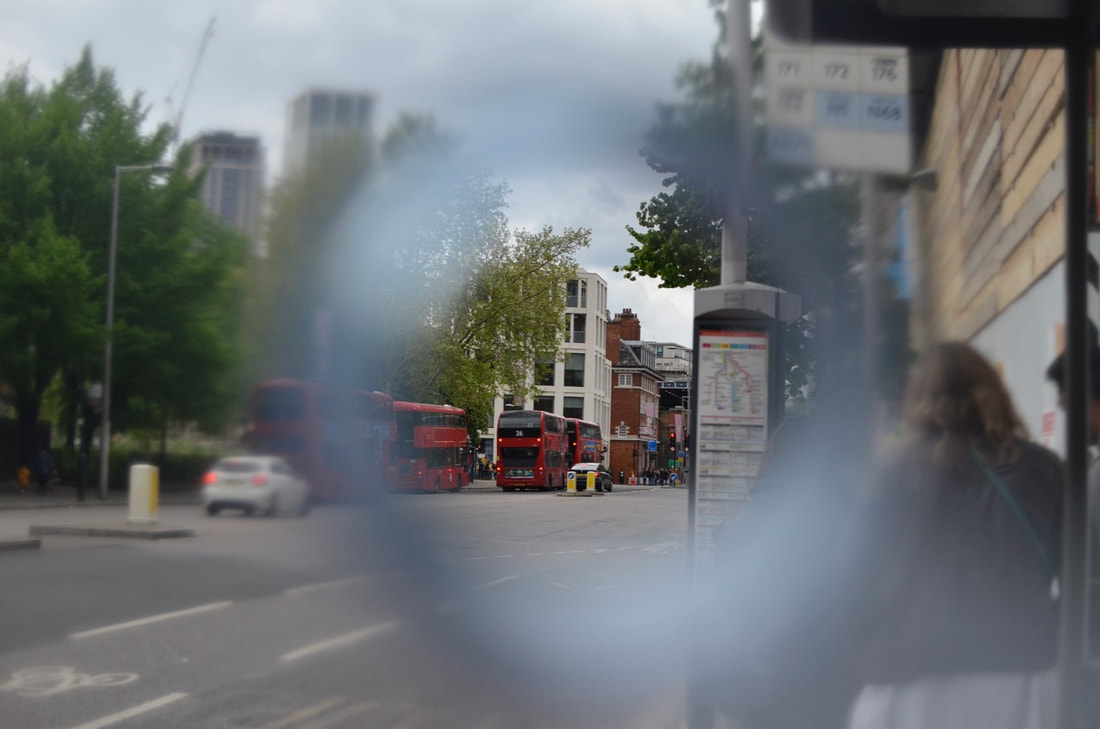
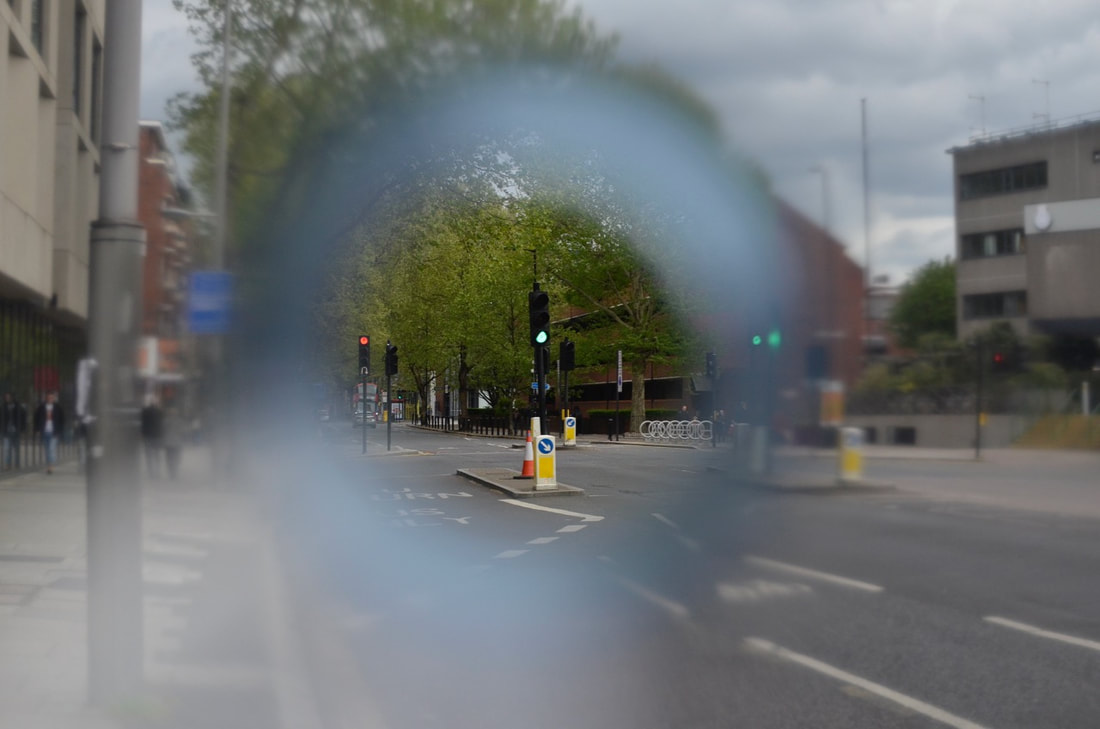
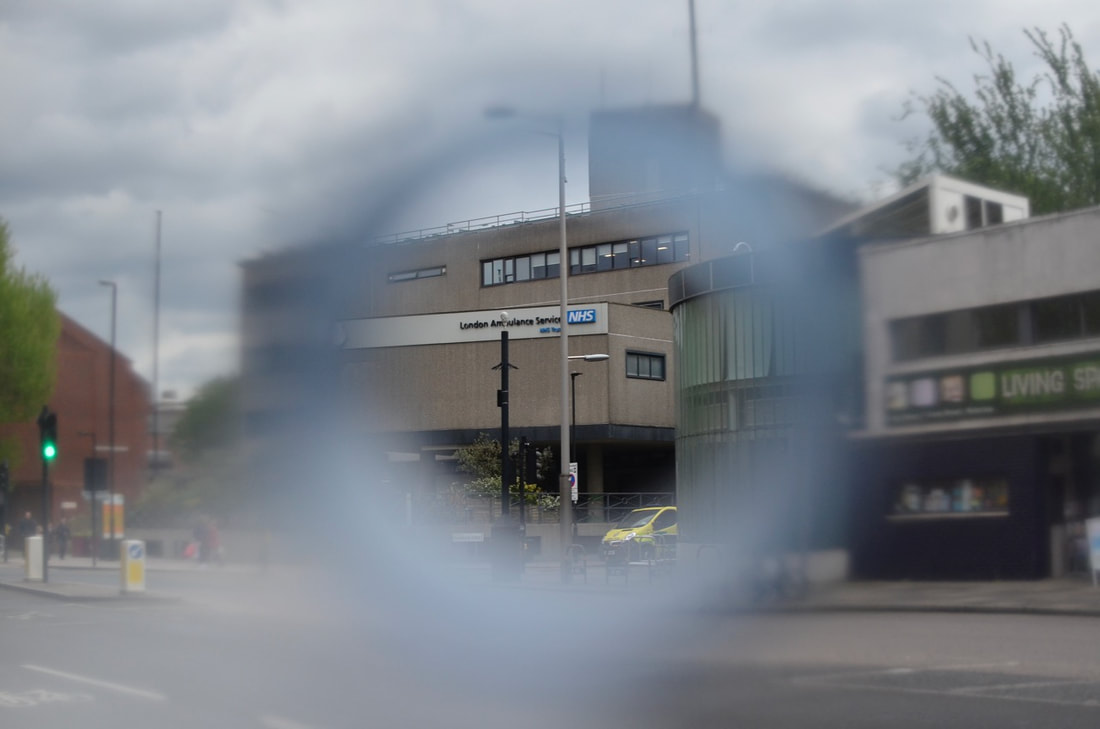
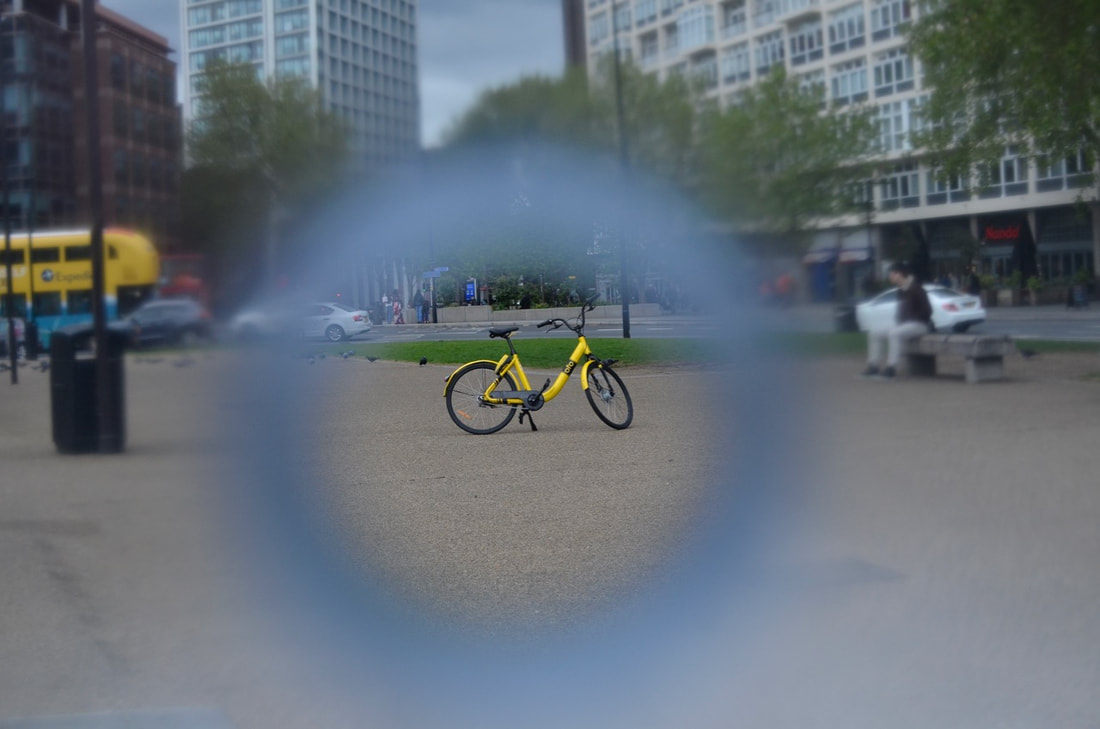
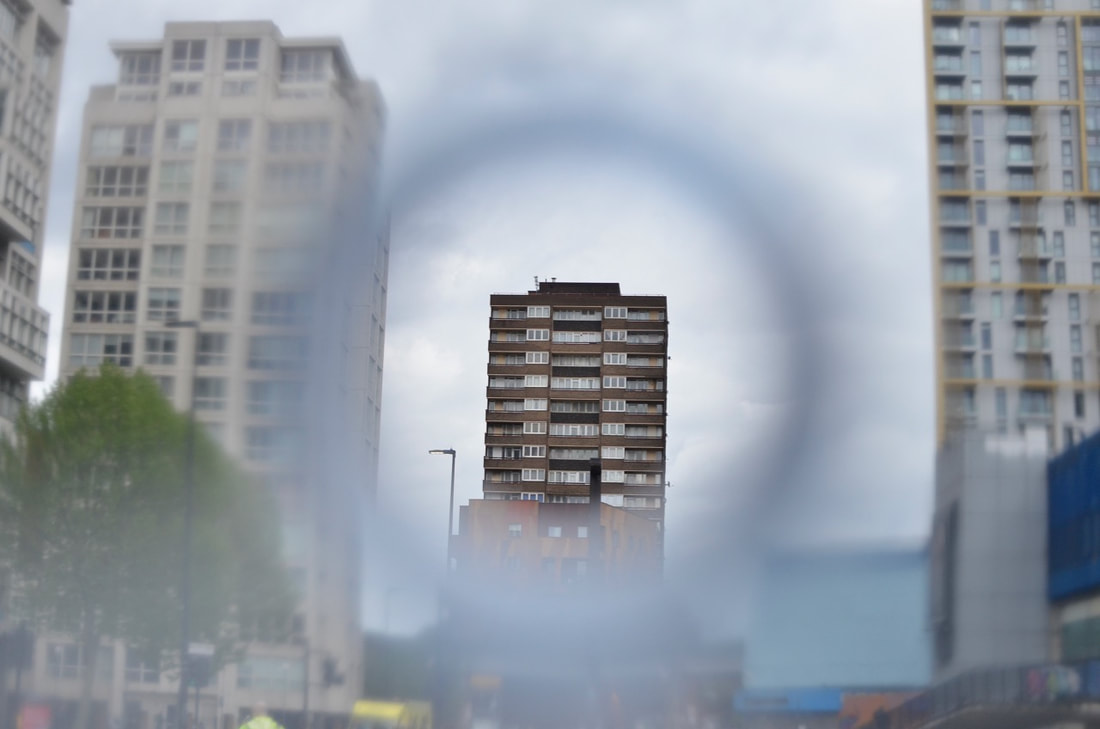
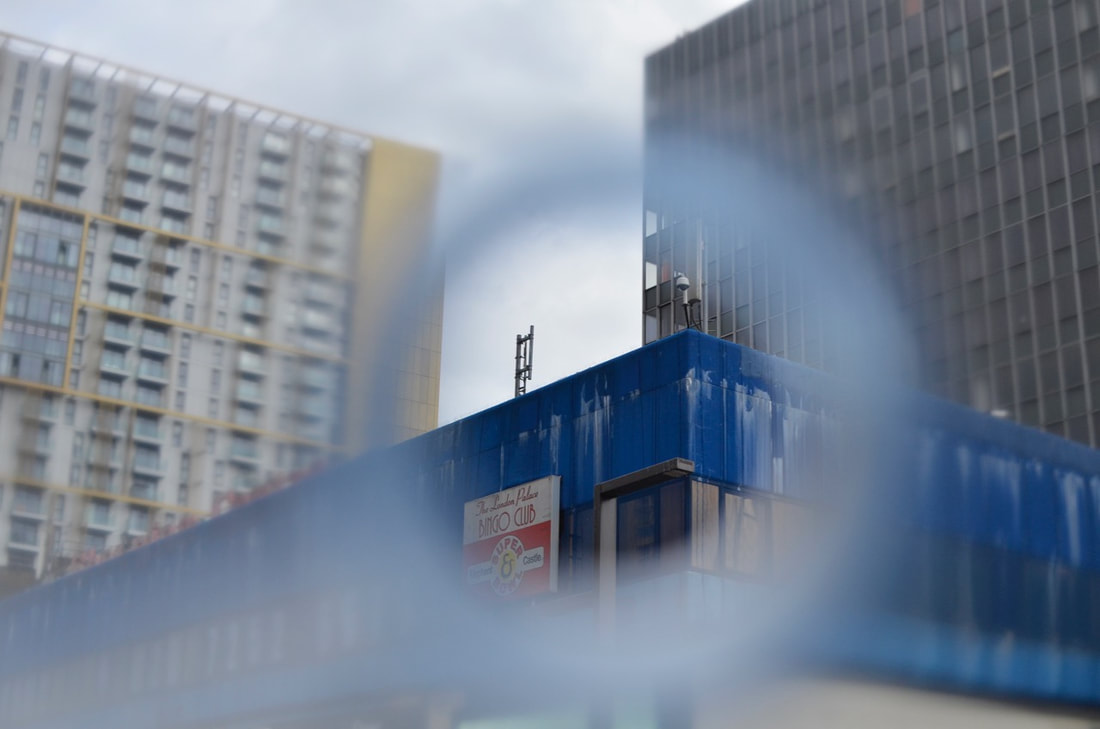
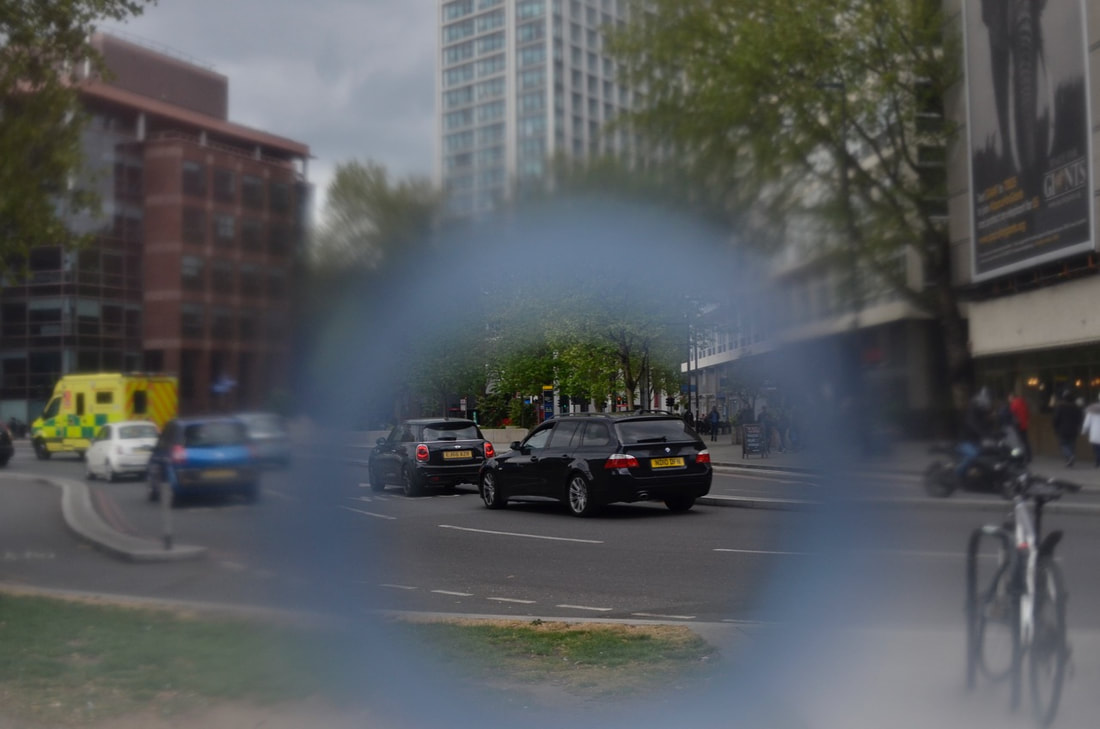
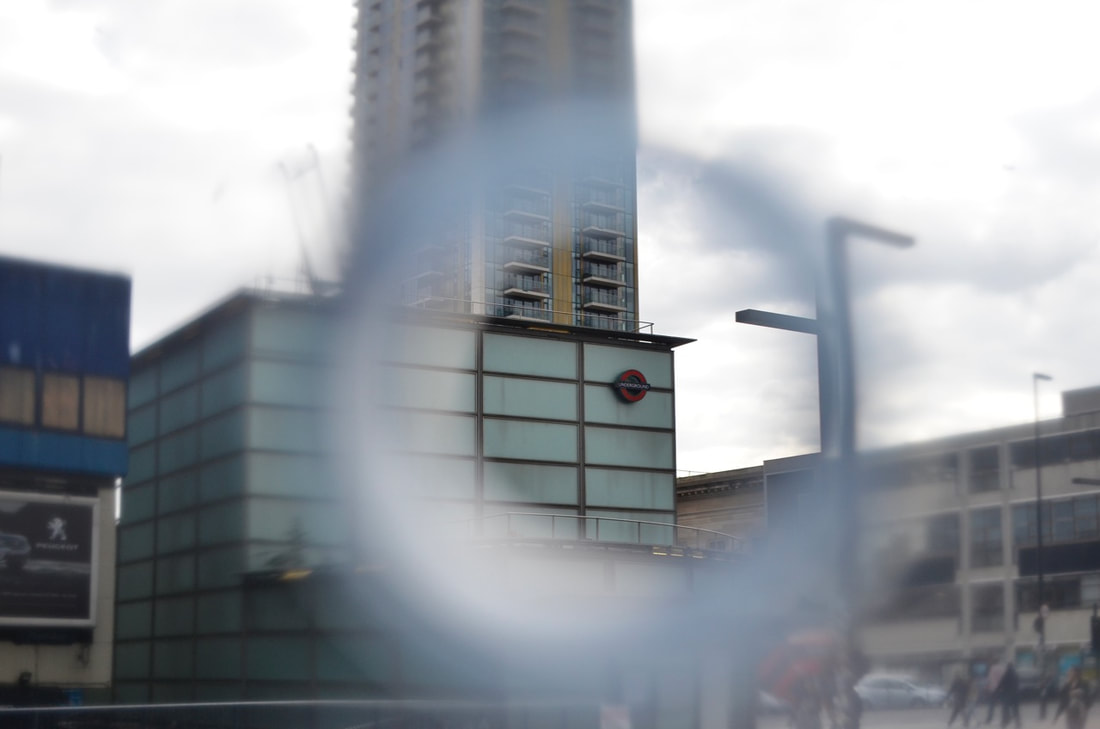
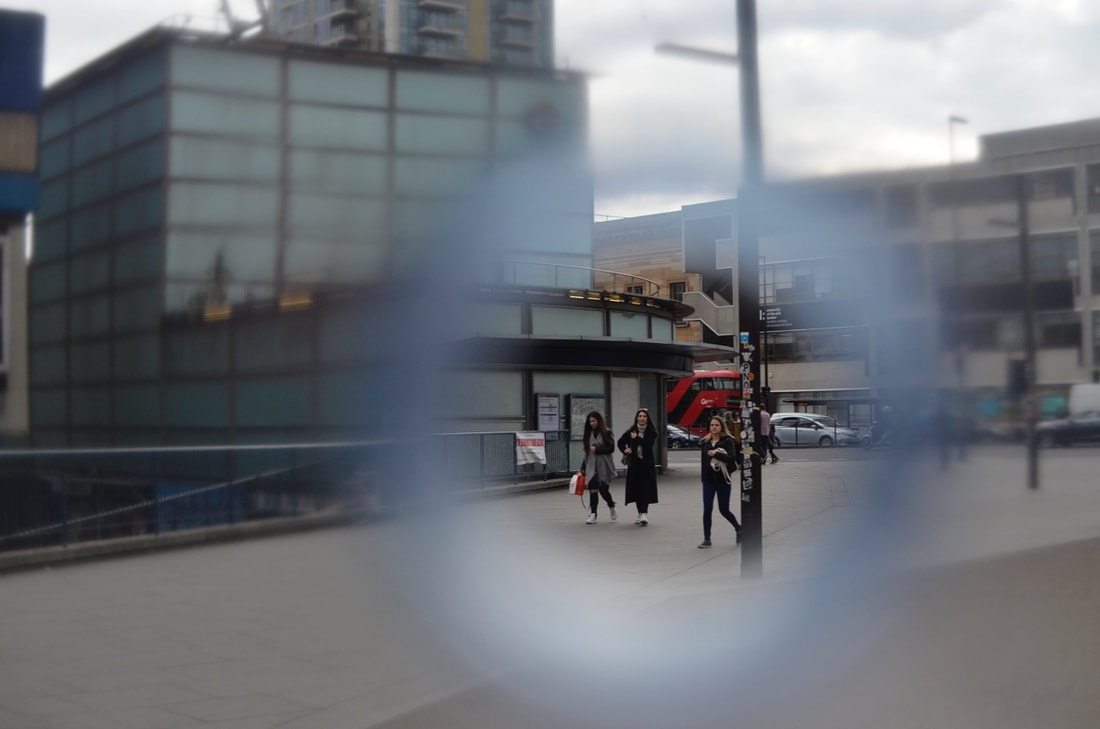
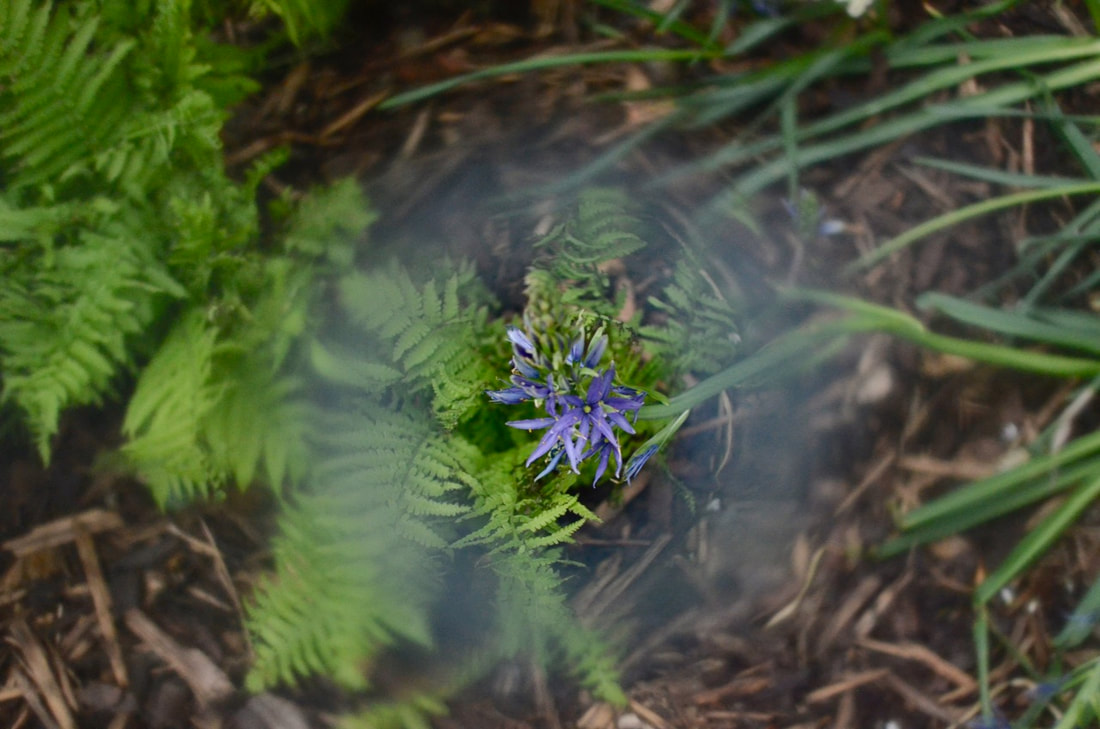
It was a very sunny and windy day on the day I photographed these images through the circle lens I created. Therefore, I experienced some difficulties as I was holding the paper in front of the lens, it kept flying around which made it difficult for me to manually focus on the specific subjects I wanted. As a result I photographed a majority of my images using auto focus and I think that I was successful when using the yellow paper circle lens because it restricted what my eyes could view and forced me to focus on the subject matter I had inside the frame. On the other hand, I think that the second circle lens I created with tape in the centre was unsuccessful and I dislike the outcome possibly because I could vividly see what I am using to disrupt the lens which appears very distracting; making the overall image appear busy.
I think this links to parts and sections because the paper frame I used acted as a restriction of what parts of the image I allowed to be seen.
I want to continue with this idea of using an object or paper to disrupt the lens to create a different perspective, I am going to research Ray Metzker's style of work as he has an experimental style of work and used paper to obstruct and abstract his photographs.
RAY K. METZKER
(1931-2014)
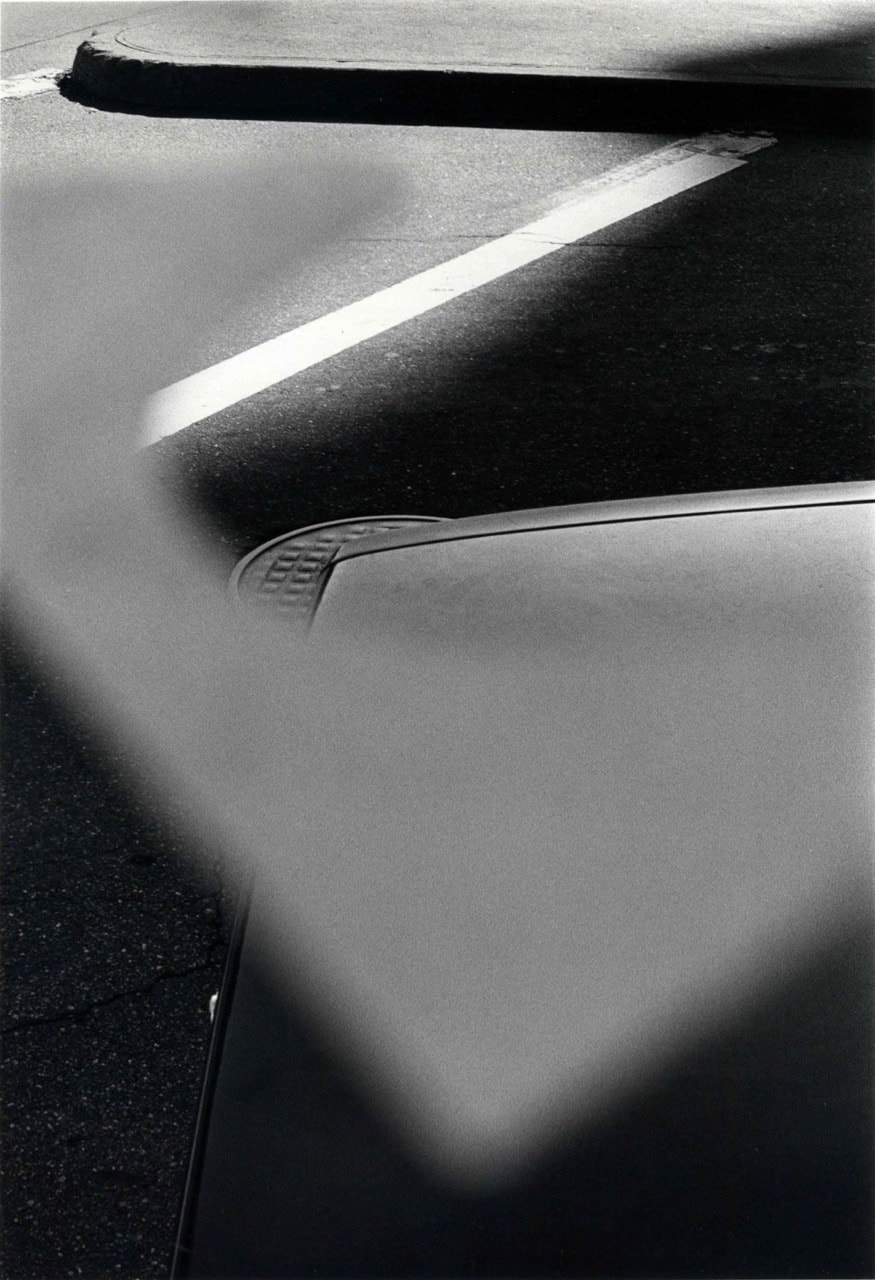
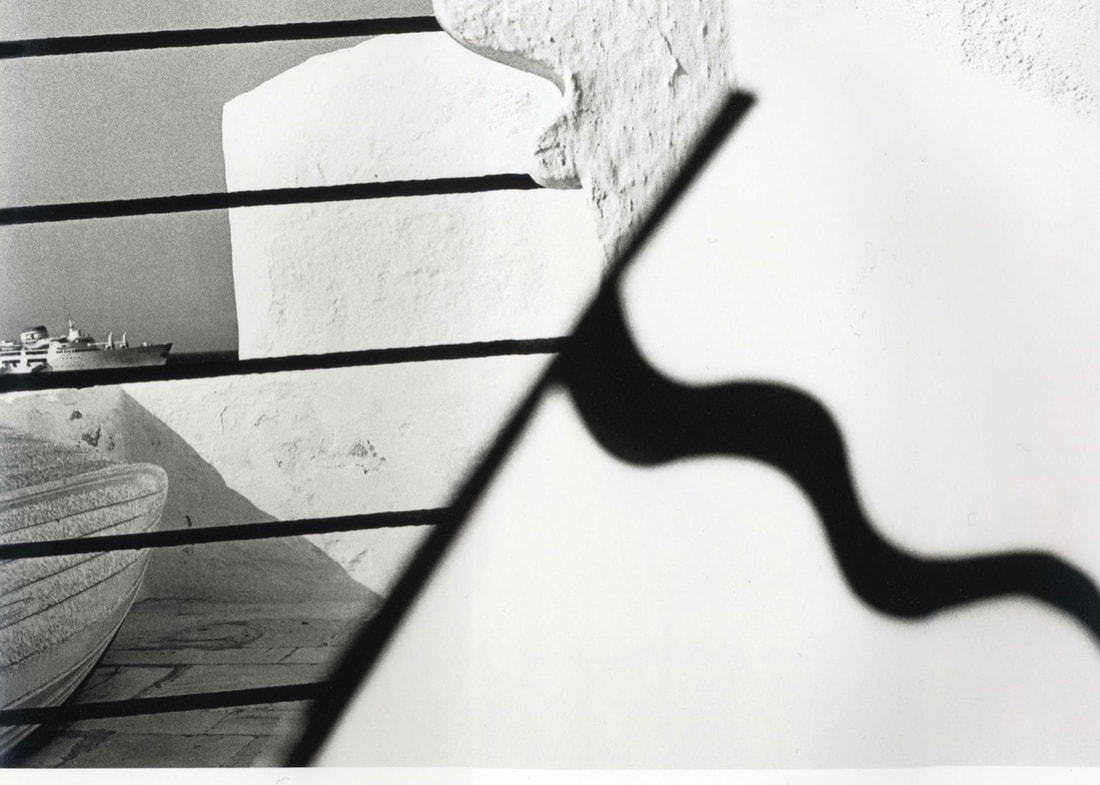
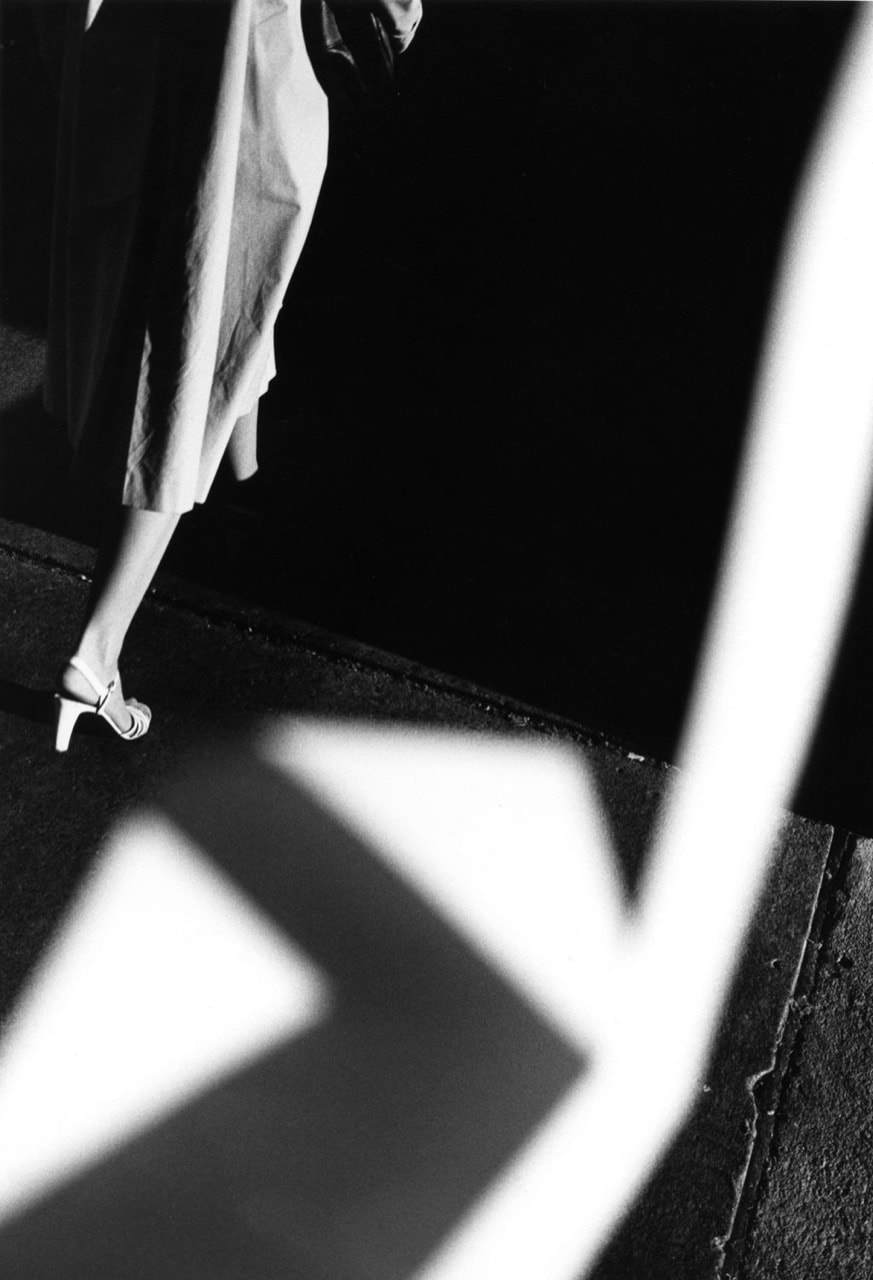
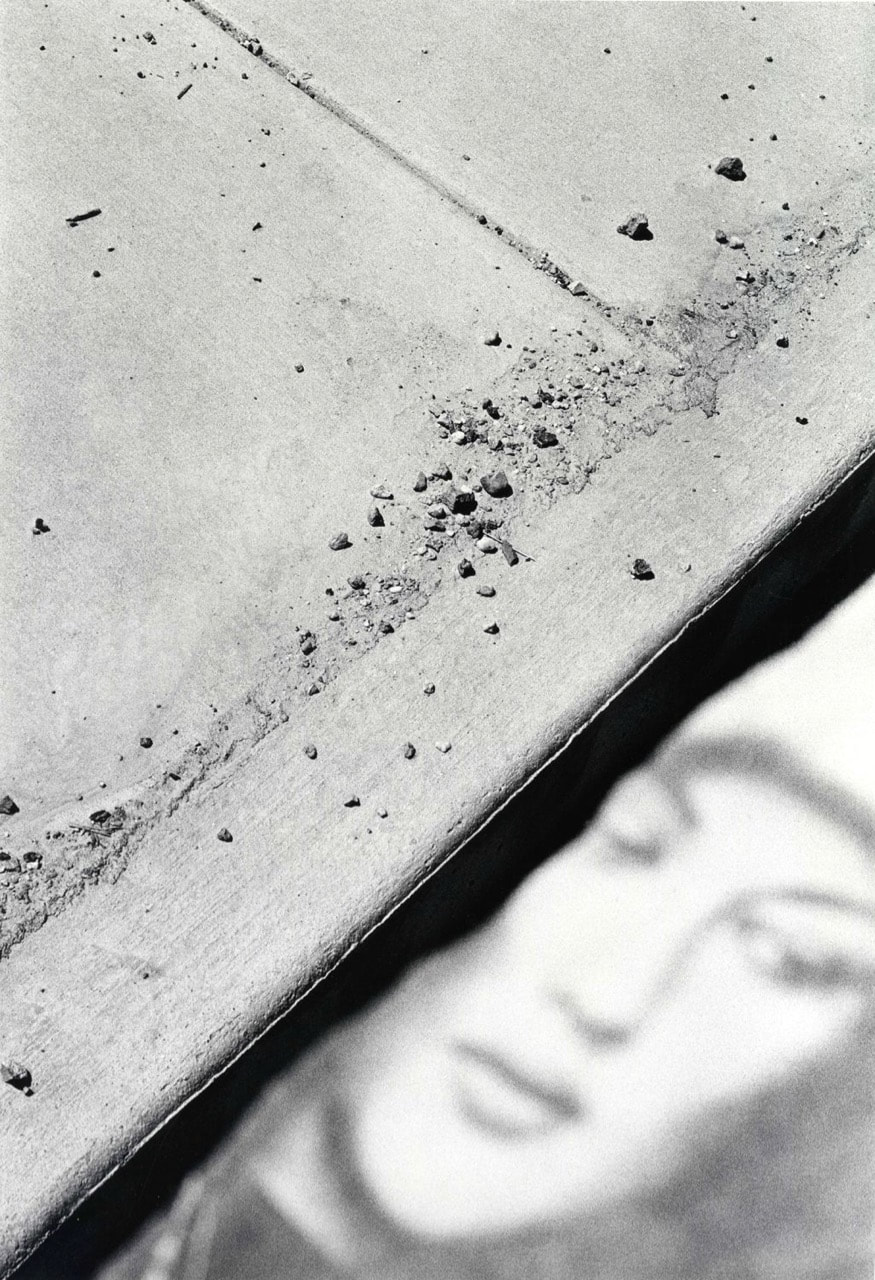
Ray K.Metzker was an American photographer who was known for his experimental and abstract style of work such as, his creation of 'Multiples' and 'Pictus Interruptus'. From the source artsy.net : "Metzker’s images are typically characterized by high contrast tones, dynamic angles, and precise compositions of line and shadow. He frequently experimented with multiple exposure and the juxtaposition of images." I can see this in his work for example, in the Pictus Interruptus series of images (shown above), I can vividly see outdoor subjects in focus as it contain a high contrasting tone which sharpens the shadows within the fourth image of a woman leg in the left side of the frame. The black and white images in the series contain an abstract disruption in the frame which is also called the 'Interrupter' between the lens and subject - I really like this idea as it links to the Threshold Concept #4: 'Photography is an art of selection rather than invention', as the photographers change the subjects relation to the lens by changing its perspective or manipulating with objects to distort it, this is what I would like to explore.
I found out that he is "a street photographer who sees the world in fragments and distortions", stated by a New Yorker Vince Aletti - I thought that this directly relates to parts and sections as the world is very large and it could appear overwhelming therefore, by seeing the world in fragments and distortions it minimises the entirety of the world into sections for us to concentrate specifically on subjects.
I found out that he is "a street photographer who sees the world in fragments and distortions", stated by a New Yorker Vince Aletti - I thought that this directly relates to parts and sections as the world is very large and it could appear overwhelming therefore, by seeing the world in fragments and distortions it minimises the entirety of the world into sections for us to concentrate specifically on subjects.
MY RESPONSE
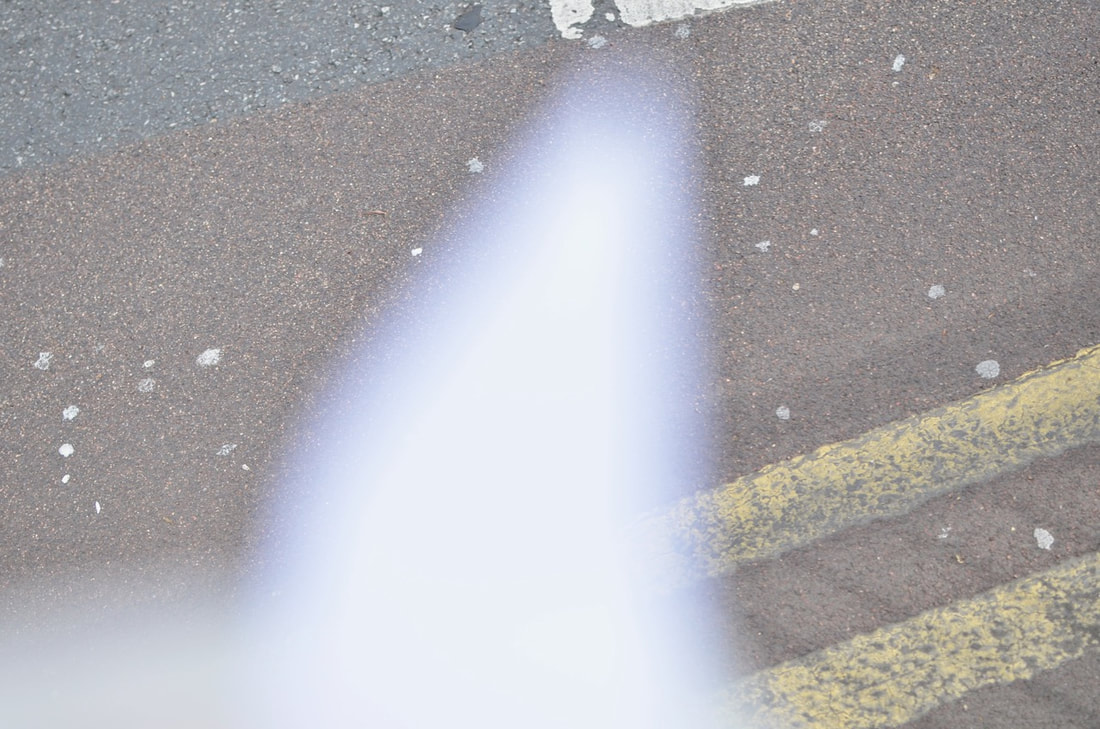

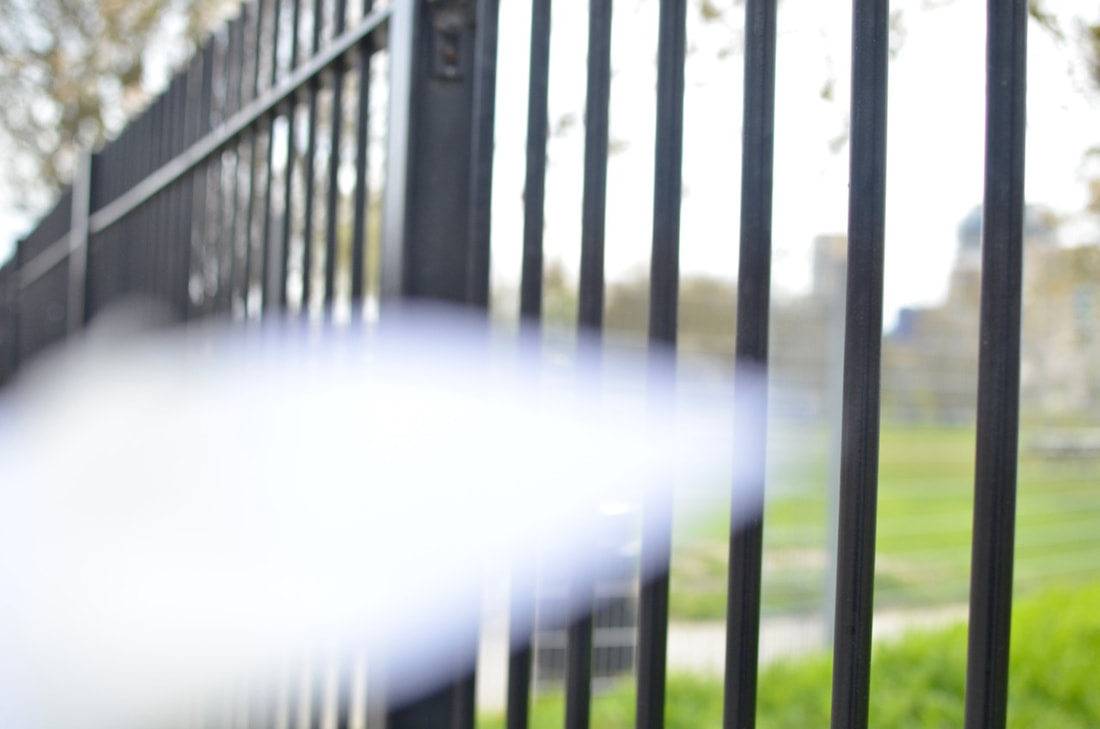
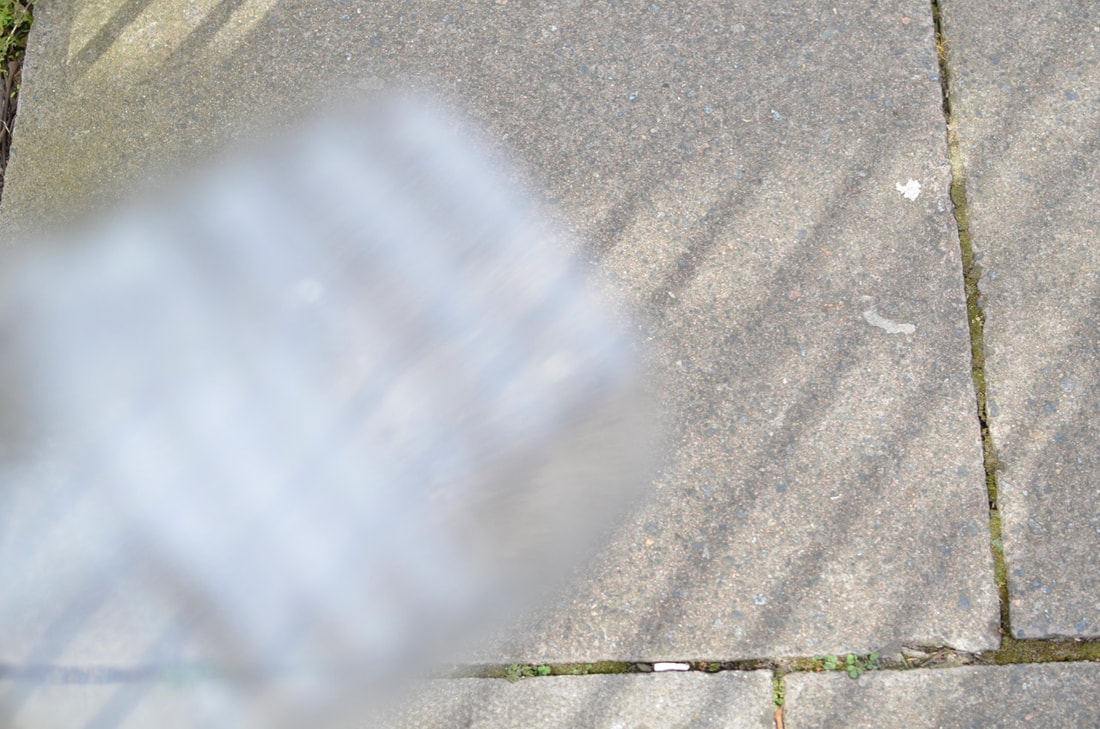
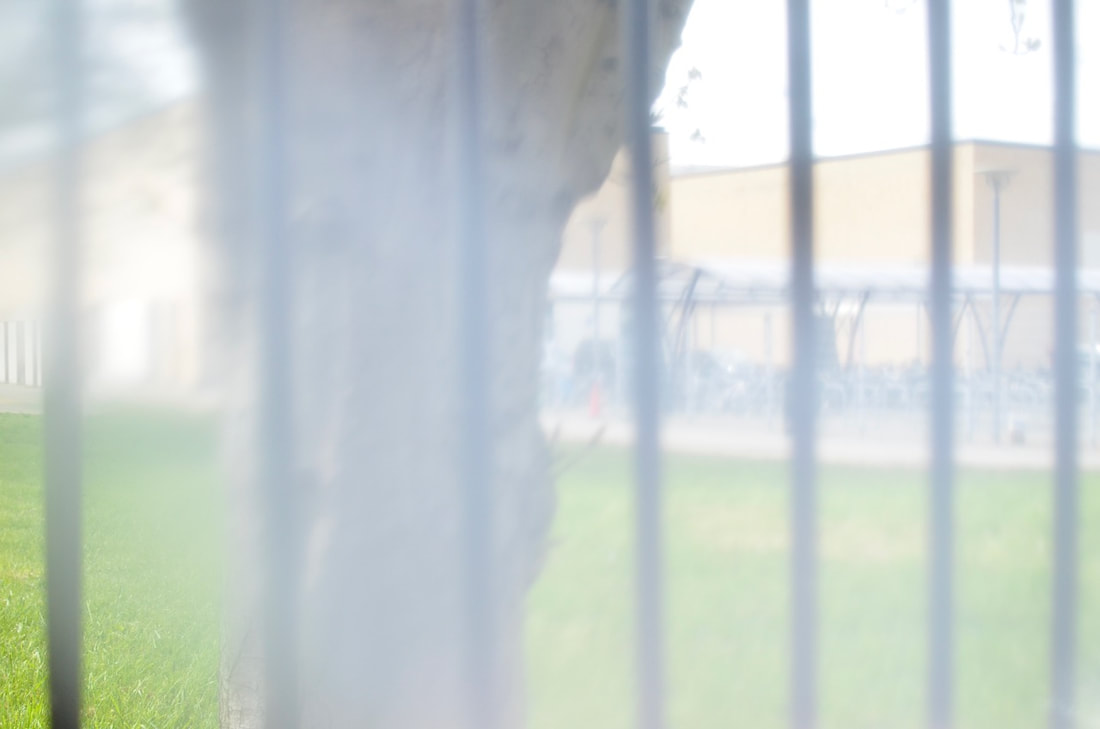
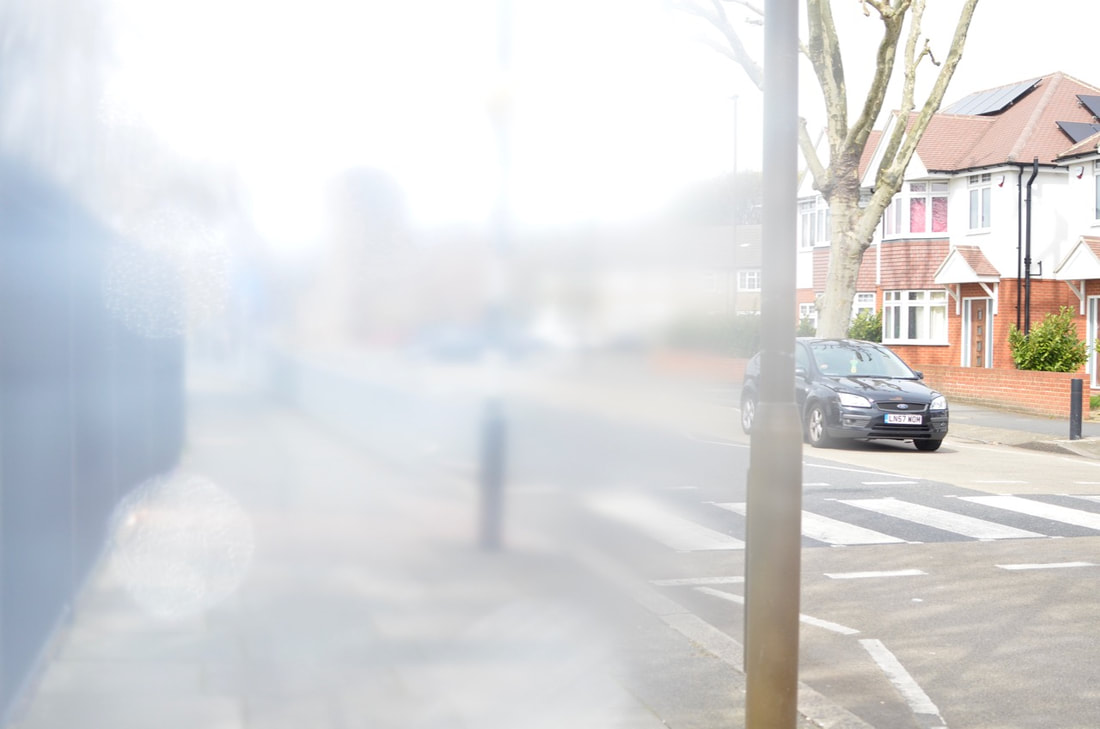
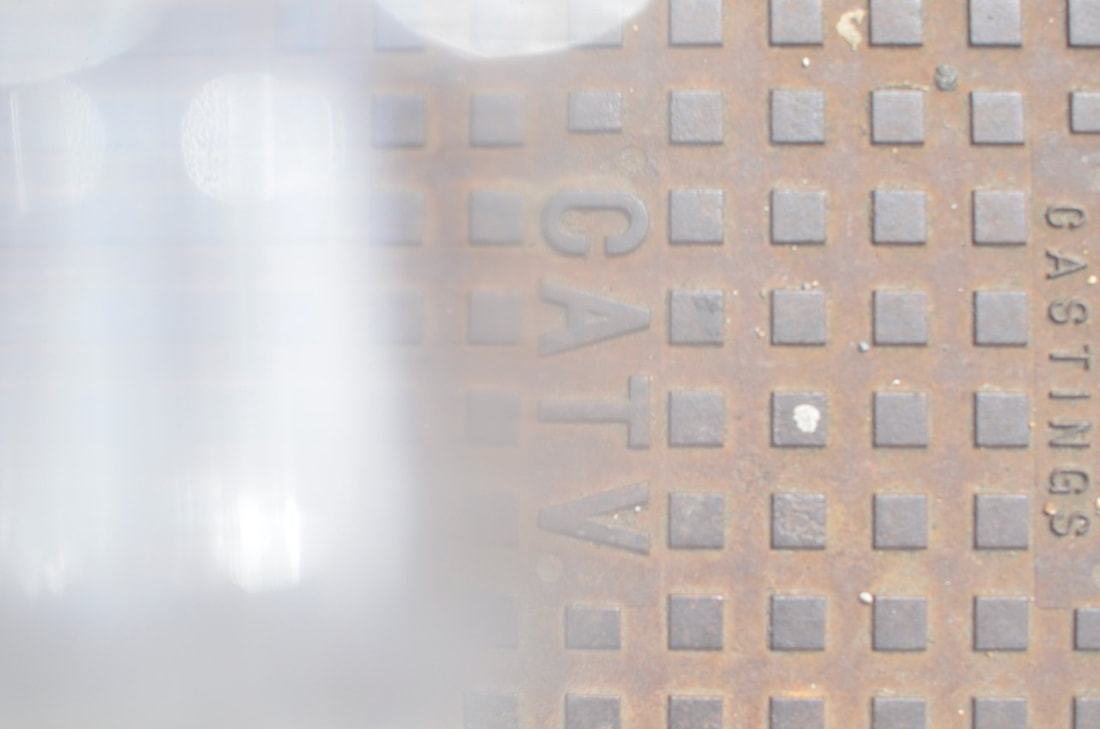
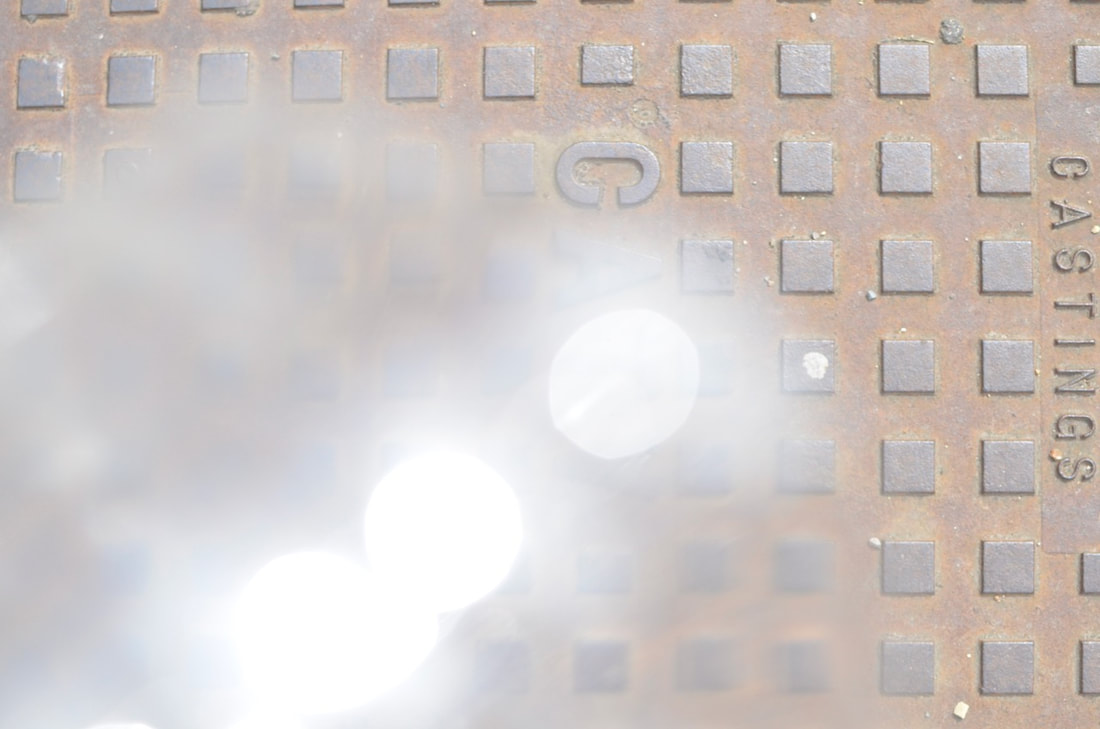
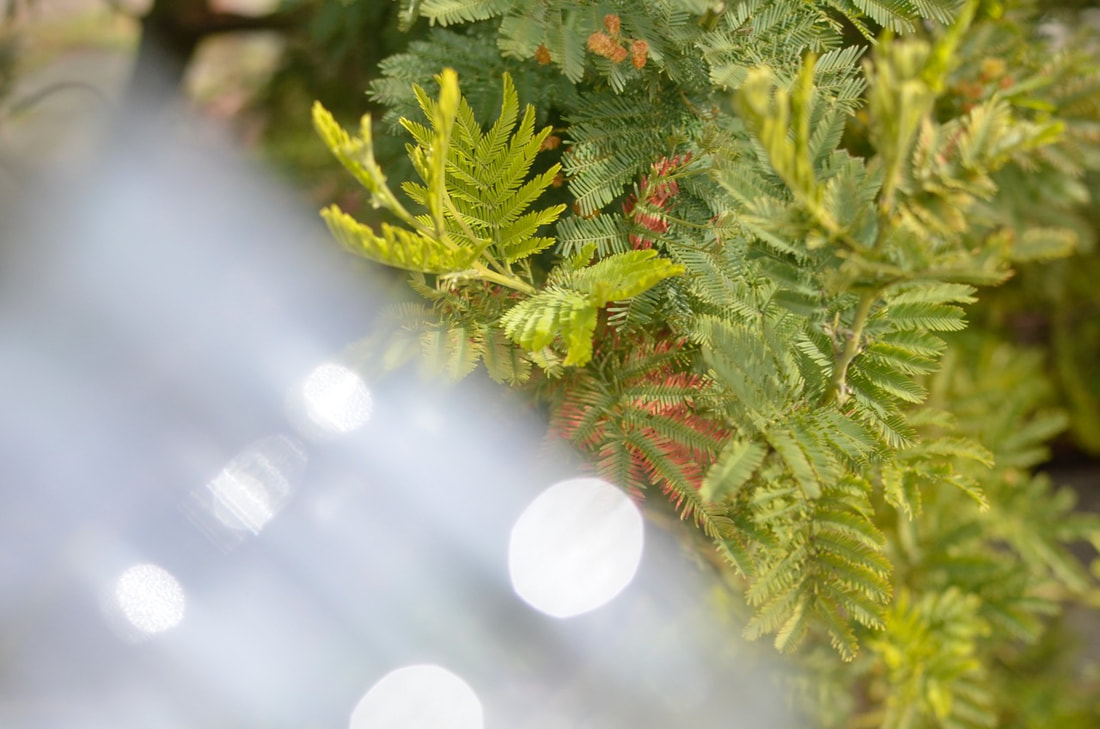
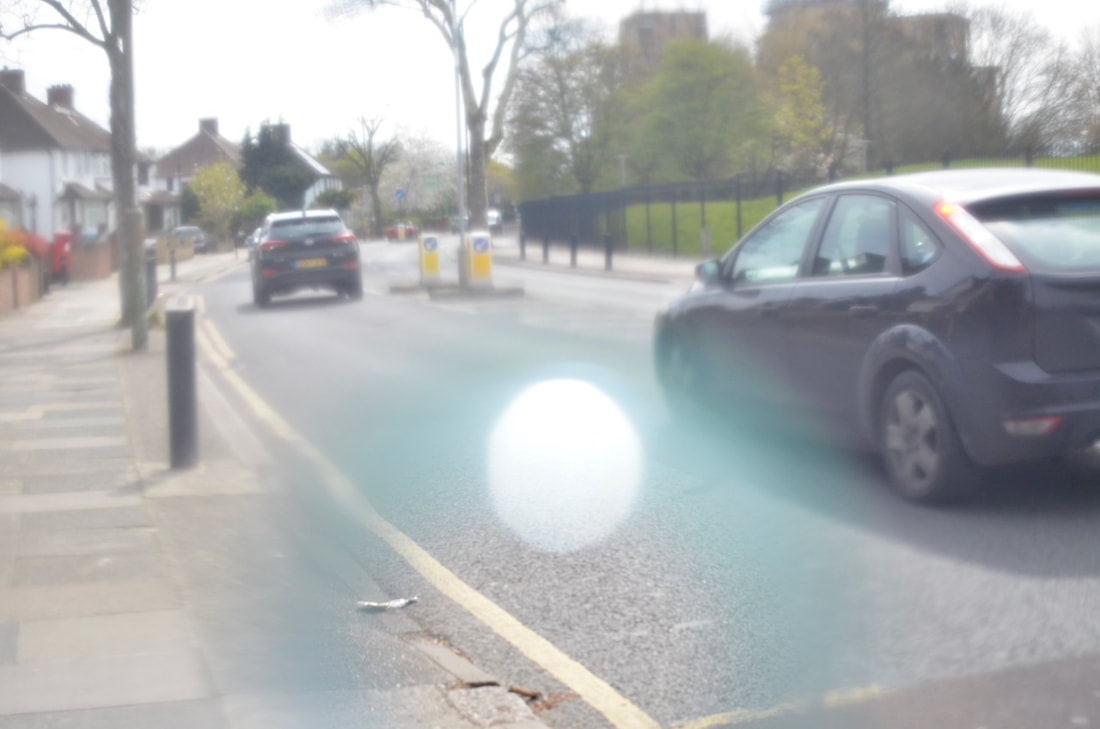
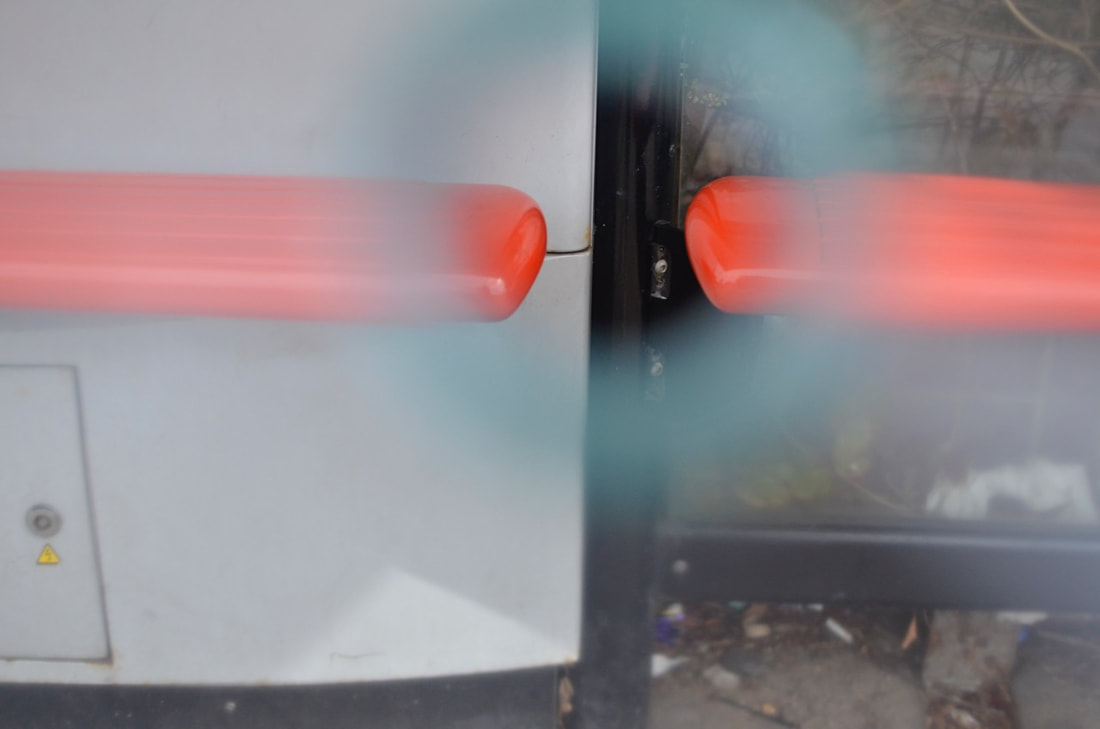
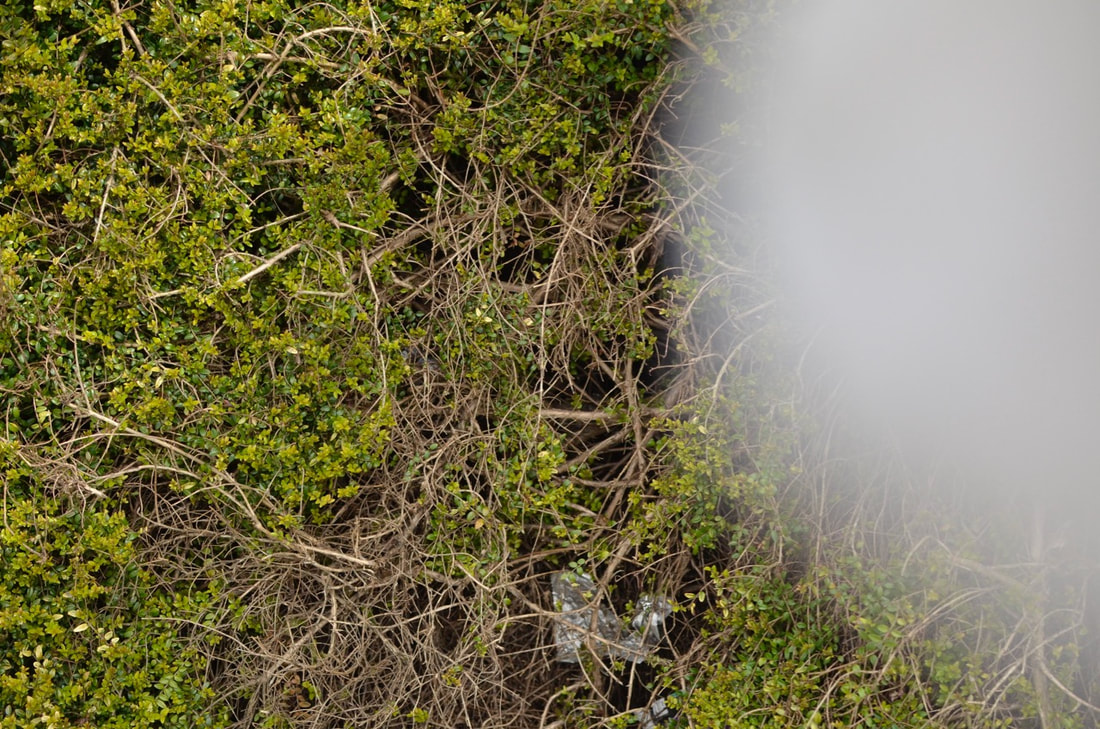
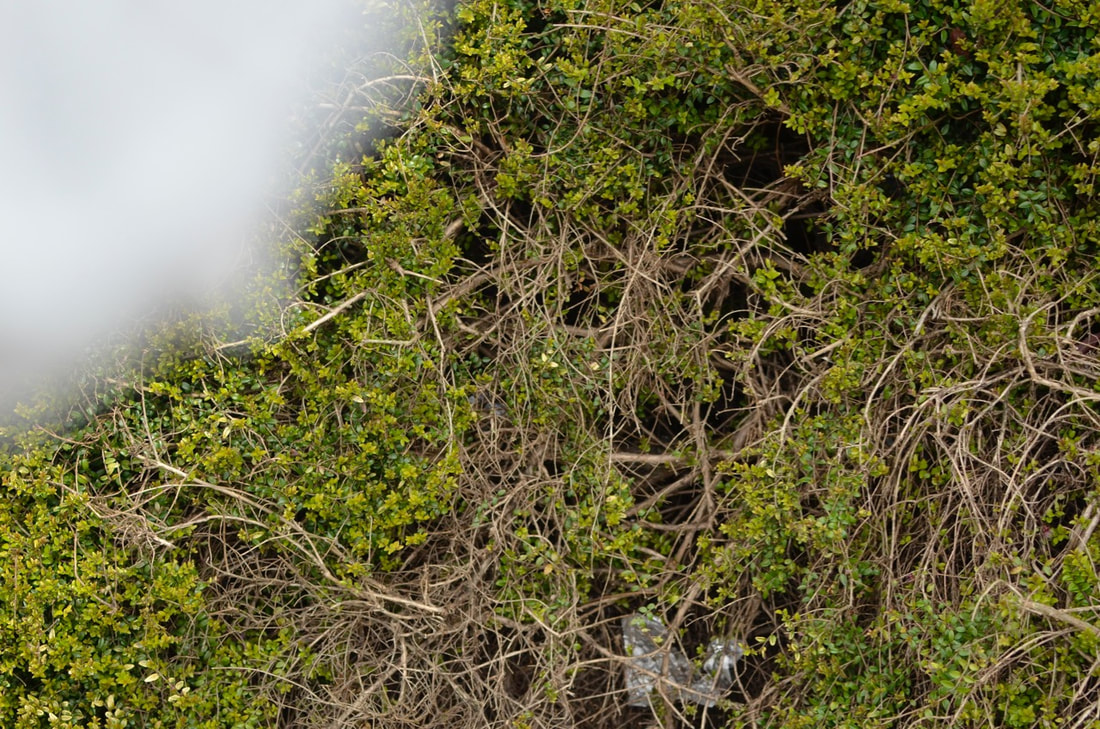

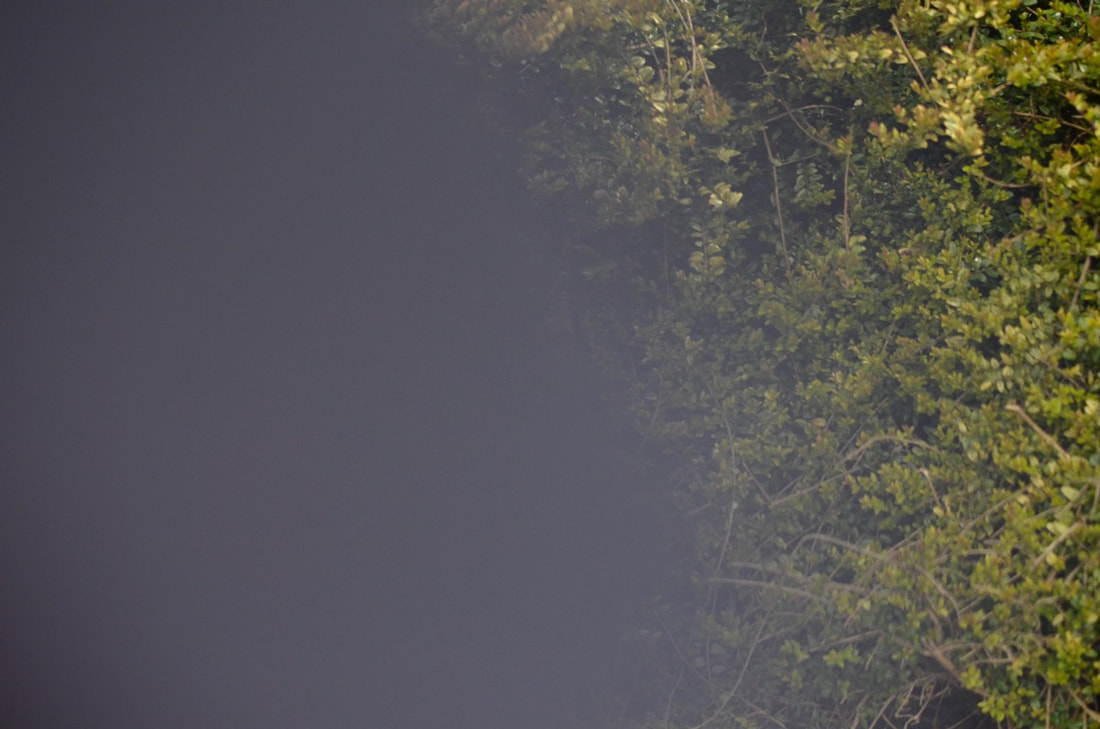

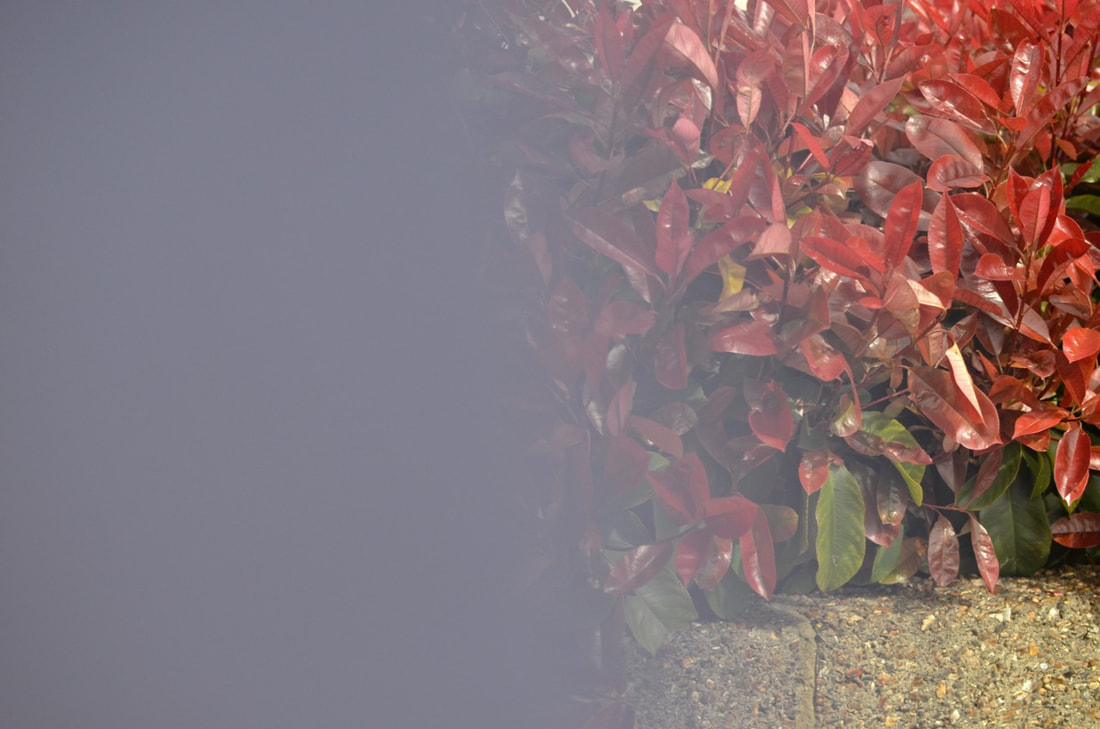
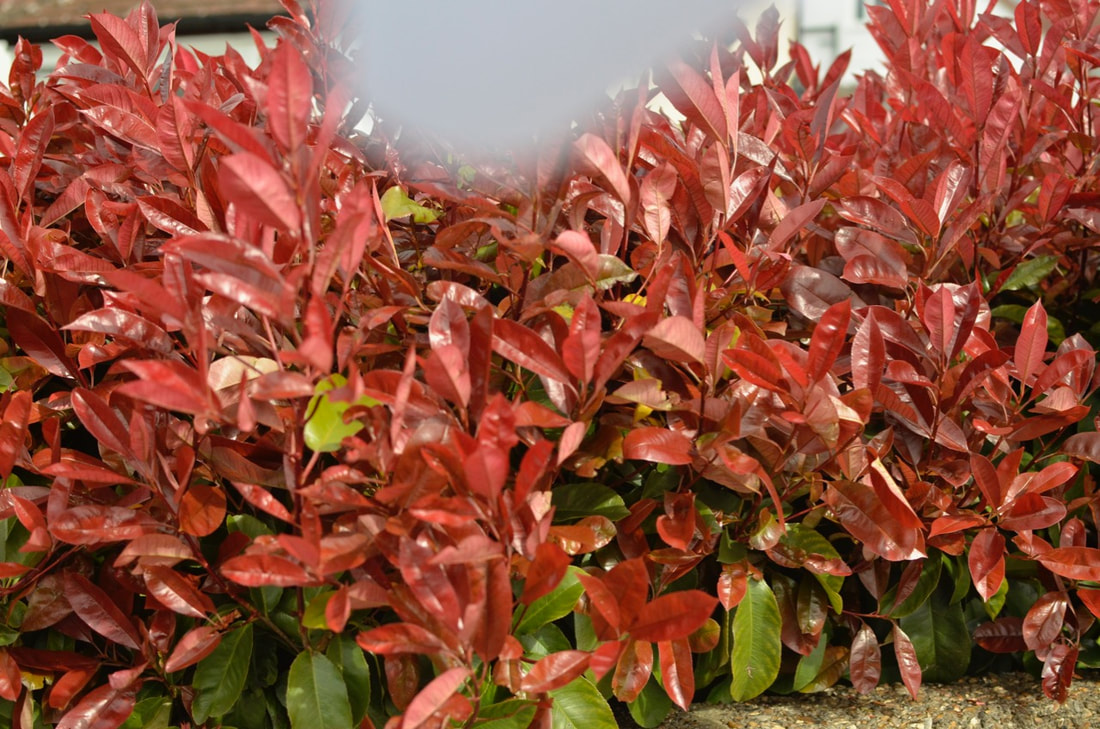
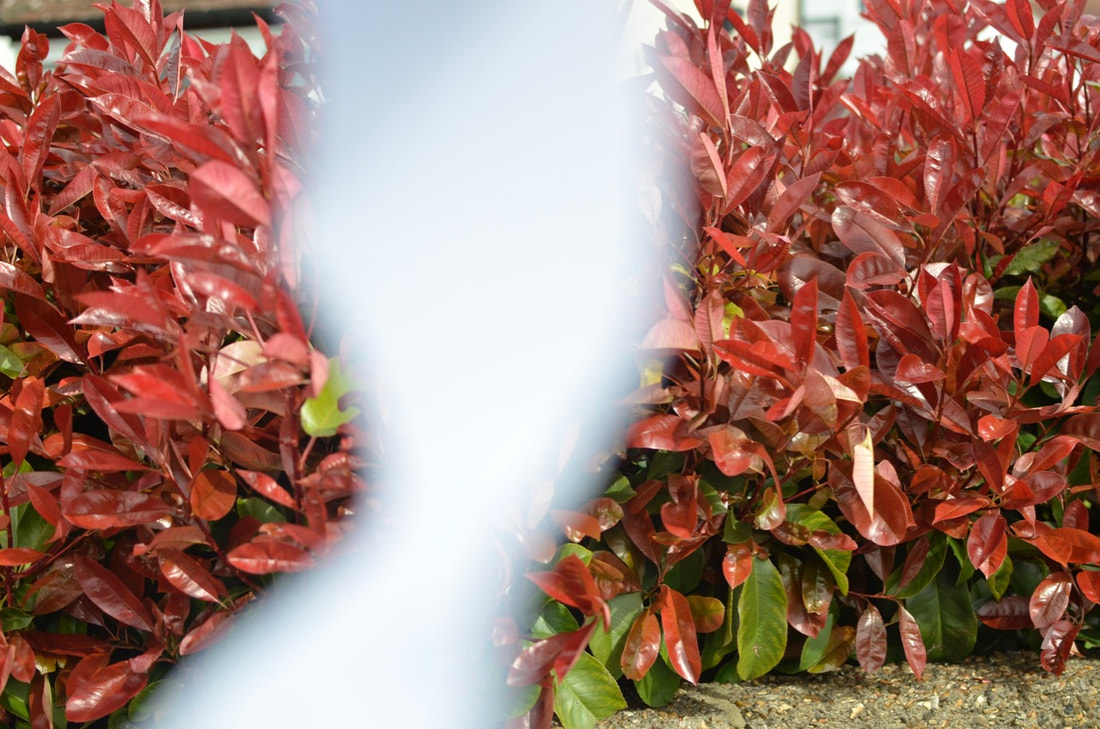
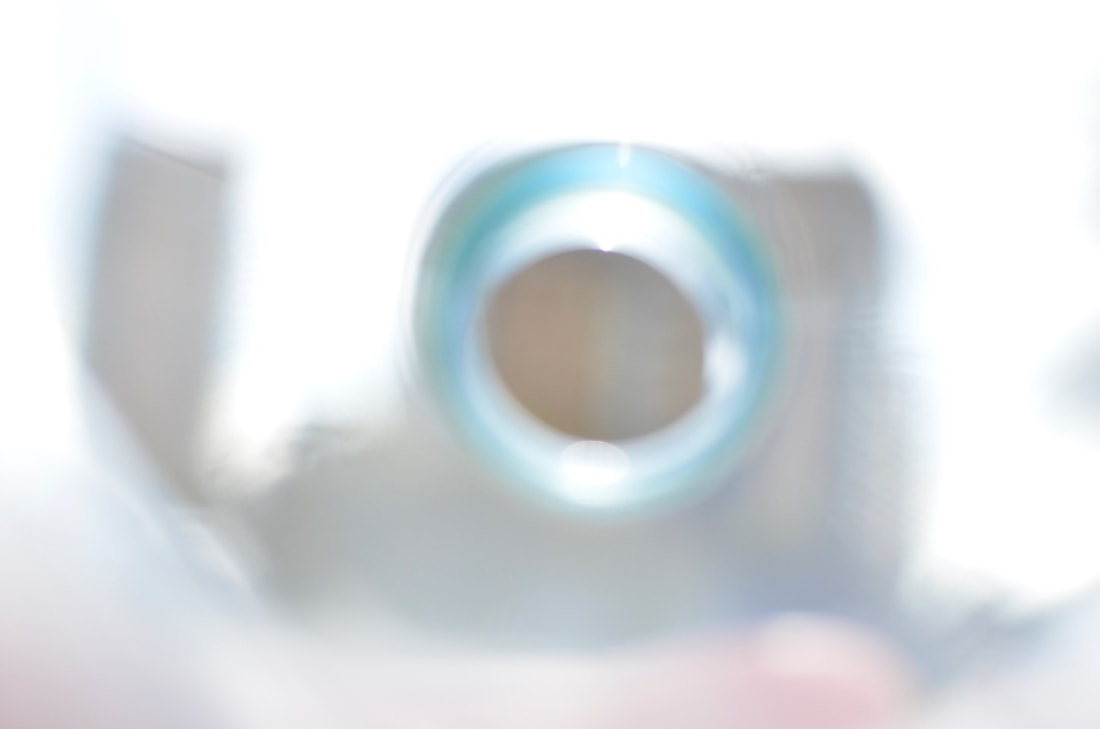
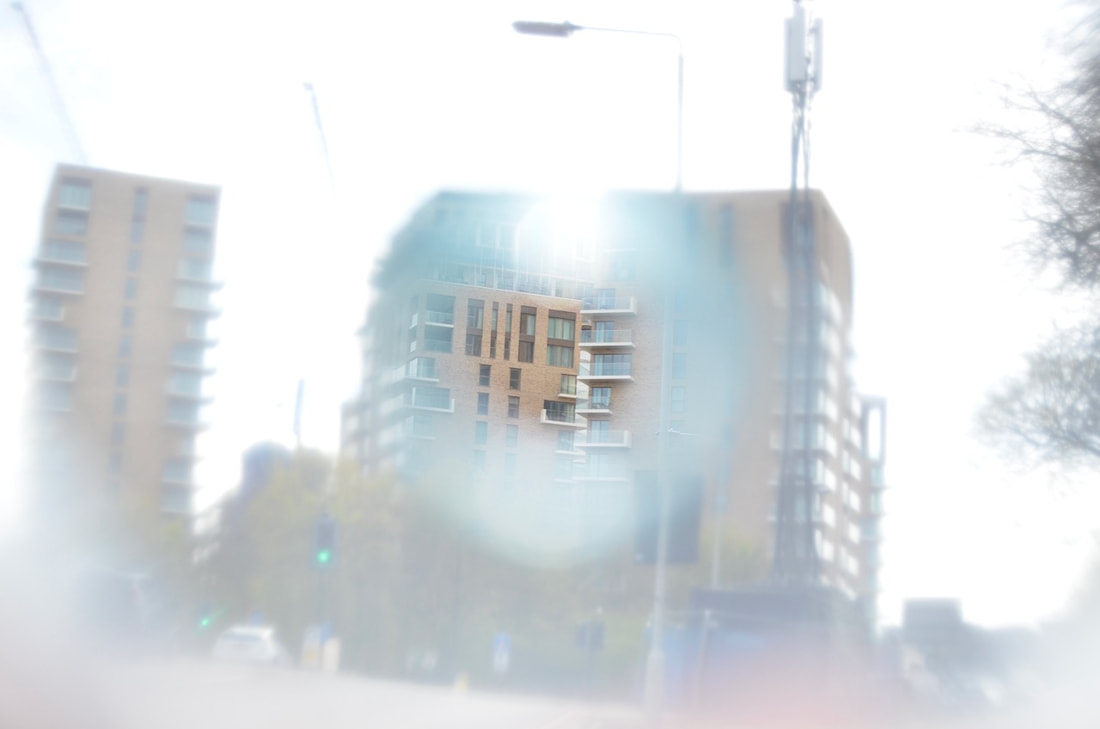
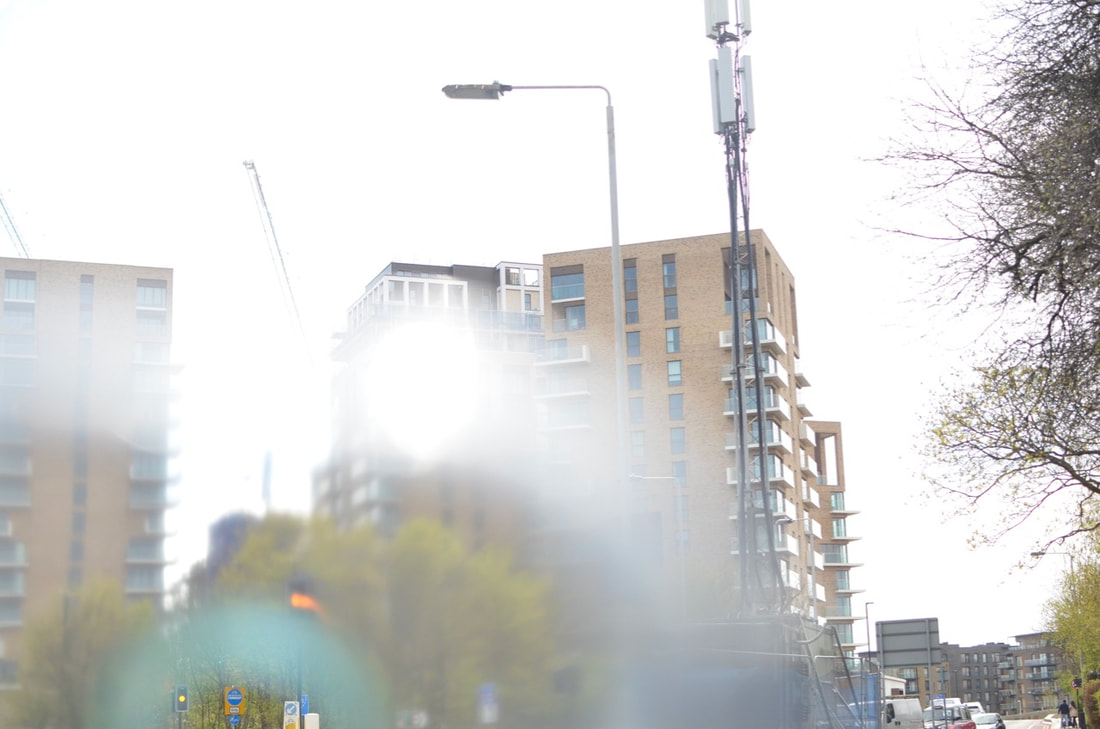
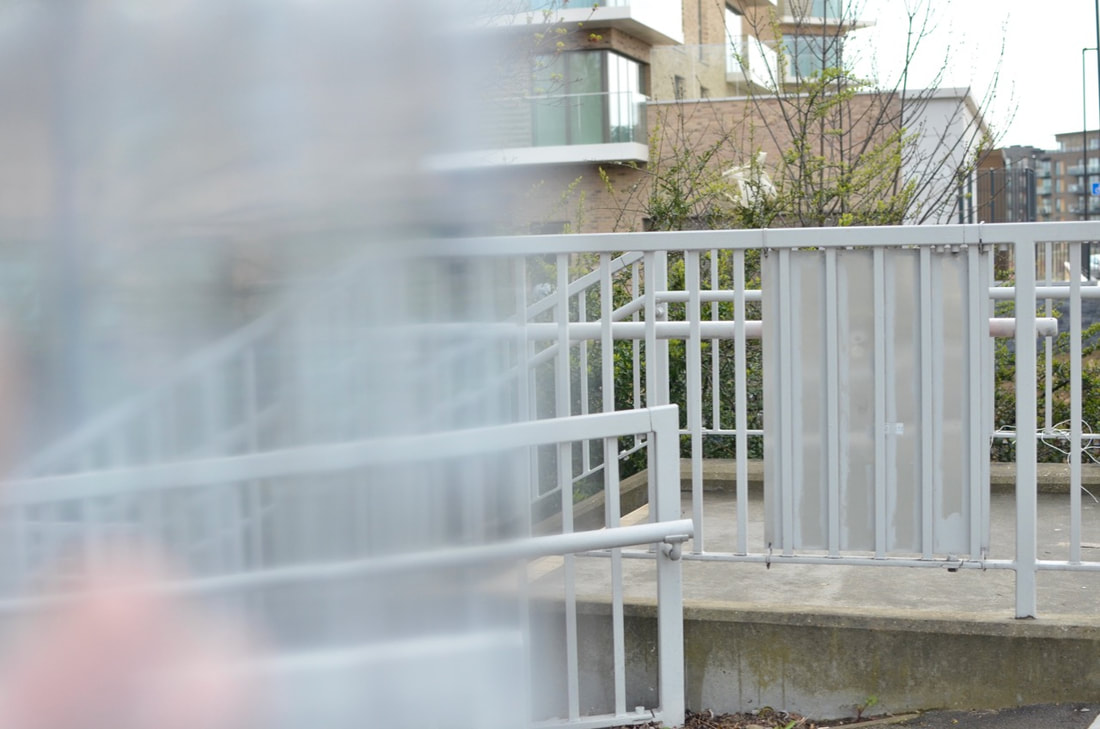
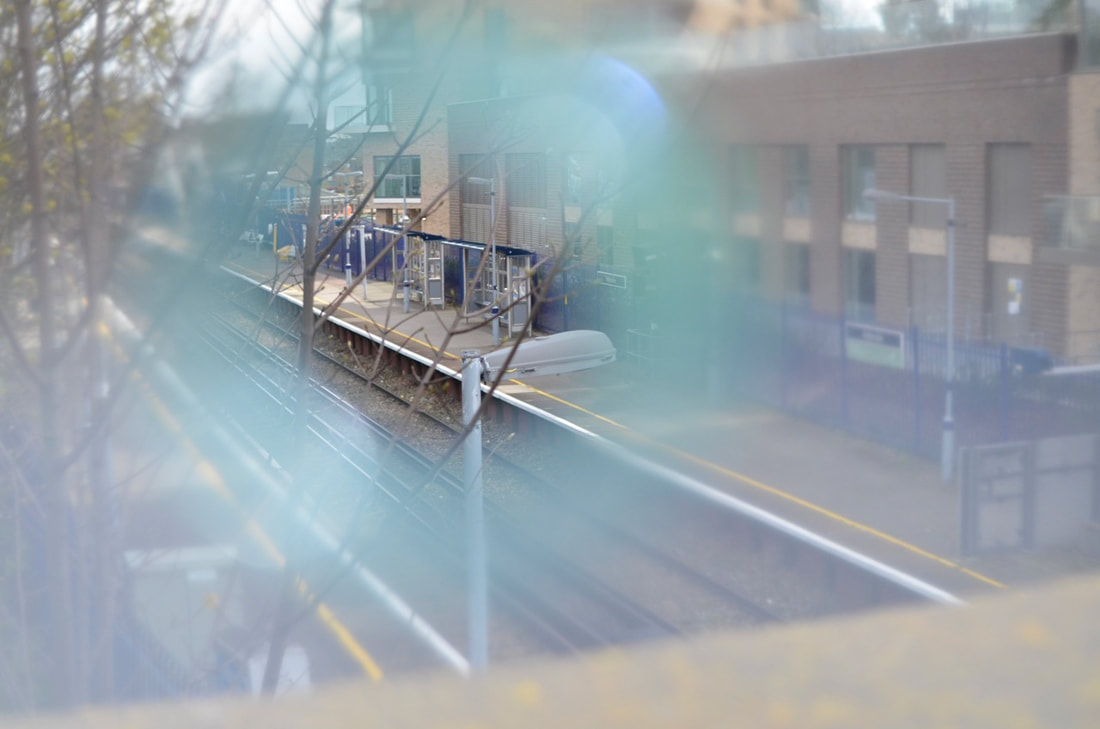
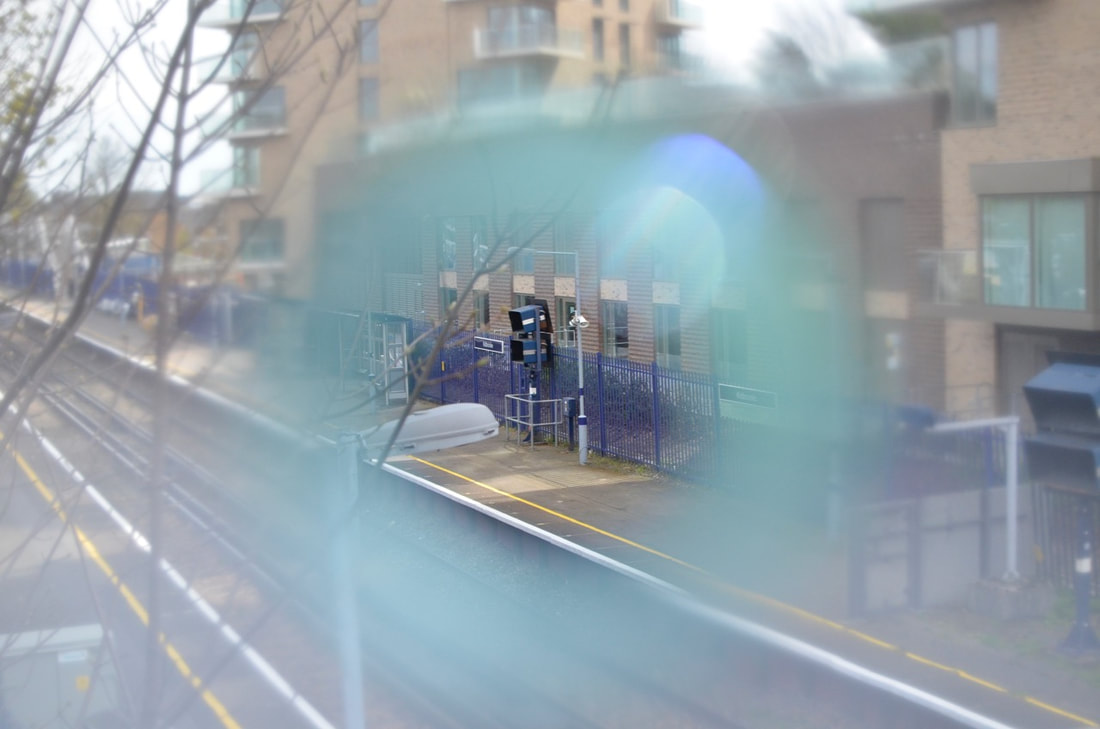
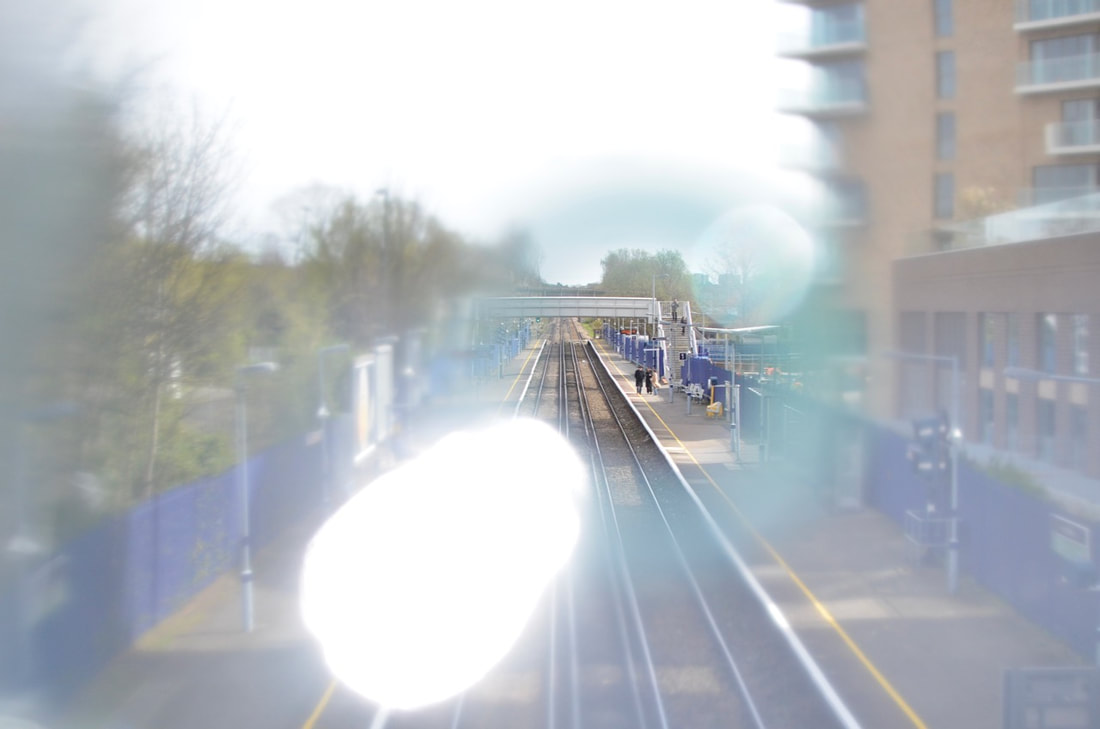
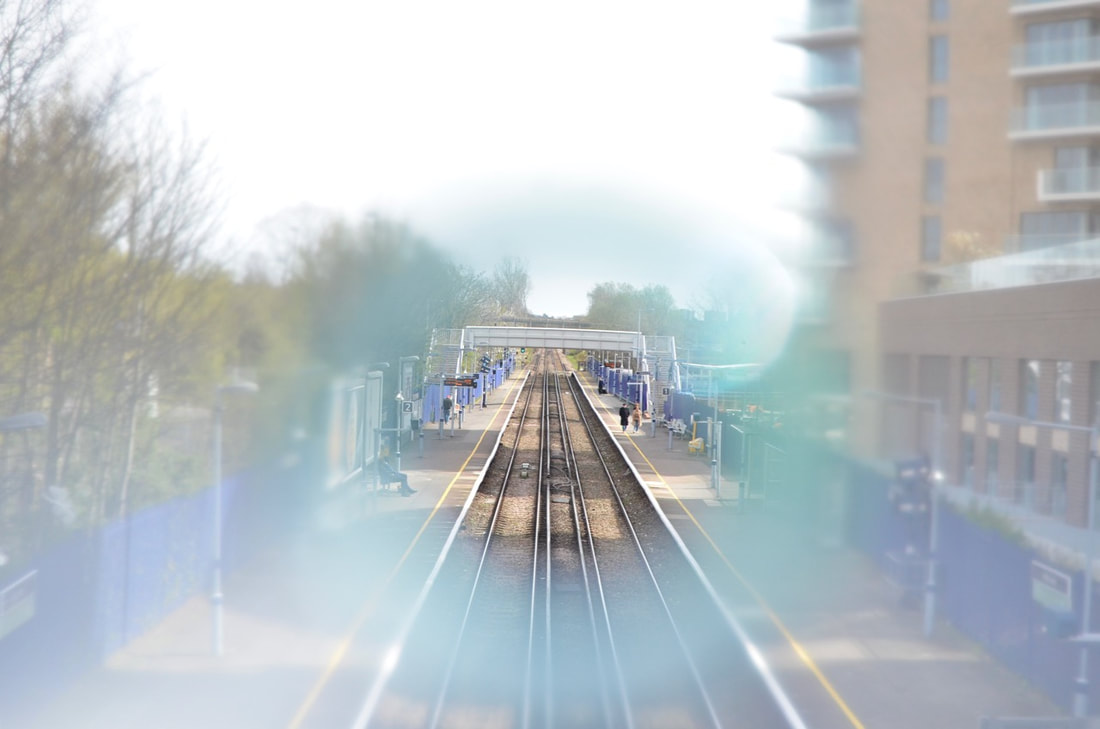
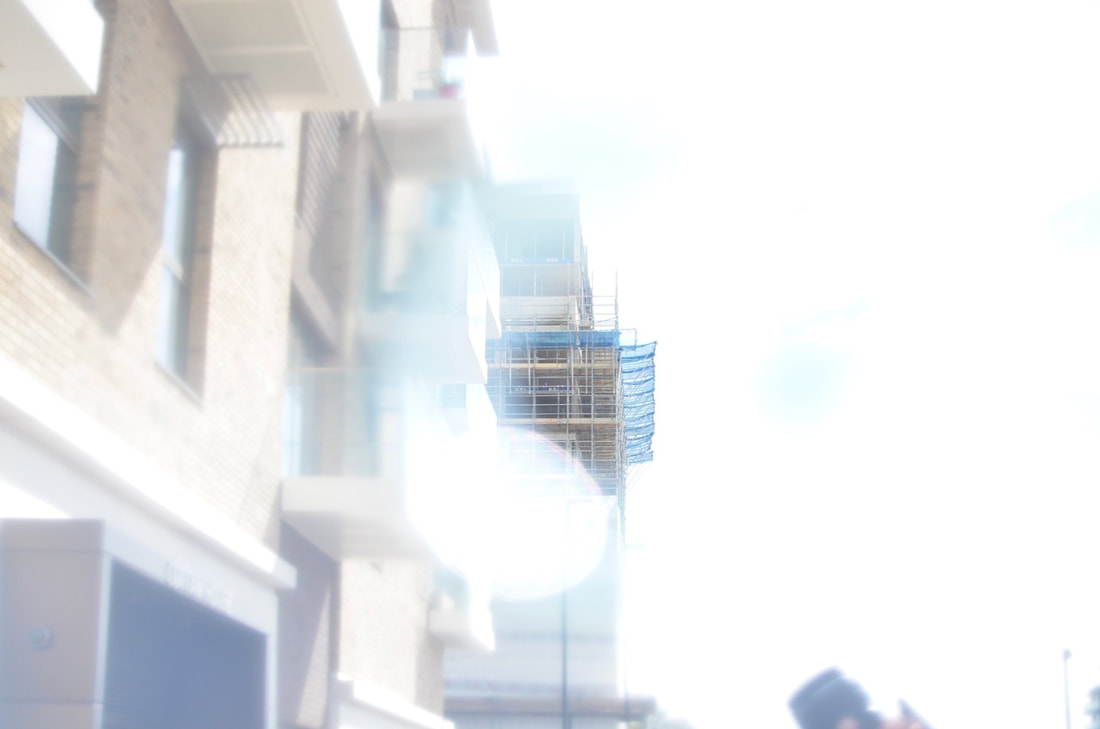
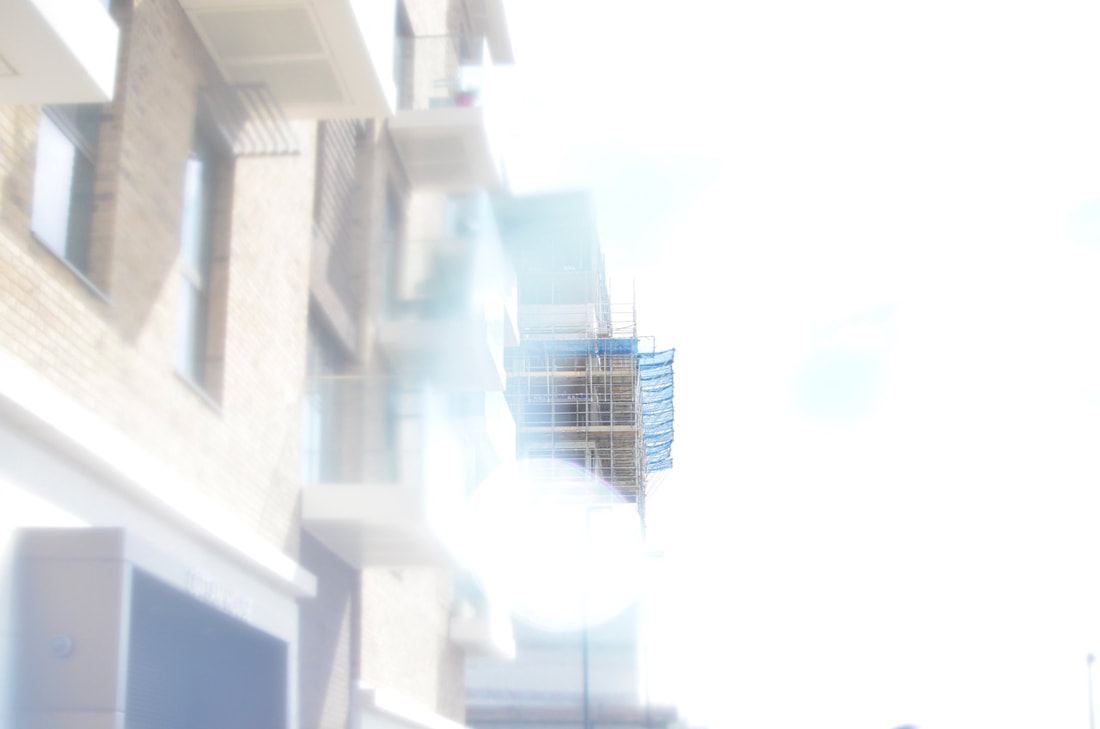
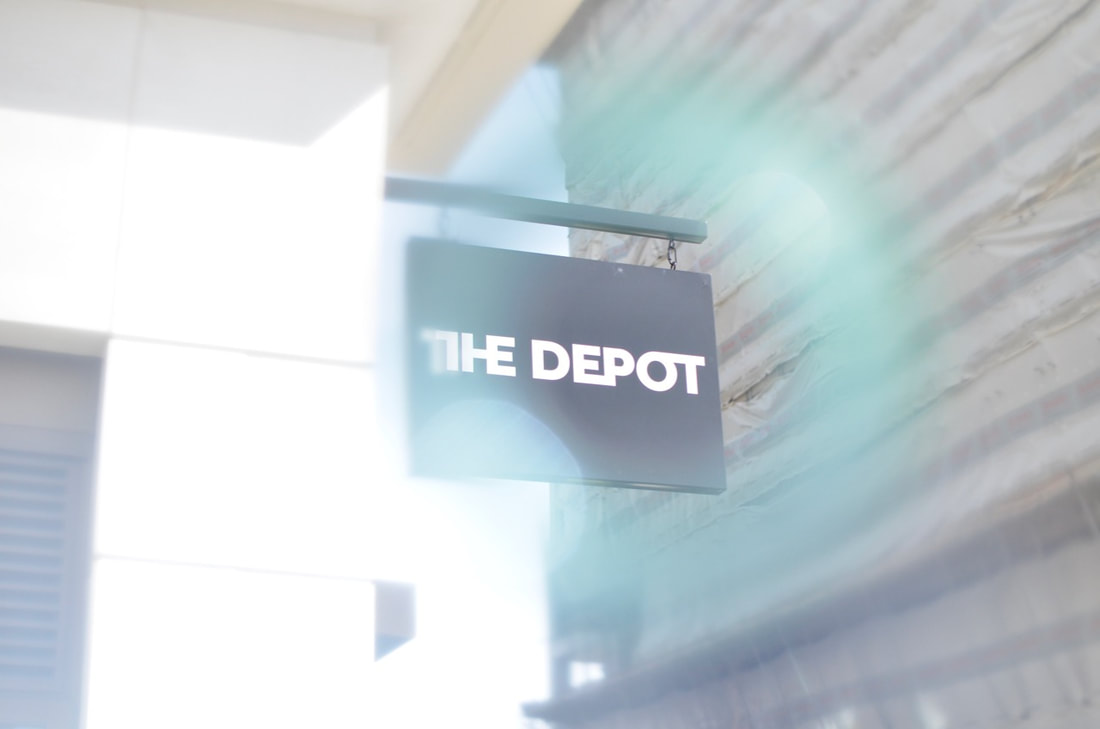

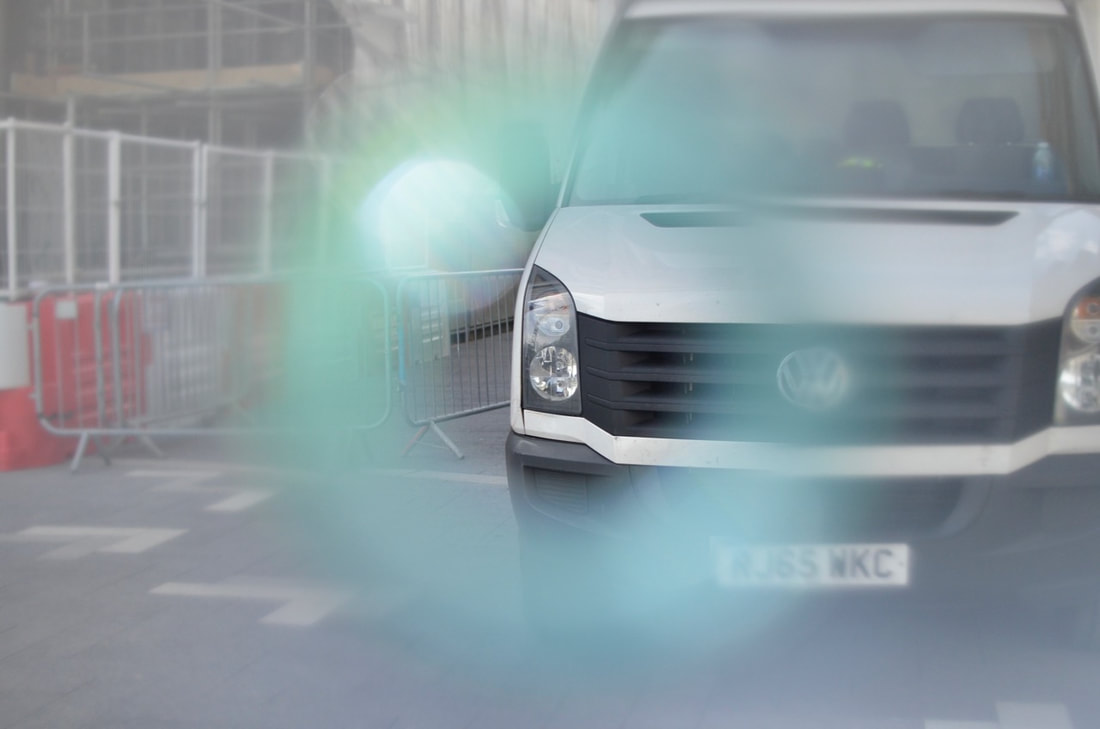

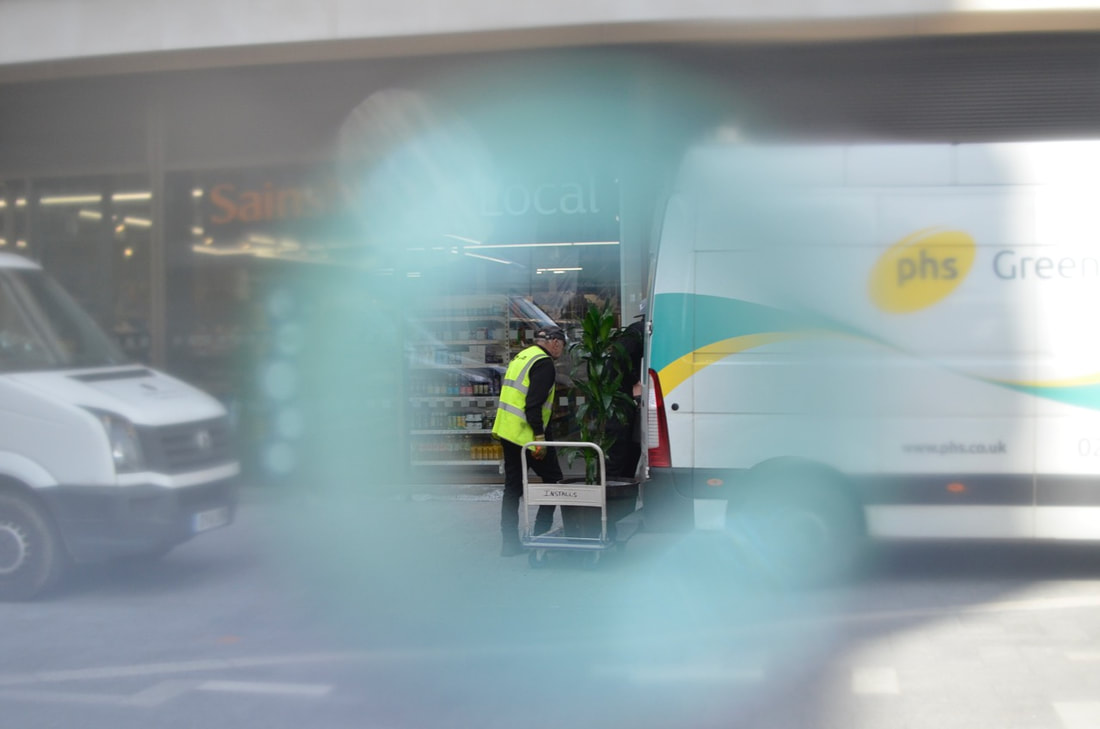
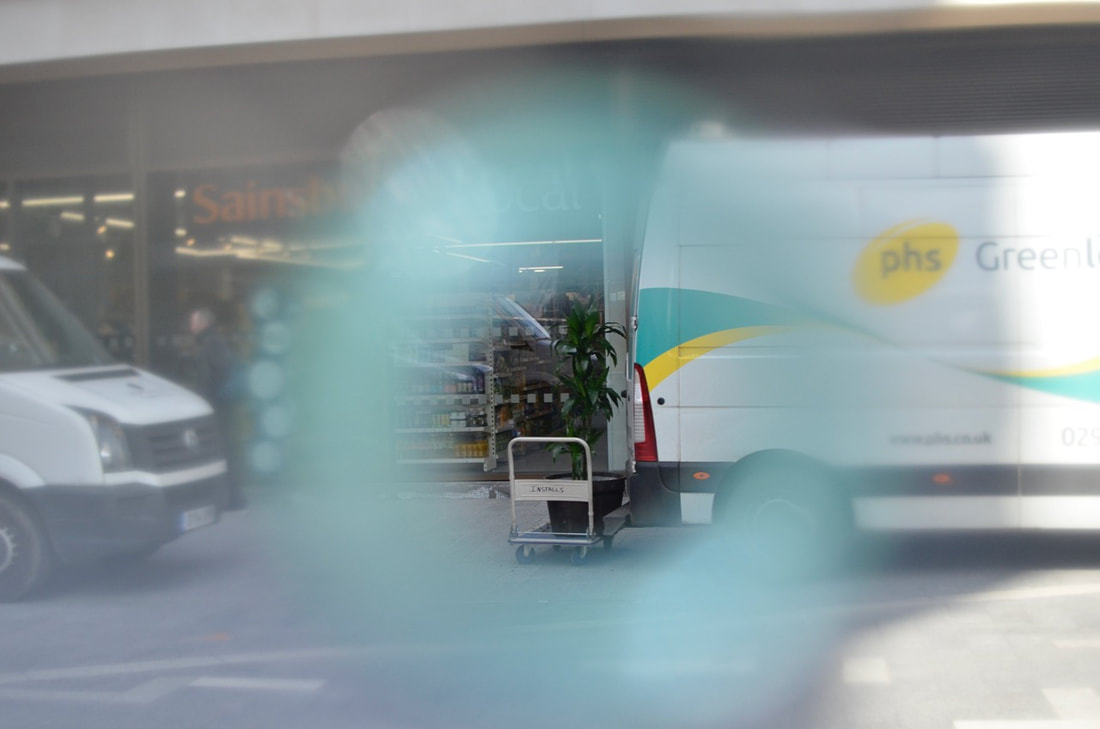
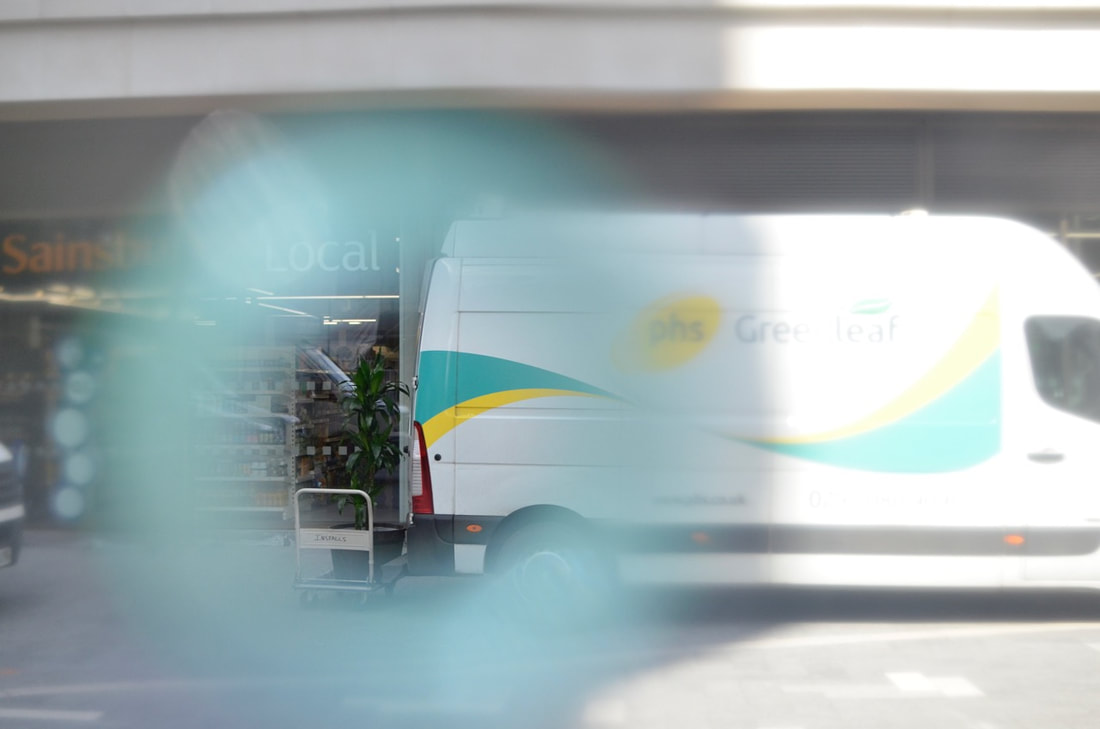
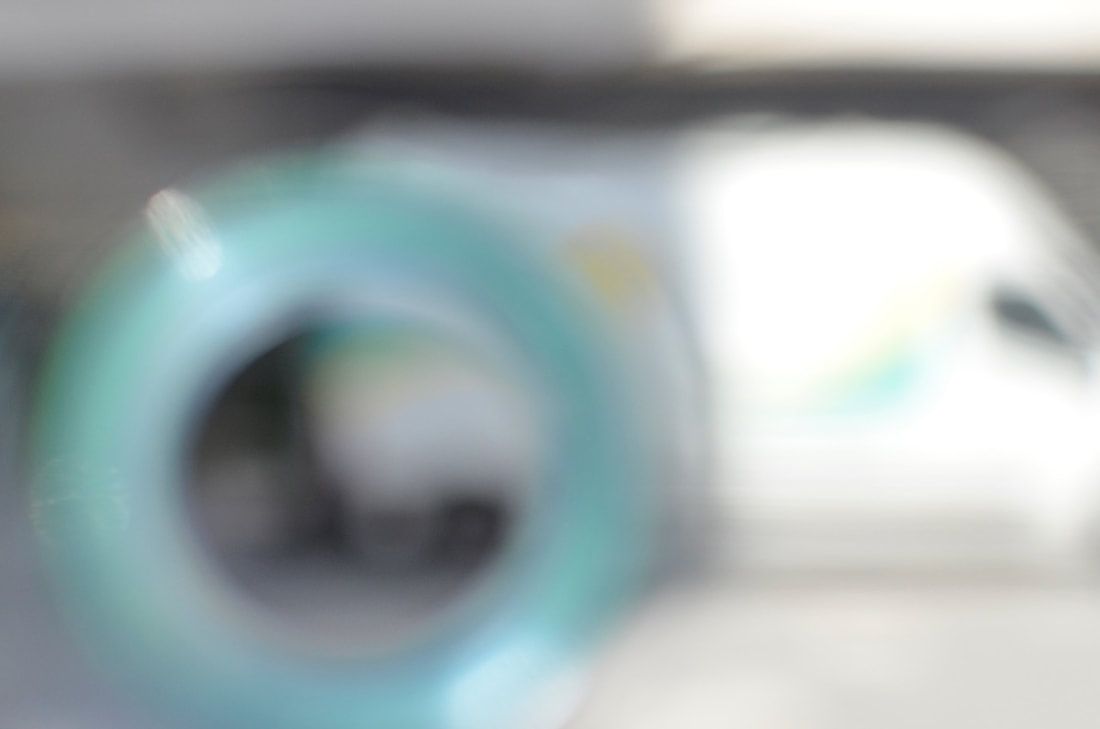
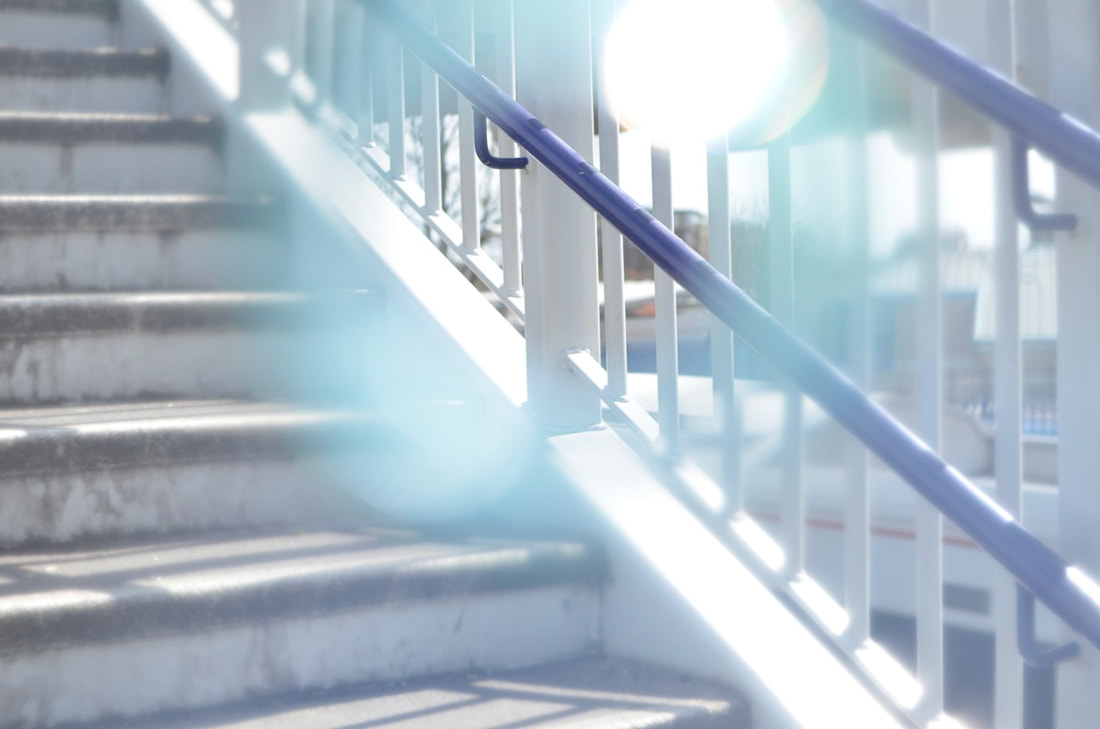
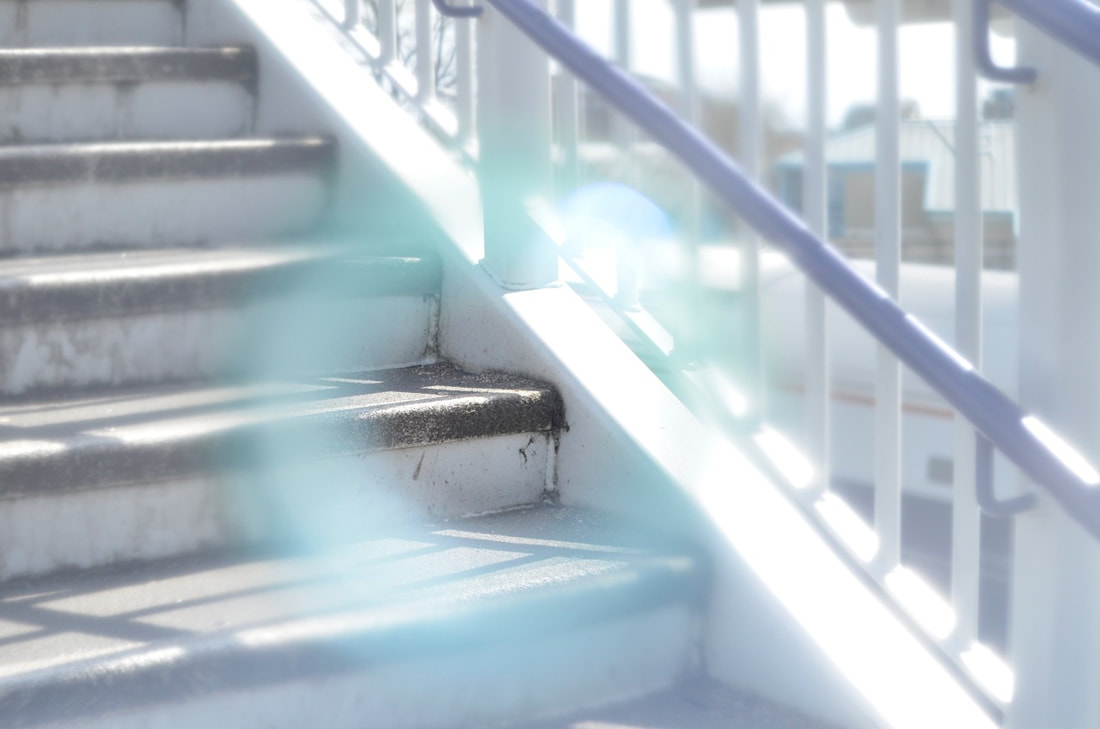
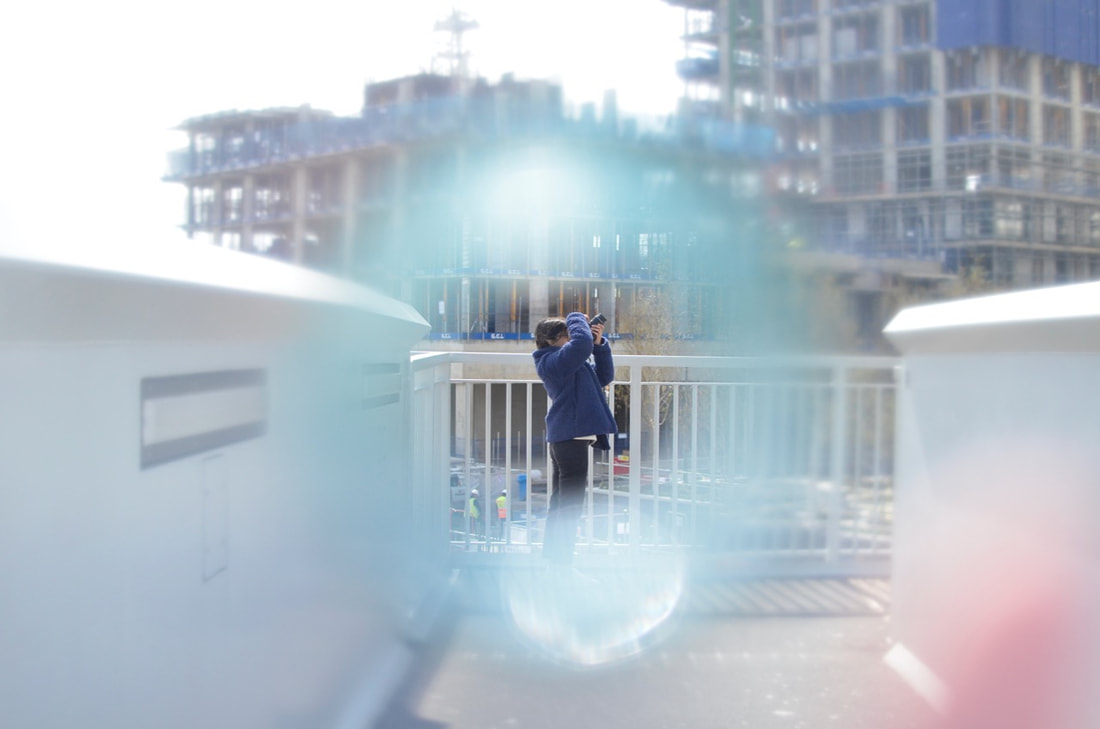
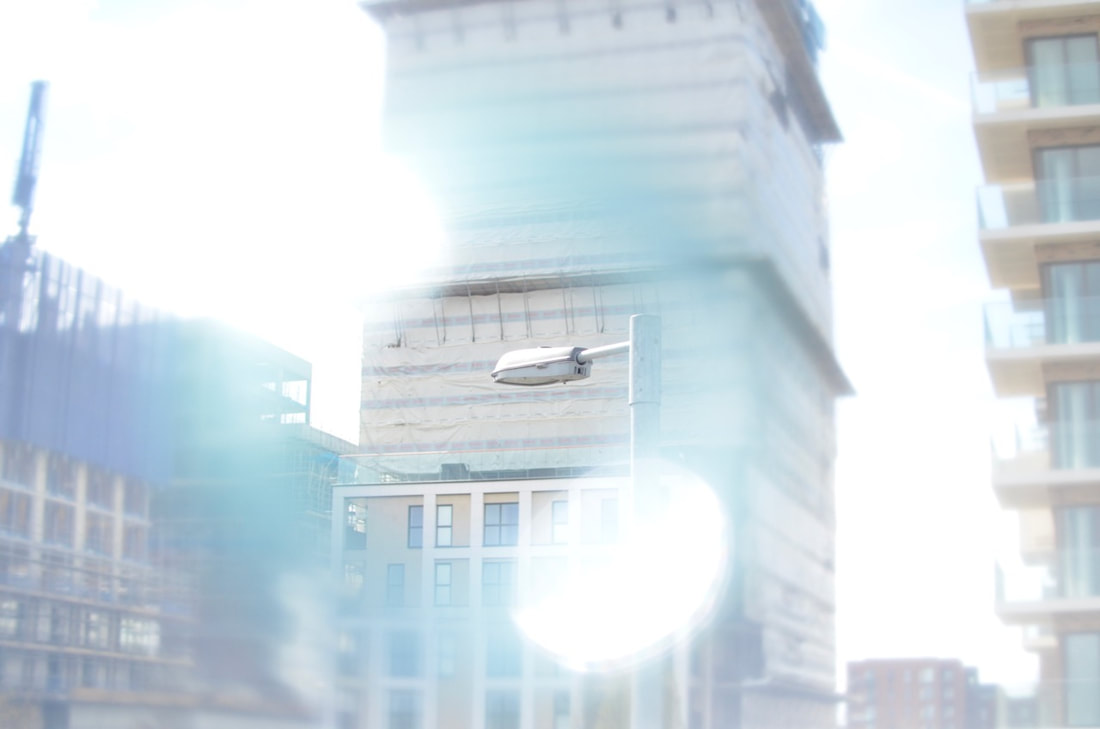
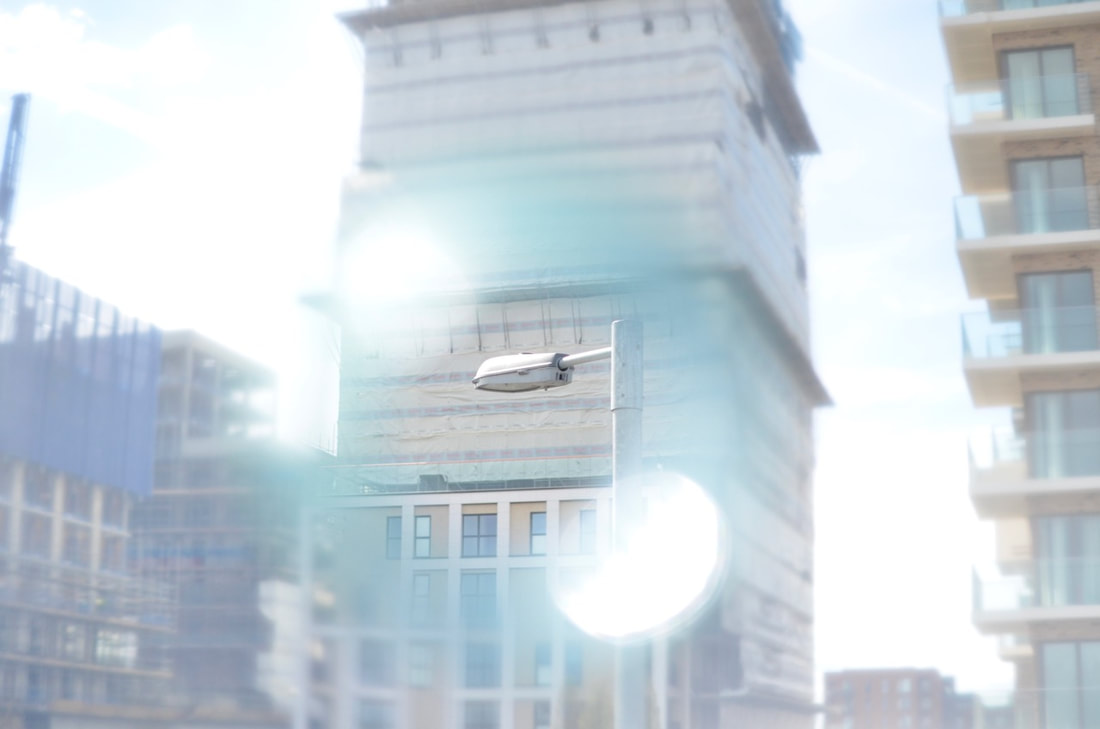
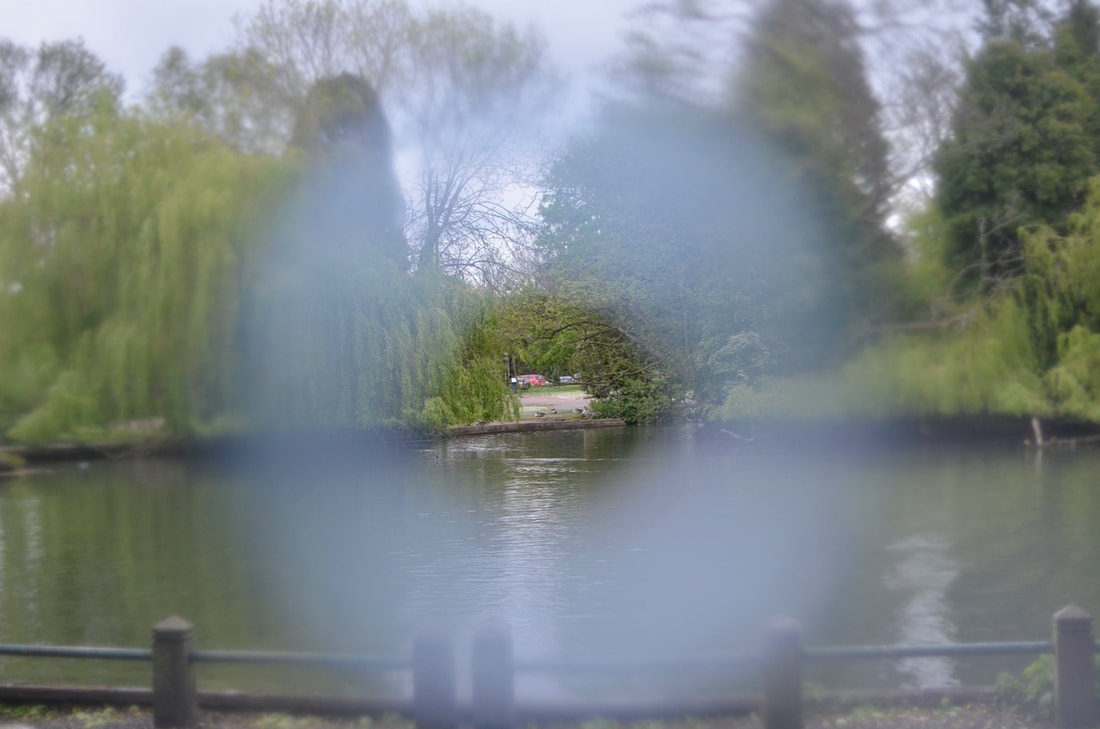
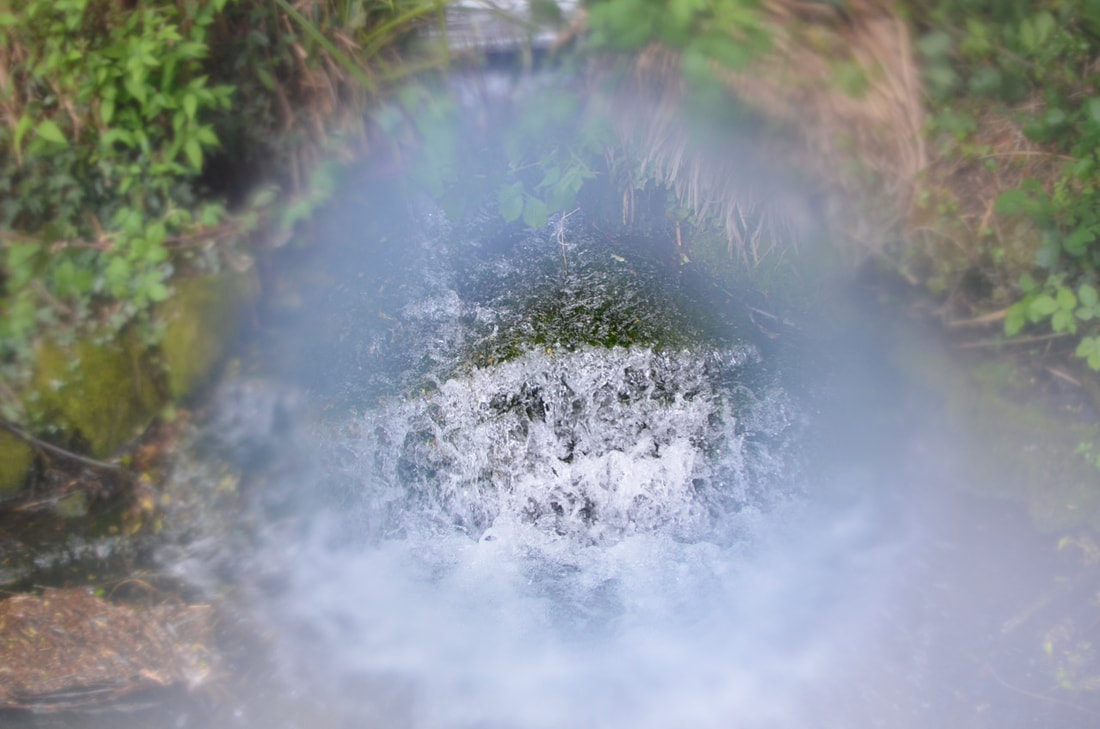
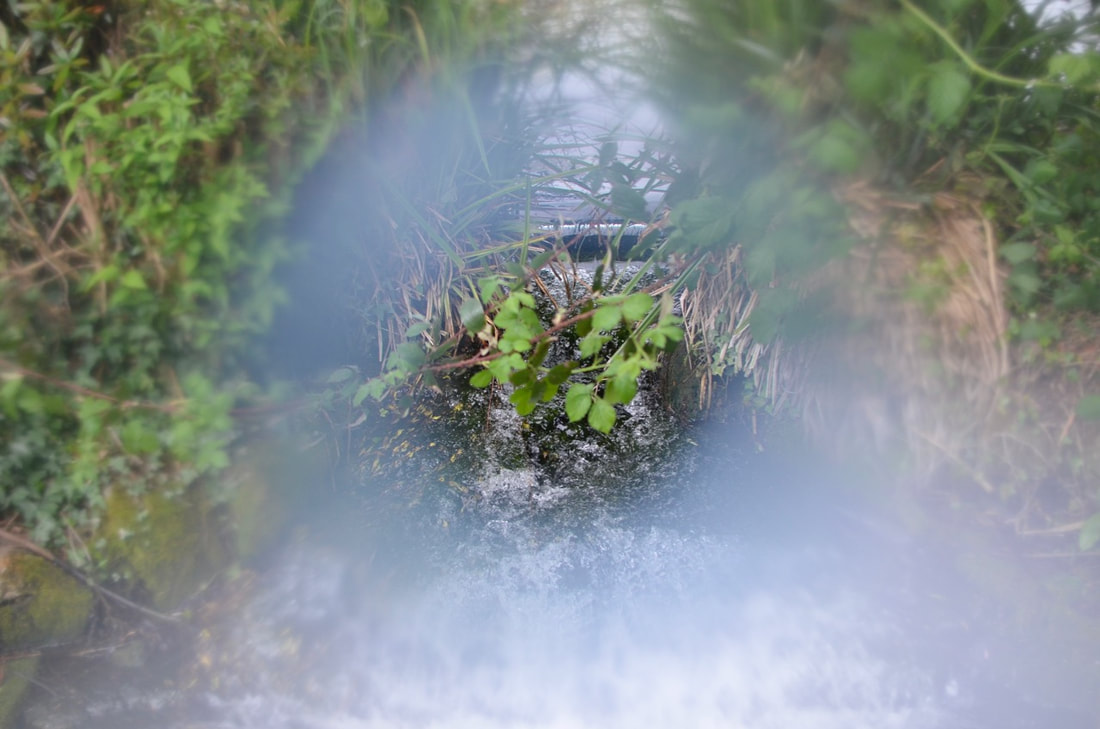
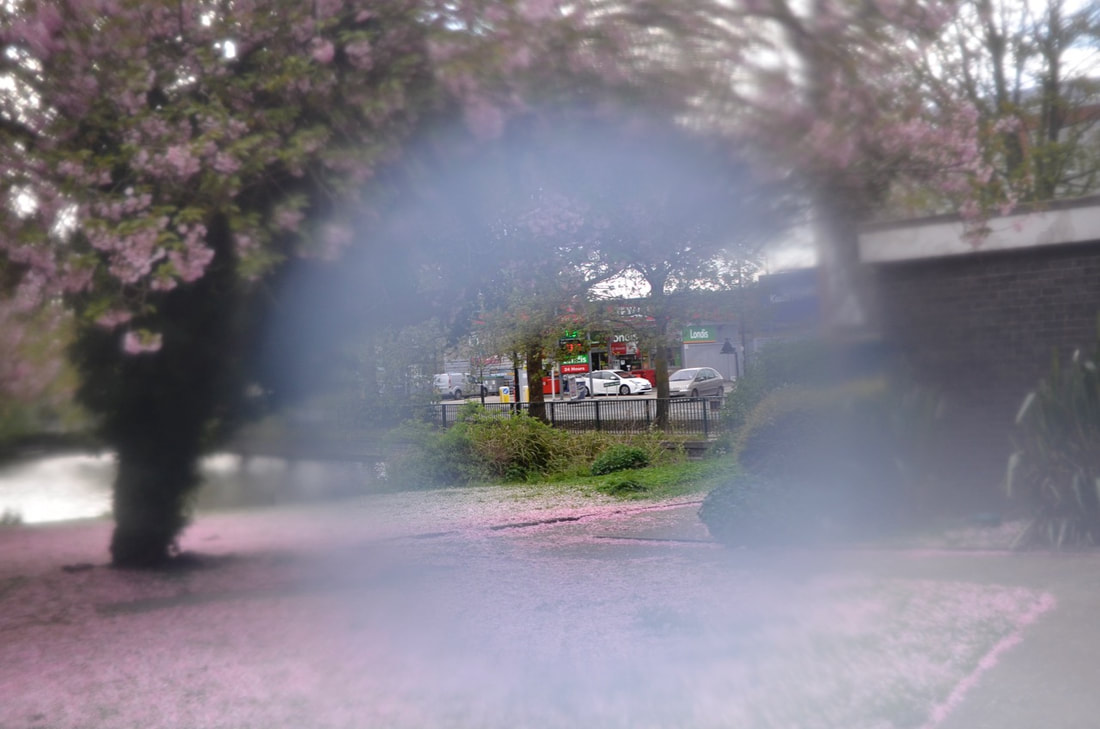
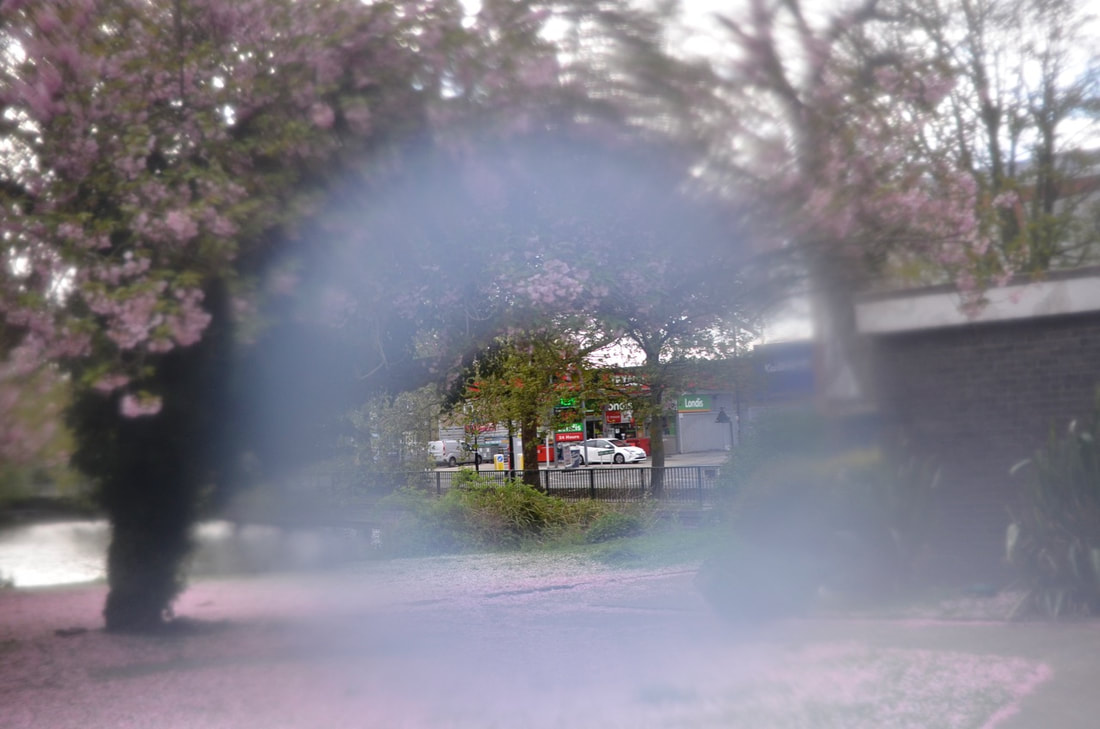
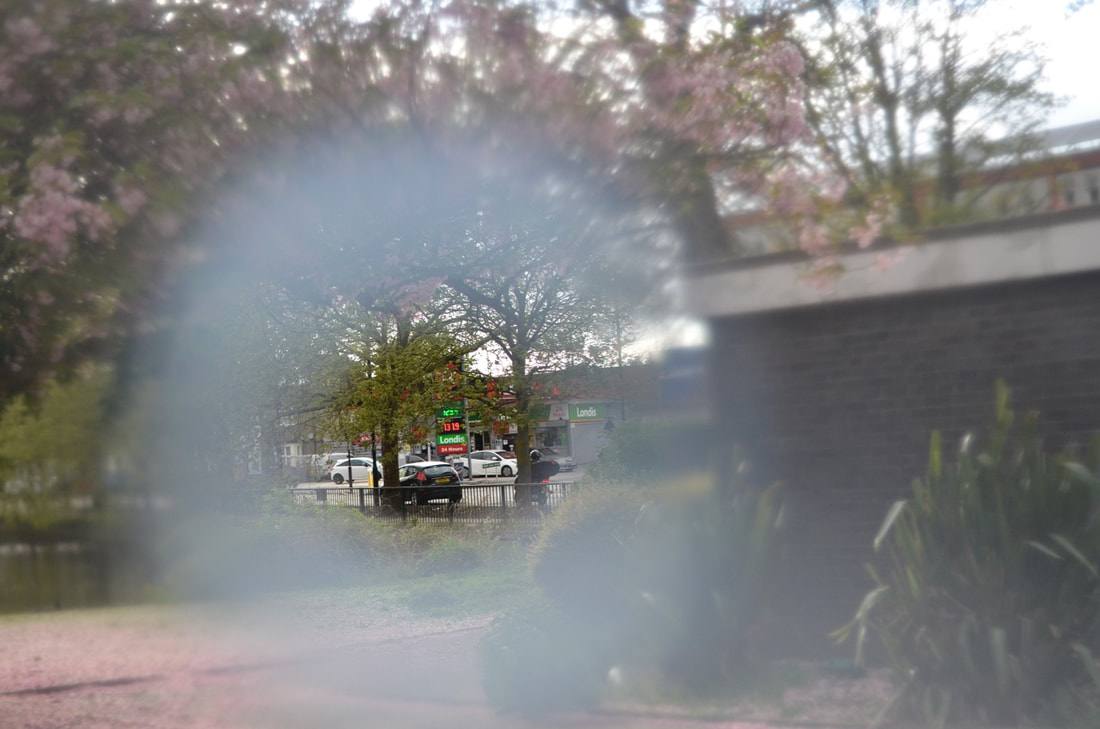
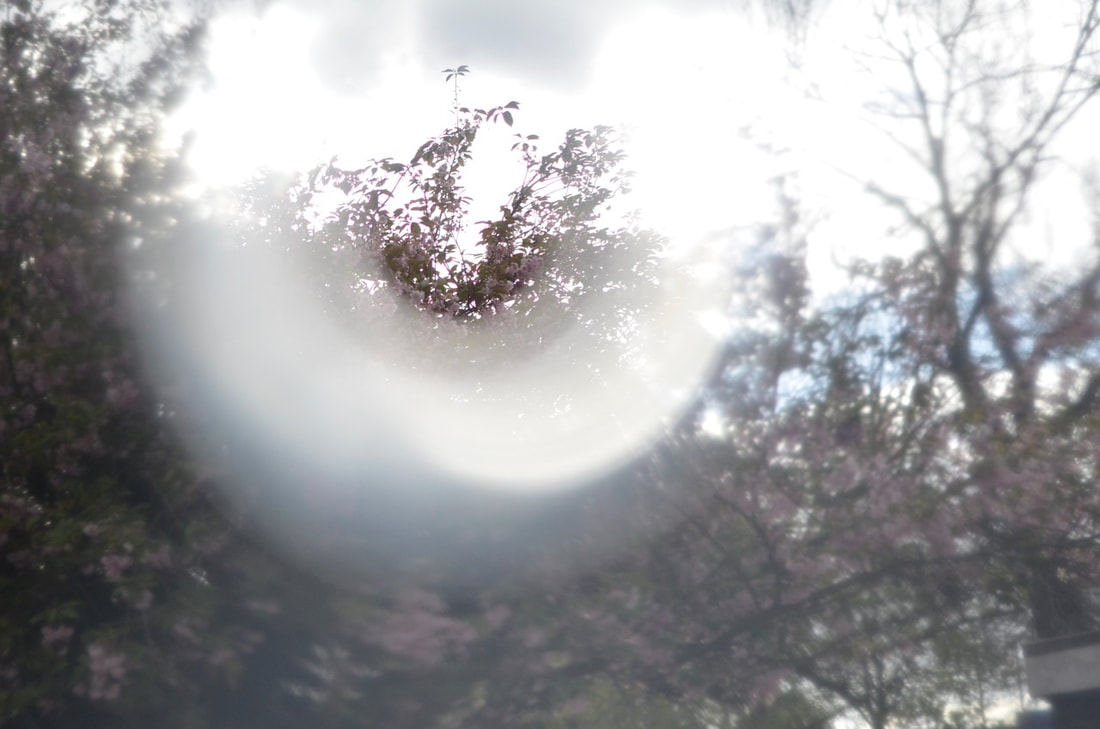
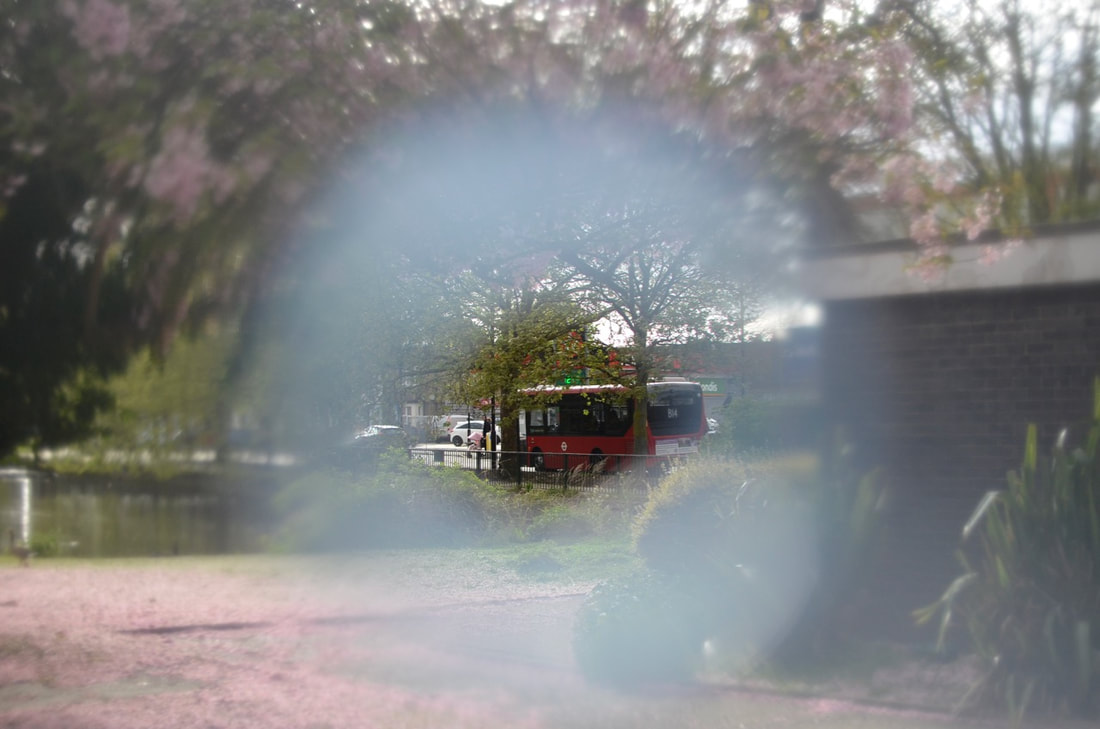
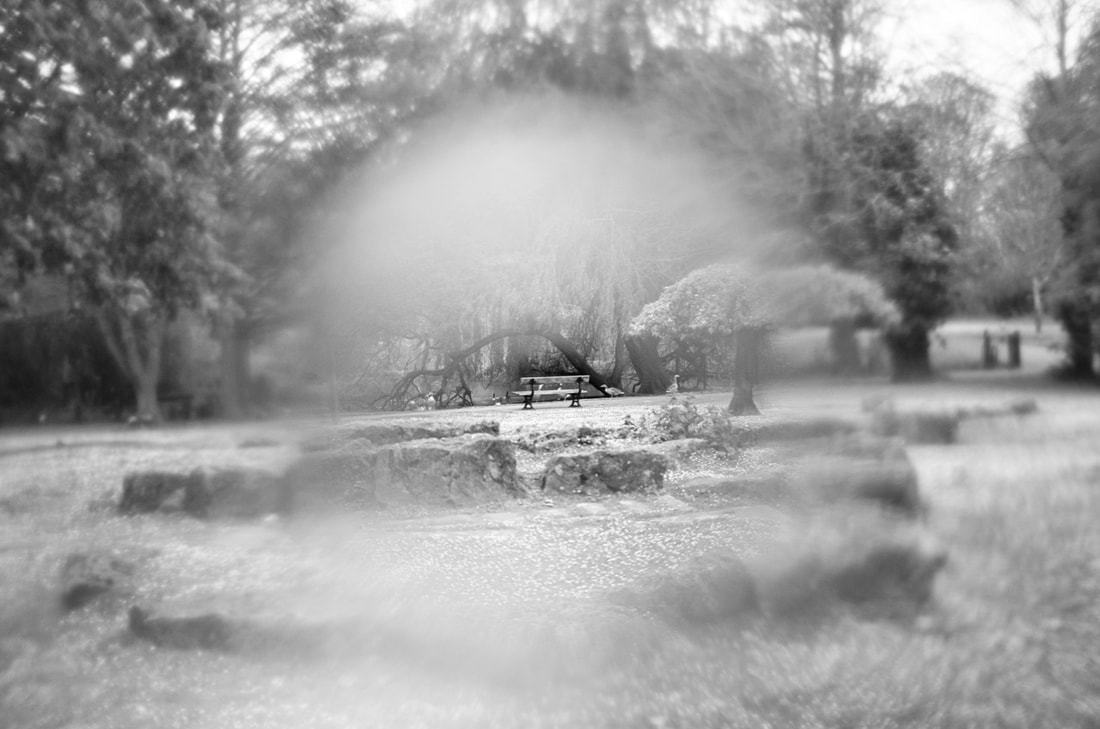
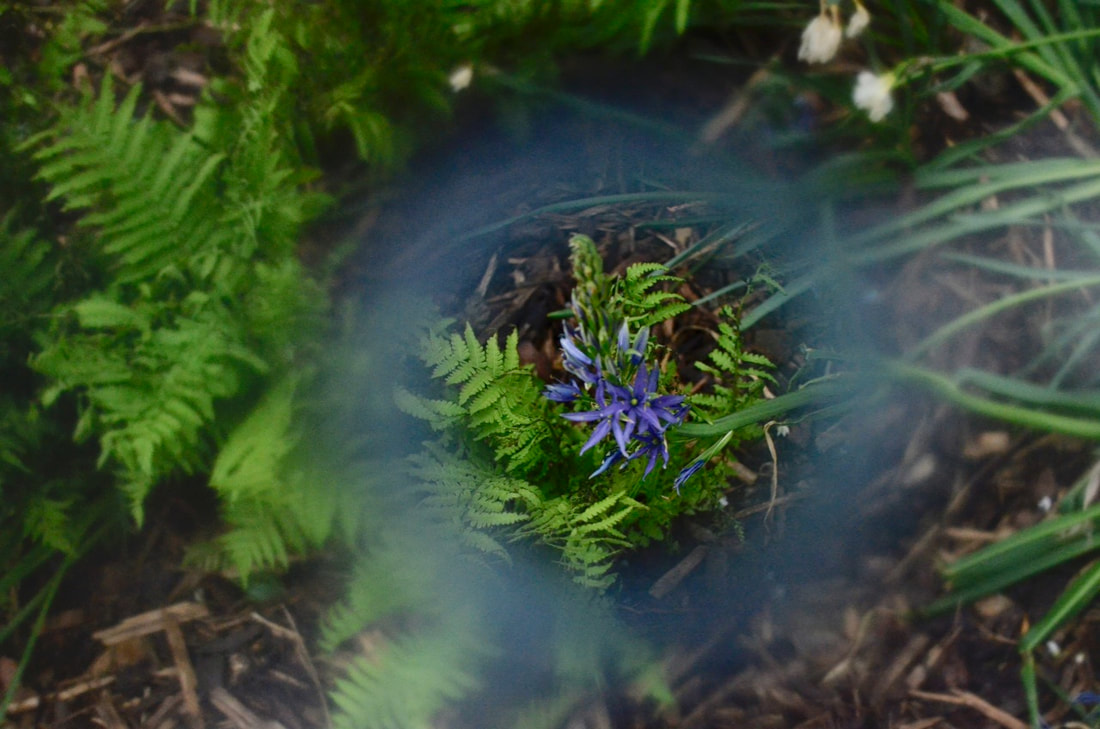
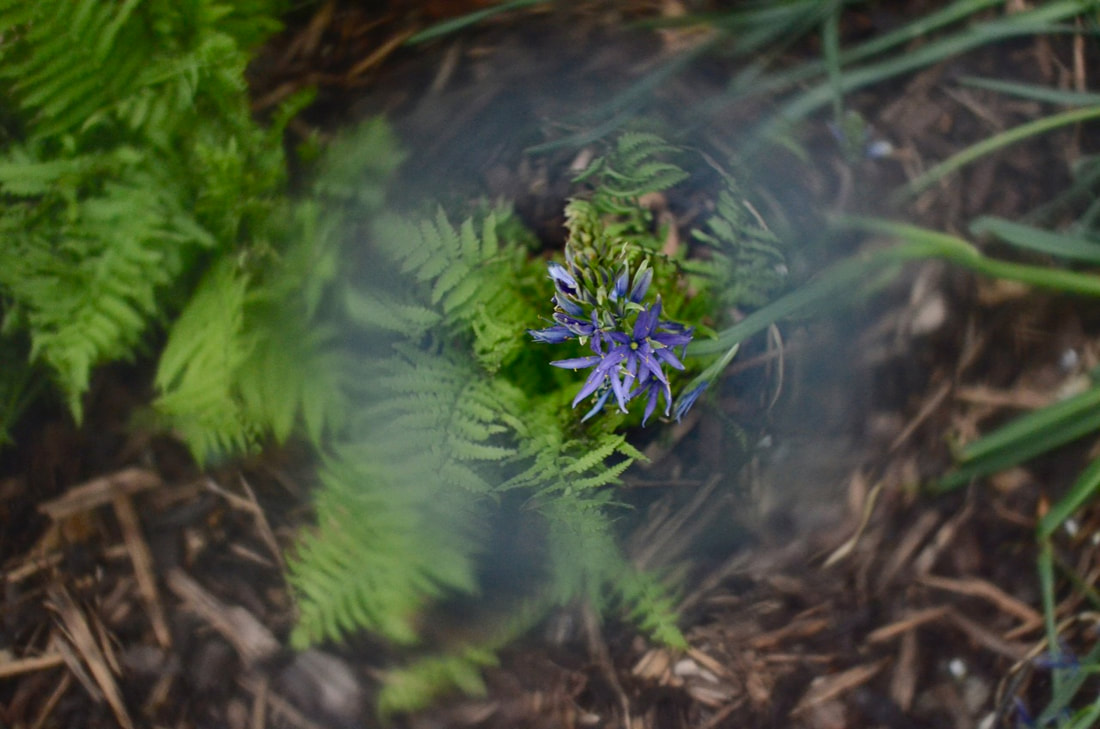
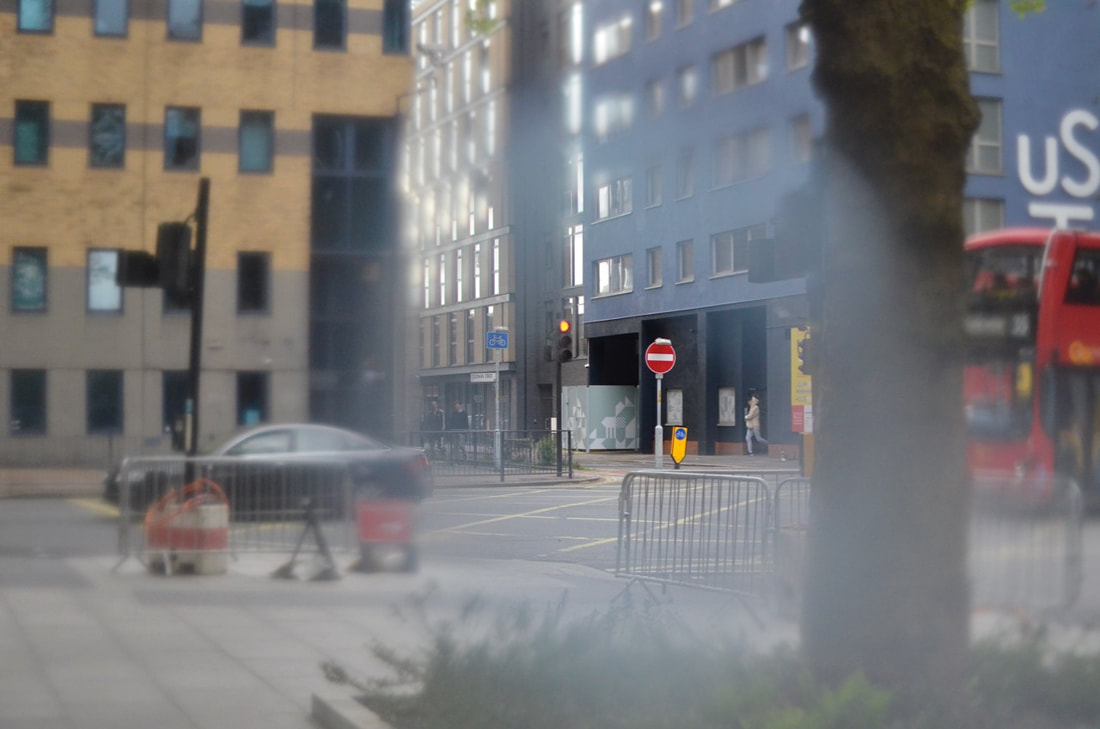
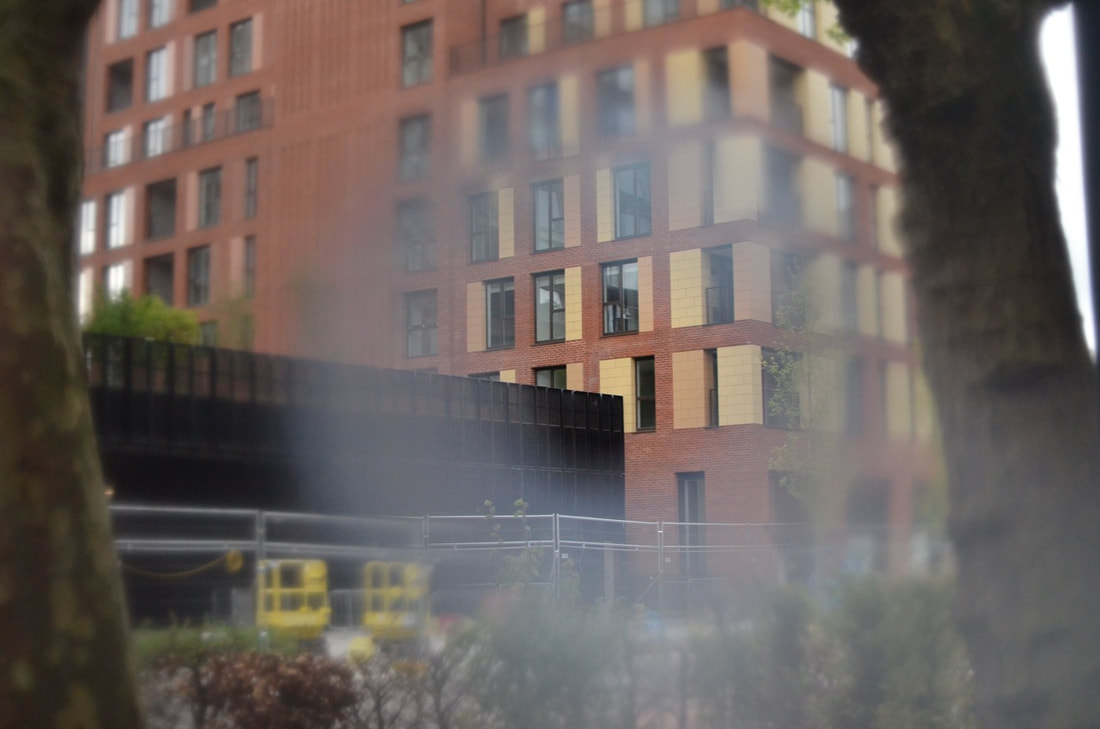
I used a 35mm Nikon prime lens to photograph these images. Before I went on a photo walk I had prepared strips of paper, masking tape, plastic bag and cut out the top of a bottle to experiment with. At the beginning I had taped the strips of paper to the lens however, I did not like the effect it gave as it covered the entire lens and it minimised the control I had. Therefore, I experimented with holding the piece of paper at different distances away from the lens and allowed the wind to control the shape of the paper; after a few shots I thought it was not very successful so I alternated to using the plastic bottle. I used the surface of the bottle to disrupt the corner of the frame and photographed through the plastic - it created an interesting white fog effect and when the light bounced off the edges of the plastic bottle it appeared like a glister and created flares, this was quite interesting because I did not expect the flare to help disrupt the frame further. I quite like the images where I photographed through the plastic bottle top as I removed the cap so that I could use the hole as my focus point. It links back to parts and section because I am using the object to help restrict the eye to a certain section within the frame, in this case where the eye can clearly see through the bottle cap hole because it is in focus in comparison to the foreground it appears out of focus due to the effect from the plastic material.
|
|
Here is a selection of images I edited further similar to Metzker's style of work; I made them a high contrasting black and white image.
DISPOSABLE CAMERA EXPERIMENTATION
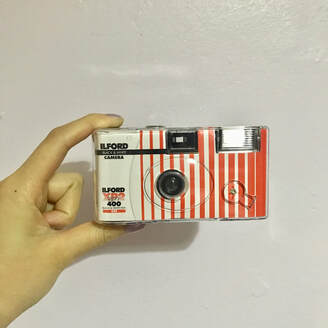
Illford XP2 C41 Black and White 35mm Disposable camera
|
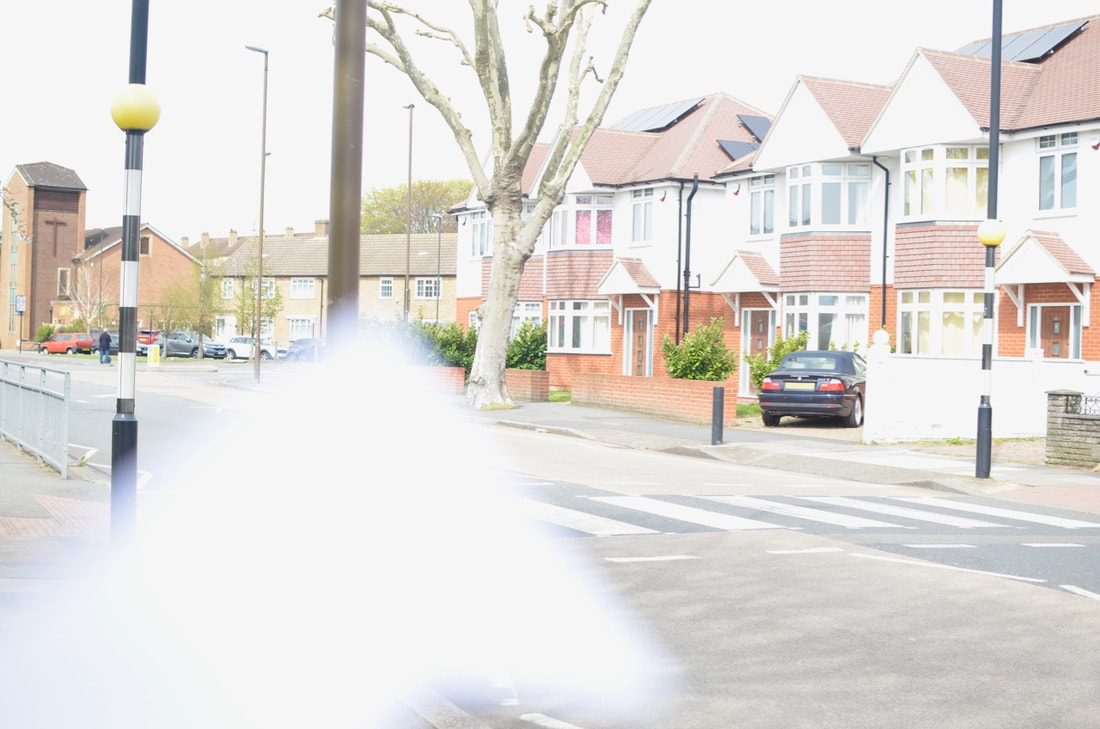
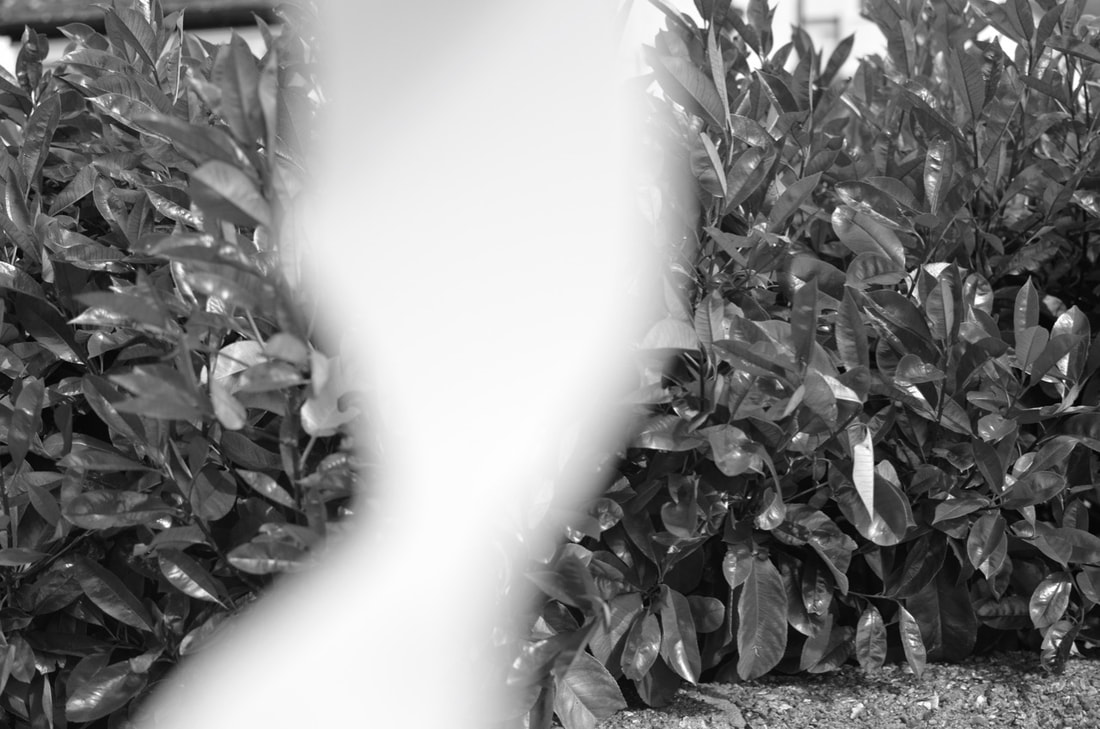
I have decided to experiment with a black and white disposable camera to challenge myself and create images more images attempting to disrupt the lens. The viewfinder is not directly connected to the camera lens therefore, I can not see the composition of the object I use to disrupt the frame accurately, this may mean my fingers may be included in the image. My goal is to predominantly photograph landscapes that may contain interesting sharp lines and allow the paper to disrupt it.
|
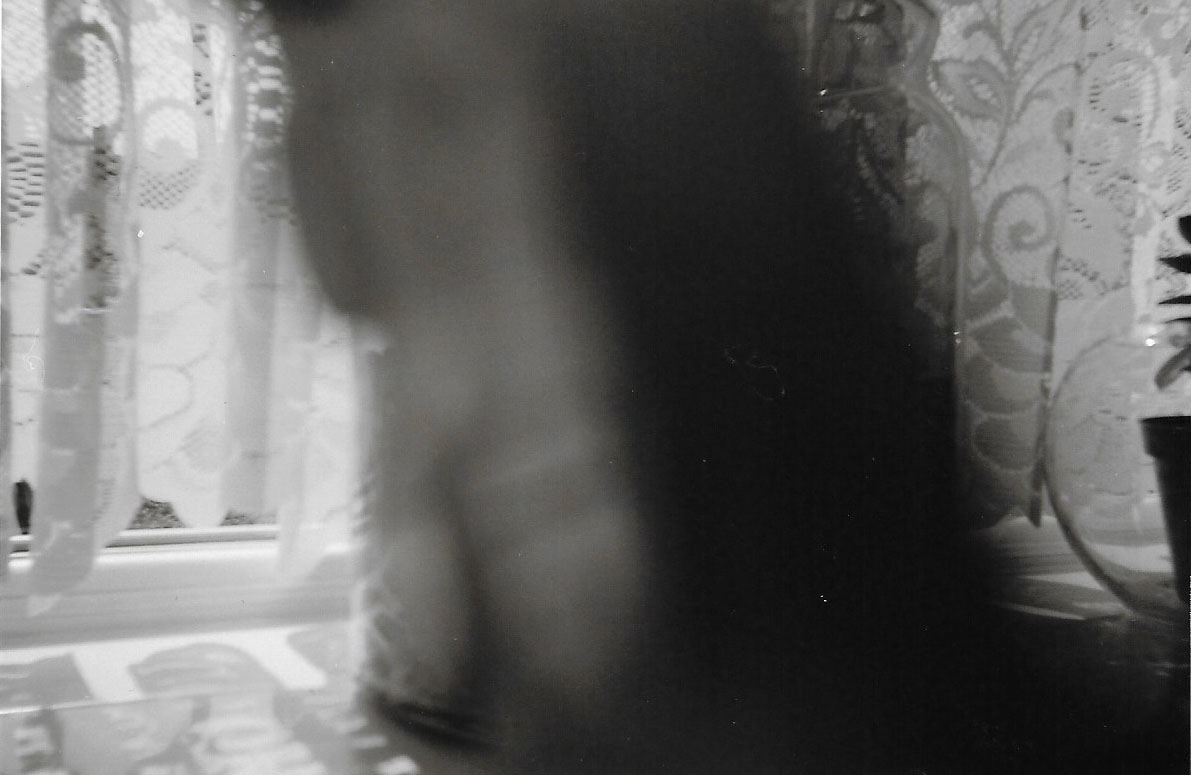
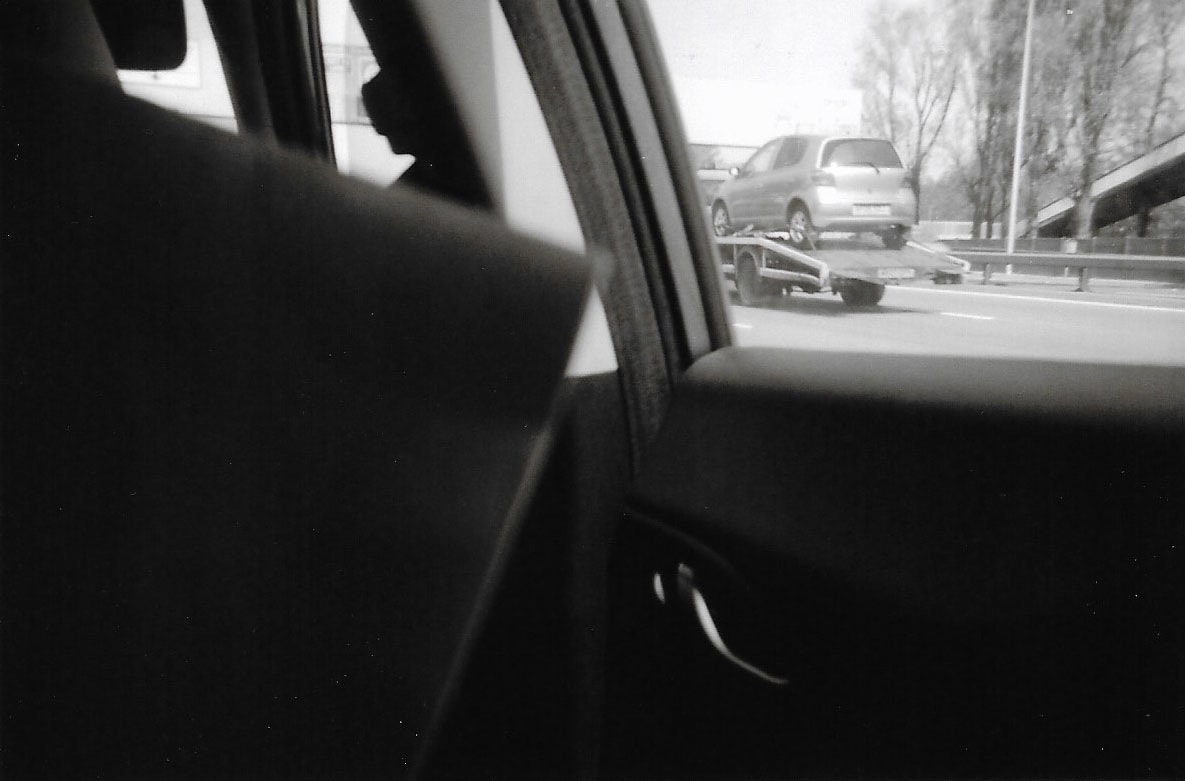
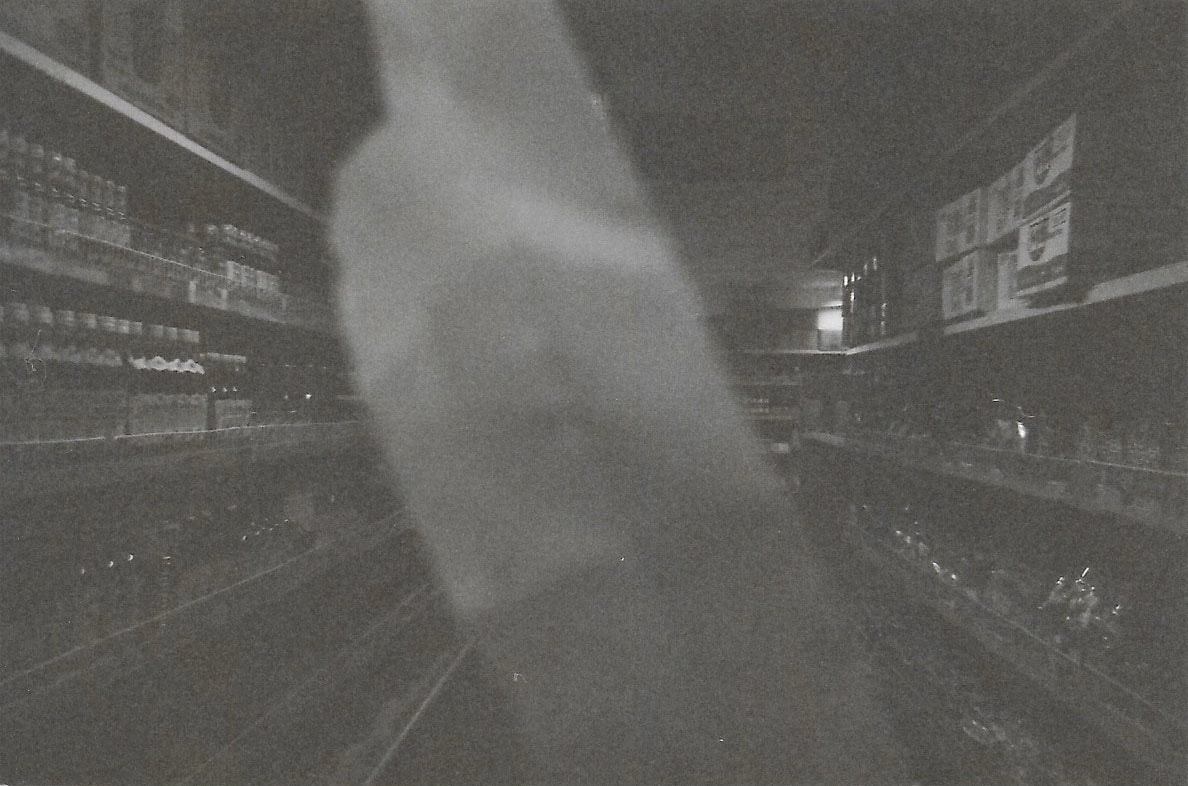

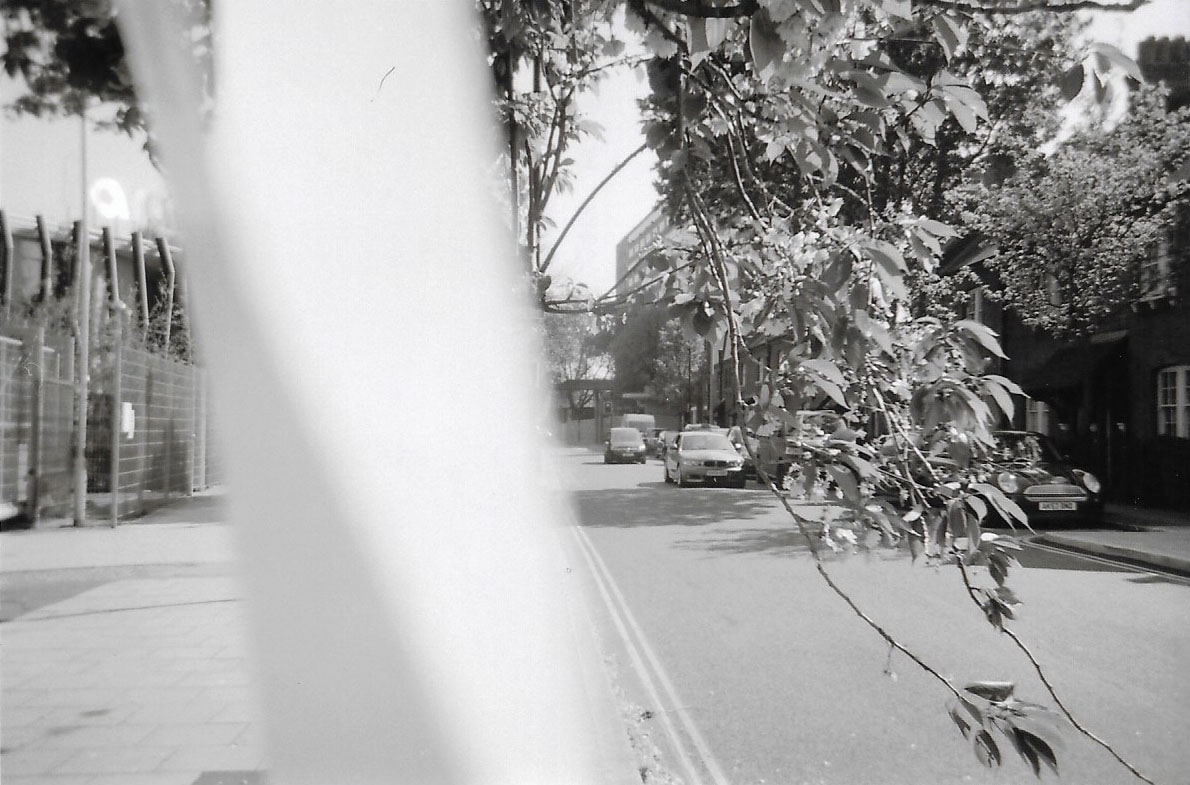

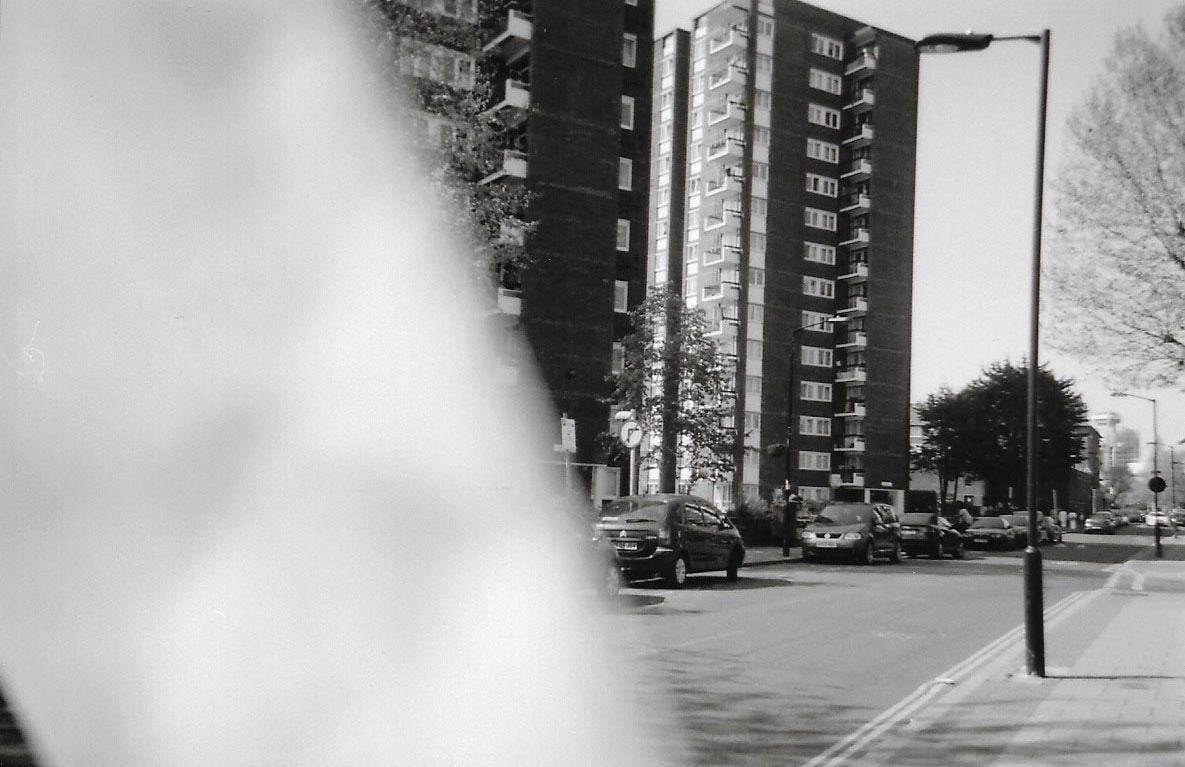
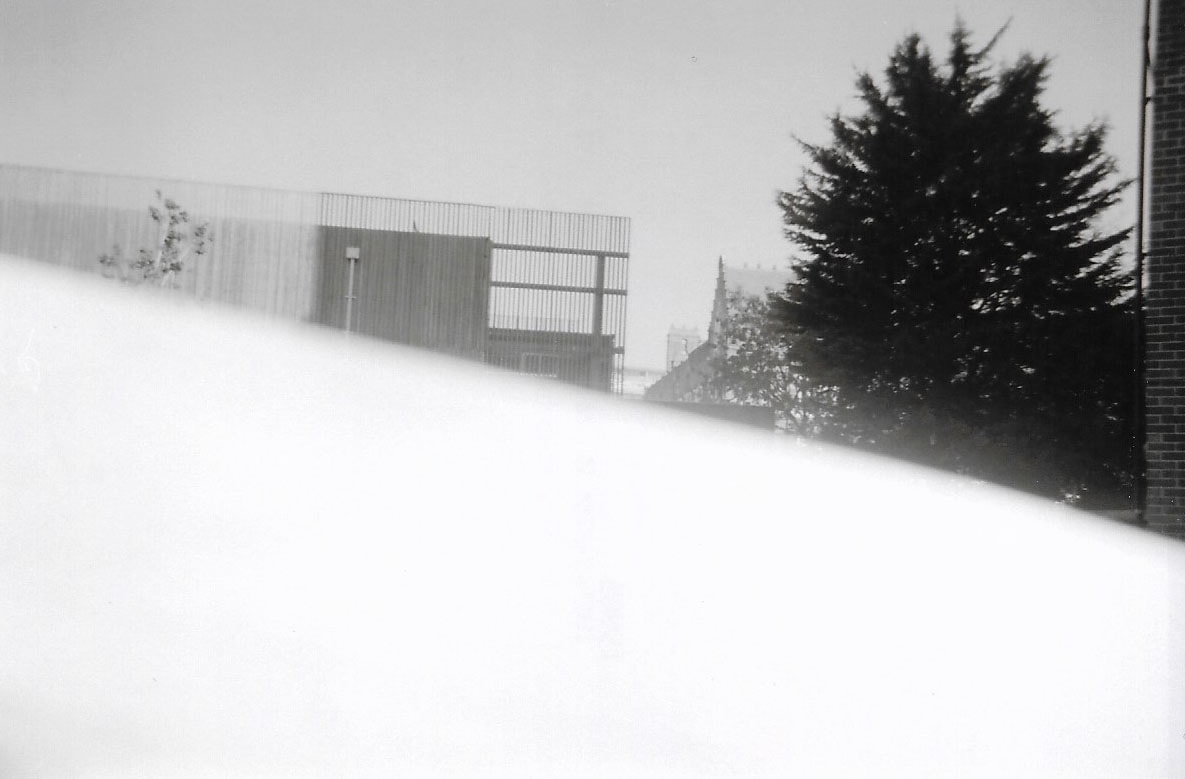
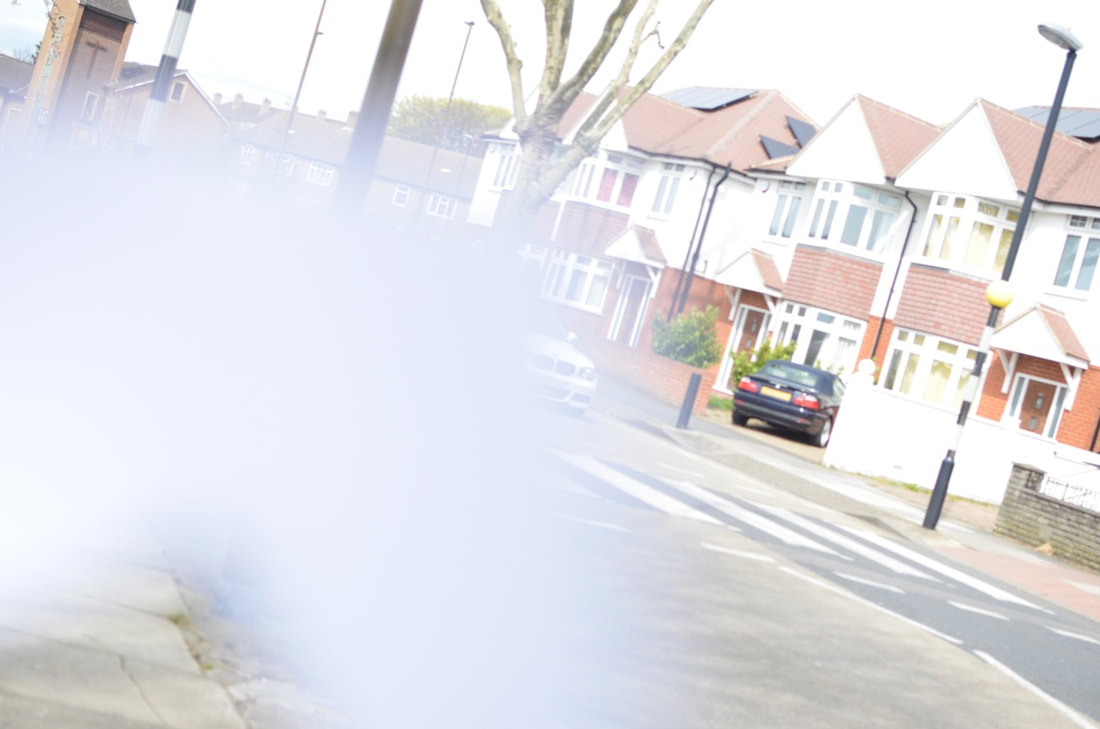
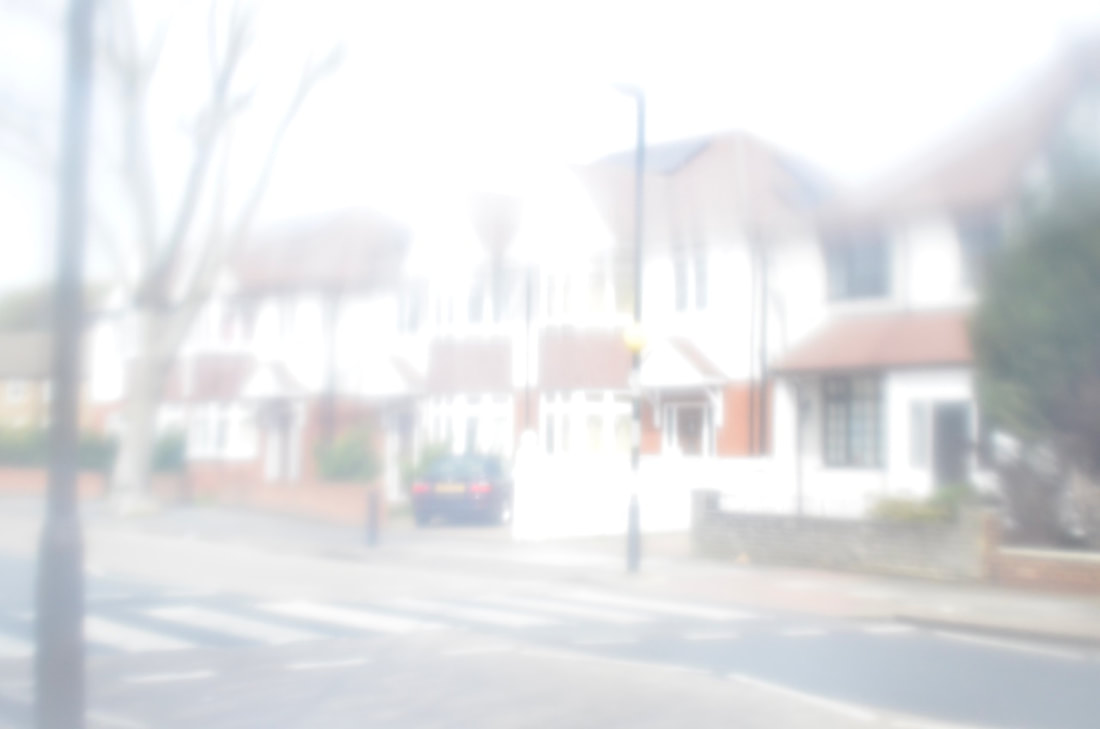
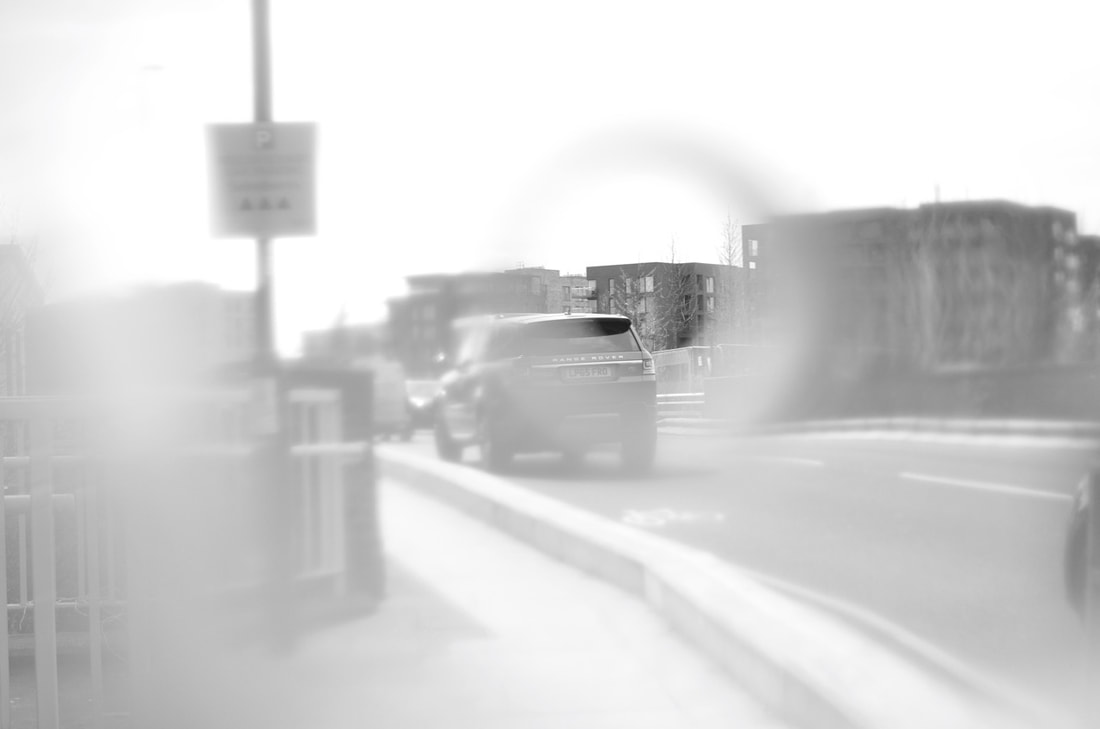
These are the outcome of my black and white disposable camera film. When I was looking through the viewfinder to guesstimate how my composition of the paper would look, I would lower my hand holding the paper more to be on the same level as the lens - this is to ensure I would not get my fingers in the frame. The third image above appeared underexposed because it was taken indoors at a Supermarket aisle and I did not know how to work the flash just yet. However, as I continued to photograph outdoors I am very pleased with the outcome of the photos because I can clearly see that the piece of paper was not in focus and the background was highly contrasted - I was very impressed because I am unable to control the focus and it turned out the way I hoped. The high contrasted black and white photographs could be due to the weather, it was a very bright and sunny day so images of buildings appeared vividly due to the light bouncing on the subjects.
I have noticed I really like the framing of my photographs but there is a white piece of paper disrupting my view which kind of irritates me as I wish I had an original image of the landscape with no disruption however, it would have been hard because for some images I was relying on chance, I had waited a few minutes or I had to quickly press the shutter to capture a person walking by. Nonetheless, I think that the disposable camera experiment was successful and worked out better than my DSLR photographs.
I am going to continue to manipulate my photographs by disrupting the lens and using other materials to change the perspective of parts of the photograph; this leads me to research about Ruth Van Beek's work and her thoughts and process.
RUTH VAN BEEK
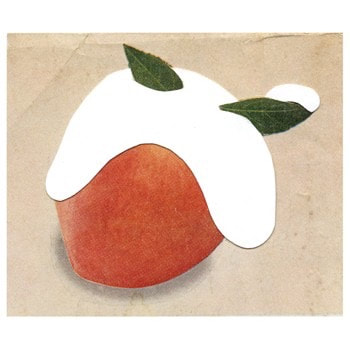
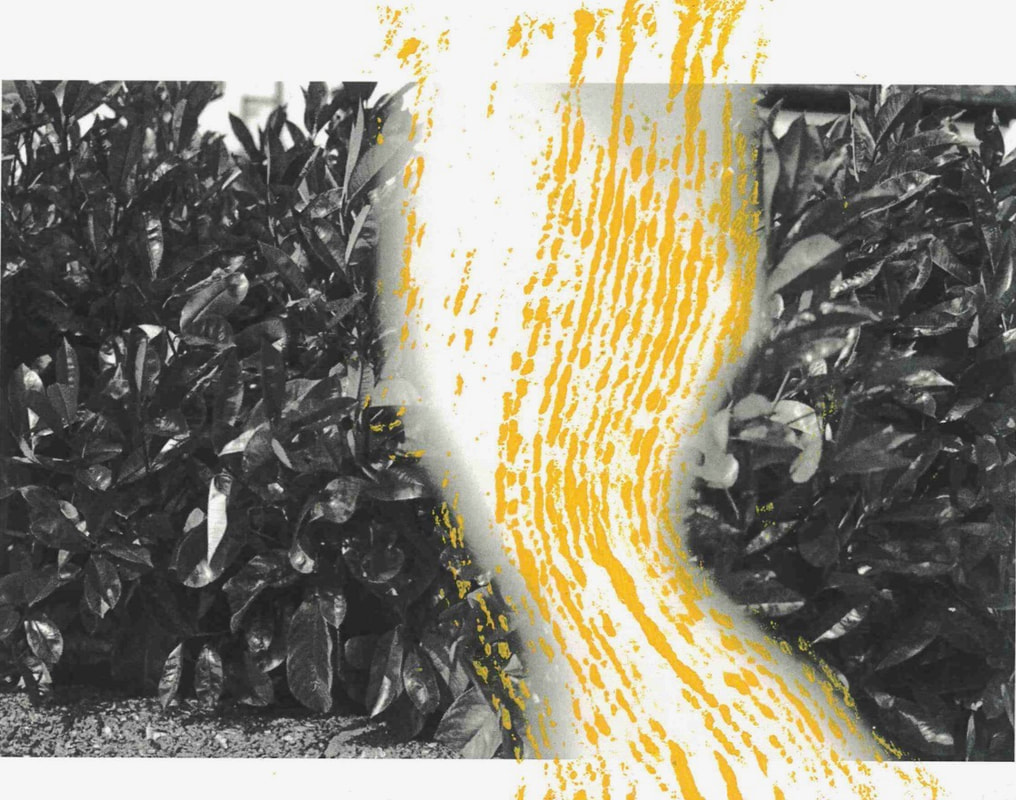
Ruth Van Beek is a Dutch artist. She creates surreal collages from found photographs, cardboard and paints. “Old photography books and photo albums are my tools and content. I rearrange and manipulate the images to reveal the different universes that lie within them.” This suggests her artwork are created from her imagination and her style of work is experimental as she manipulates the image and the final outcome appears to be a mixed media piece. I like her style of work especially her work of the peach covered in snow (the second image above), she purposefully included leaves on top of the white paper she stuck on the image of the peach, this helped me to identify it was a fruit. Ruth Van Beek's work appear playful and interesting to look at as all the photographs she manipulated with contain a different texture, making it stand out and differentiate from other photographs. This has influenced me to attempt to manipulate my photographs such as my flower by using different materials like masking tape so I can easily shape it to experiment with.
MY RESPONSE
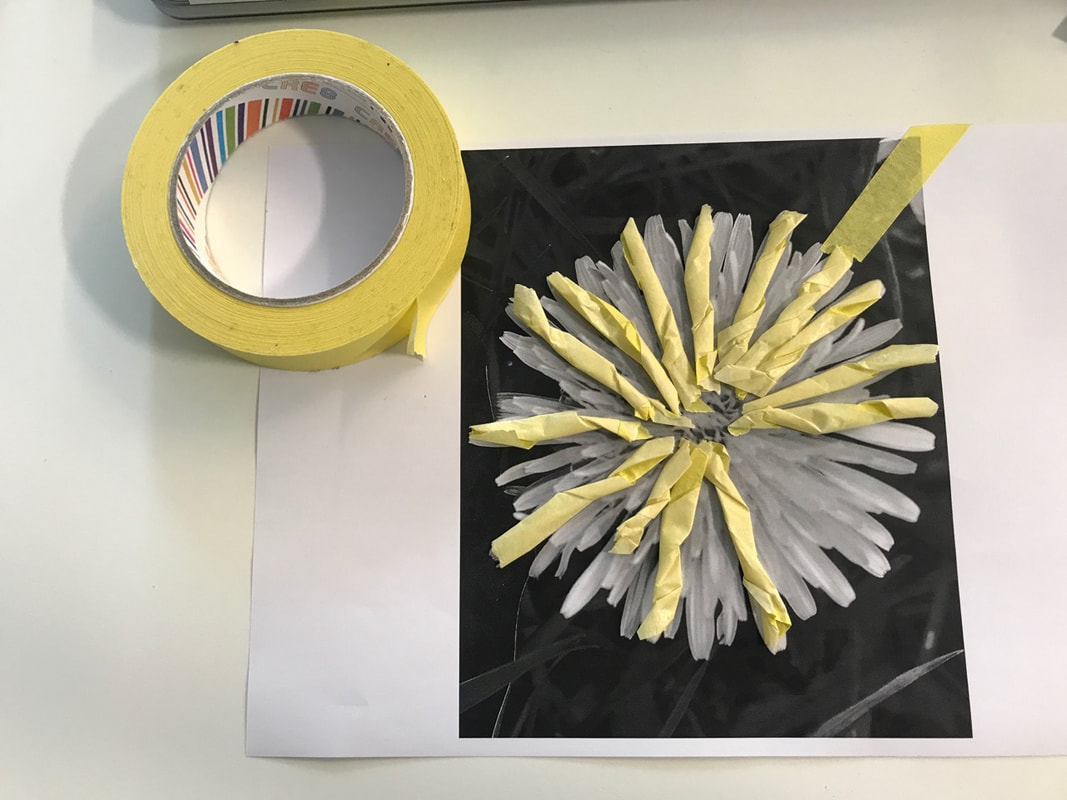
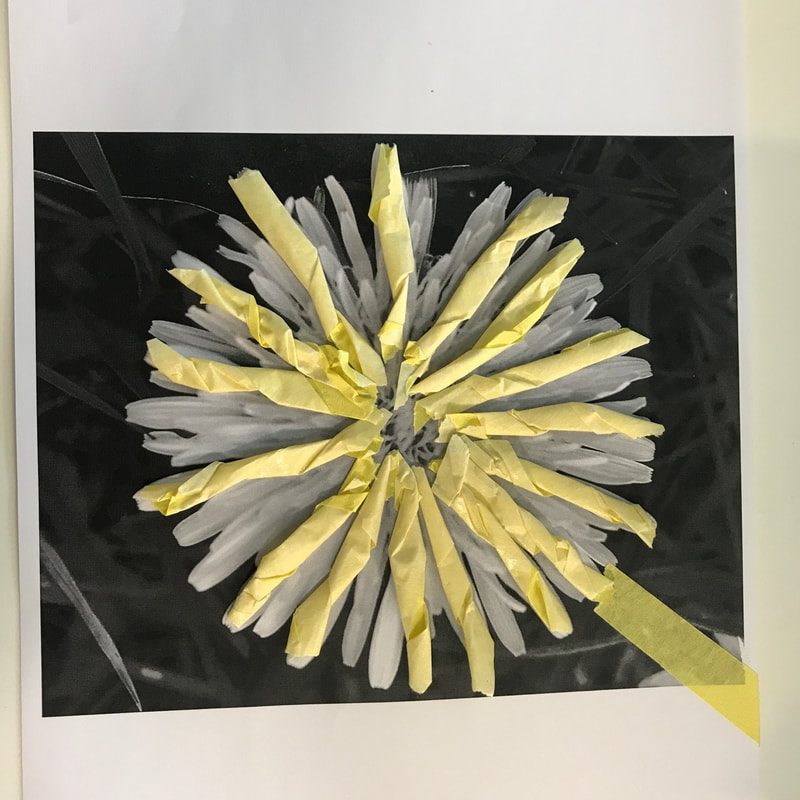
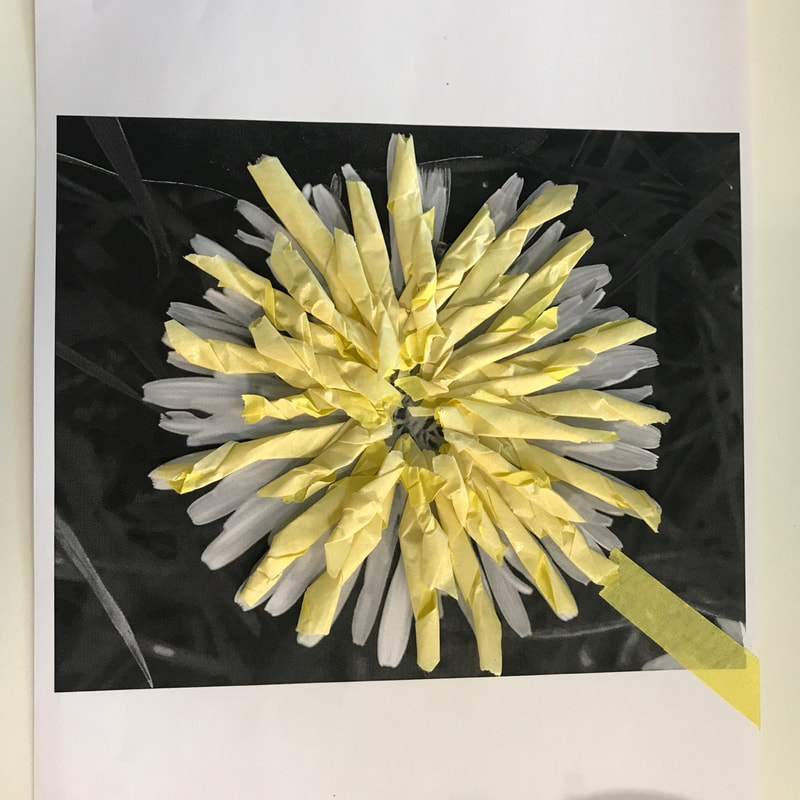
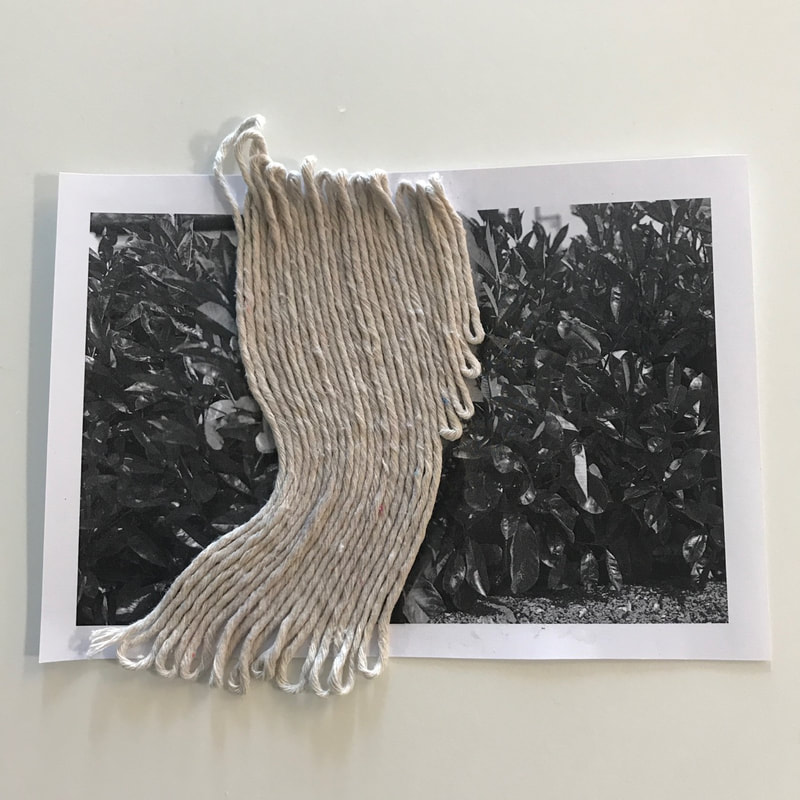
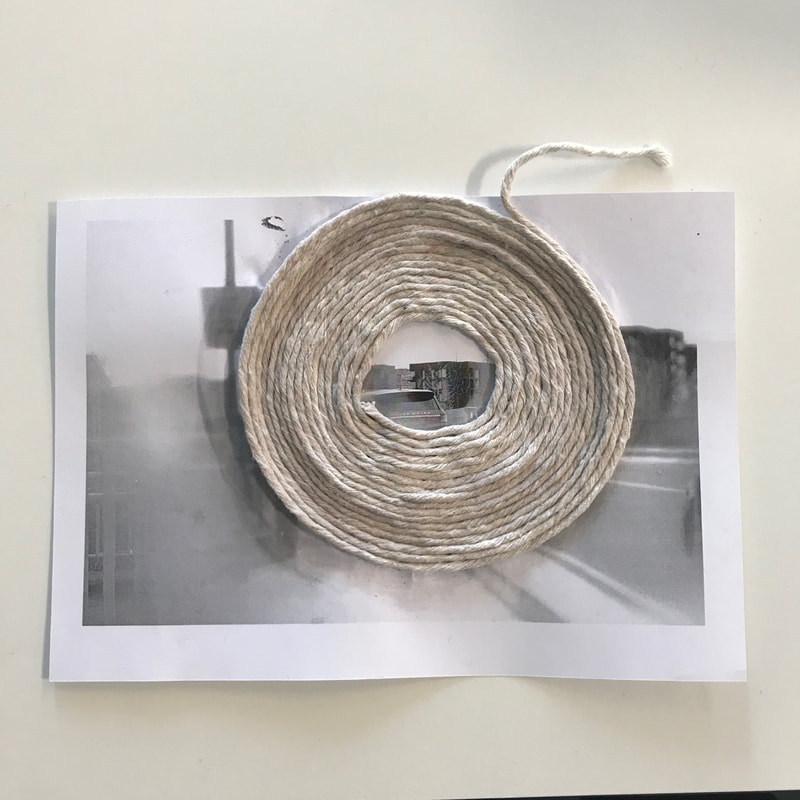
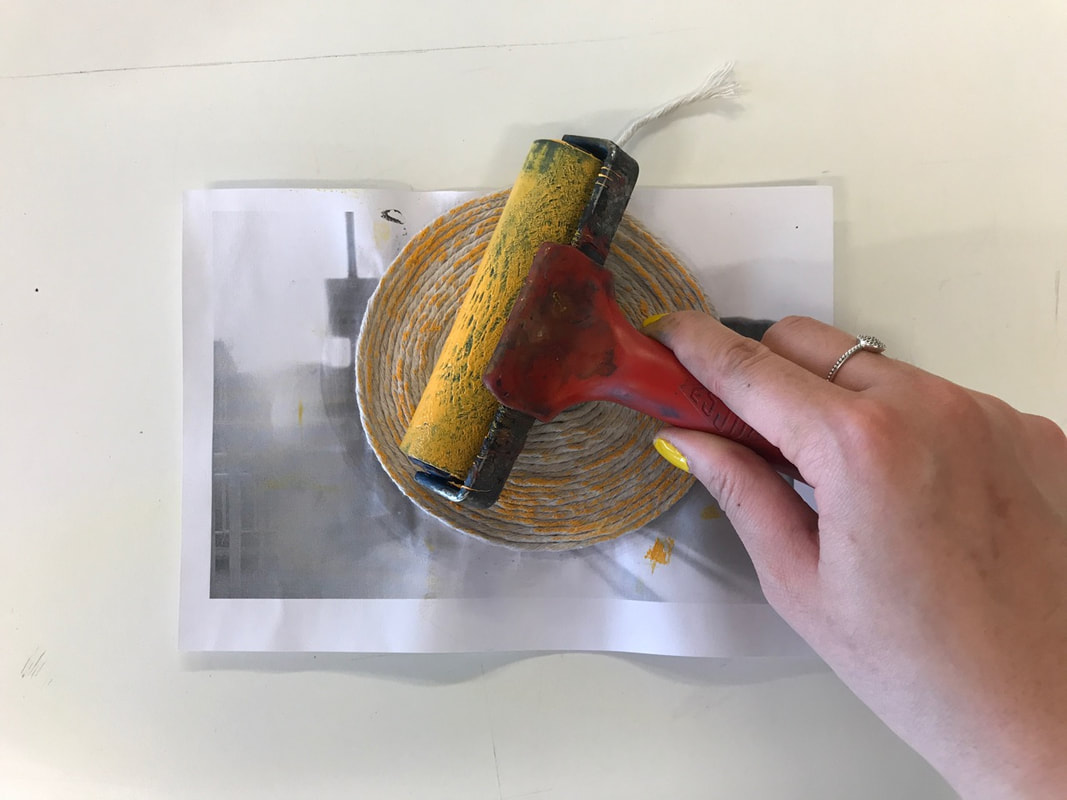

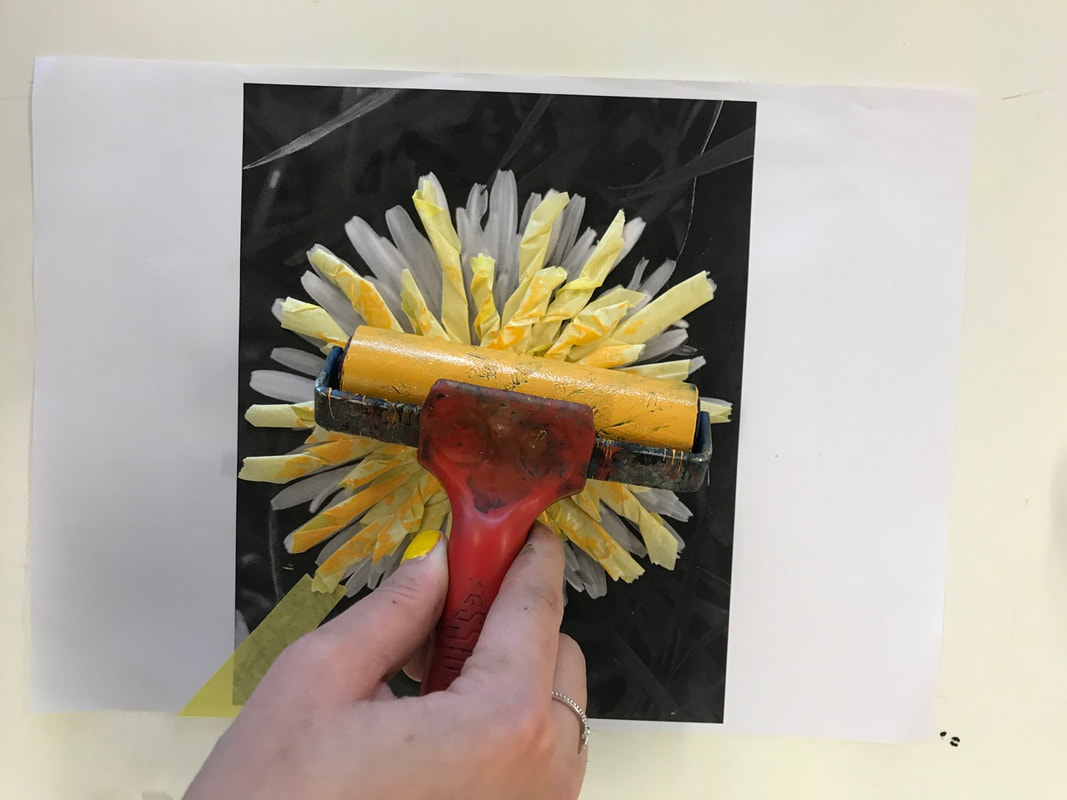
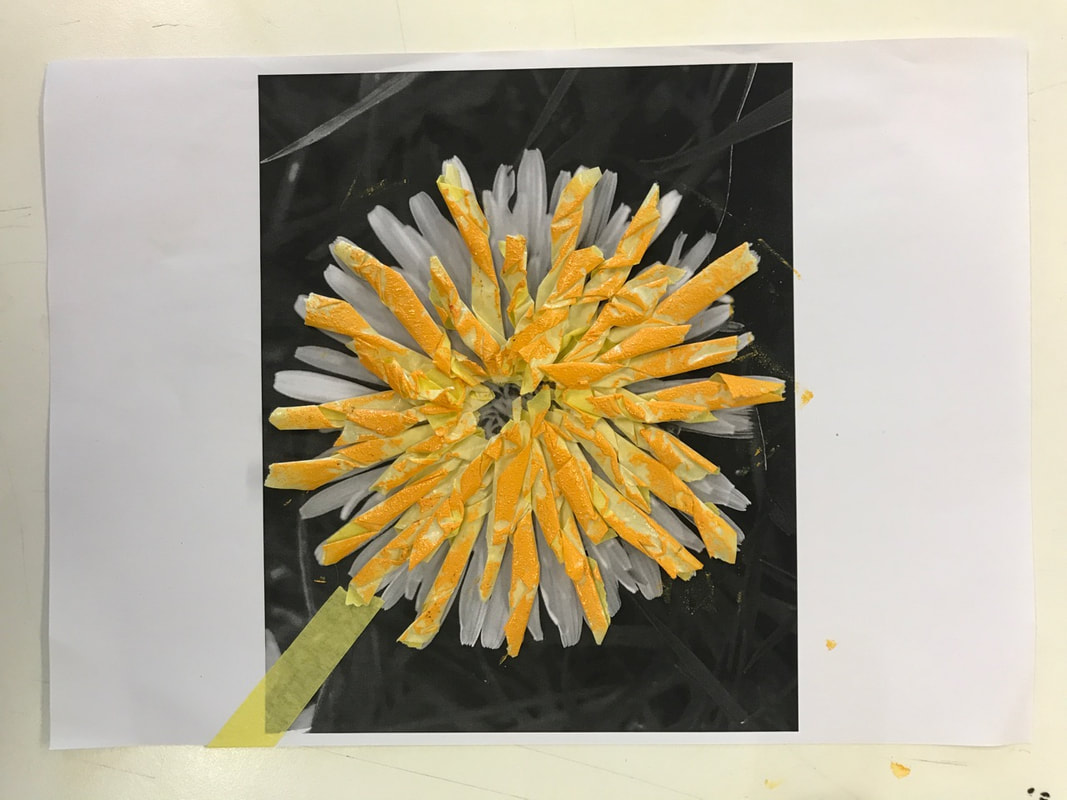
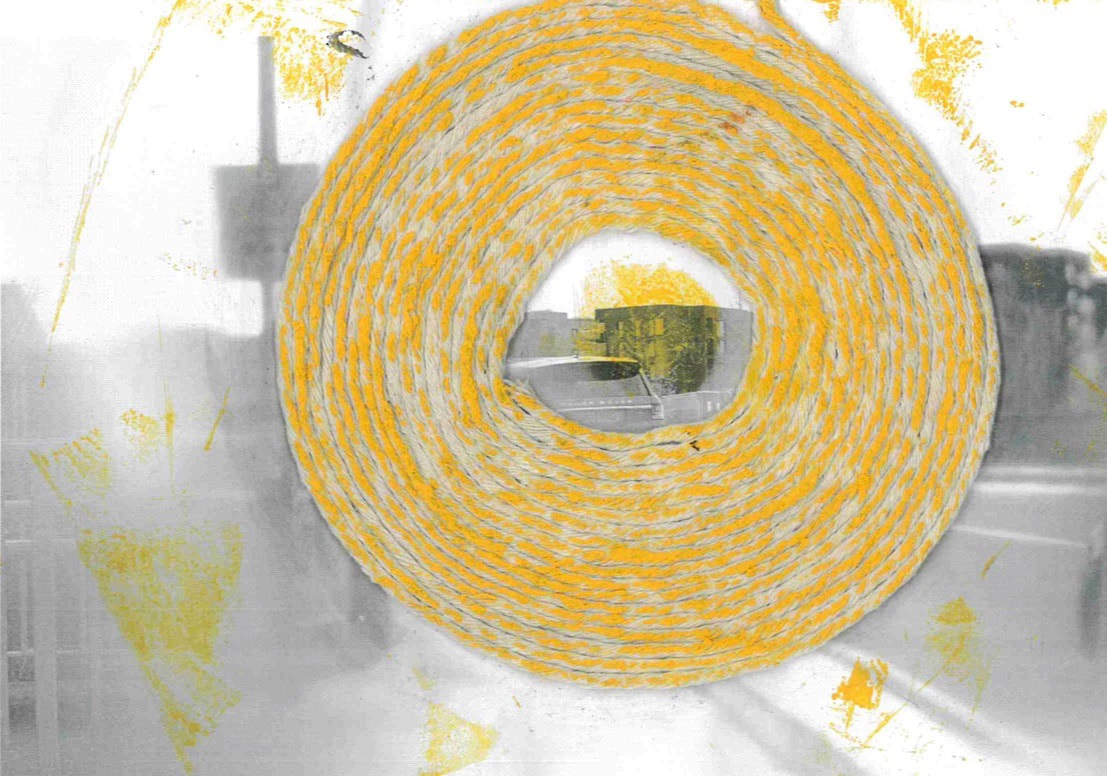
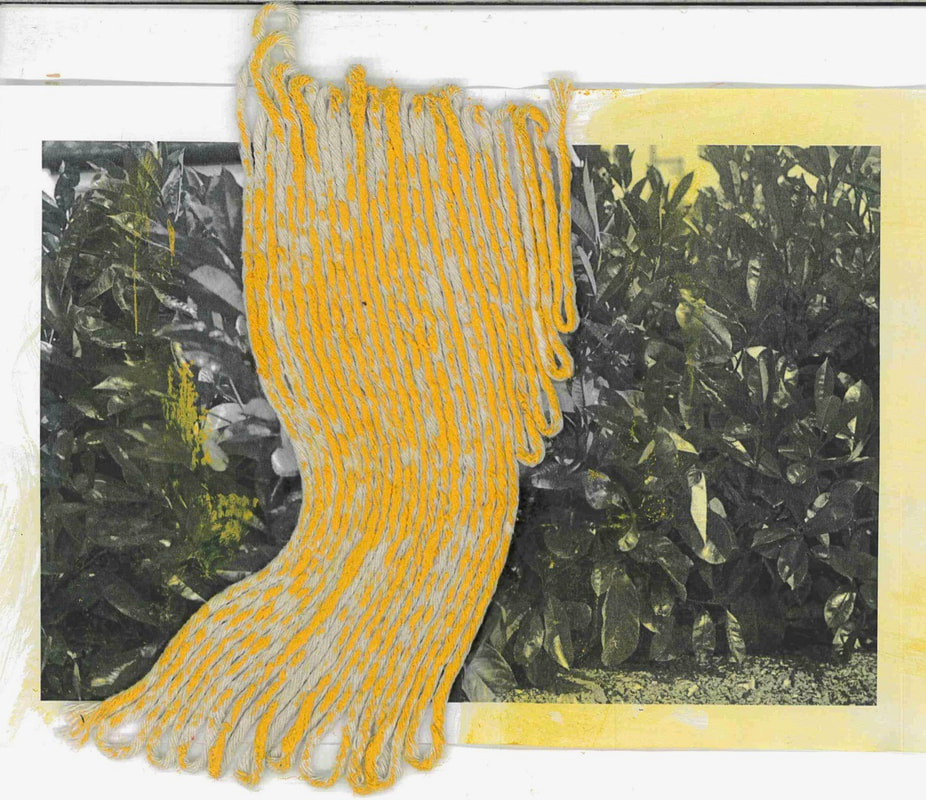
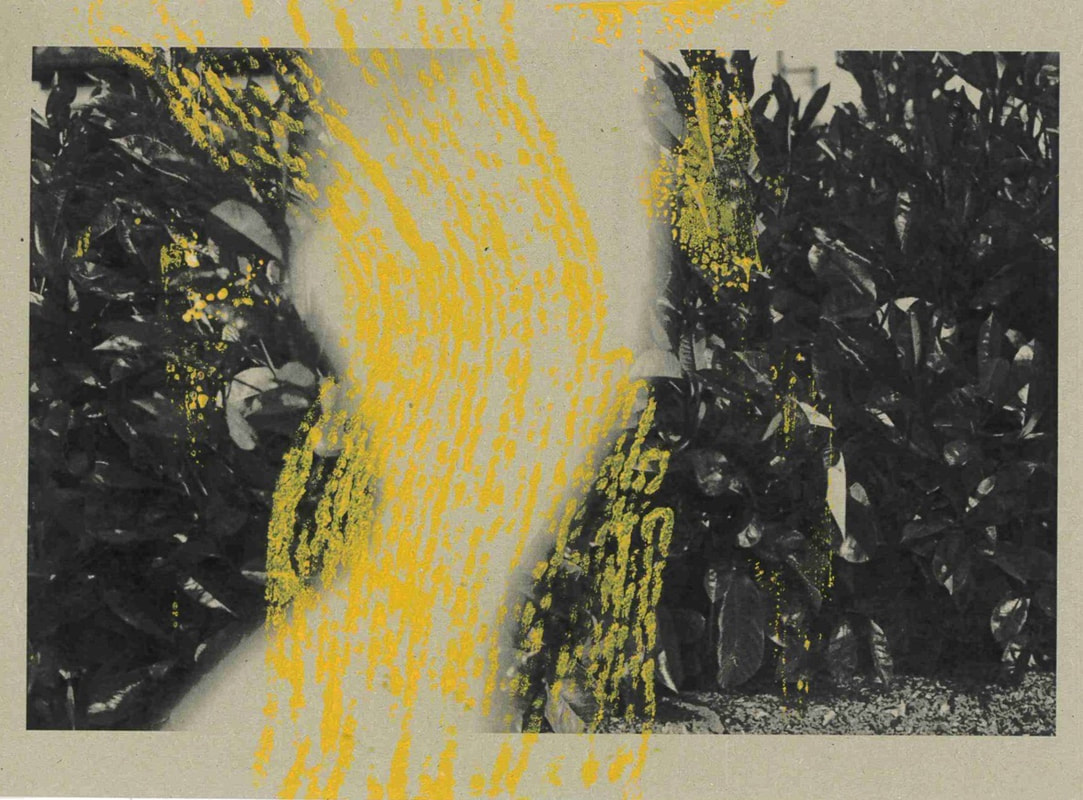
As Ruth Van Beek used materials such as, cardboard and paint to disrupt the original image I wanted to use something that would create an interesting texture. Although the cardboard added another layer to her work as texture to the 2D photograph, it appears smooth and flat but I chose to use cotton twine and masking tape as they have an interesting rough texture I thought it could make it distinctive that it is not attached to the original image. My initial idea was to just stick and glue the materials to the 2D photograph but when I viewed the final outcome I thought it appeared similar to Collagraph prints, which led me to attempting to create prints with them.
S C A N S
ORIGINAL IMAGES WITH MATERIALS

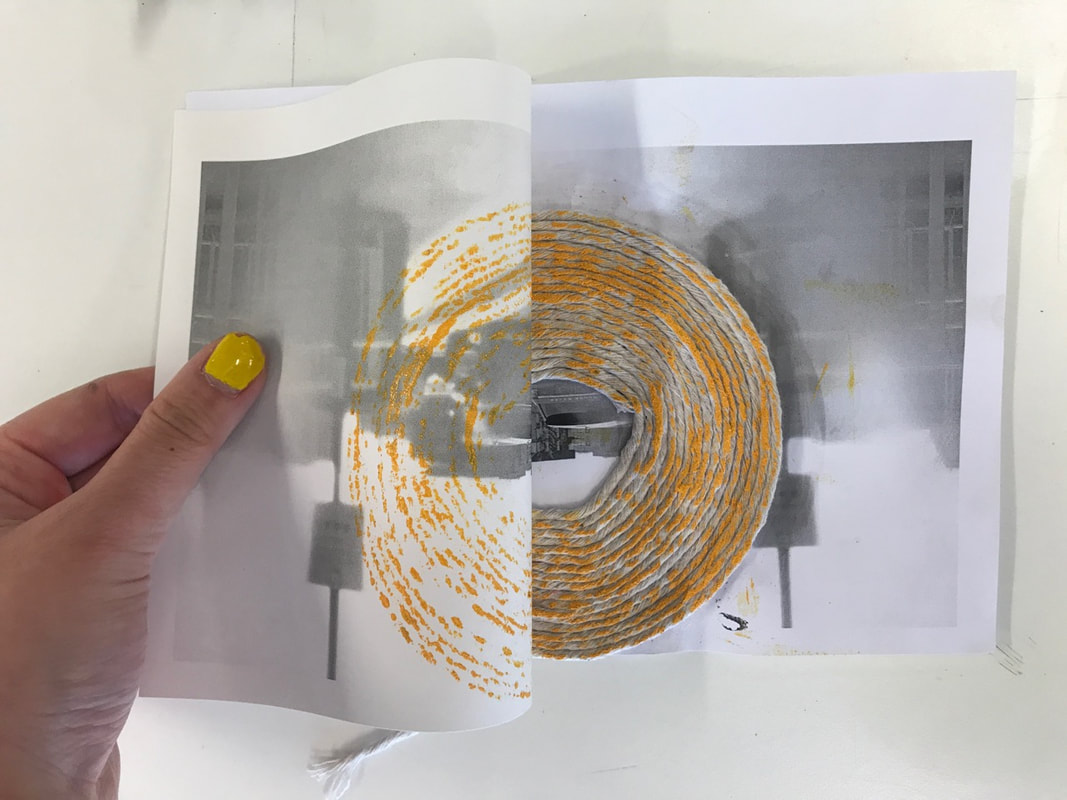
PRINT OUTCOMES

I experimented with printing onto white, thin cartridge paper and on dark sugar paper as I was looking for a slightly thicker paper material to print onto; reason for this is because as I was using PVA glue to stick the string onto normal printer a4 paper, it became quite fragile to work with.
Next I am going to experiment with cutting out a circle in the photograph where it is in focus inside the bottle and use the paper as a frame to disrupt my lens by photographing through it. I am going to experiment with parts and sections of buildings that might work well with the frame or photograph organic flowers through the paper lens to create a vivid contrast between the urban streets and nature; I will capture close up of flowers/leaves etc. to capture its unique details similar to Judith Turner's style when she photographed leaves of a plant.
Alongside this experiment I am going to experiment with shooting through the plastic bottles of the urban streets of london so that I could manipulate with the area in focus and replace it with nature or create a multi media piece with it.
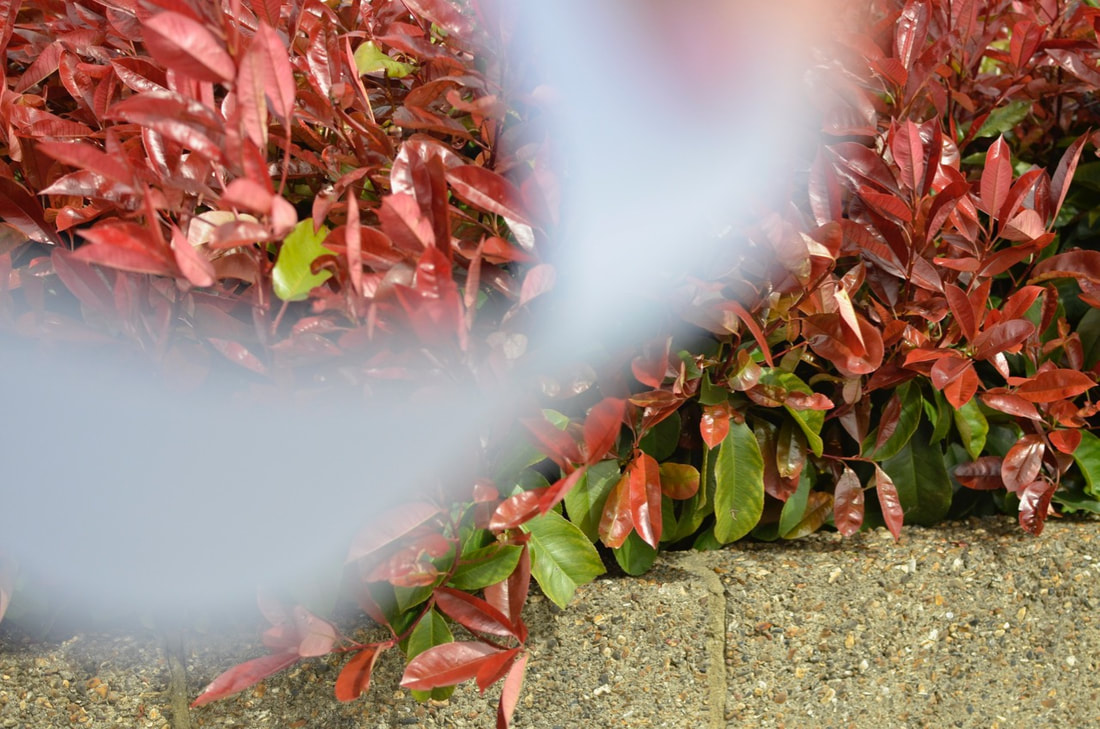
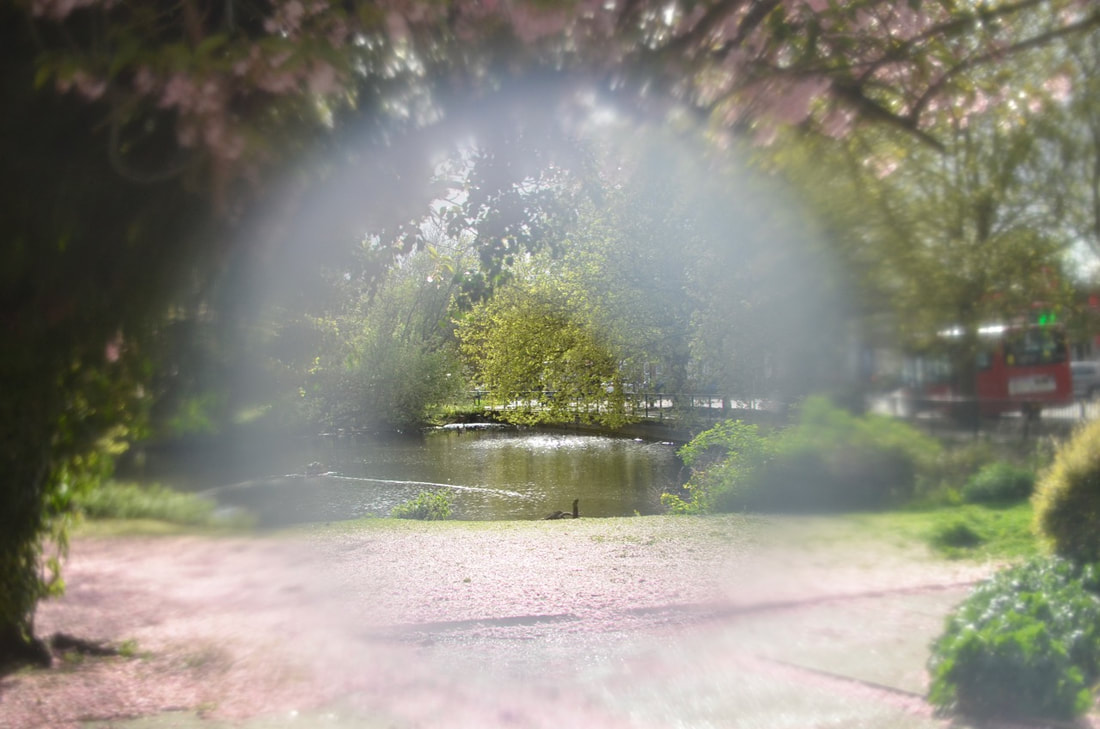
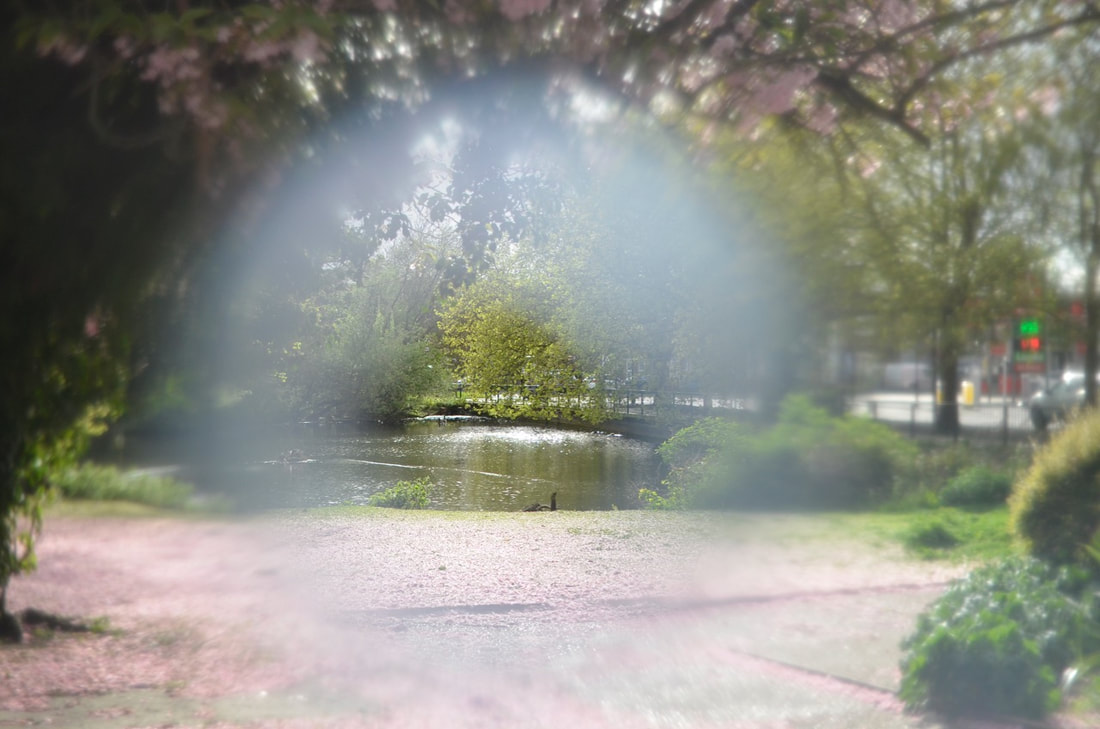
EXPERIMENT WITH PLASTIC BOTTLE AT PARK LOCATION


EDITED SELECTION
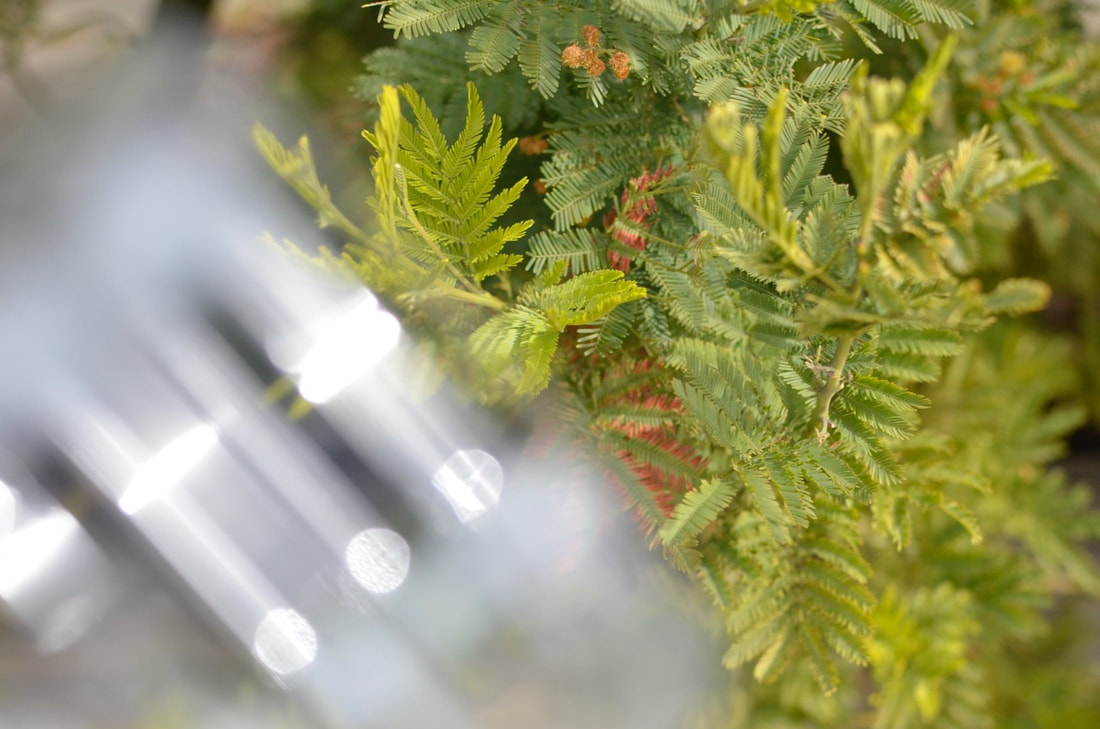
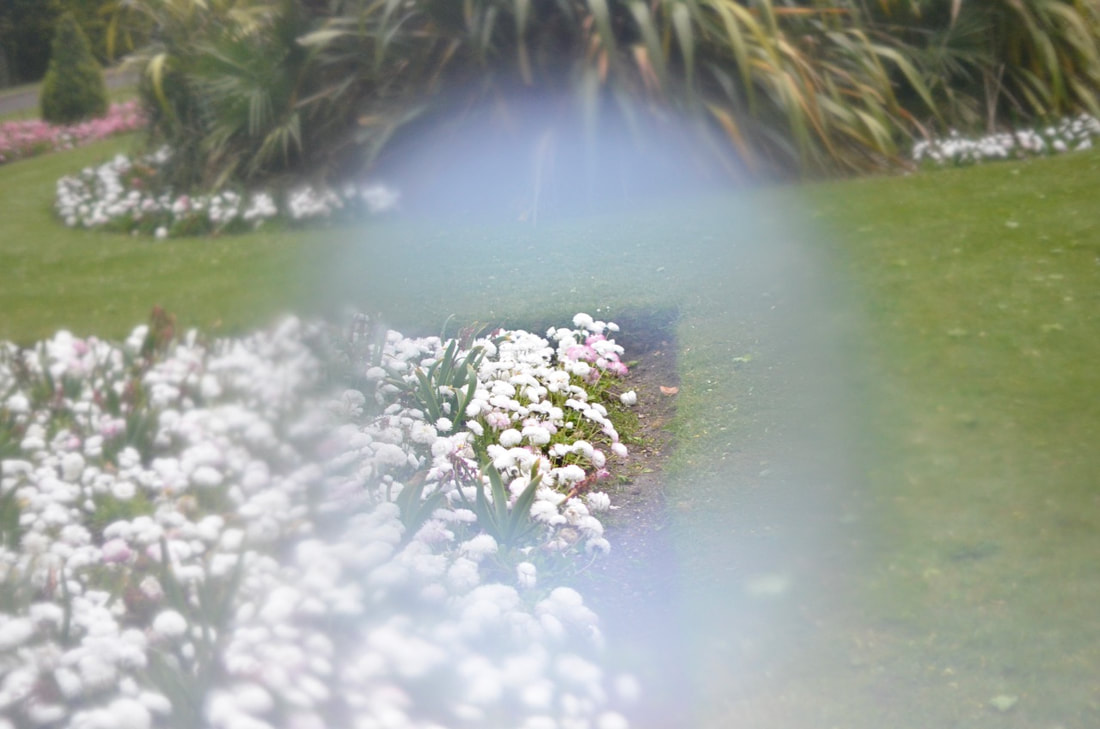
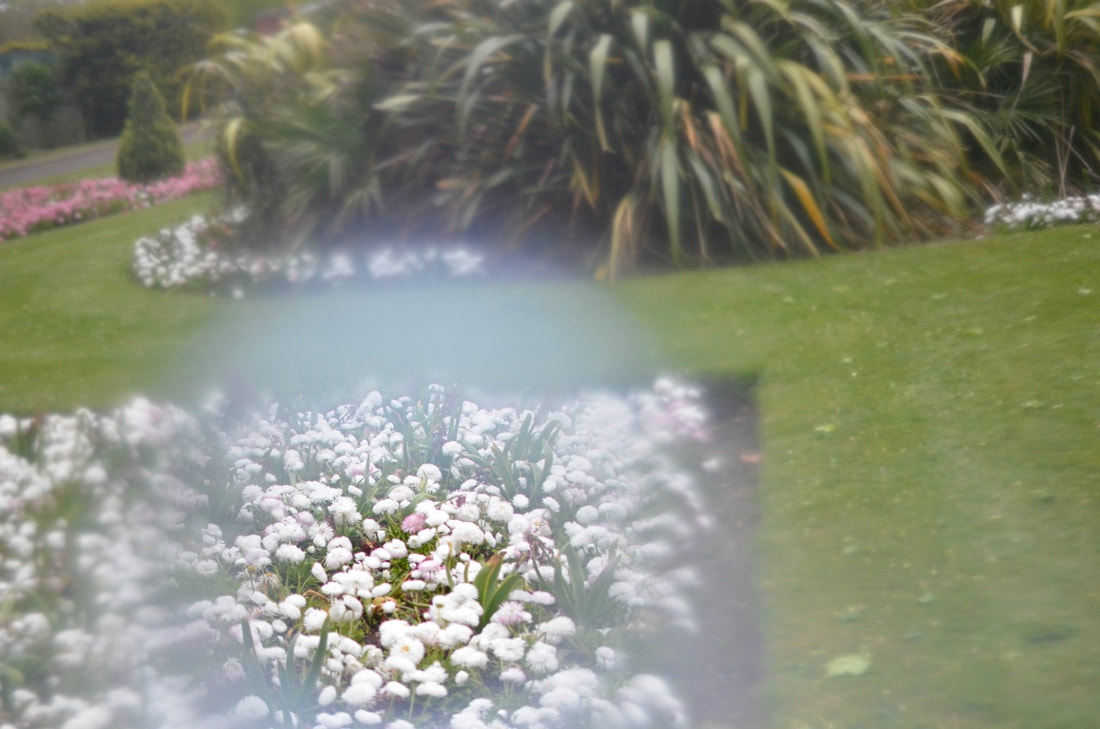
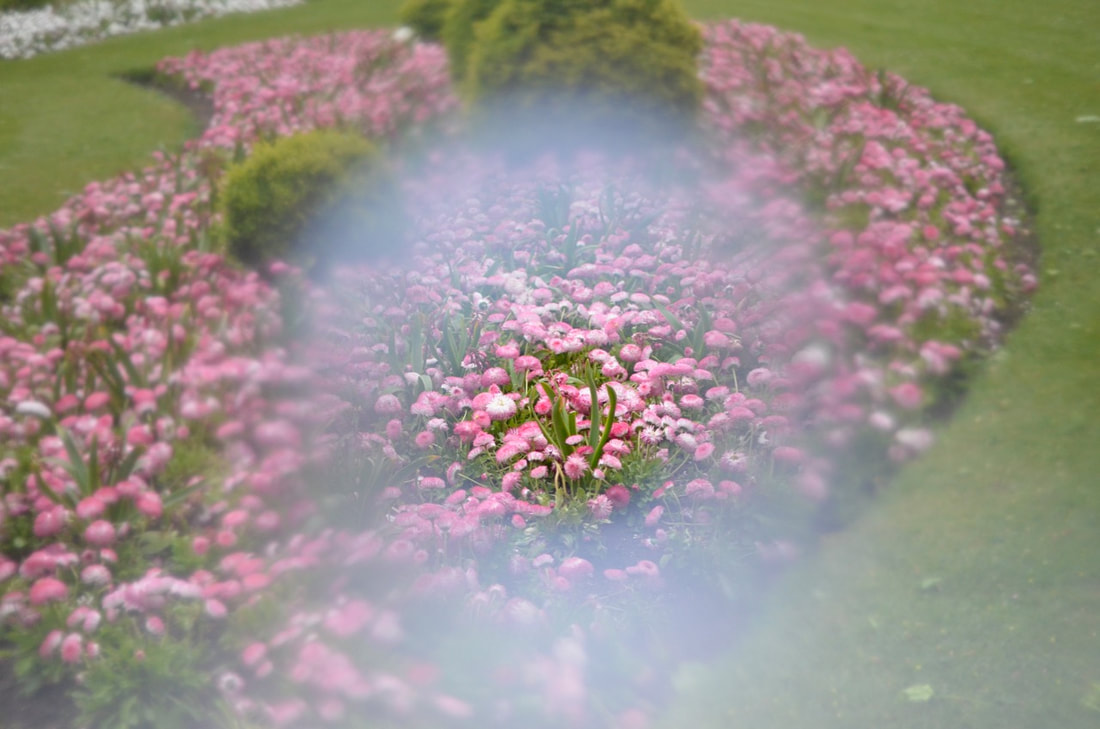
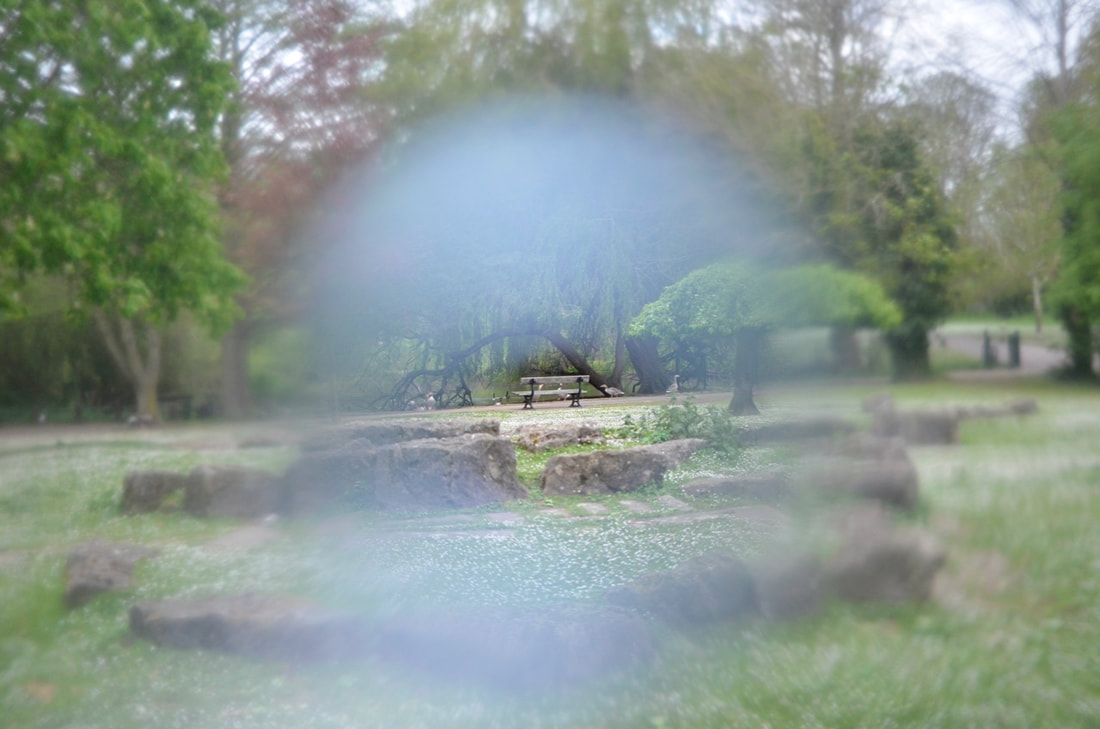
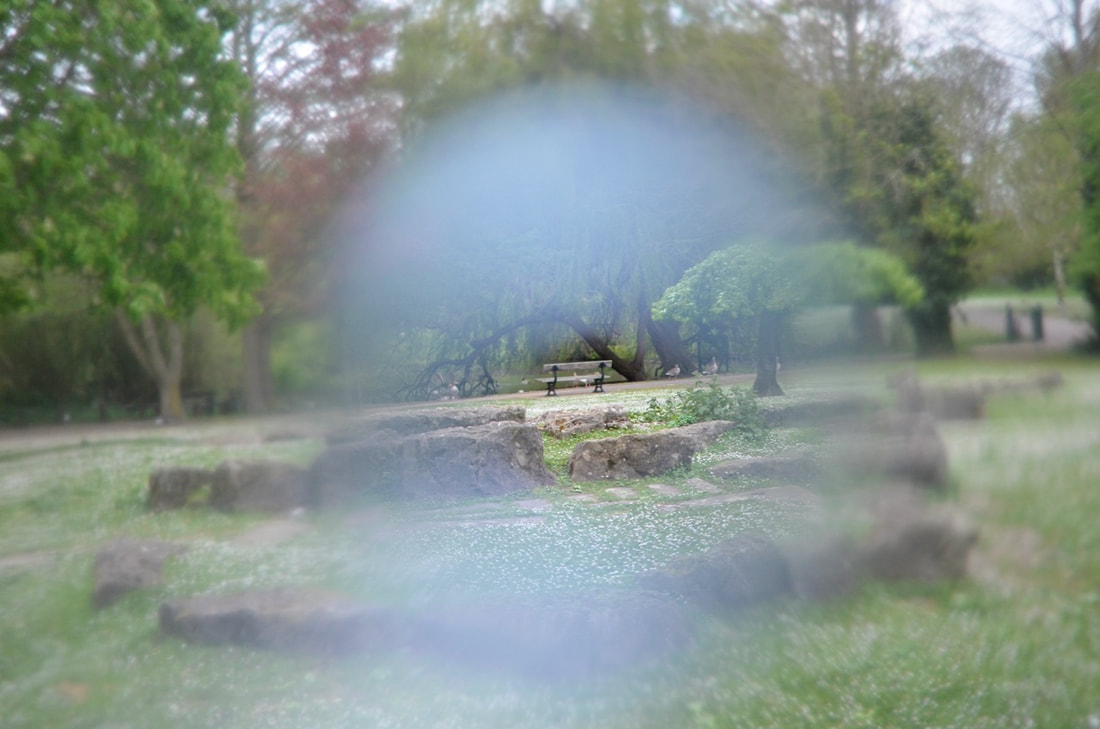
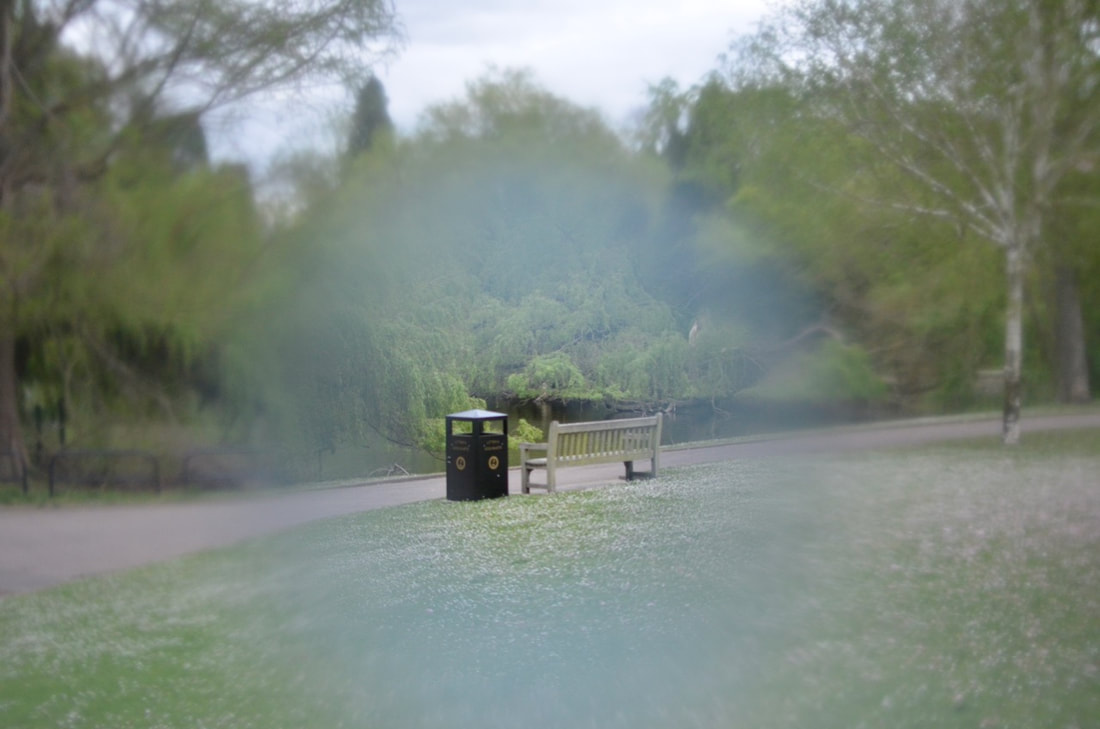
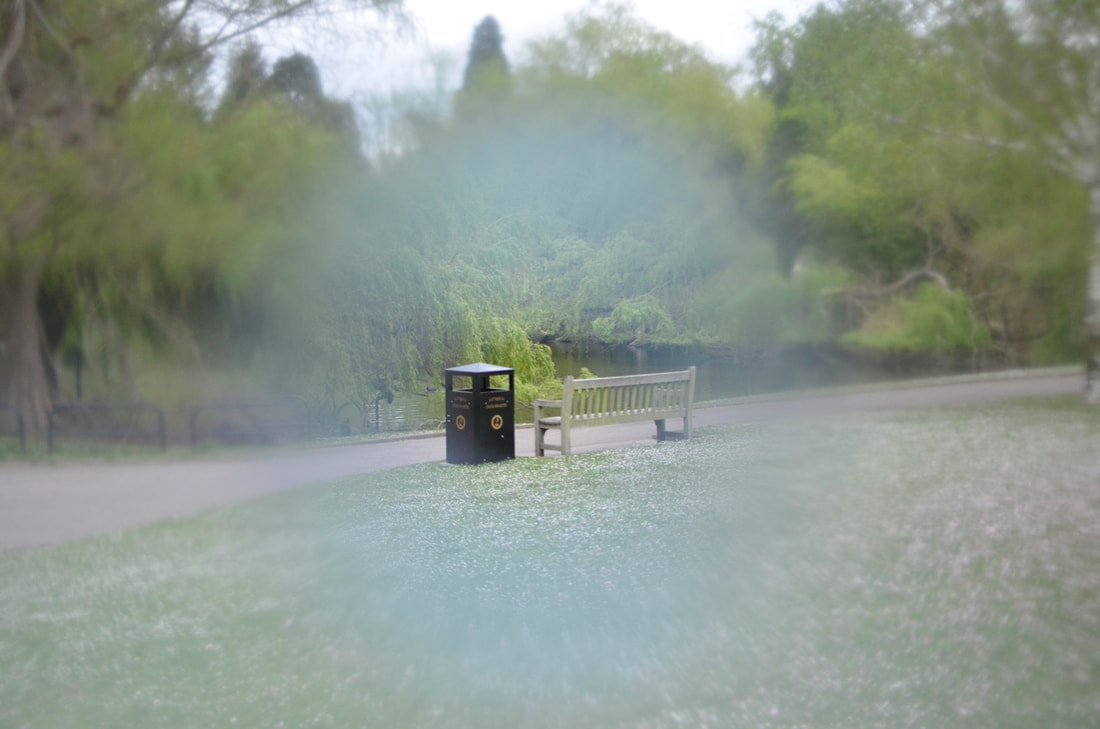
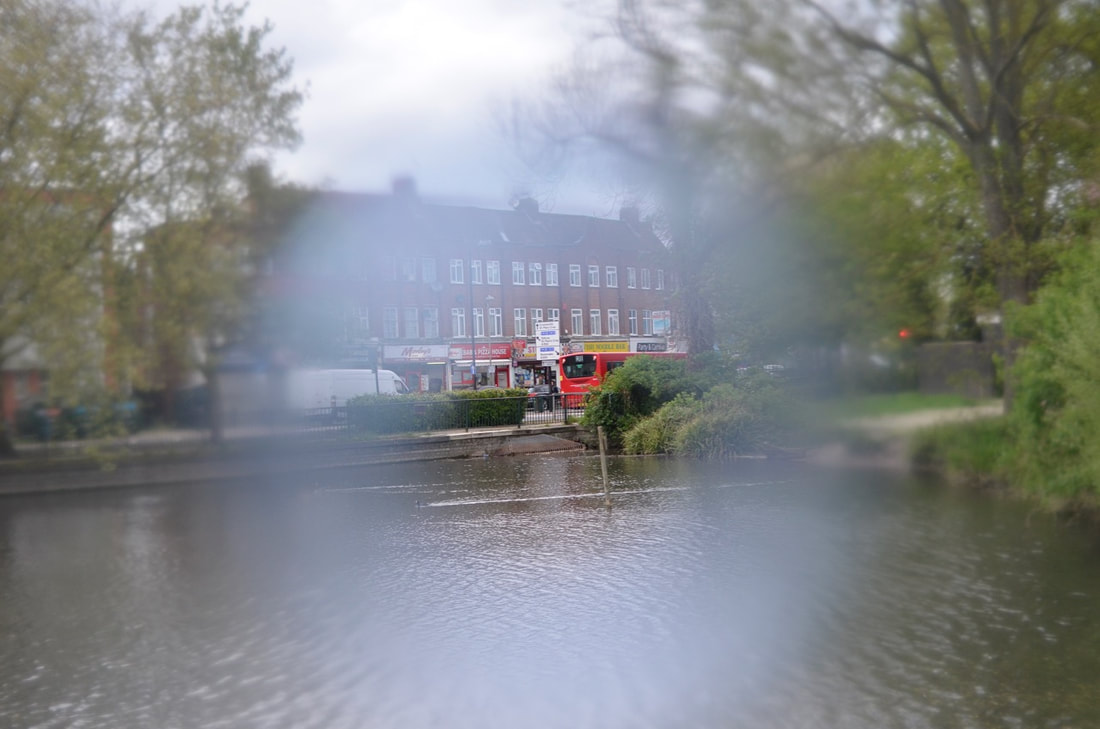
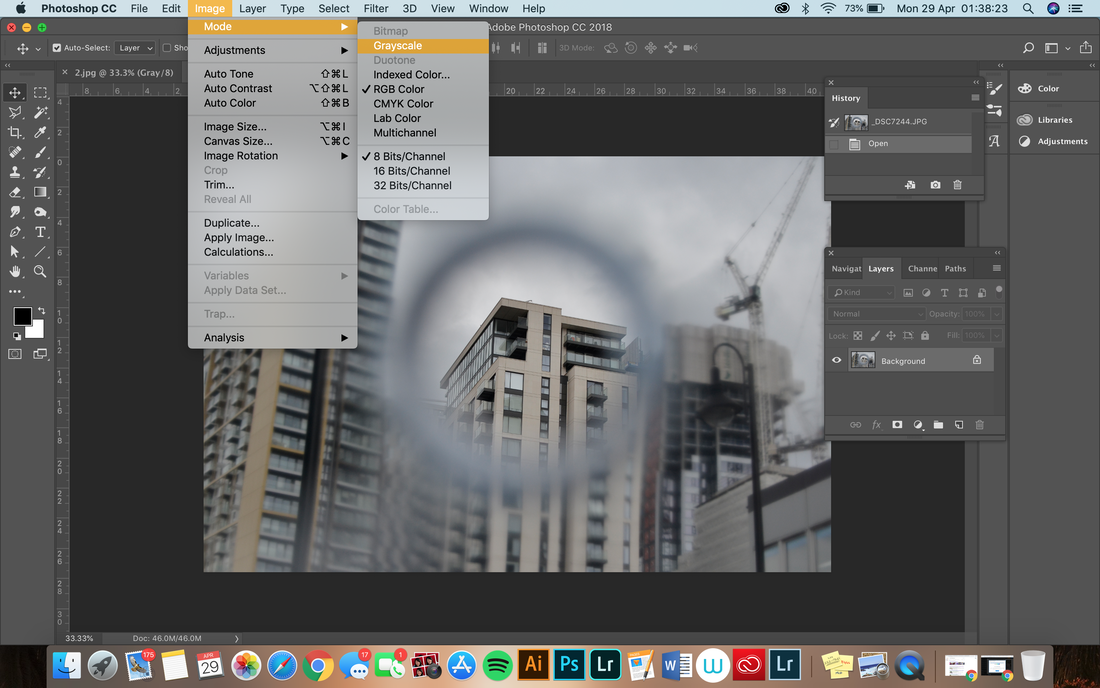
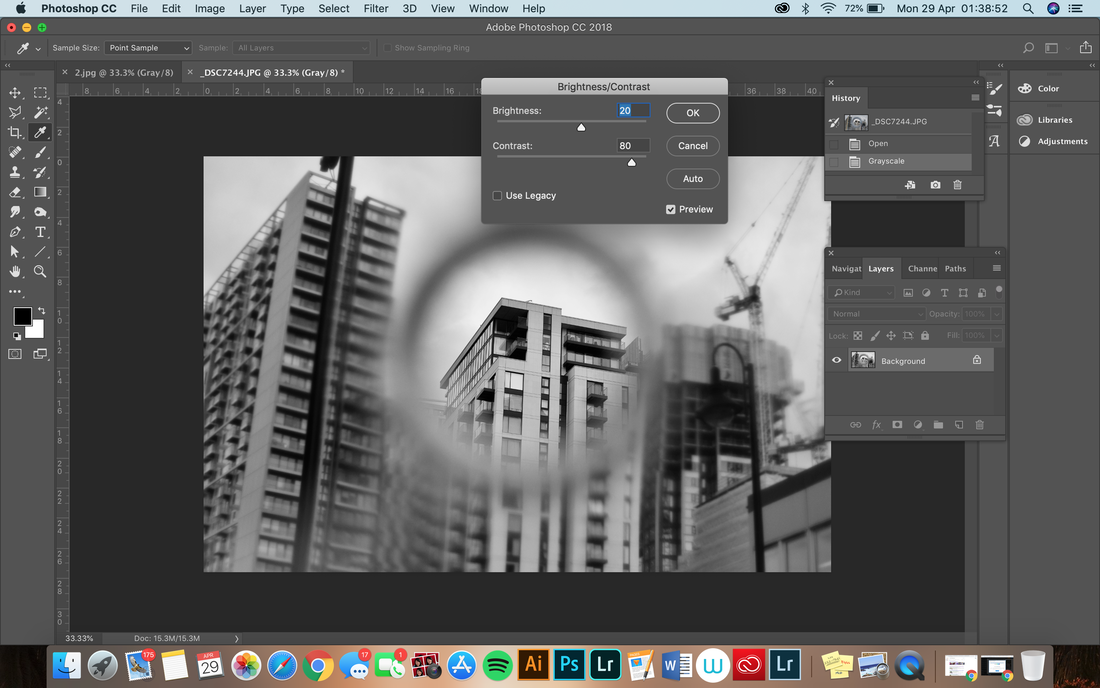
Used Adobe Photoshop to edit my photos to a highly contrasted black and white photograph. I used the grayscale mode to turn the photo into a black and white image. Then went to image> adjustments> brightness/contrast to increase the intensity of the colours to make the flowers in focus appear vividly as it is surrounded by a big blur.
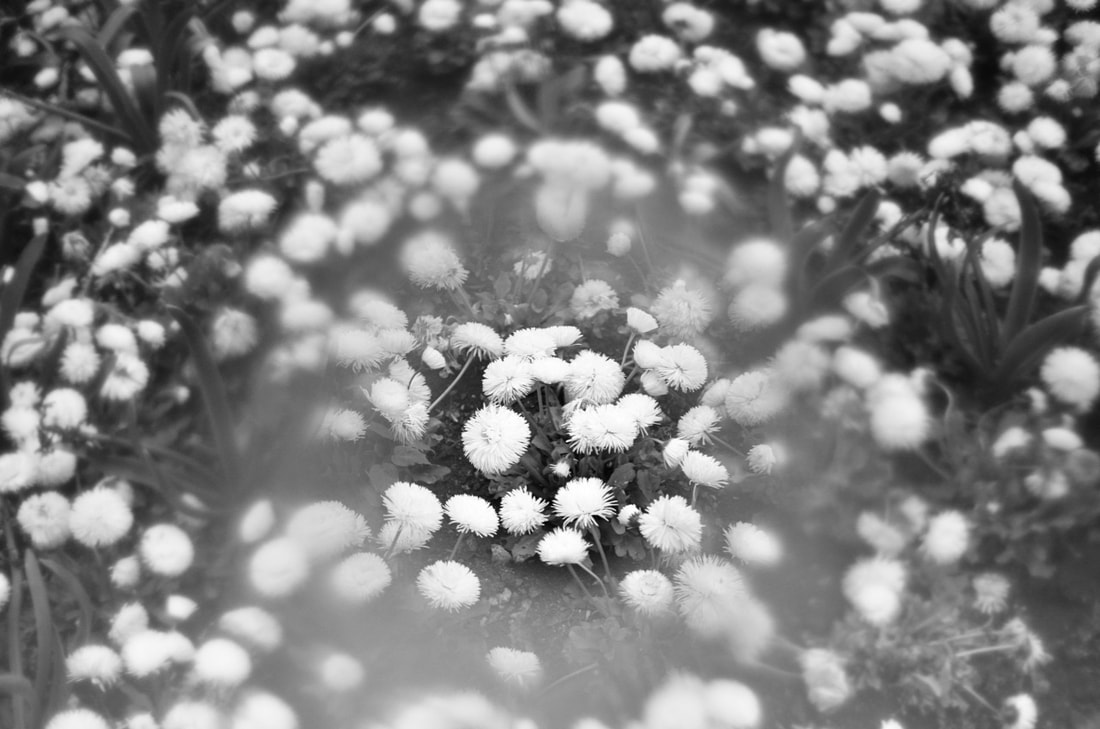


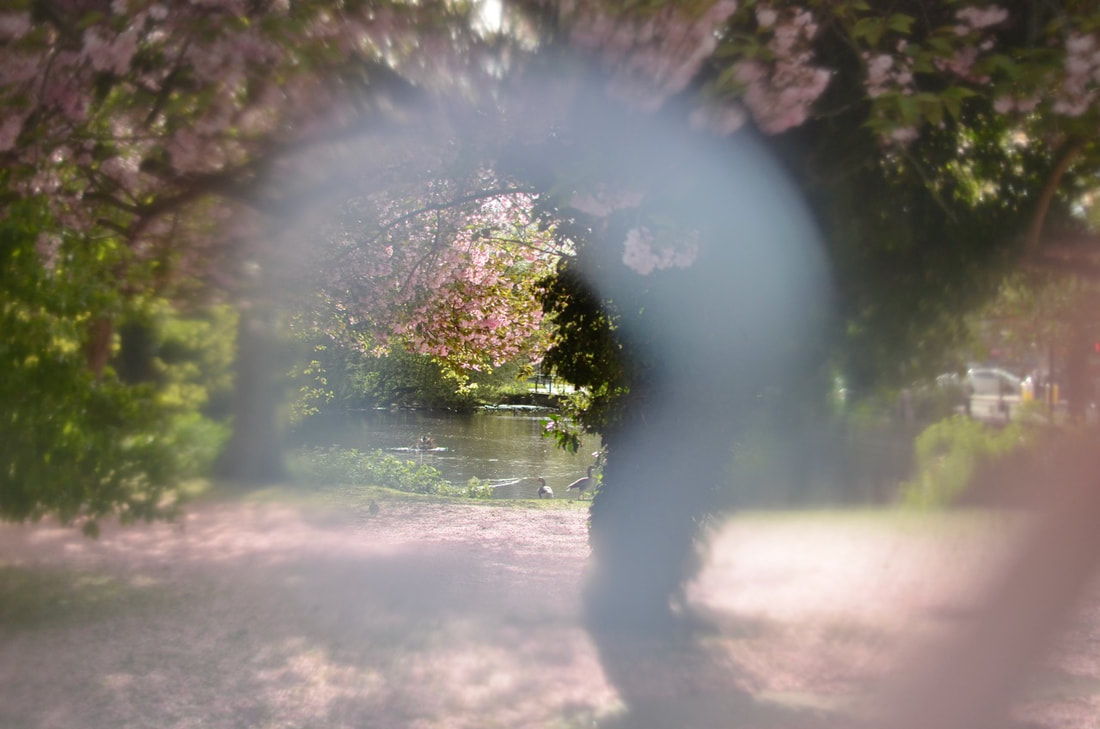
Went on a photowalk around my local park and started photographing close up of flowers and man-made objects such as, the park benches and bins. I mainly focused on what I was leaving in focus in my pictures so that I could possibly cut them out and play with. However, as I was selecting a small selection of images to edit I was focused on the background and ensured it was composed well including elements of nature.
|
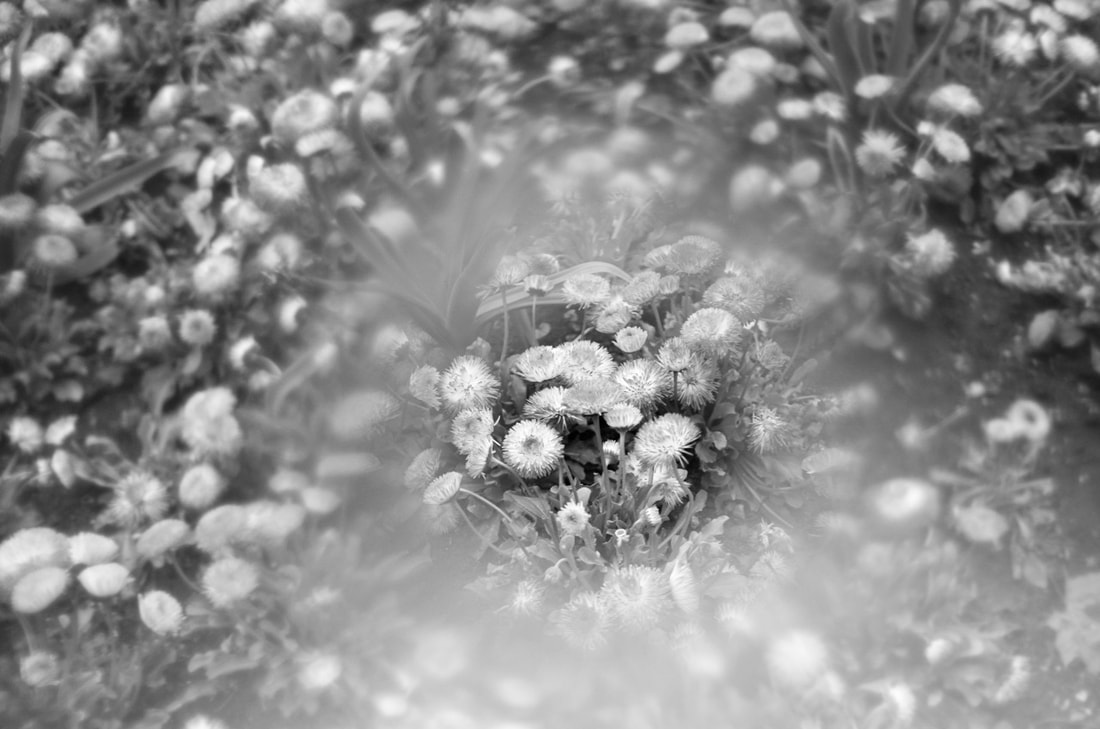
This is my favourite edited photo out of the selection. I thought that this photograph had an interesting distorted background caused by the plastic material and the sunlight bouncing off of it. The form appears similar to a part of a question mark from afar. Furthermore, the blur creates a misty/foggy atmosphere within the photograph which makes it appear dull and peaceful.
I will continue to increase the contrast within my photographs as I find that it sharpens the sections I specifically photographed vividly. |

|
FURTHER EXPERIMENTS WITH PAPER AND PLASTIC BOTTLE
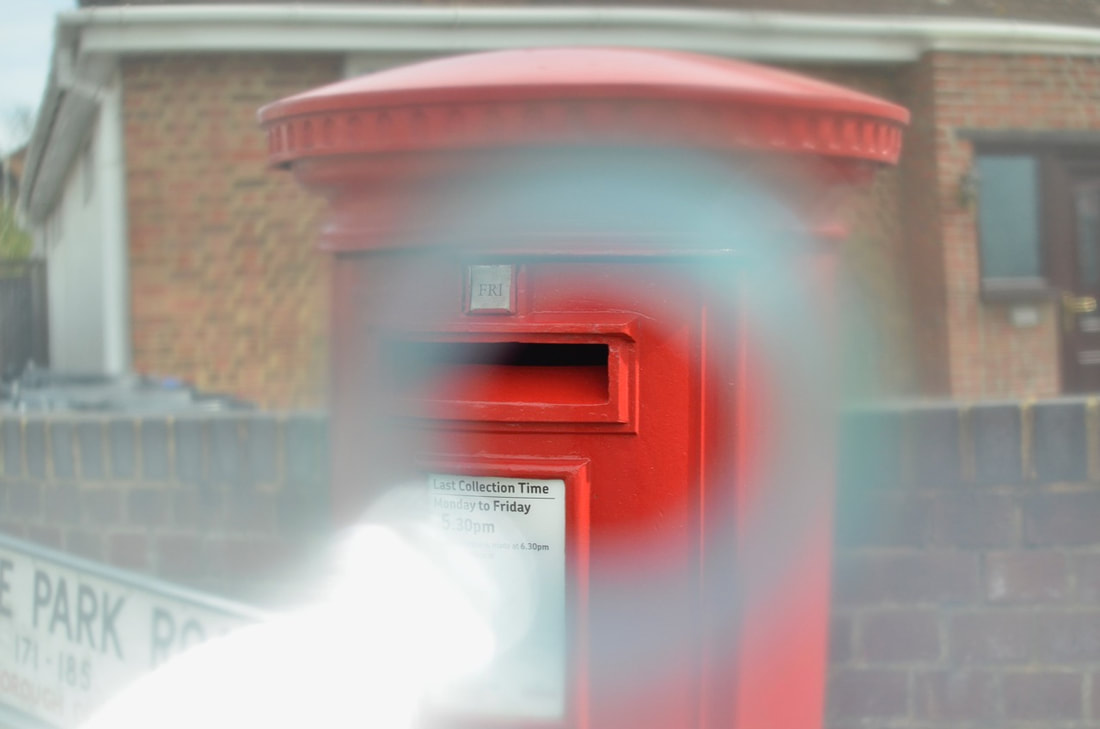
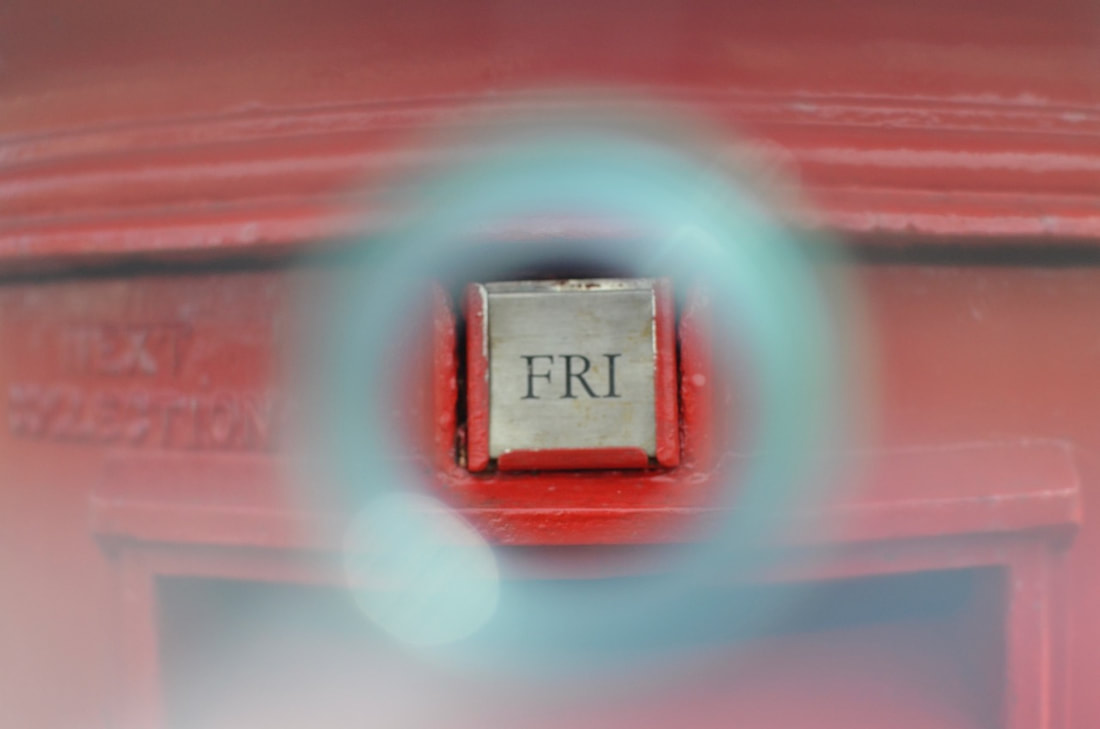
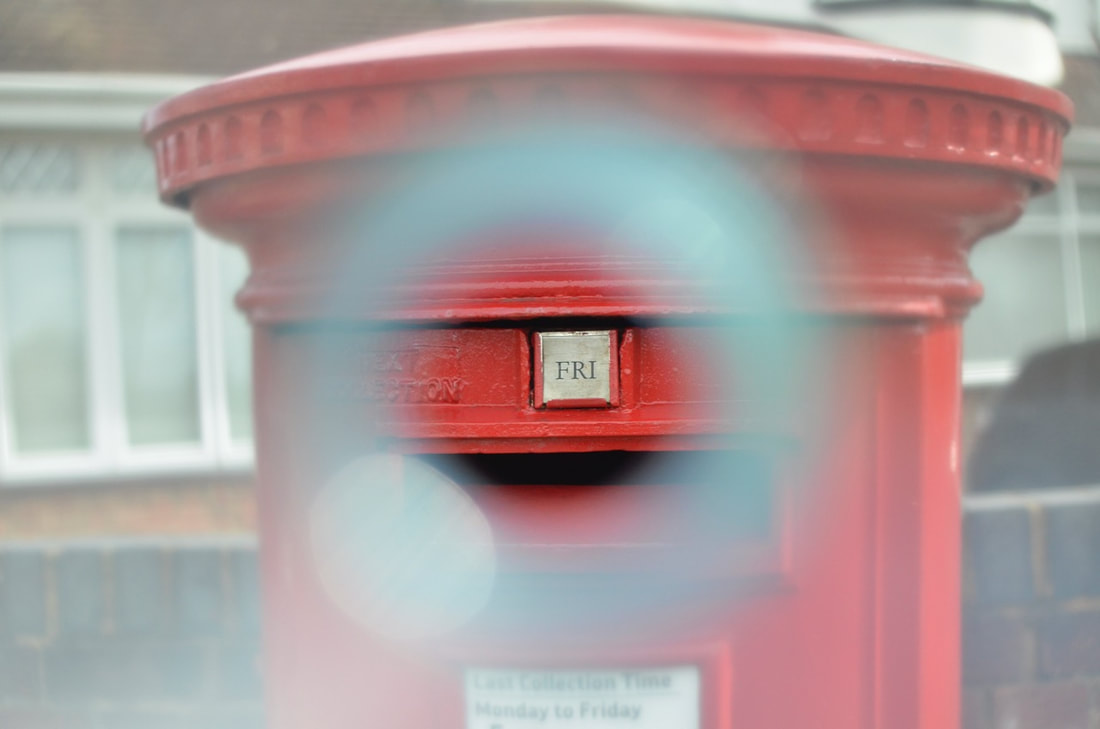
PHOTOGRAPHING THROUGH PAPER FRAME
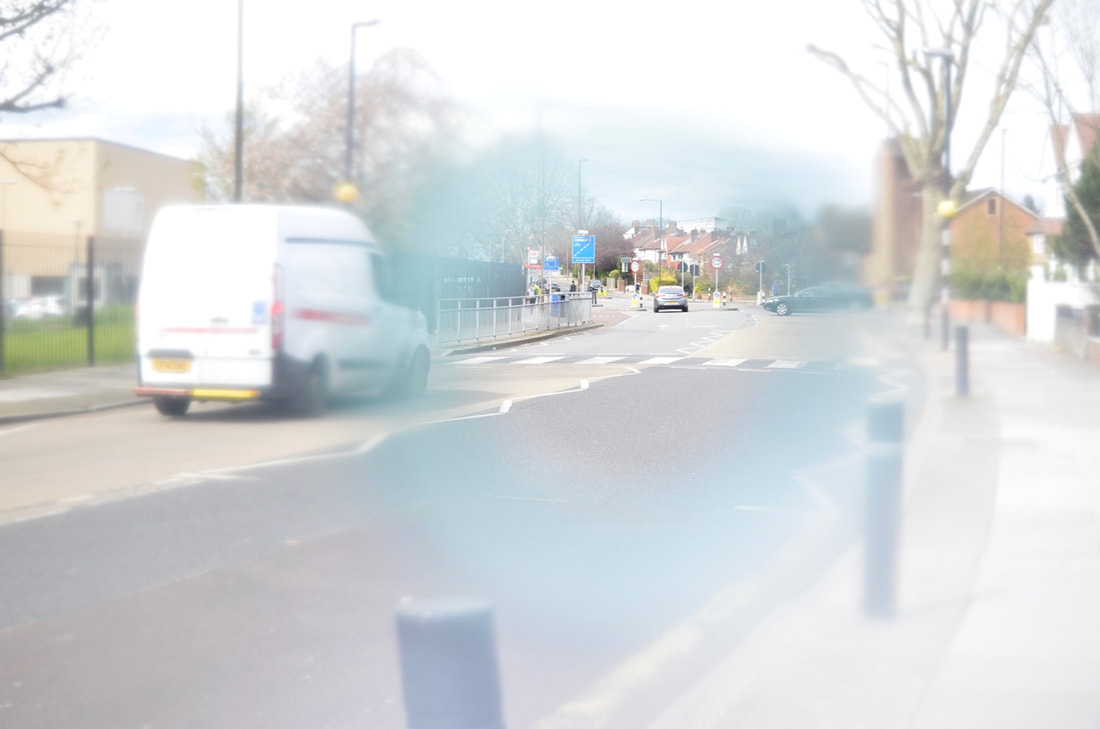
Here I experimented with using the first shoot through the plastic bottle as my viewfinder in front of the lens - further experimentation from my response to Ruth Van Beek and linking to my response John Hilliard.
I found it very difficult at the beginning to control my focus point and aperture, I was switching between the Aperture priority and Manual mode. At first, I thought that the paper was not in focus at all but as it was photographed through the plastic bottle, the background itself appears distorted and out of focus so, when I viewed it on my laptop screen I was amazed by the outcome because I thought it was unsuccessful. My initial aims were to capture architecture in the urban environment or other subjects I see, I did not think of the background of the cut out frame I made so the experiment did not directly link together and it appears random; I should have played with the nature elements against my urban landscape photographs to create an interesting contrast and texture.
I could develop this by using Adobe Photoshop to help me mismatch sections of the image with another different photograph for example, a photograph with a floral blurred background with an in focus edge of a building in the centre.
PHOTOGRAPHING THROUGH PLASTIC BOTTLE


E X P E R I M E N T S
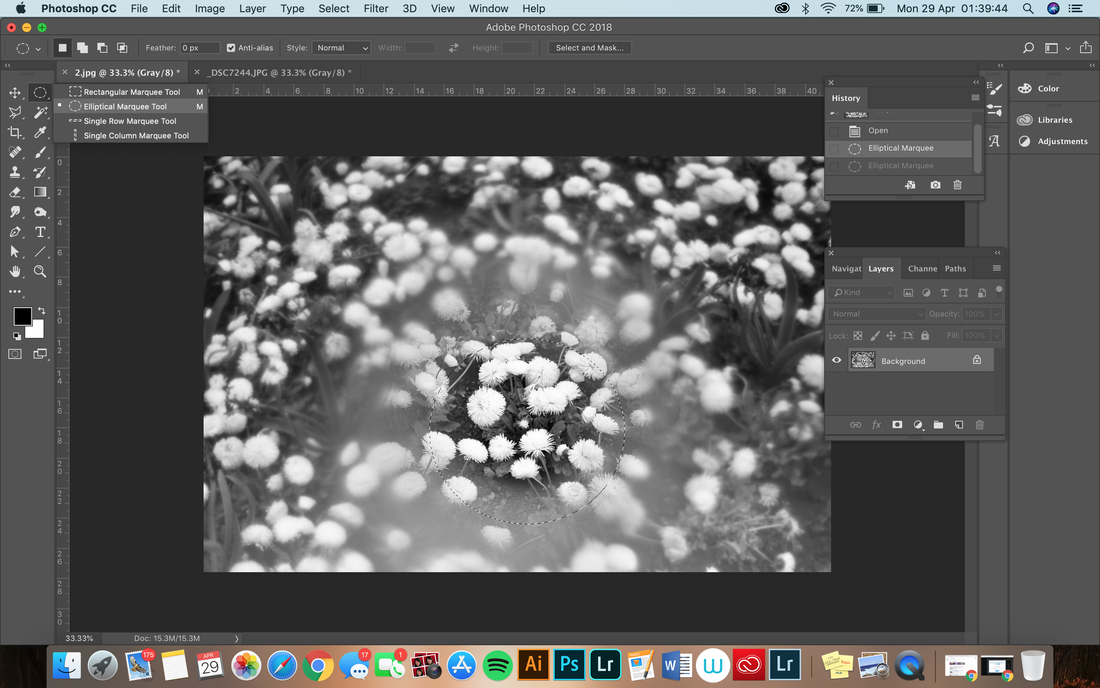
I used my previous edited image of flowers from the park and unlocked the background layer to then use the 'Elliptical Marquee Tool' to cut out a circle where I will place another photograph under.
|
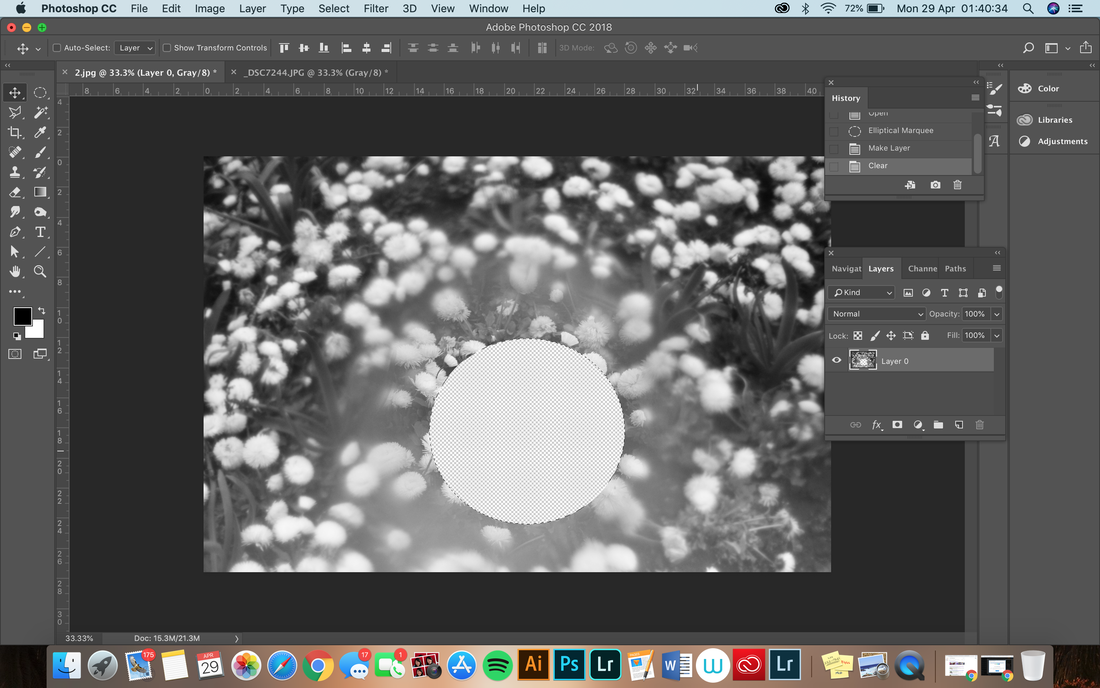
When it is selected I would press the backspace key to delete the image inside.
|
Edit photograph of architecture I took in the urban environment, similar to previous black and white photo to match.

|
I would select the entire image ('cmd' + 'a') of the building and copy. Then go back to the floral image and paste the building on top. It would create a new layer called 'Layer 1', I would then shift the new layer below the original 'Layer 0'. This is so I could place the area in focus of the building inside the floral background.
I have to ensure I was using the move tool to shift the building picture in place carefully, trying my best to line up the blur hoop around the focussed subject. |
THE OUTCOME